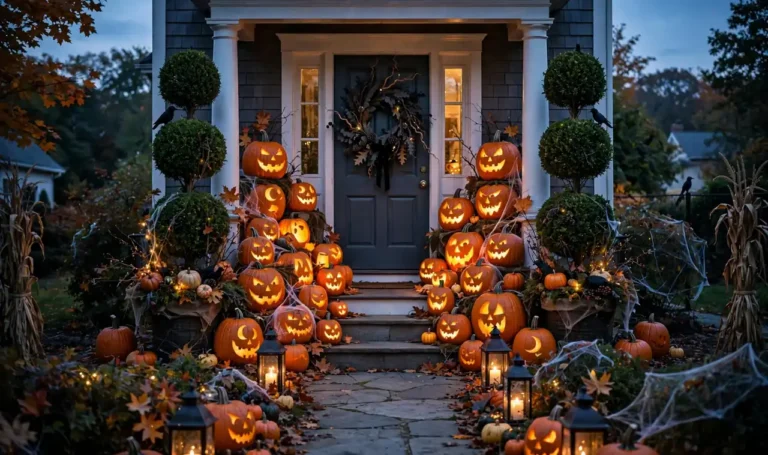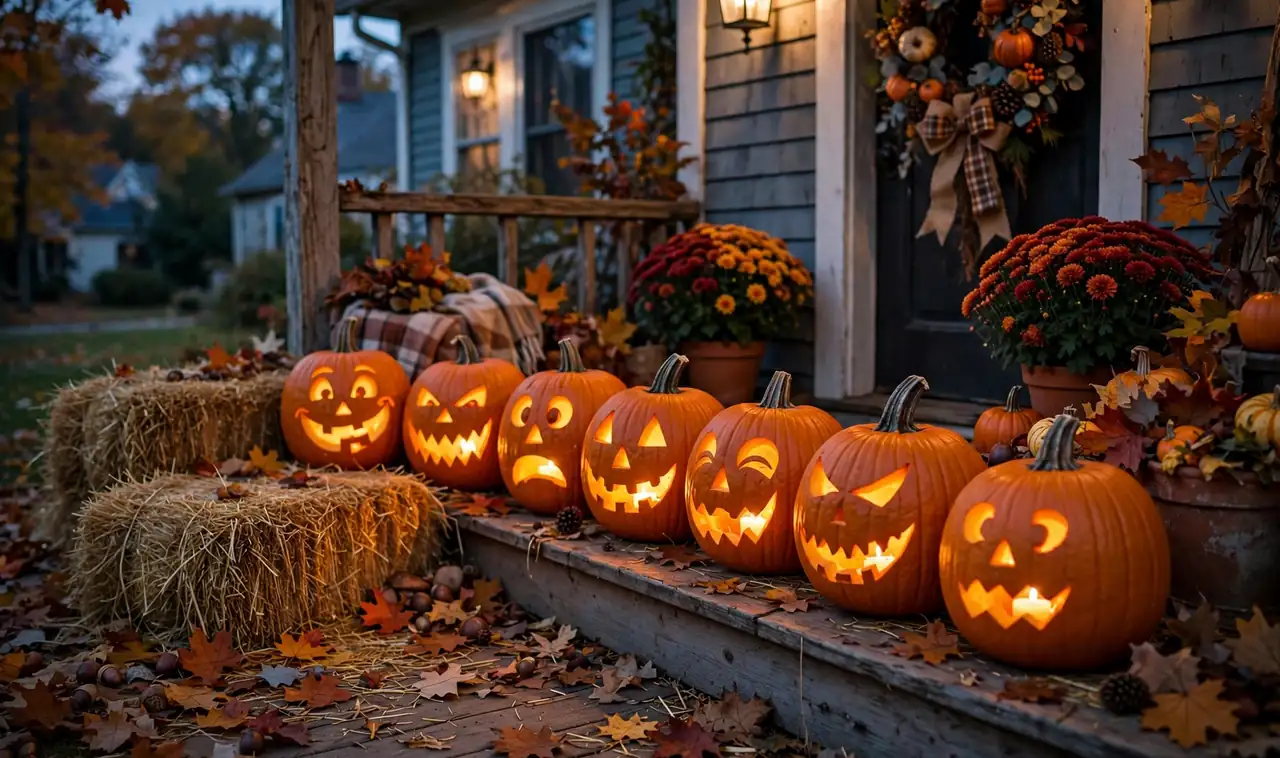
Who says you need a printed template to carve a great pumpkin? Some of the most charming jack-o’-lanterns start with nothing more than a marker, a steady hand, and a little imagination. Freehand carving has a loose, handmade feel that printed stencils just can’t match, and it means you can start tonight without a trip to the store or a printer.
The trick to template-free carving is keeping your designs bold and simple. Thick lines carve cleanly, big shapes glow beautifully from the inside, and small imperfections read as character once the candle is lit. A fine-tip marker for sketching, a sturdy carving saw, and a scoop for the guts are genuinely all you need.
This list walks you through fifteen designs that need zero templates, ranked from dead simple to impressively detailed. Each one can be sketched straight onto the pumpkin with a marker, then carved with basic tools. Grab a pumpkin, pick your favorite, and let’s get carving.
1. The Classic Triangle-Eye Jack-o’-Lantern
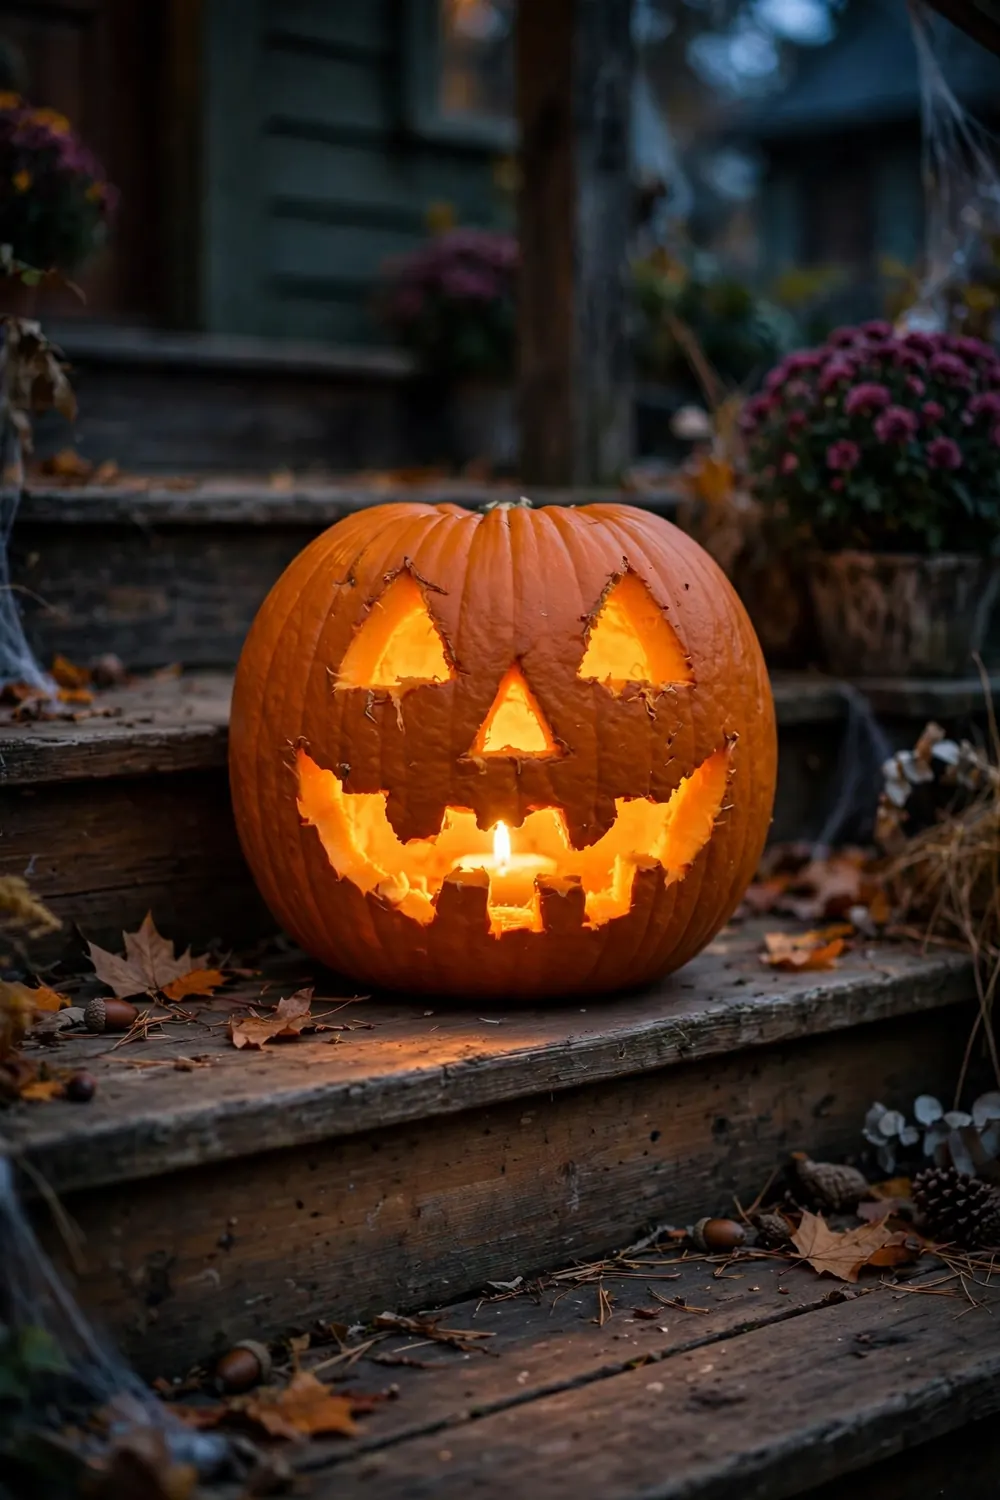
Start with the icon every kid draws: two triangle eyes, a triangle nose, and a jagged grin. Sketch it freehand with a marker, keeping the shapes big and chunky. Carve the eyes first, then the nose, then saw along the zigzag mouth in short strokes.
The beauty of the classic is how forgiving it is. Crooked triangles still look great glowing on a porch. For extra glow, scrape the inside wall behind the face a little thinner so the light pushes through more evenly. Place this one front and center — it’s the pumpkin every neighbor expects, and it never disappoints.
2. Scary Spiral Cut-Out Faces
Give the classic a twist — literally. Draw a spiral starting from the center of the face and winding outward, then carve along the line so the whole spiral becomes one continuous cut-out. When lit, it glows like a hypnotic swirl.
This one looks far harder than it is, which makes it perfect for impressing trick-or-treaters. Keep the spiral arms at least an inch thick so they don’t snap while carving. A battery candle works best here since real flames can flicker oddly through the long cut.
3. Cookie-Cutter Shape Pumpkins
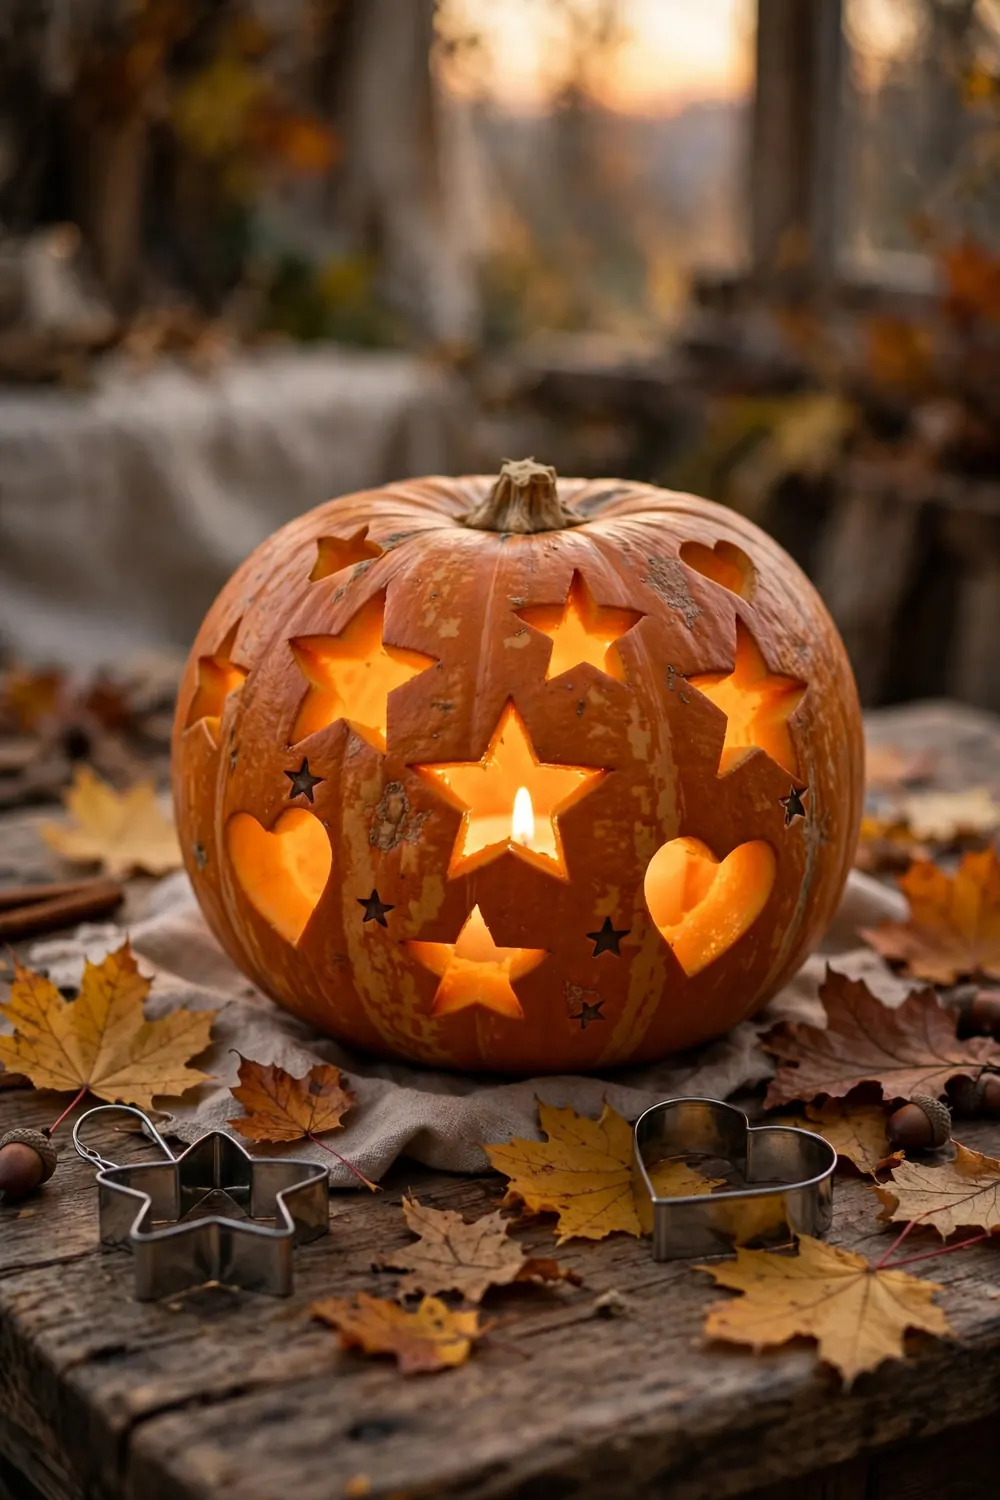
Raid your kitchen drawer for metal cookie cutters — stars, hearts, moons, and gingerbread men all work. Press a cutter firmly into the pumpkin skin to leave an imprint, trace it with a marker, then carve along the outline. No drawing skill required.
Scatter three or four shapes around one pumpkin for a confetti effect, or carve one giant star on each side. The shapes are simple enough for kids to pick their own, and the results look neat and intentional every time.
4. Polka-Dot Punched Pumpkins
All you need here is a hand drill or an apple corer. Punch dots of different sizes all over the pumpkin in a loose pattern — no sketching at all. When lit, it looks like a glowing planetarium.
Vary the dot sizes for the prettiest effect: big dots near the top, tiny ones trailing down the sides. Work slowly and let the tool do the cutting; forcing it cracks the skin. This is a genuinely kid-safe design if an adult handles the drilling while kids plan the pattern.
5. Hand-Lettered Word Pumpkins
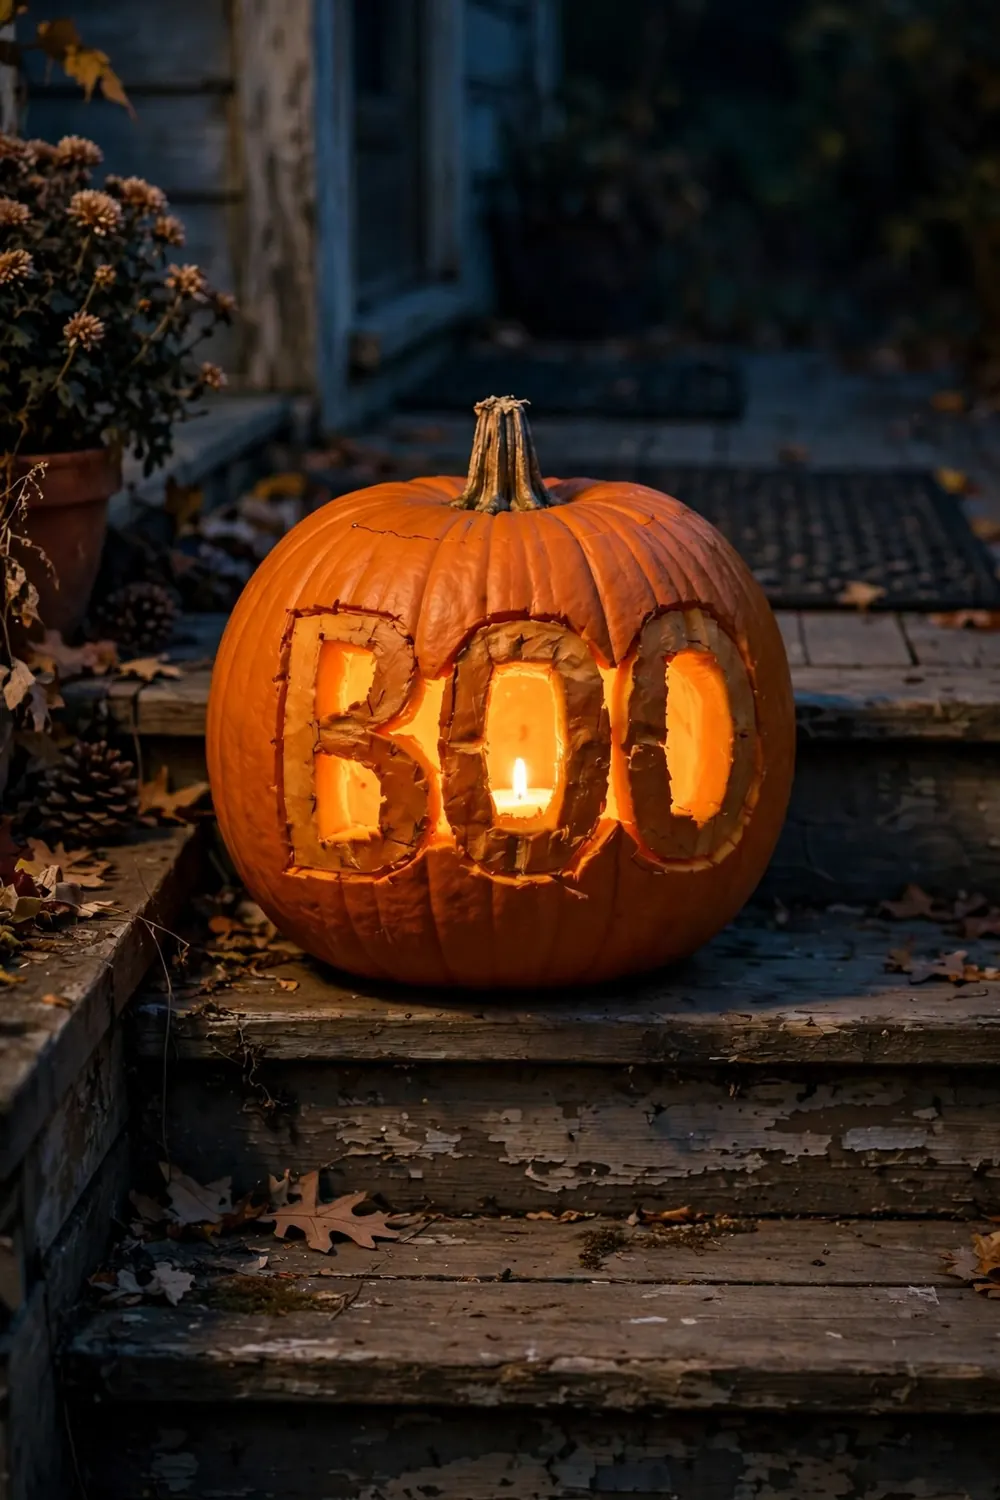
Carve a single bold word — BOO, EEK, SPOOKY, or your family name — straight across the pumpkin. Sketch the letters freehand with a marker using big block capitals, then carve them out. Slightly uneven letters add handmade charm.
Line up three pumpkins spelling B-O-O on your steps for a greeting trick-or-treaters will photograph. For a longer word like SPOOKY, pick your widest pumpkin and letter around the curve.
6. Diamond Lattice Patterns
Draw a crisscross grid of diagonal lines around the pumpkin to form diamonds, then carve out every other diamond. The result is an elegant lattice that throws gorgeous patterned light onto the porch floor.
This design reads modern and sophisticated — more boutique hotel than haunted house. Use a ruler or just eyeball even spacing; slight wobble disappears in the glow. Pair it with a plain pumpkin beside it so the pattern really pops.
7. Layered Moonlit Night Scene
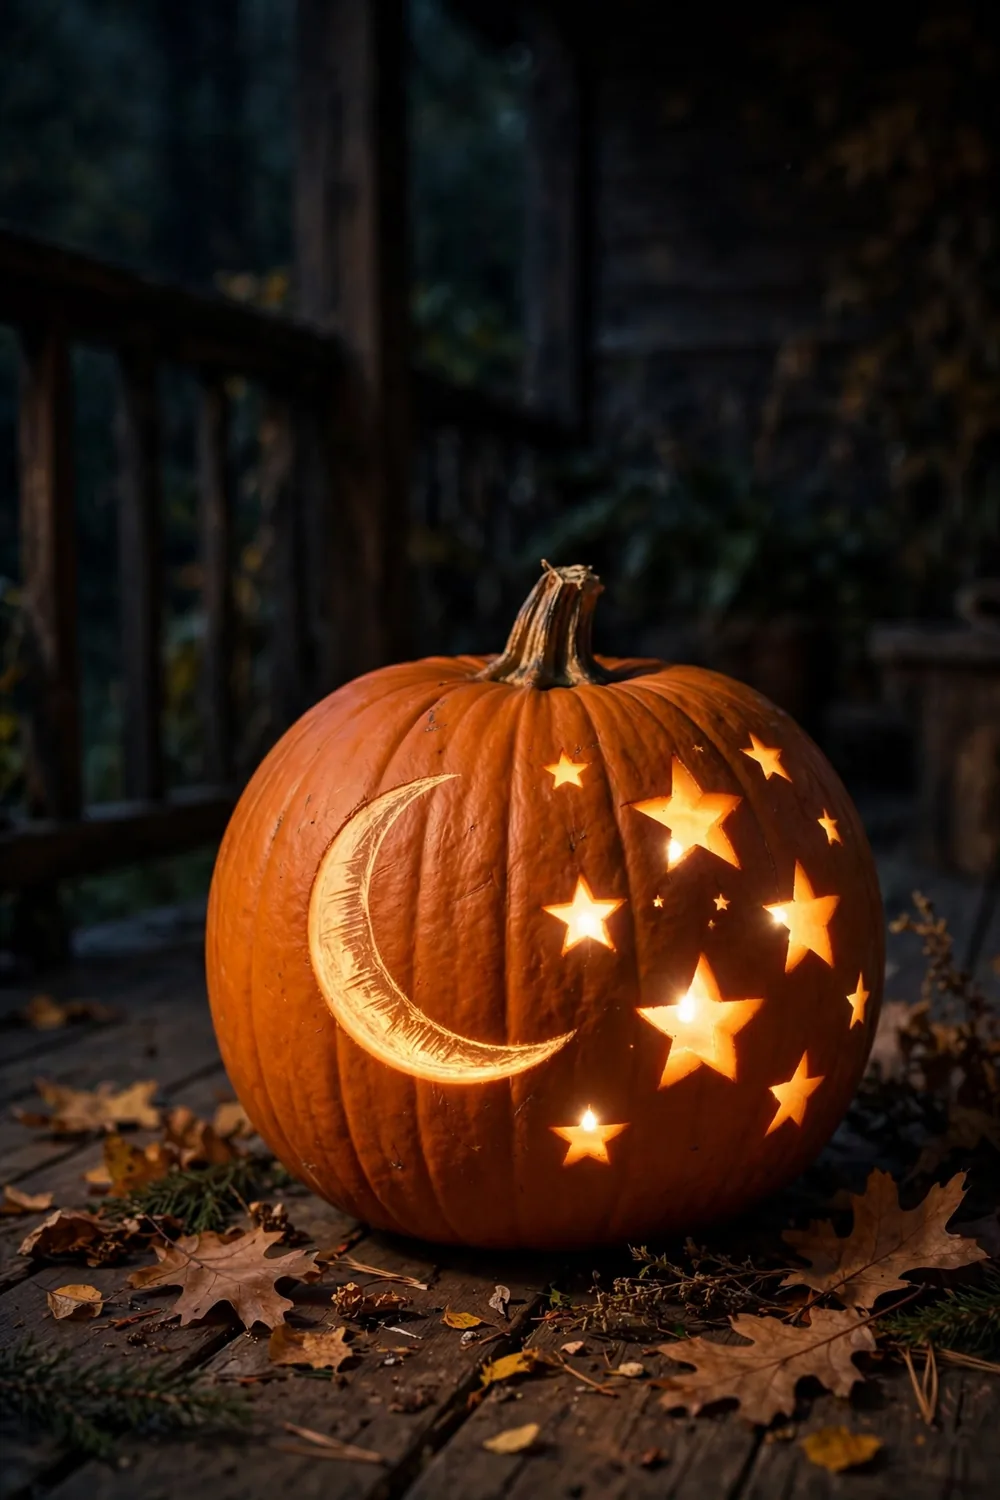
Instead of cutting all the way through, shave the pumpkin skin to different depths. Carve a big crescent moon by removing just the outer skin so it glows softly, then cut stars all the way through so they shine bright. The two depths create a glowing night sky.
This technique, sometimes called etching, is the secret behind those expensive-looking carved pumpkins. A simple linoleum cutter or even a spoon edge works for the shallow shaving. The moon’s soft halo against the crisp stars is genuinely stunning once the porch lights go off.
8. Freehand Cat Silhouettes
An arched-back cat with a curled tail is easier to draw than you’d think: one big curve for the back, two triangle ears, and a swooping tail. Fill the silhouette in with marker and carve out the whole shape so it glows as a solid black cat against the light.
Add two small triangle eyes inside the silhouette using the etch technique — shaved but not cut through — so the cat seems to stare. Place a couple of these along a fence line and they read as a whole clowder of glowing cats.
9. Big Starry Sky Pumpkins
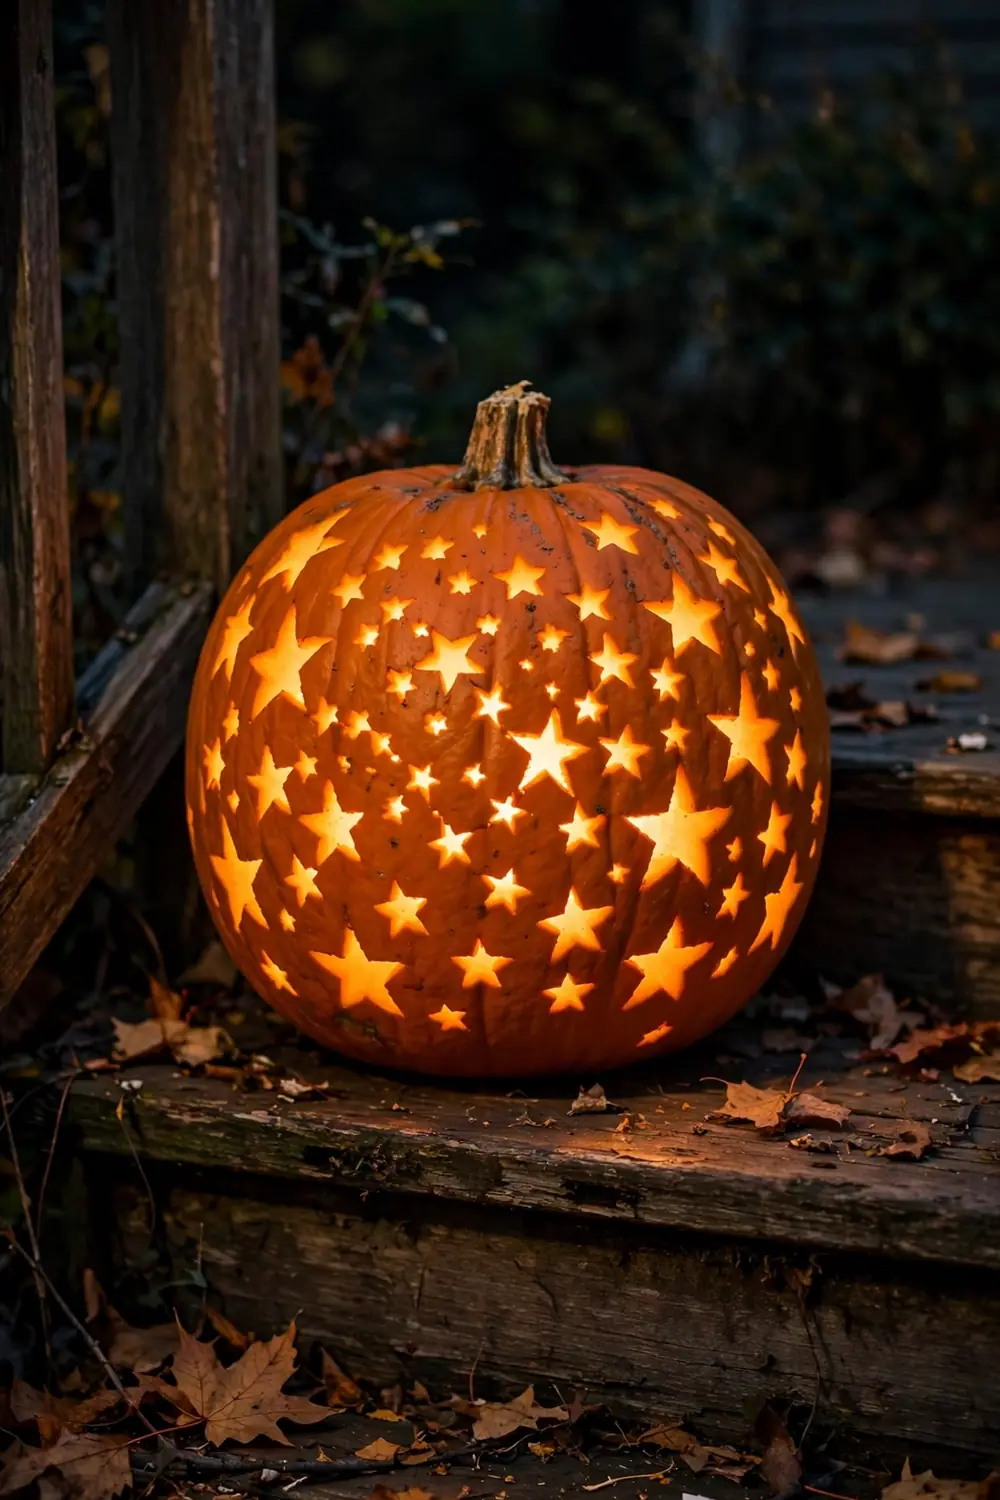
Cover the pumpkin in hand-drawn stars of all sizes — five-pointed, four-pointed, tiny dots for distant ones. Carve them all the way through and your pumpkin becomes a constellation. No two will ever look alike, which is the whole point.
- Draw the biggest stars first, spaced evenly around the pumpkin.
- Fill gaps with medium stars, then dot tiny ones between them.
- Carve large stars with a saw, small ones with a drill or corer.
- Light it and step back — adjust any dark spots by widening a cut.
This is the best design for a pumpkin that’s lumpy or oddly shaped, because the scattered pattern hides every flaw. Kids love this one since there’s no wrong way to scatter stars.
10. Whimsical Owl Faces
Two big round eyes, a small triangle beak, and two pointy ear tufts — that’s an owl. Draw the circles freehand and carve them out, then etch feather lines around the face with shallow shaving for texture.
The owl looks wise and a little goofy at the same time, which makes it a crowd favorite. Carve the eyes extra large; oversized features are what give it that cartoon charm. A short, squat pumpkin suits the owl’s round body best.
11. Bold Emoji Faces
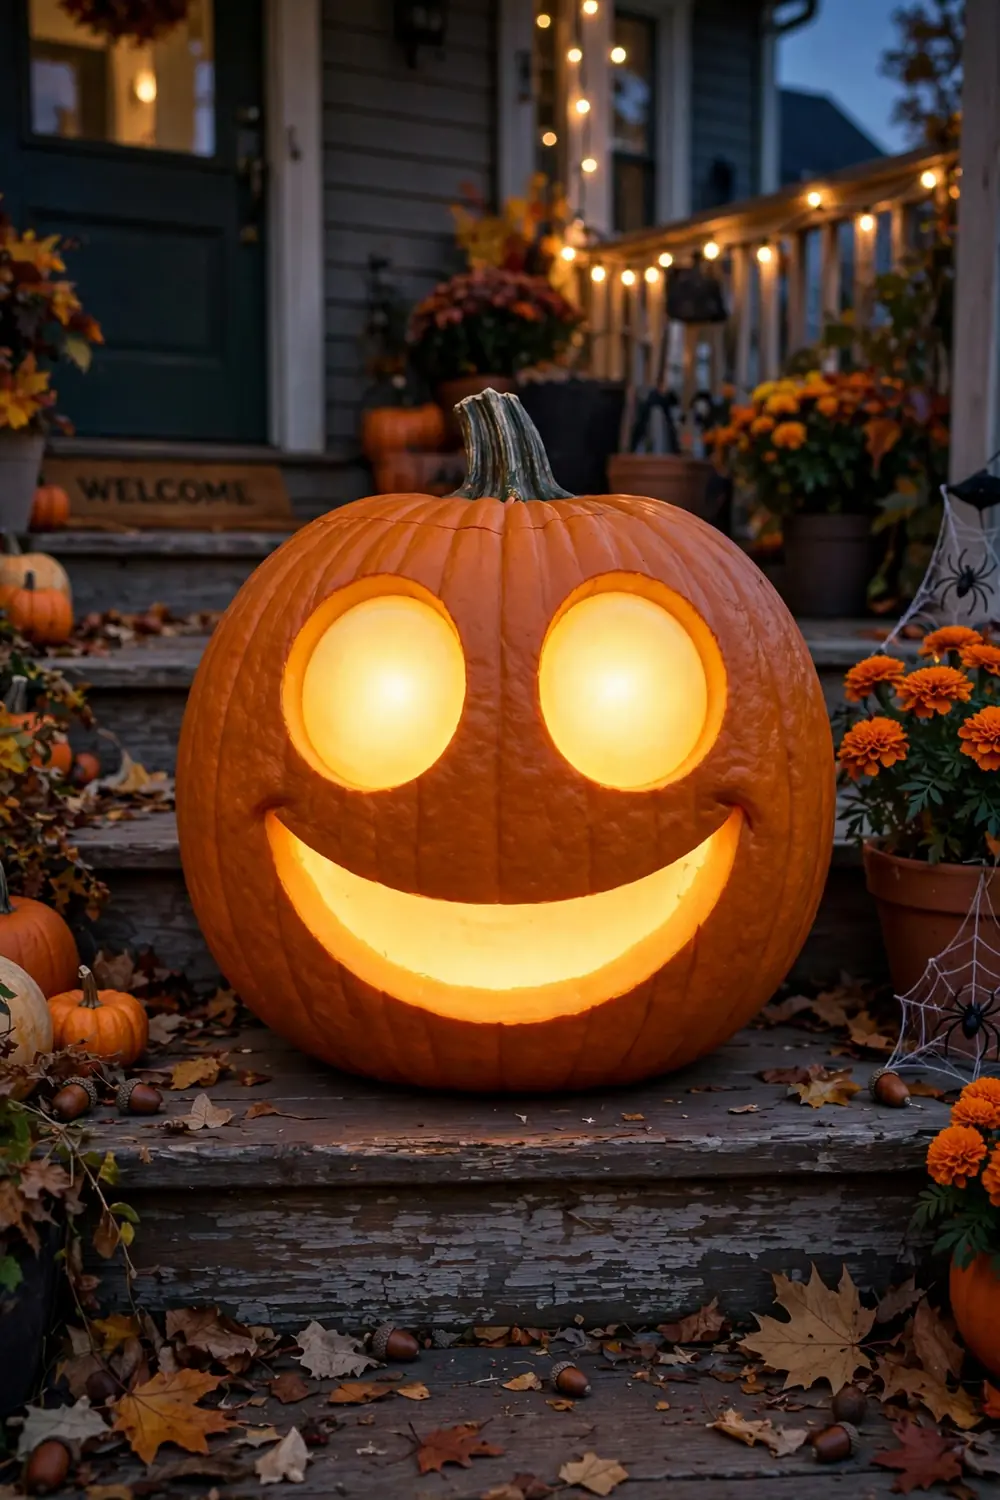
Steal your favorite emoji: the grinning face, the winking face, the screaming-in-fear face. These are designed to be read at a glance, which makes them perfect freehand carves — big simple shapes, thick lines, instant recognition.
The heart-eyes emoji is a surprise hit with teens, and the classic grinning face works for all ages. Draw with marker first and keep the features oversized; tiny details get lost once the candle flickers. These photograph brilliantly for social media, so expect neighbors to stop and snap.
12. Nature-Inspired Leaf and Vine Cuts
Draw a winding vine that spirals around the pumpkin, dotted with simple leaf shapes. Carve the vine as a thin continuous line and the leaves as small cut-outs. It looks like something from a botanical illustration — elegant and unexpected for Halloween.
- Sketch the whole vine before cutting a single line.
- Keep the vine at least half an inch thick so it survives carving.
- Carve leaves as simple ovals with a pointed tip — no stems needed.
- Stop every few cuts and wipe away pulp for a clear view.
This design suits a farmhouse or rustic porch beautifully. Pair it with real dried corn stalks and mums, and the whole entryway feels pulled from a fall catalog.
13. Corner Spider Web Carve
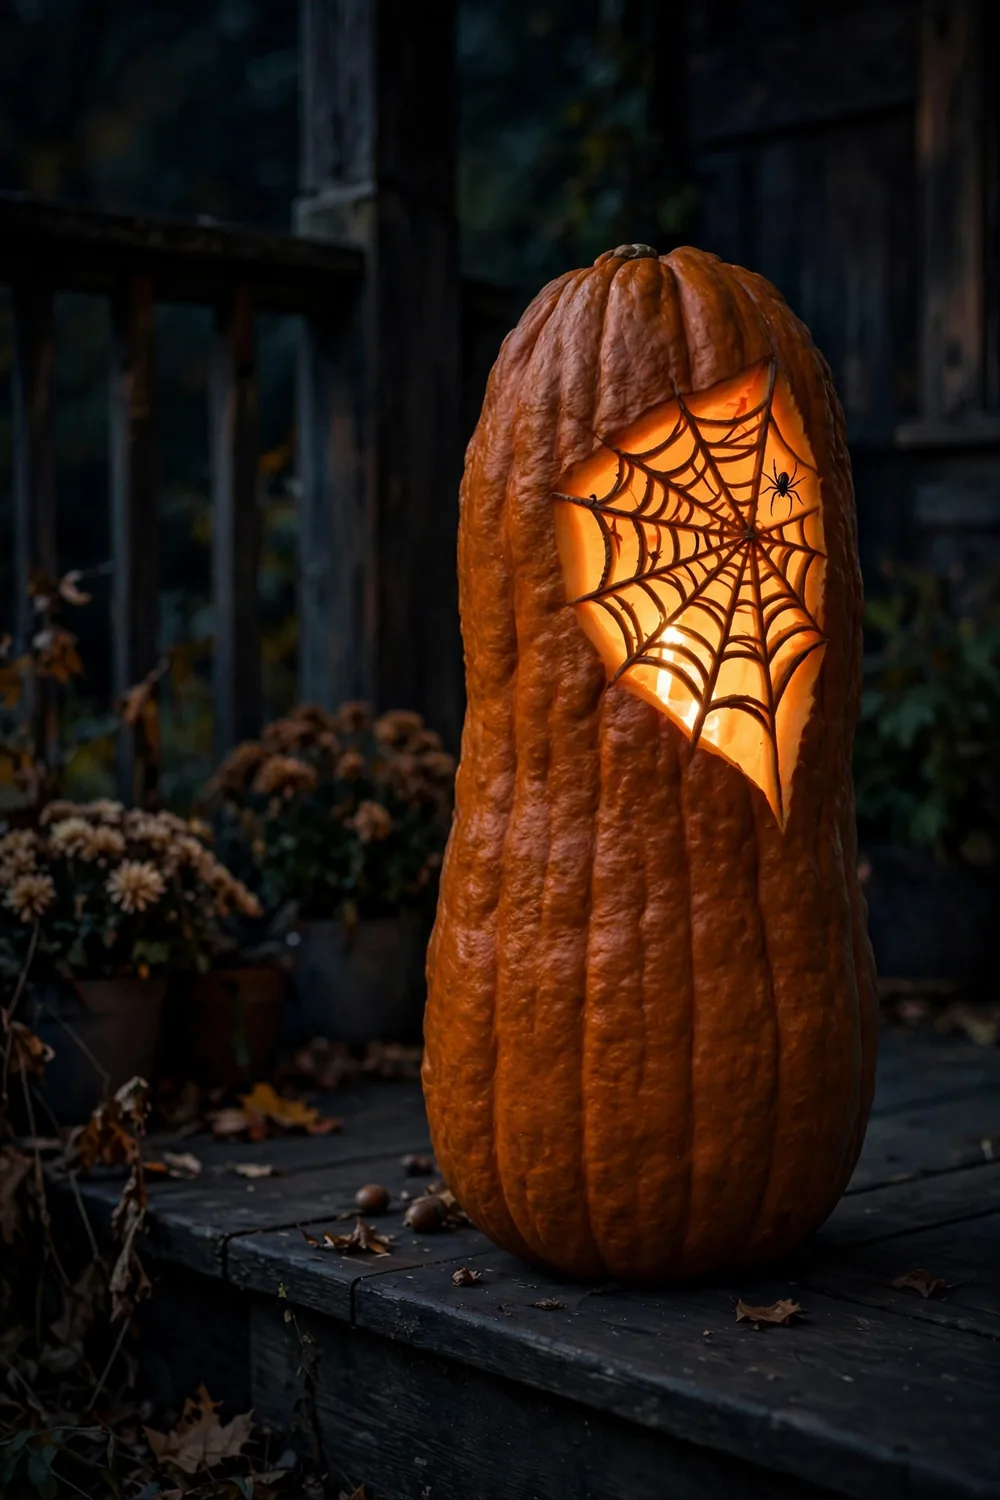
Draw a spider web tucked into one corner of the pumpkin — three or four anchor lines radiating out, connected by sagging curved threads. Carve just the threads so the web glows like lace. Add a tiny carved spider hanging from one thread for the full effect.
The web looks intricate but it’s really just straight lines and curves, which is why it works so well freehand. Keep the threads thin but not hairline; they need to survive the saw. This one looks best on a tall, narrow pumpkin where the web can stretch.
14. Goofy One-Tooth Grin Faces
Sometimes the best pumpkin is the silliest. Draw two mismatched eyes — one big, one small — and a wide grin with a single square tooth in the middle. The asymmetry is what makes it hilarious, so don’t try to make it neat.
This is the ideal design for anyone who claims they “can’t draw.” There is genuinely no way to mess it up, and it always gets the biggest laugh from kids at the door.
15. The Grand Trio Display
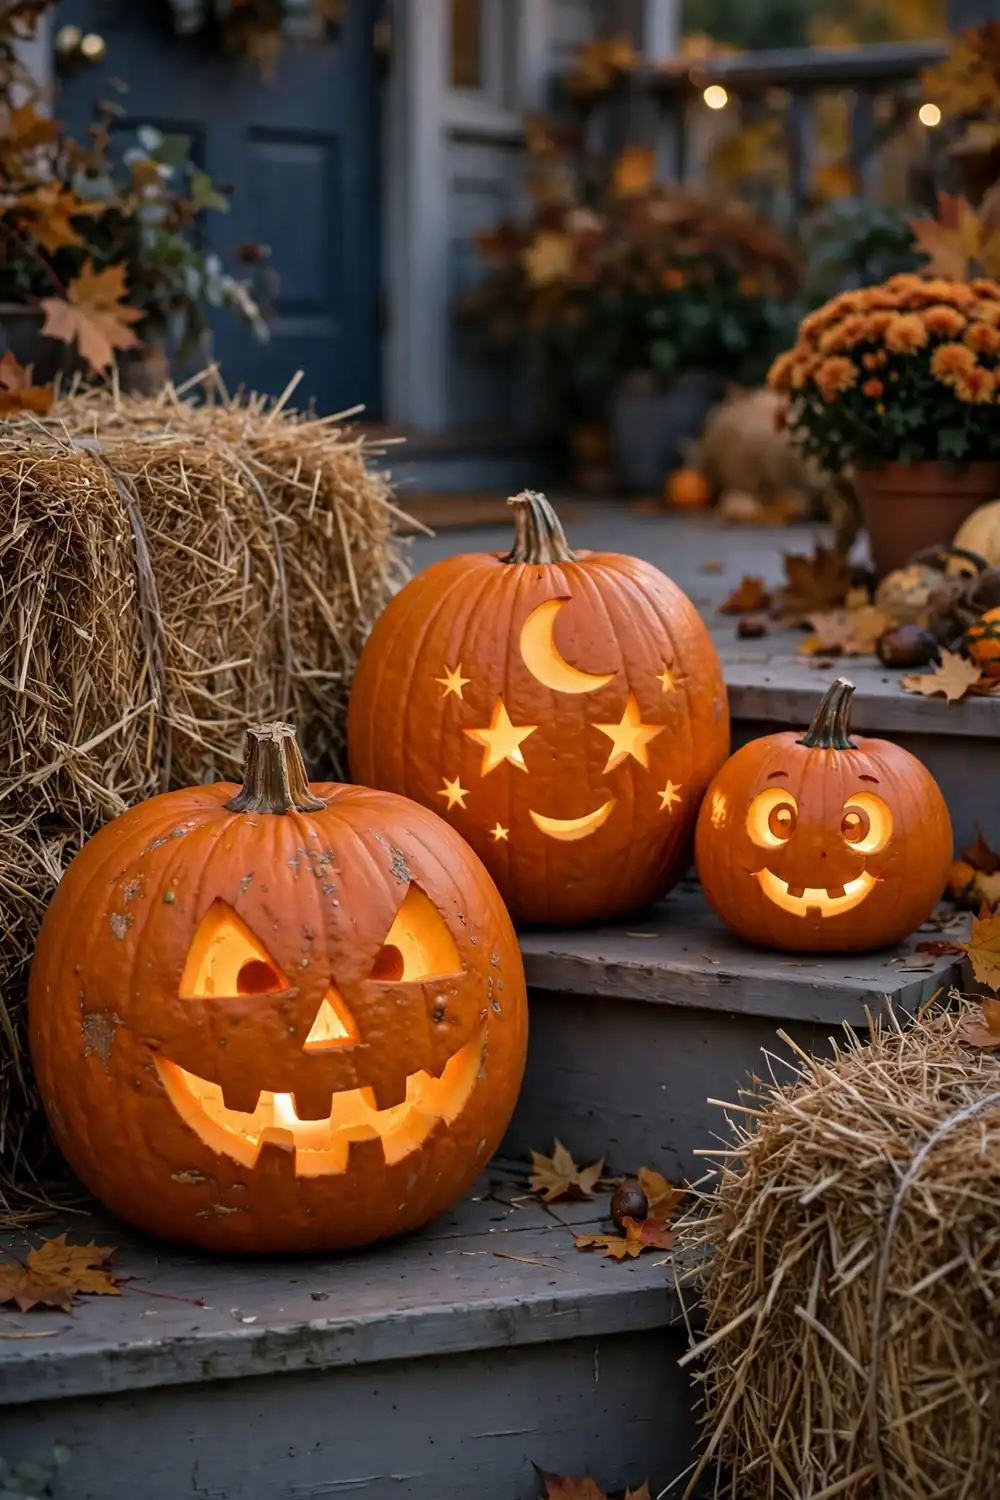
Can’t pick just one? Carve three pumpkins — large, medium, and small — with three different designs from this list and group them on your porch steps. A classic face, a word carve, and a pattern pumpkin together look like a curated display.
Vary the heights with crates or hay bales so each pumpkin is visible. Light them all with the same warm LED candles for a unified glow. This is how you get that “wow” porch without any single carve needing to be perfect — the grouping does the heavy lifting.
Freehand carving is about confidence, not perfection. The marker sketch is your safety net, the candlelight is your filter, and every wobble becomes character once the sun goes down. Pick one design tonight, carve it badly on purpose if you have to, and watch how good it looks glowing on the porch.
Then carve another one tomorrow. By Halloween you’ll have a whole porch of originals, and not a single printed template in sight.