Carving pumpkins with little kids sounds wonderful until someone hands a five year old a serrated knife. That is where most family pumpkin nights go wrong. The grown ups end up doing all the cutting while the kids watch, get bored, and wander off to the candy bowl.
The fix is simpler than most parents think. You do not need sharper tools or braver kids. You need ideas where small hands do the real work and the sharp stuff stays with the adults. These kid-friendly pumpkin-carving ideas are built exactly that way. Every one of them lets a child paint, stick, stamp, or decorate a pumpkin from start to finish, with carving kept to the safest possible jobs. Pick three or four for one evening and you will have a porch full of pumpkins the kids genuinely made themselves.
1. Let Stickers Do the Carving
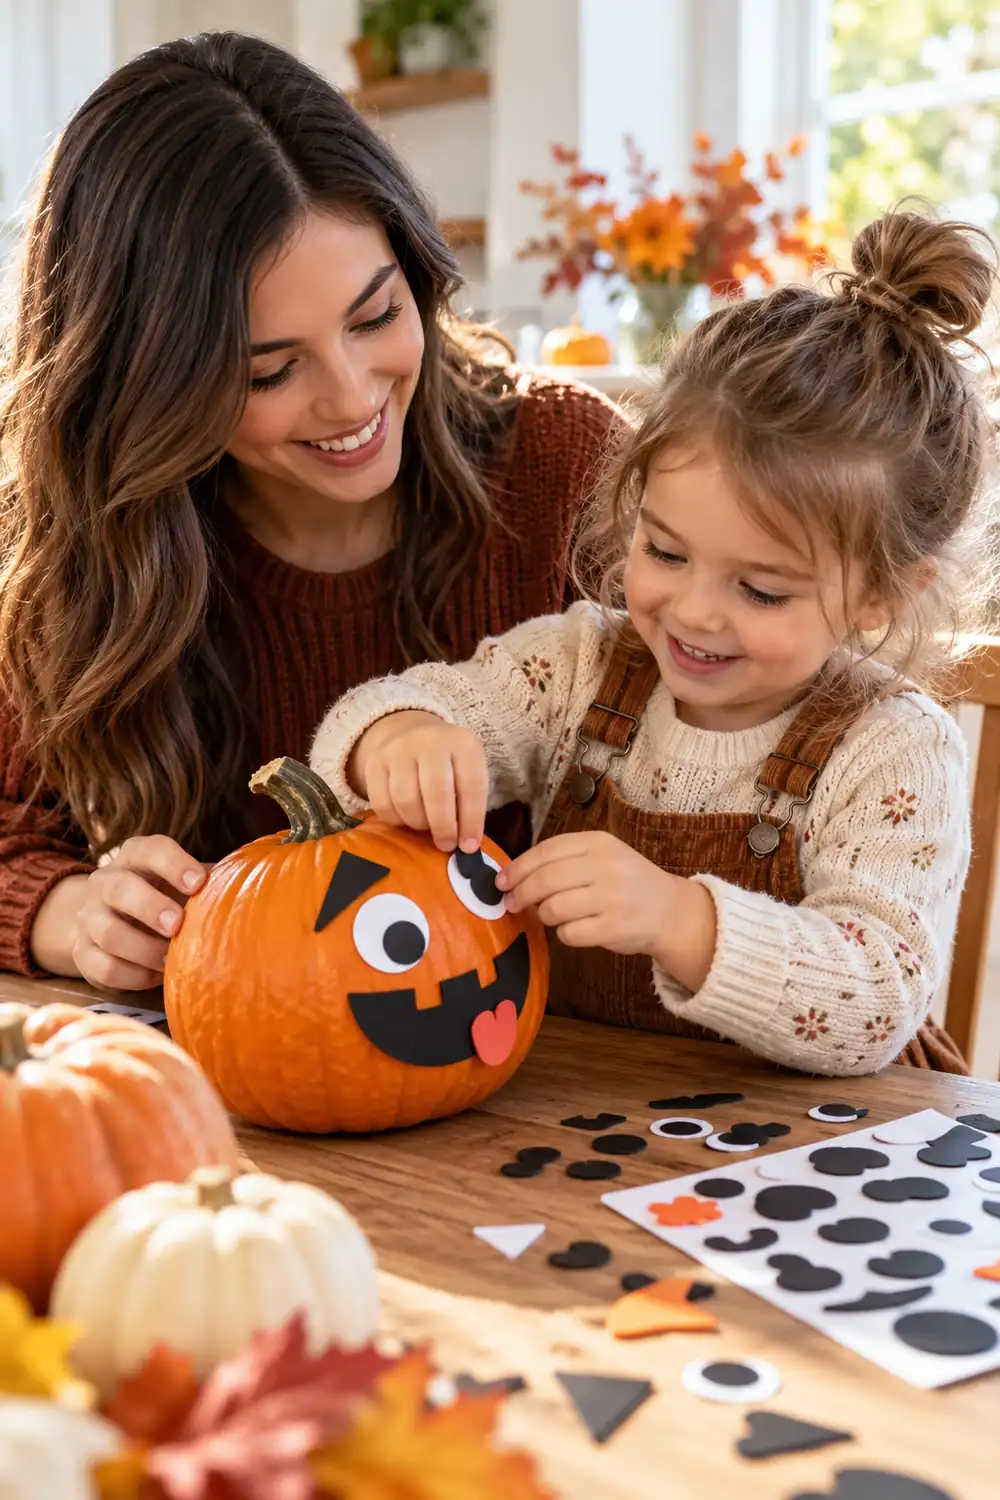
Foam sticker sheets are the fastest path from plain pumpkin to finished jack-o-lantern. A pack of black foam shapes costs very little and covers triangle eyes, jagged mouths, noses, and stars.
- Peel the backing and press each shape onto the pumpkin skin
- Let kids plan the face on the table first, then stick it on
- Combine shapes for silly faces nobody else will have
Two minutes per pumpkin is realistic here. If a sticker lands crooked, peel it off and try again. That forgiveness is exactly what little hands need.
2. Paint Faces Instead of Cutting Them
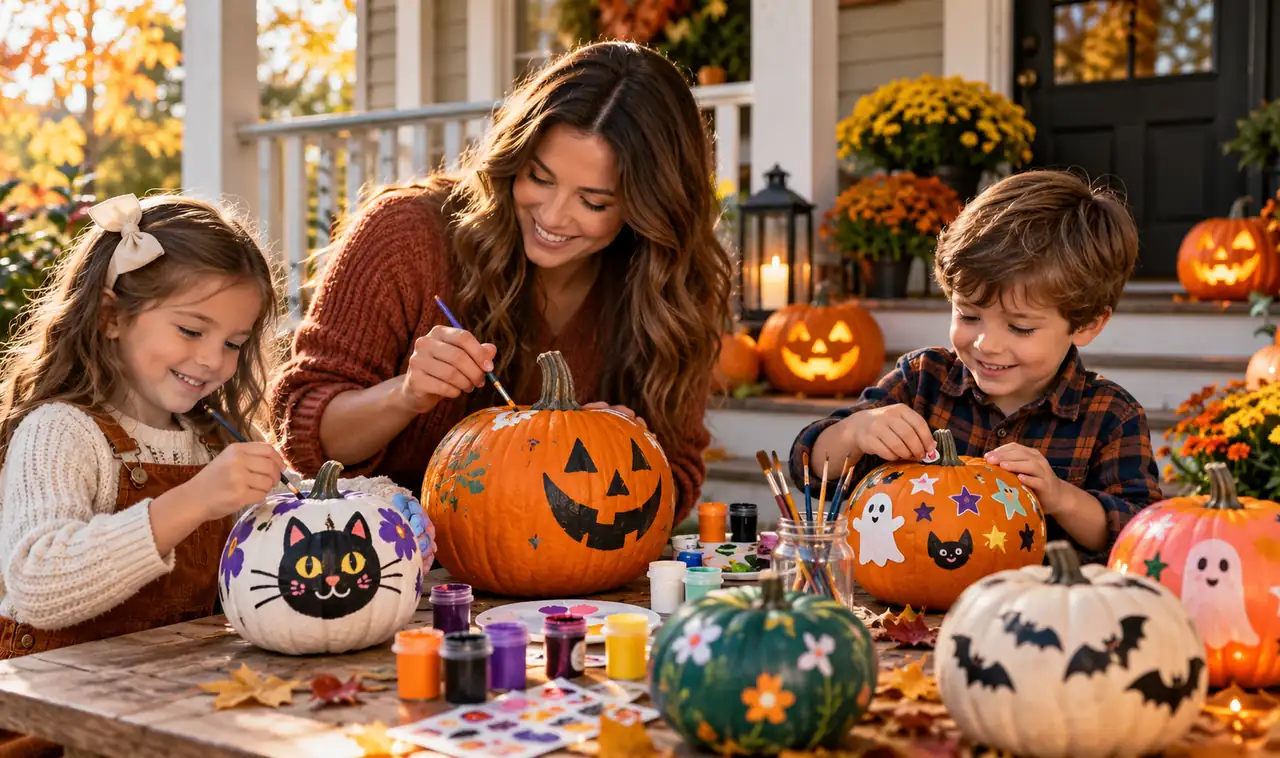
Acrylic craft paint turns a pumpkin into a canvas, and there is zero blade involved. Set out small pots of black, white, orange, and yellow paint with stubby brushes that small fingers can grip.
💡 Quick Tip
Wash the pumpkin with soapy water and let it dry first. Paint grips clean skin far better and will not peel off by morning.
Kids can paint classic faces, polka dots, stripes, or whole scenes. Mistakes wipe off with a damp cloth while the paint is wet. Seal finished pumpkins with a light spray of clear sealer so the art survives the porch.
3. Hand Over the Washable Markers
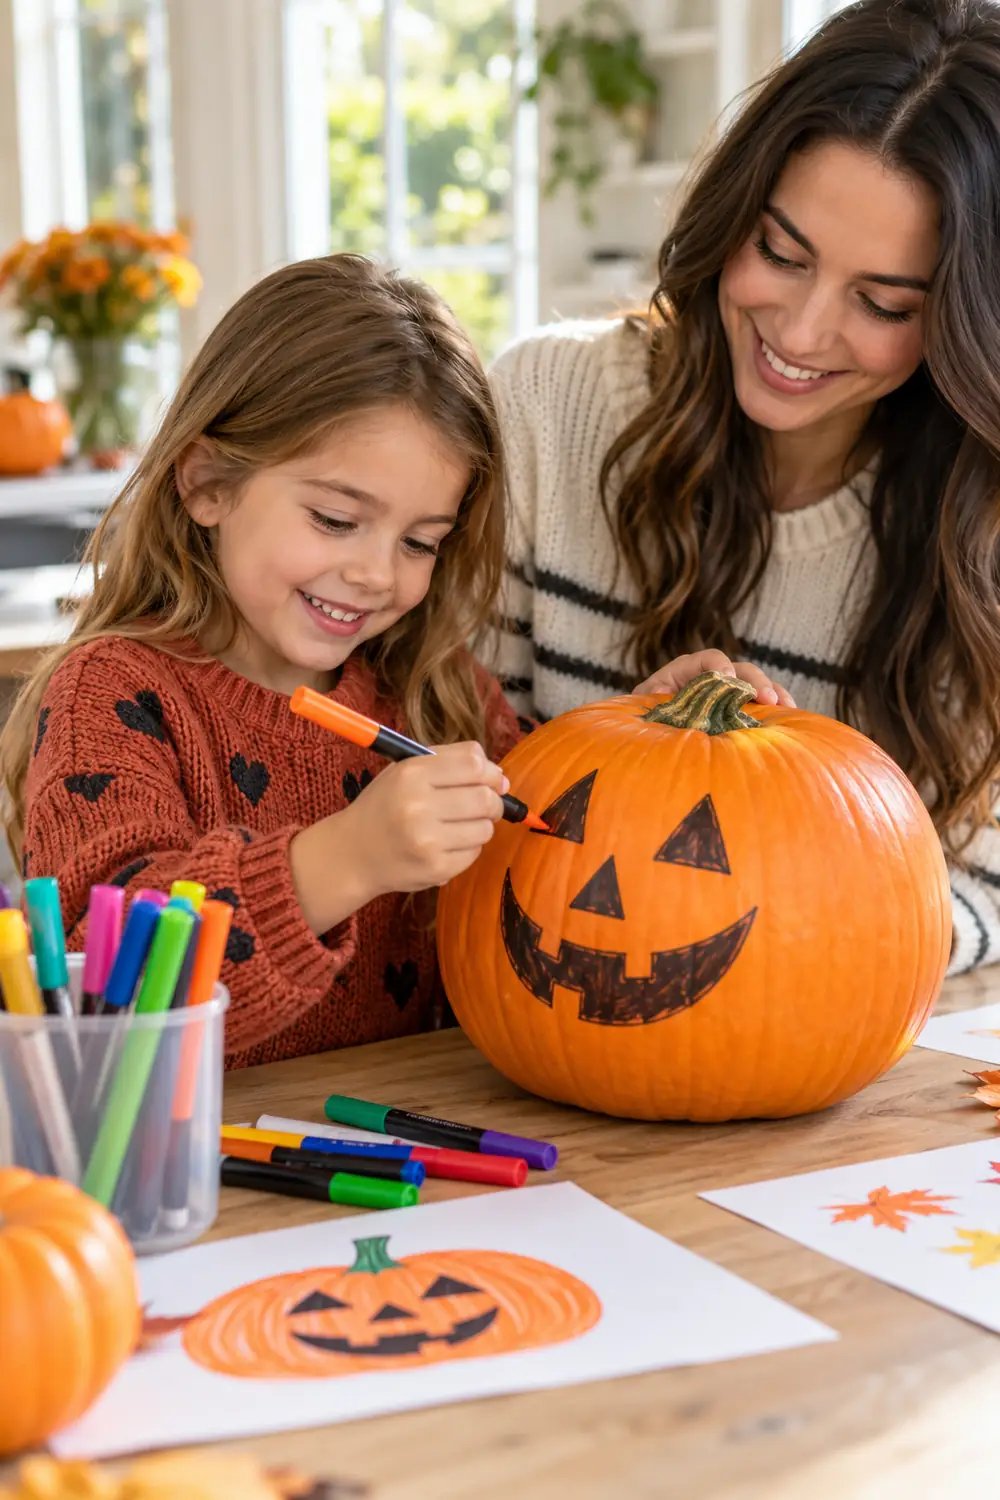
Washable markers are the lowest setup option on this list. No paint cups, no brushes, no drying time. Just uncap and draw.
Thick markers work best on bumpy pumpkin skin. Kids can draw faces, write their names, or cover the whole pumpkin in patterns. When the design is done, an adult can carve along the marker lines if the child wants a glowing version later. That two step process gives kids full creative control while keeping the knife work separate and supervised.
4. Drop In a Glow Stick and Call It Done
Real candles and small children do not mix, but glow sticks solve the problem completely. Crack one, drop it inside a hollowed pumpkin, and the whole thing glows in wild colors.
This pairs beautifully with gentle face ideas. If you want faces that stay sweet rather than scary, browse these cute pumpkin-carving ideas that are not too scary and carve one yourself while the kids choose the glow stick color. Green and orange together look especially festive on the porch steps.
5. Punch Shapes With Cookie Cutters
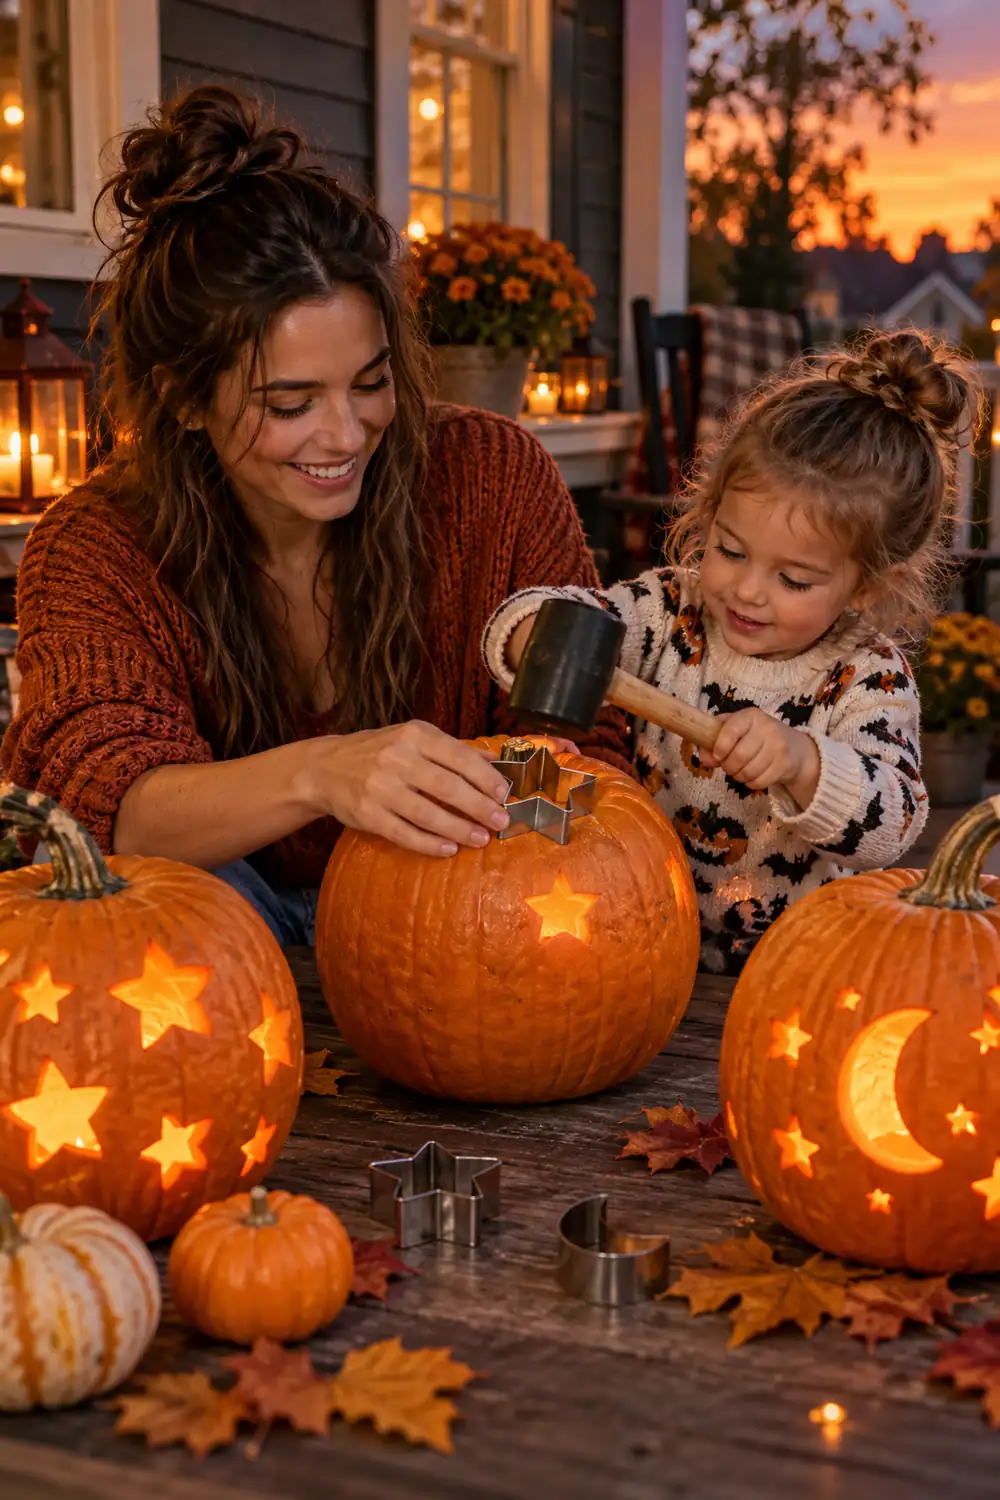
Metal cookie cutters punch clean shapes through pumpkin walls with a few taps of a rubber mallet. Stars, hearts, bats, and moons all work.
- An adult holds the cutter steady against the pumpkin
- The child taps it with the mallet, which feels like real building work
- Push the punched shape out and drop an LED light inside
Thin walled pumpkins punch easiest, so pick lighter ones at the patch. The shapes glow like little windows at night, and kids love that they made the holes themselves.
6. Wrap It in Washi Tape Stripes
Washi tape comes in every Halloween pattern imaginable, and it sticks to pumpkin skin without any glue. Kids can wrap stripes around the whole pumpkin or layer small pieces into patterns.
What to grab first
Black and orange stripes make a classic look. Purple and green stripes look delightfully witchy. When Halloween ends, the tape peels right off.
7. Stick On Googly Eyes
Nothing makes a pumpkin funnier faster than googly eyes. A bag of mixed sizes plus a glue stick is all you need.
Kids decide the personality. Two huge eyes make a surprised pumpkin. Five tiny eyes make a silly monster. One eye makes a cyclops. Add a painted or marker smile underneath and the character is complete. This is a wonderful pick for toddlers because there is no wrong answer and nothing sharp anywhere near the project.
8. Make Thumbprint Dot Art
Pour a little washable paint onto a paper plate and let kids press their thumbs all over the pumpkin. Each thumbprint becomes a dot, and dots become everything.
White thumbprints on an orange pumpkin read as ghost bodies with marker faces added. Yellow dots become a starry sky. The prints dry quickly, and kids genuinely love seeing their own fingerprints become the art. Keep wet wipes nearby for the inevitable painted hands.
9. Turn It Into a Chalkboard Pumpkin
One coat of chalkboard paint turns any pumpkin into a reusable drawing board. An adult brushes on two thin coats and lets it cure overnight.
Wipe the pumpkin clean and brush on the first thin coat of chalkboard paint.
Let it dry fully, add a second coat, then leave it overnight to cure.
Hand kids colored chalk and let them redraw the face every single day.
The face never has to be final. That freedom keeps kids coming back to the pumpkin all week, and it is a great fit for a full family pumpkin-carving night where everyone decorates together.
10. Glue On Tissue Paper Squares
Precut tissue paper squares plus a small bowl of watered down craft glue make a stained glass effect. Kids brush glue onto a section, press squares on, and brush a thin top coat to seal them.
Orange, yellow, and red squares glow beautifully when a light goes inside. The finished pumpkin looks far fancier than the effort suggests, which gives kids a real sense of pride. Cover the table with newspaper first because this one gets gloriously messy.
11. Trace a Stencil, Then Let an Adult Cut
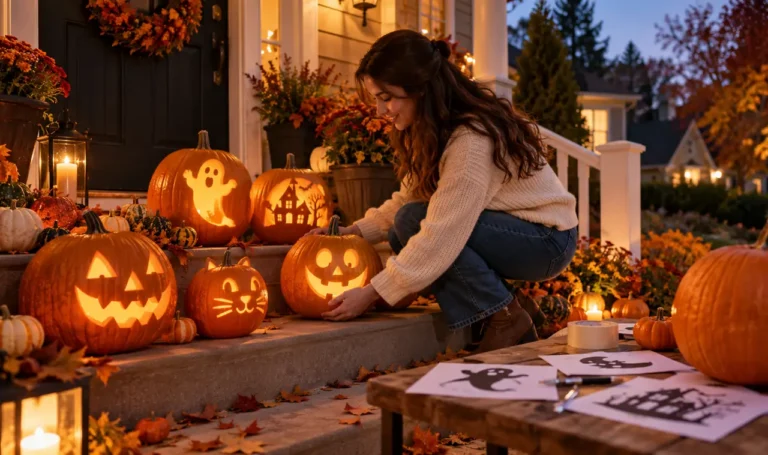
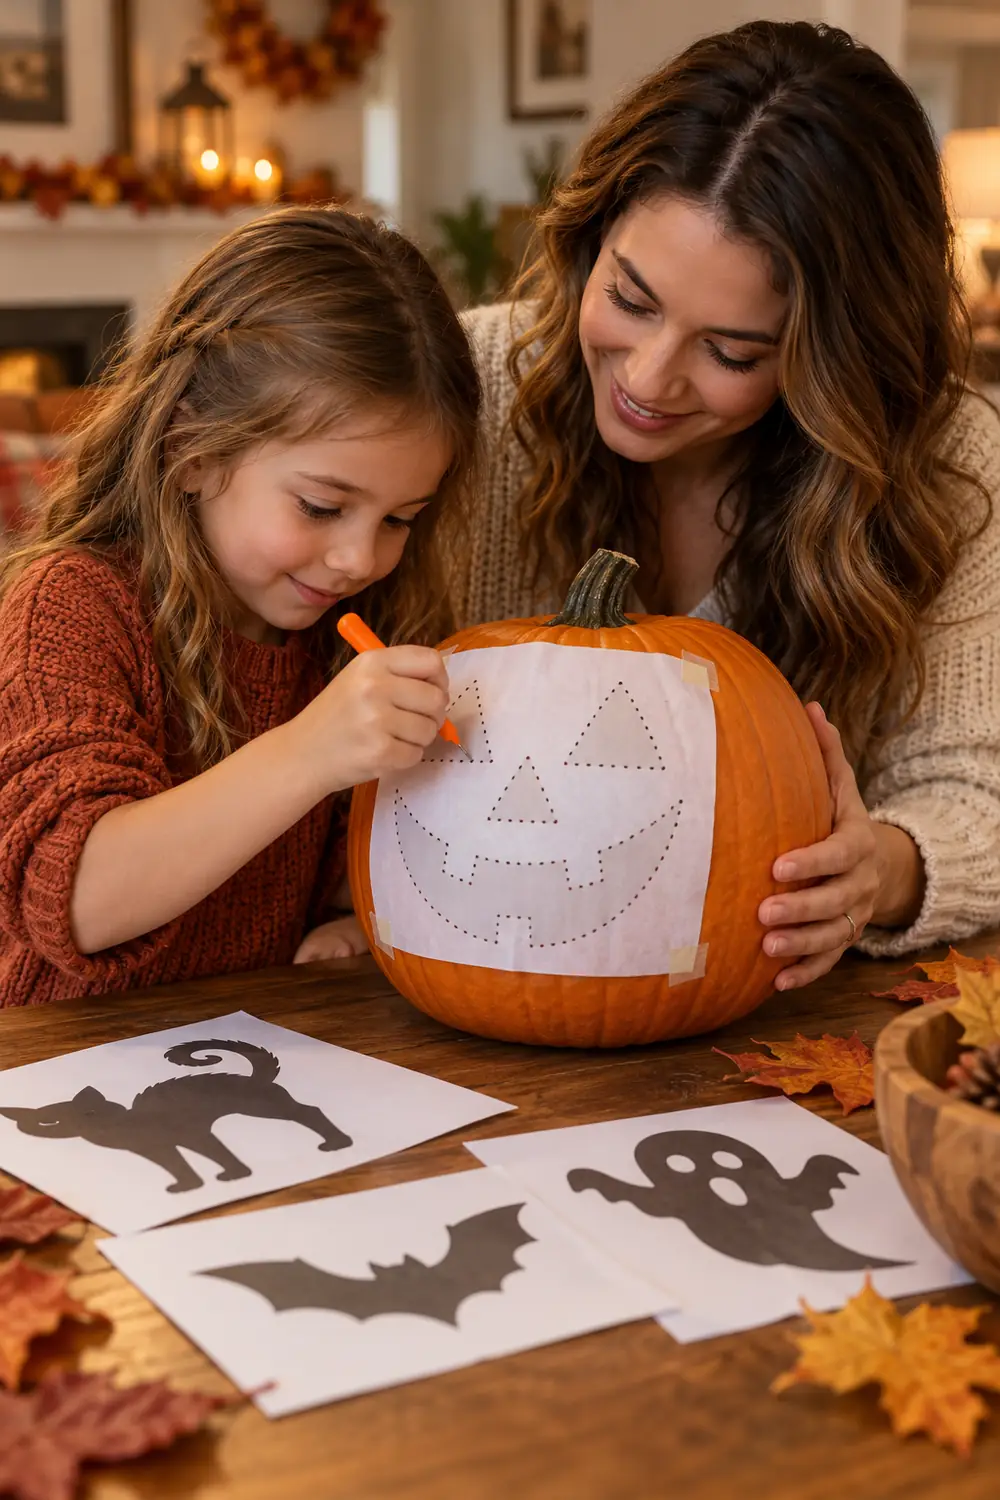
Here is the honest compromise for kids who want a real carved pumpkin. The child picks the stencil, tapes it on, and pokes the pattern through with a plastic poking tool. An adult does the actual cutting along the dotted lines.
Simple stencils with big shapes work best for this teamwork. Cats, moons, stars, and simple ghosts all carve quickly. The child owns every creative decision, and the adult owns the blade. Everybody is happy, and the pumpkin still glows on the porch.
12. Stamp It With a Potato Masher
Dip a potato masher in paint and press it onto the pumpkin for an instant flower or web pattern. Different mashers make different prints, so raid the kitchen drawer.
White paint stamped on orange reads as a spider web with a plastic spider added. Yellow stamped circles become a polka dot pumpkin. Stamping is deeply satisfying for preschoolers because one press makes a whole picture.
13. Pick the Dots for a Grown-Up Drill
A power drill makes perfect glowing dots, and kids make excellent dot planners. Hand the child a marker and let them draw exactly where every hole should go.
| Dot pattern | Drill bit size | Glow effect |
|---|---|---|
| Scattered stars | Small | Twinkling night sky |
| Smiley face dots | Medium | Bright friendly face |
| Spiral swirl | Mixed | Hypnotic swirl glow |
The adult drills only where the child marked, so the kid stays the designer. Tiny pumpkins work wonderfully here. If you love mini pumpkins, these small pumpkin-carving ideas have even more pint sized inspiration.
14. Wrap a Yarn Mummy
White yarn wrapped around a pumpkin makes an instant mummy. Tape the yarn end to the top, then let kids wind it around and around in every direction.
When the wrapping looks mummy like enough, tuck two googly eyes into the yarn gaps. No cutting, no paint, no mess beyond a little yarn tangle. This one keeps busy hands occupied for a good twenty minutes, which any parent will appreciate.
15. Add Pipe Cleaner Arms and Legs
Pipe cleaners poke straight into pumpkin flesh with a firm push, so kids can build arms, legs, antennae, and wild hairdos with no tools at all.
Bend the ends into hands and feet for extra character. Combine with a painted or sticker face and the pumpkin becomes a full little creature. Kids love giving their pumpkin a name at this stage, so be ready for introductions.
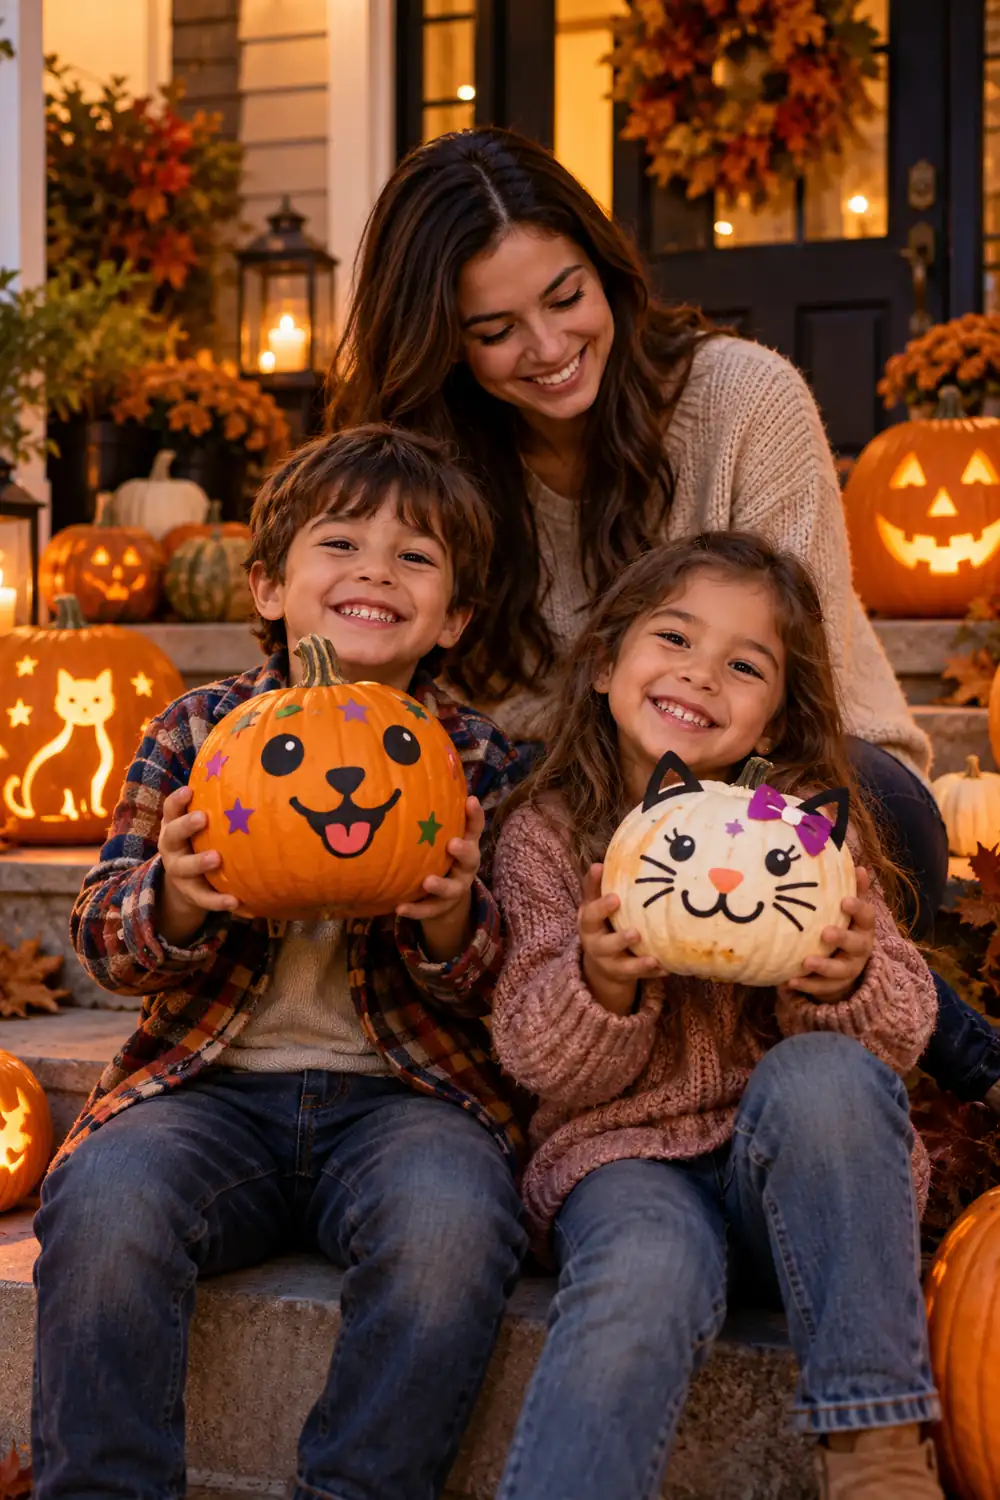
16. Draw With Glitter Glue Pens
Glitter glue pens squeeze out sparkly lines that dry raised and shiny. They work on pumpkin skin just like on paper, and kids control them easily.
Swirls, stars, and zigzags look magical under porch light. Let each color dry before layering another so the glitter stays crisp. This is a calm, quiet activity, which makes it a nice wind down project after the messier ideas.
17. Glue On Felt Shapes
Precut felt shapes in Halloween colors give pumpkins a soft, crafty look. Black cats, orange moons, purple bats, and white ghosts all read clearly against pumpkin orange.
Use tacky craft glue and press each shape for a slow count of ten. Felt sticks well and stays put through the season. Kids can build whole scenes, like a black cat sitting under a yellow felt moon, which feels like storytelling as much as decorating.
18. Press Painted Leaves Onto the Skin
Paint the underside of a real fall leaf, press it onto the pumpkin like a stamp, and lift it away to reveal a perfect leaf print.
🍂 Make It Last
Use acrylic paint for prints that survive the porch. Washable paint prints look lovely for one evening but fade with the first dew.
Maple and oak leaves make the prettiest prints. Cover the pumpkin in overlapping prints for an autumn collage, or place three prints in a row for a simple garland effect.
19. Build a No-Carve Pumpkin Family
Give every family member their own pumpkin and let each person decorate one however they like. Line the finished pumpkins up together on the steps.
This works brilliantly with mixed ages because the toddler can stick googly eyes while the ten year old paints a detailed scene, and nobody has to do the same thing. Photograph the lineup before Halloween night. It becomes the kind of picture families keep for years.
20. Light It Up Together at the End
The grand finale matters as much as the decorating. Gather everyone after dark, place an LED light or glow stick inside each finished pumpkin, and switch off the porch light.
Let each child present their pumpkin and explain what they made. Clap for every single one. That little ceremony turns an afternoon of crafts into a memory, and it is the real reason these kid-friendly pumpkin-carving ideas work. The pumpkins matter less than the pride on small faces when the whole porch glows.
Save this list to your Halloween board so it is ready when pumpkin season arrives. A porch full of kid made pumpkins beats a perfect store bought display every single time.