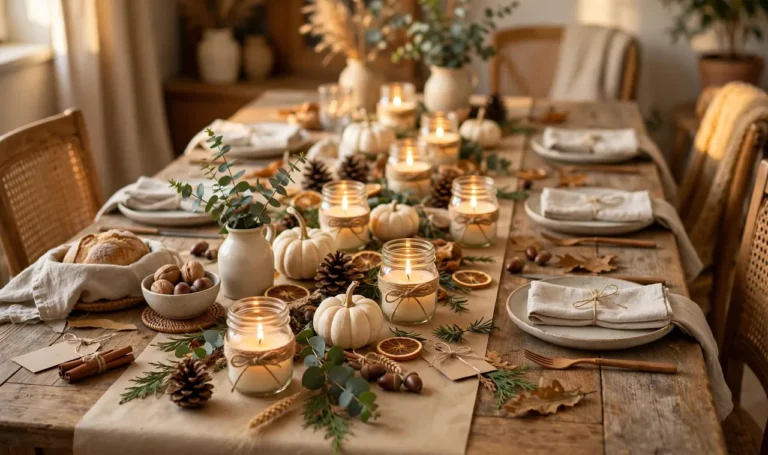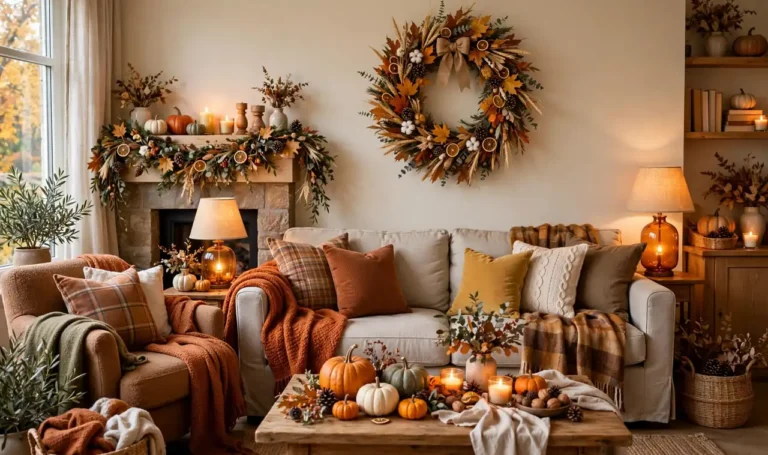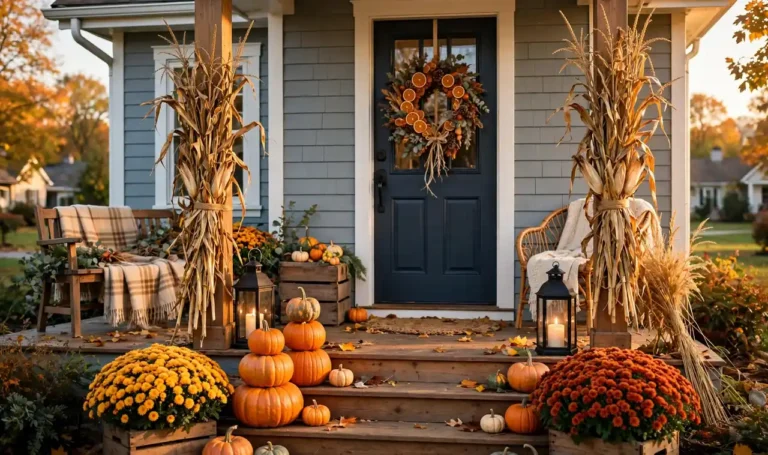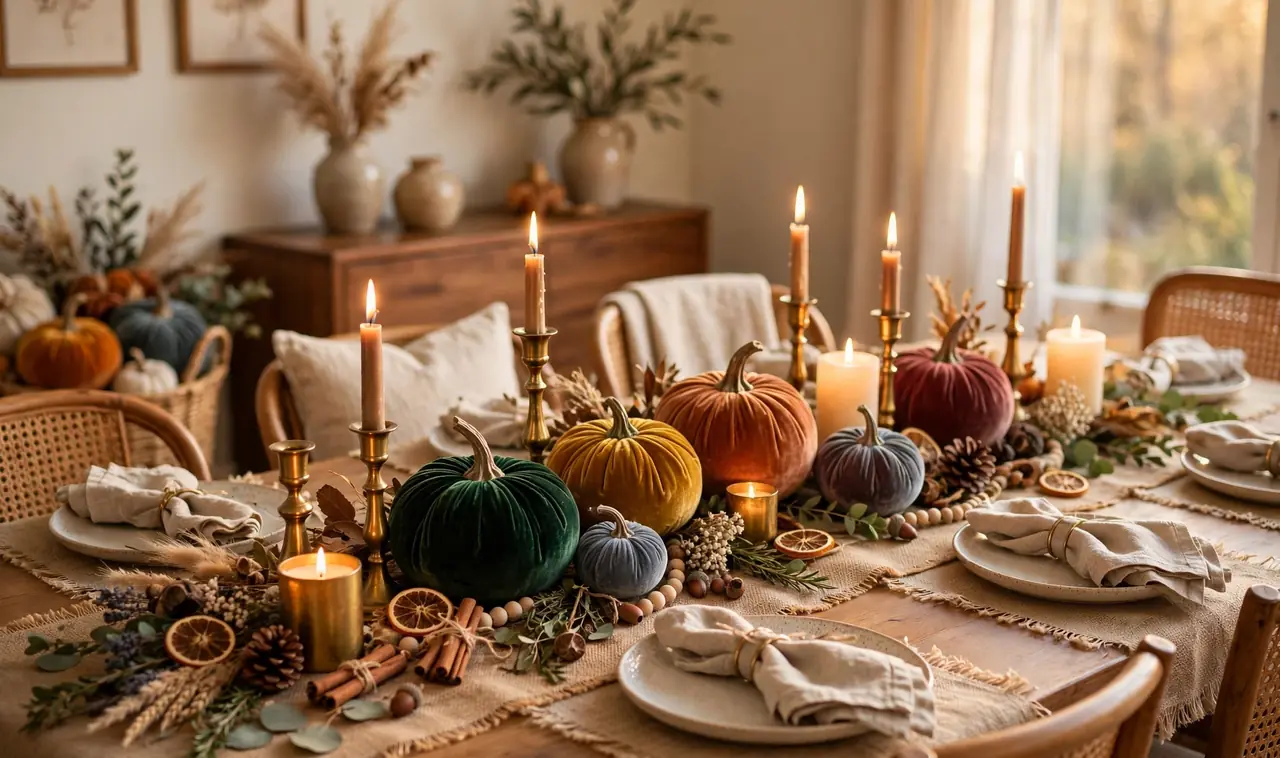
Walk through a home goods store in November and the price tags start to sting. A simple garland runs forty dollars, a pair of fancy candleholders costs more than the turkey, and every centerpiece looks like it was designed for someone with a bigger budget than yours.
The secret the stores hope you miss is that most of those pieces are just cheap bases with good styling. Pumpkins are pumpkins. A coat of paint, the right metallic, or a bundle of real dried leaves changes everything. Your hands can do what the expensive tags pretend to do.
These DIY Thanksgiving decorations lean into that trick. Painted pumpkins with a velvet finish, garlands strung from grocery store oranges, thrifted brass that looks like an heirloom, and kraft paper doing work you would not believe. Most cost a few dollars and an afternoon.
Grab a hot glue gun and start with the one that made you stop scrolling.
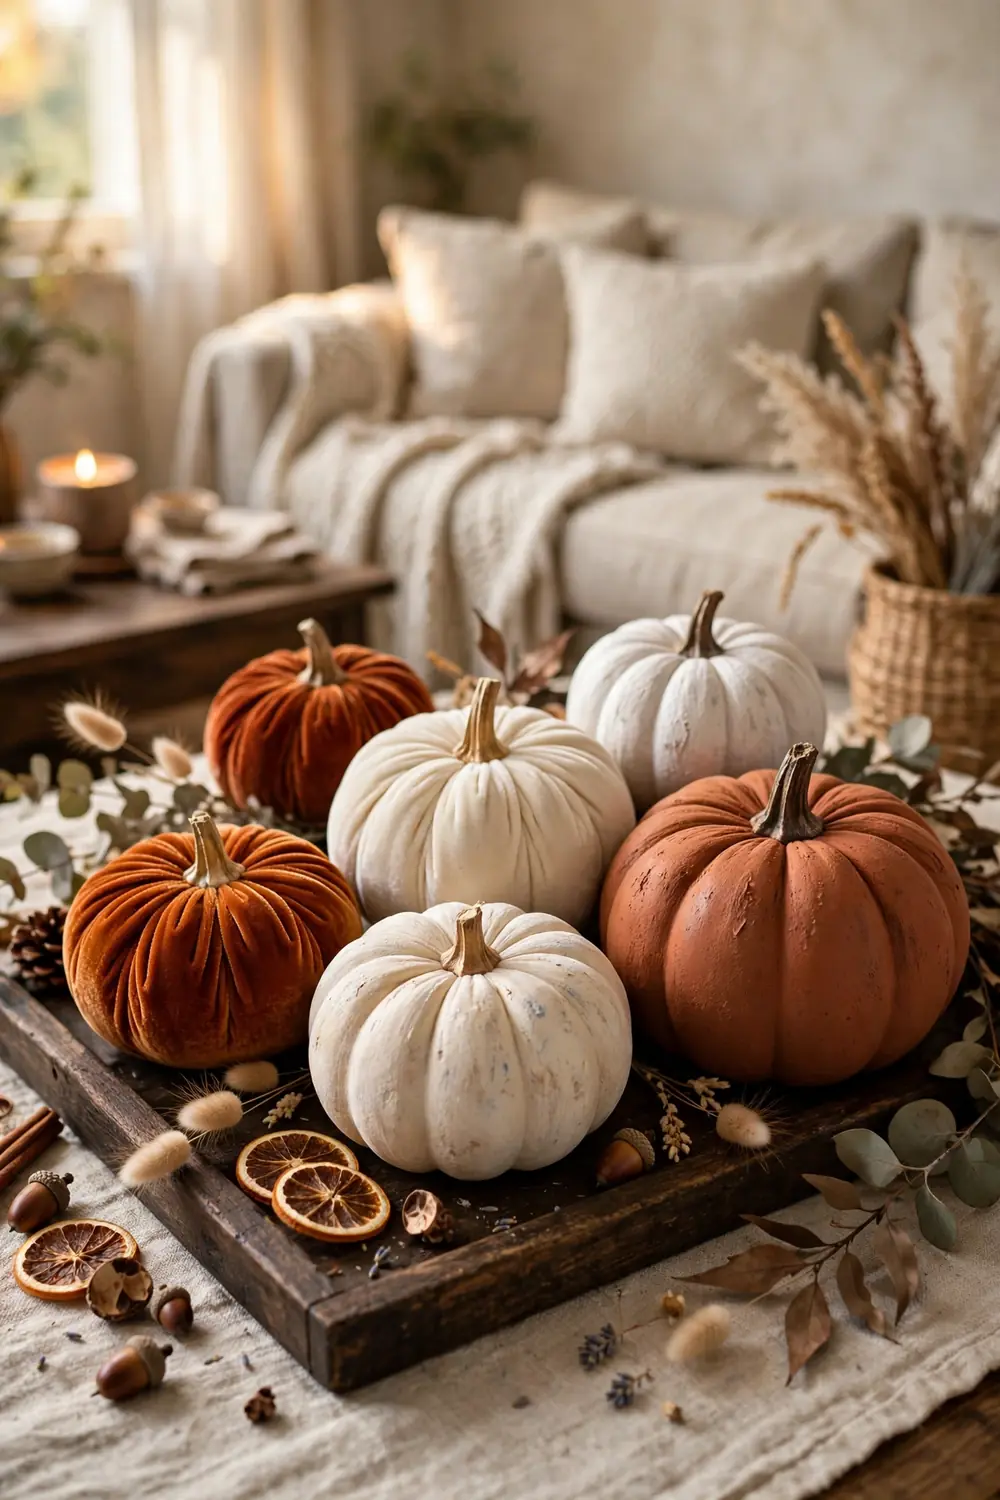
Paint Dollar Pumpkins in Velvet, Marble, and Chalk Finishes: The First of These DIY Thanksgiving Decorations
Real pumpkins rot. Plastic ones look plastic. Paint fixes both problems.
Pick up a few faux pumpkins from the dollar store and give them finishes that hide their cheap origin. Matte chalk paint in cream makes them read as ceramic. A marble effect from white paint swirled over gray looks like stone. Velvet pumpkins from the fabric section of a craft store are the sleeper pick, because real velvet texture reads expensive every time.
Group them in threes with one tall and two small. Set them on a dark wood tray or a linen runner so the pale finishes pop.
String a Dried Orange Garland Across the Mantel
Dried citrus looks like it belongs in a boutique window, and it costs almost nothing to make.
Slice oranges about a quarter inch thick. Blot the slices, lay them on a parchment lined baking sheet, and dry them low in the oven until the edges curl and the centers turn translucent. This takes a few hours, so plan it for a day you are home anyway.
Thread the cooled slices onto twine with a large needle, spacing them with a cinnamon stick every third slice. Drape the finished strand across the mantel or a doorway.
💡 Quick Tip
Dry an extra tray of slices. They keep for weeks in a jar, and you can tuck them into napkin rings or scatter them on the table.
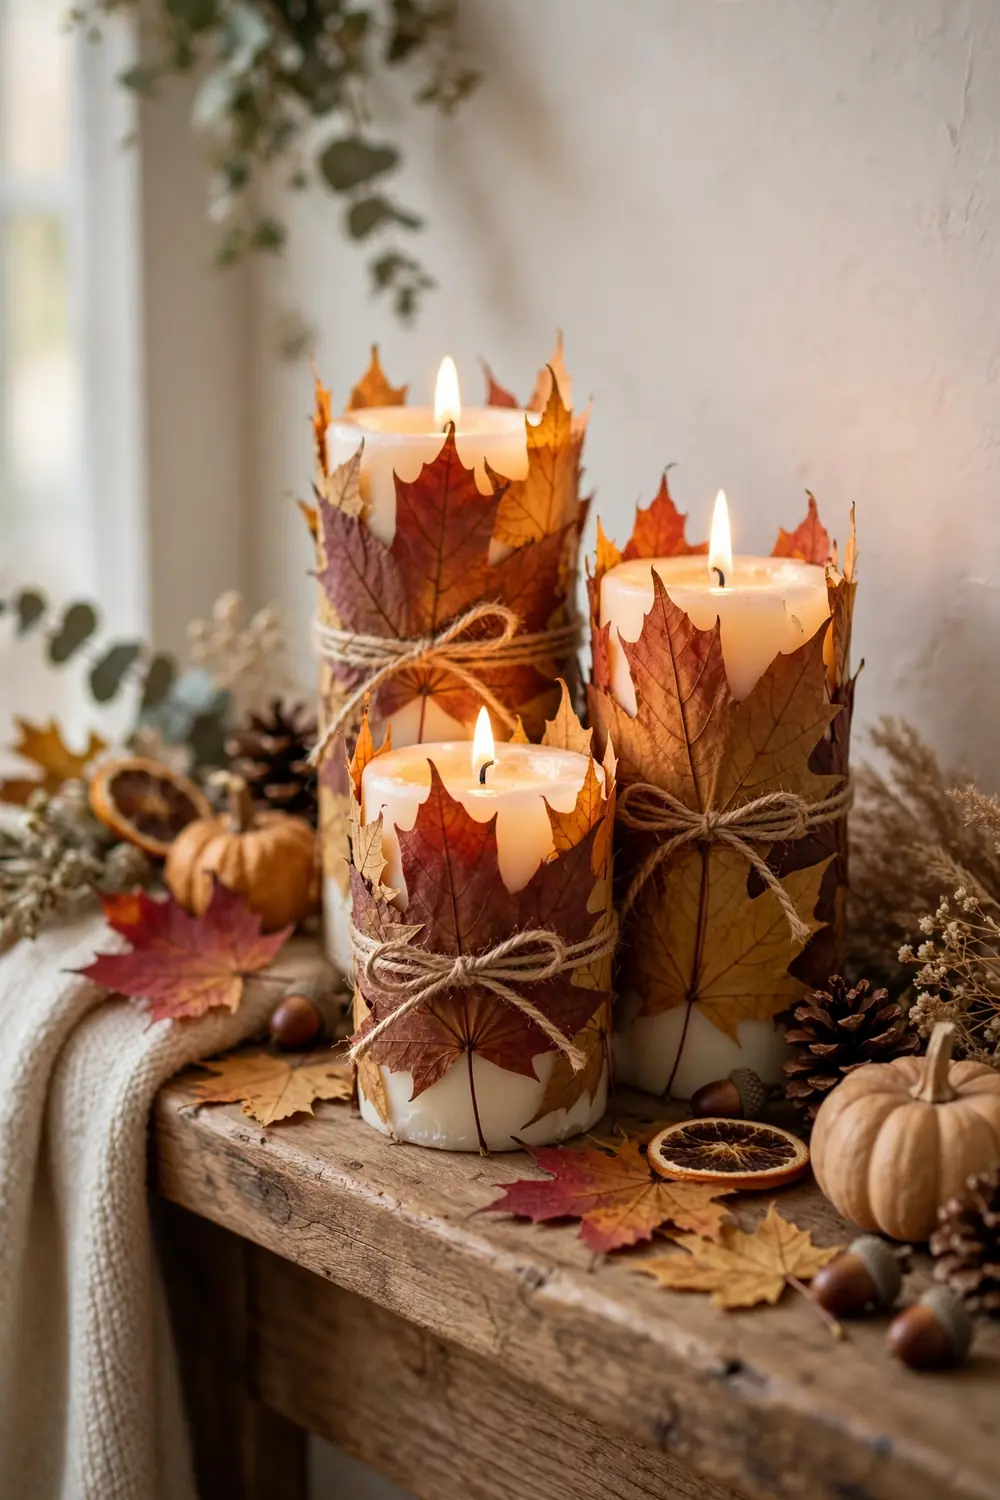
Wrap Pillar Candles in Real Fall Leaves
Plain pillar candles are fine. The same candles wrapped in maple leaves look like they came from a design studio.
Press fresh leaves flat for a day so they hold their shape. Brush a thin coat of decoupage glue onto the candle, press each leaf on with slight overlap, and seal with one more coat. Work in small sections so the glue does not dry first.
Two warnings worth heeding:
- Use flameless candles. Real flame plus dried leaves is a bad combination.
- Keep the leaf layer thin at the top rim so the shape stays clean.
The finished candles glow through the leaves when lit. It is the kind of detail guests notice and ask about.
Plain cream pillar candles that fade into the background of every other fall table.
The same candles wrapped in amber leaves, glowing warmly when lit.
Roll Out a Kraft Paper Runner and Letter It by Hand
Linen runners are lovely and pricey. Kraft paper is pennies a foot and brings its own charm.
Roll kraft paper down the center of the table and cut it with about a foot of overhang on each end. Tear the edges instead of cutting them straight. Torn edges look intentional and rustic.
Now letter it. Write menu words in big script down the center, like roast turkey, stuffing, pie. Or letter each guest’s name at their seat so the runner doubles as place cards.
What you need:
- A roll of kraft paper, wide enough for your table
- A dark brown or copper marker with a chisel tip
- Washi tape to hold the corners flat
After dinner, roll it up and recycle it. No laundry, no storage.
Lettering supplies checklist
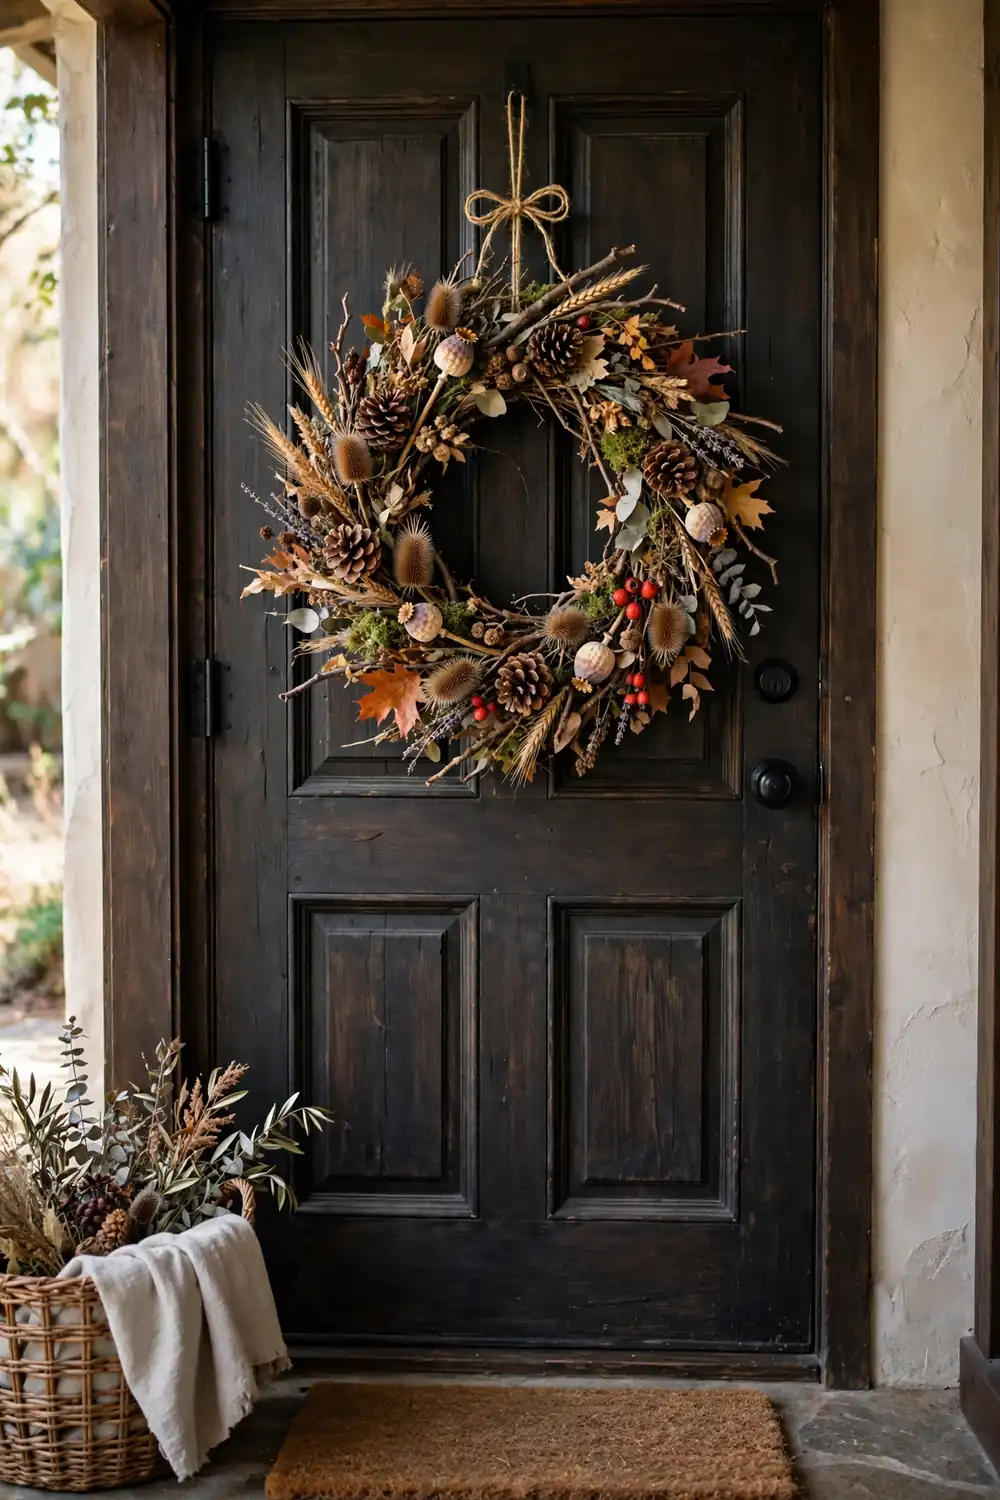
Build a Foraged Wreath From Your Own Yard
The best wreath material is free and growing outside your door.
Take a walk with a bag and gather what fall left behind: branches with leaves still attached, dried seed heads, pinecones, and interesting twigs. A plain grapevine wreath form from the craft store gives it all something to grip.
- Lay the form flat and tuck the largest branches in first, wiring loose ones with floral wire.
- Layer smaller pieces on top, working in one direction so it looks natural.
- Tuck pinecones and seed heads into the gaps last, hot gluing anything wobbly.
Hang it with a wide grosgrain ribbon instead of a wire hook. Ribbon reads richer than hardware, and it costs less than a coffee.
Gather branches, seed heads, and pinecones from the yard.
Wire the largest branches onto a grapevine form first.
Fill gaps with small pieces, then hang it with wide ribbon.
Tuck Copper Accents Into a Grocery Store Arrangement
Expensive arrangements are mostly about metal. Copper and brass read rich, and a little goes a long way.
Start with a grocery store bouquet or a bundle of fall branches. Then add the metal yourself:
- Spray paint a few dried branches with copper metallic paint
- Tuck in a small copper mug or a brass candlestick
- Tie a strip of copper ribbon around the vase neck
The copper catches light in a way leaves never do, and it signals intention. One metallic accent per arrangement is enough.
- ▸Copper spray painted branches for instant richness
- ▸One brass or copper object per arrangement, never more
- ▸Copper ribbon tied around the vase neck as a finishing touch
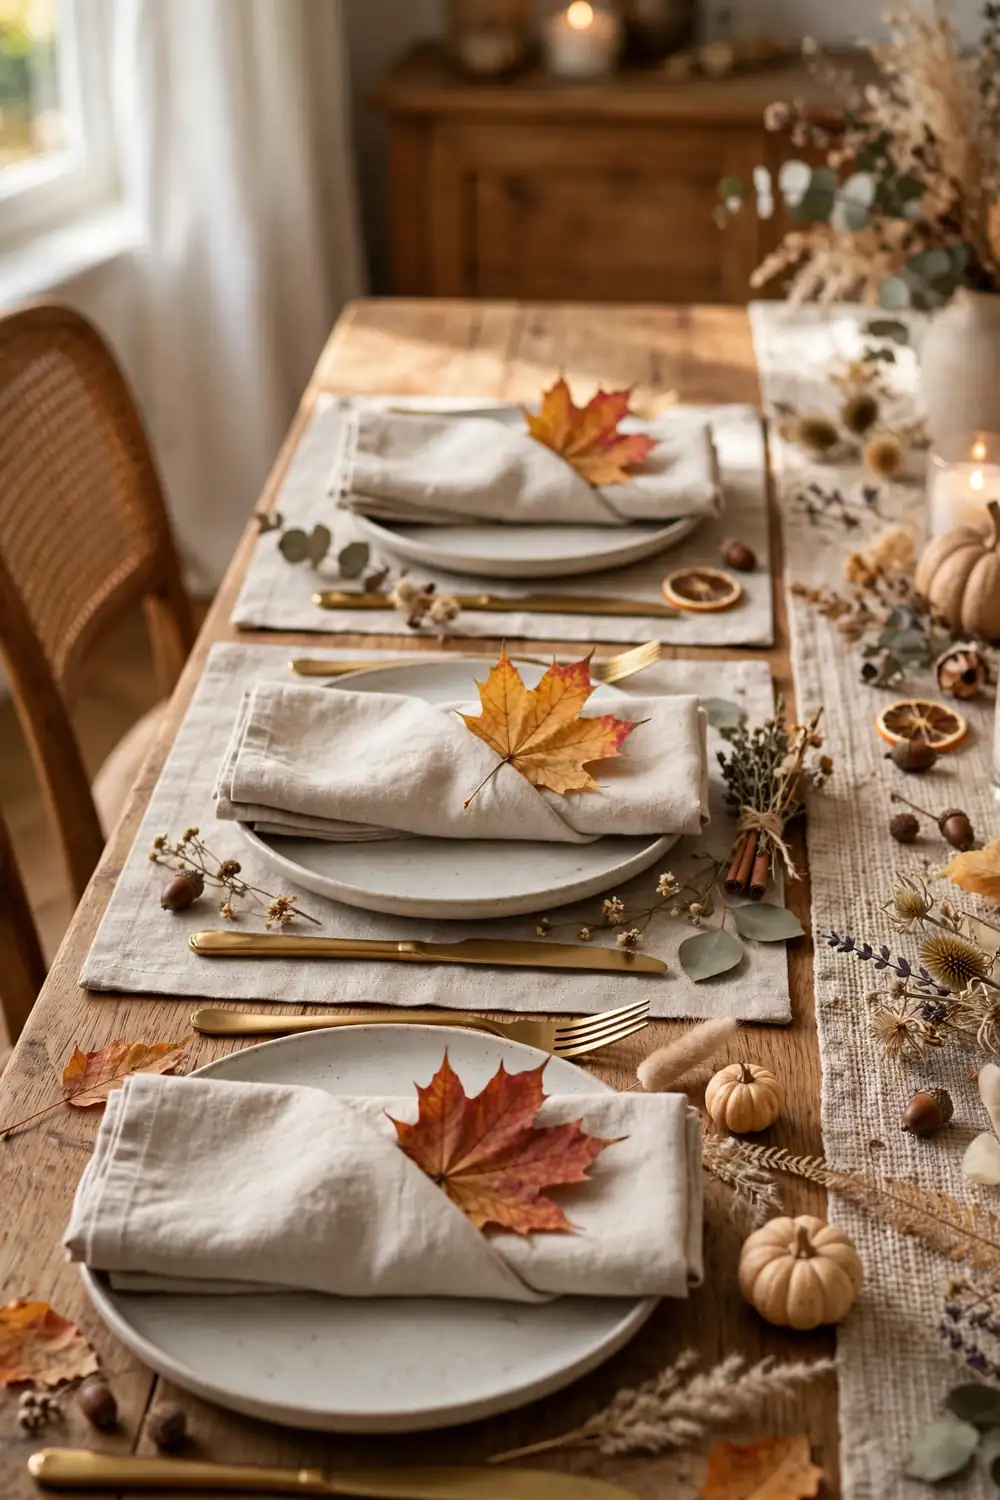
Make Pressed Leaf Place Cards Guests Keep
Place cards usually get tossed. These get pocketed.
Press a few nice maple or oak leaves flat for a day or two. Write each guest’s name on a small strip of kraft paper with a white gel pen, then glue the strip across the leaf.
Why it works so well:
- Each leaf is one of a kind, so every seat feels personal
- The white ink on amber leaf reads beautifully in candlelight
- Guests take them home, which means your table gets remembered
Press extra leaves. You will need spares for the two you smudge and the one your kid claims.
Fold a Cornucopia From Kraft Paper and Fill It
A real horn of plenty is a weird thing to buy. A paper one is a fun afternoon project.
Roll kraft paper into a wide cone and tape the seam. Crinkle the wide end back a little so it flares like a horn. Set the narrow end in a basket or a heavy mug so it sits at an angle.
Fill it the way a cornucopia should be filled: mini pumpkins, gourds, a few apples, and one trailing piece of greenery. Keep the heaviest pieces at the back near the seat so it stays balanced.
📌 Good To Know
Line the paper cone with a piece of foil before adding fruit. It keeps the paper dry and the whole thing fresh for days.
Give a Plain Tablecloth the Burlap Treatment
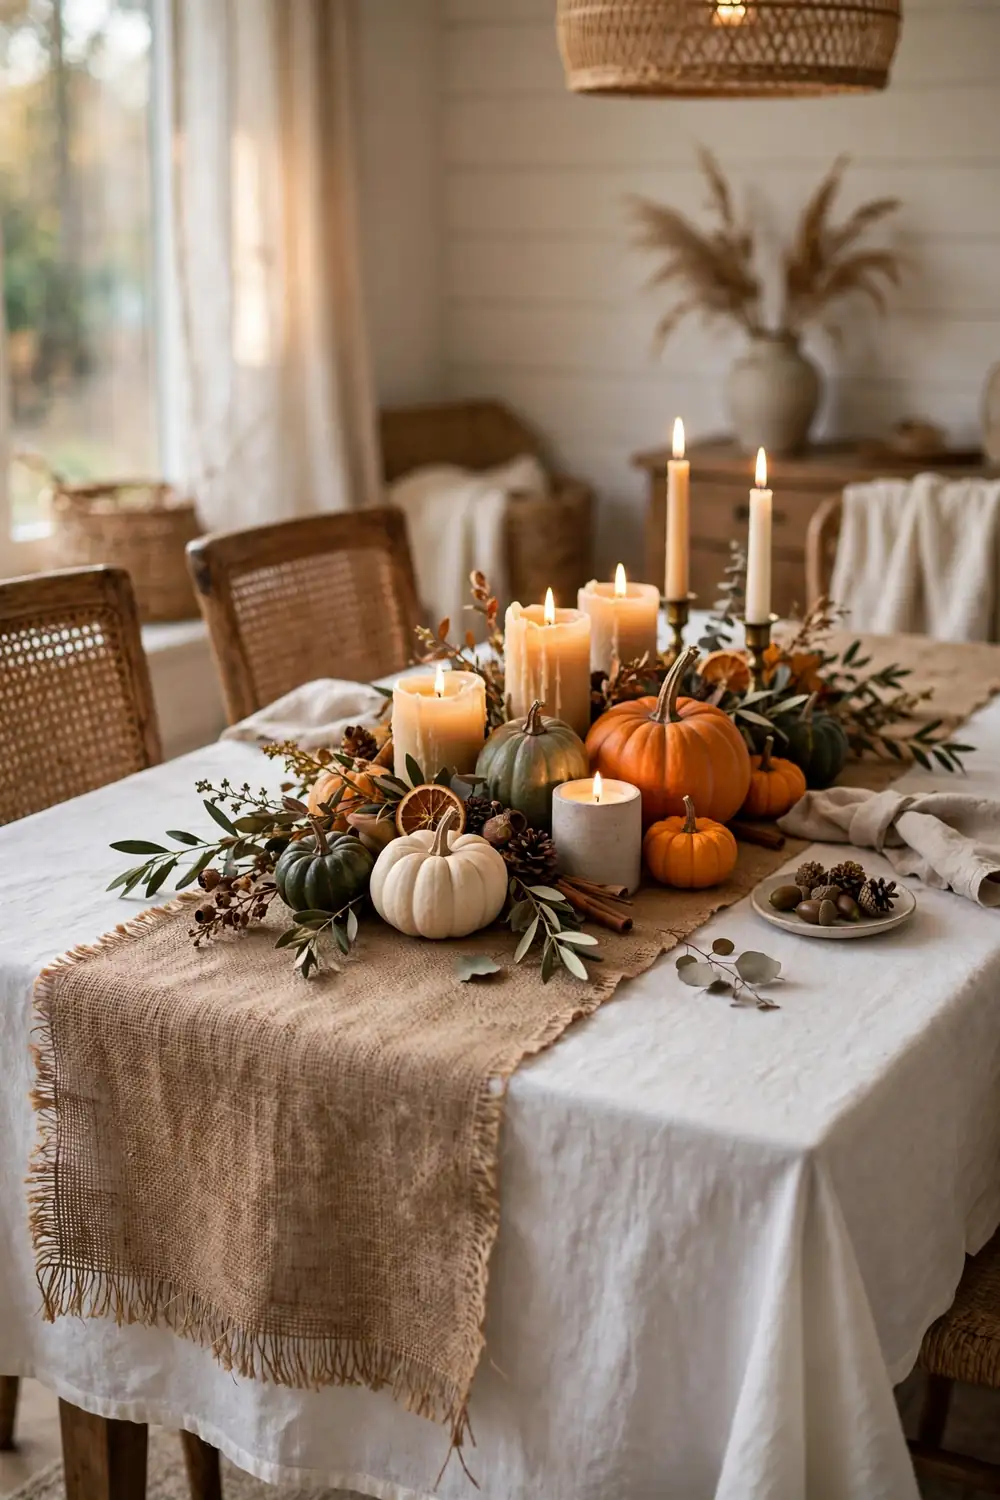
A crisp white tablecloth feels stiff for Thanksgiving. Burlap feels like the season.
You do not need to buy yards of burlap. Layer it instead. Lay your existing tablecloth down first, then run a wide burlap strip down the center as a runner and fold burlap napkins at each setting. The white underneath keeps it from looking like a craft fair. The burlap on top brings the texture.
Layer burlap as a runner over your regular tablecloth.
Fray the cut edges on purpose for a soft finish.
A full burlap tablecloth that sheds and scratches.
Scented burlap that fights the smell of dinner.
Cluster Spray Painted Pinecones in a Dough Bowl
Pinecones are free. Gold spray paint is cheap. Together they look like a centerpiece from a catalog.
Gather a couple dozen pinecones and brush off the dirt. Spray them in light coats, turning them as you go, and let them dry fully between coats. Copper and antique gold read the richest; plain yellow gold can look flat.
Pile them into a dough bowl, a shallow basket, or even a clear vase. Tuck a few unpainted ones in the mix so the metallic ones stand out more.
💡 Quick Tip
Spray on a windless day or in the garage with the door cracked. Overspray drifts farther than you think.
Style Thrifted Brass Candleholders Like Heirlooms
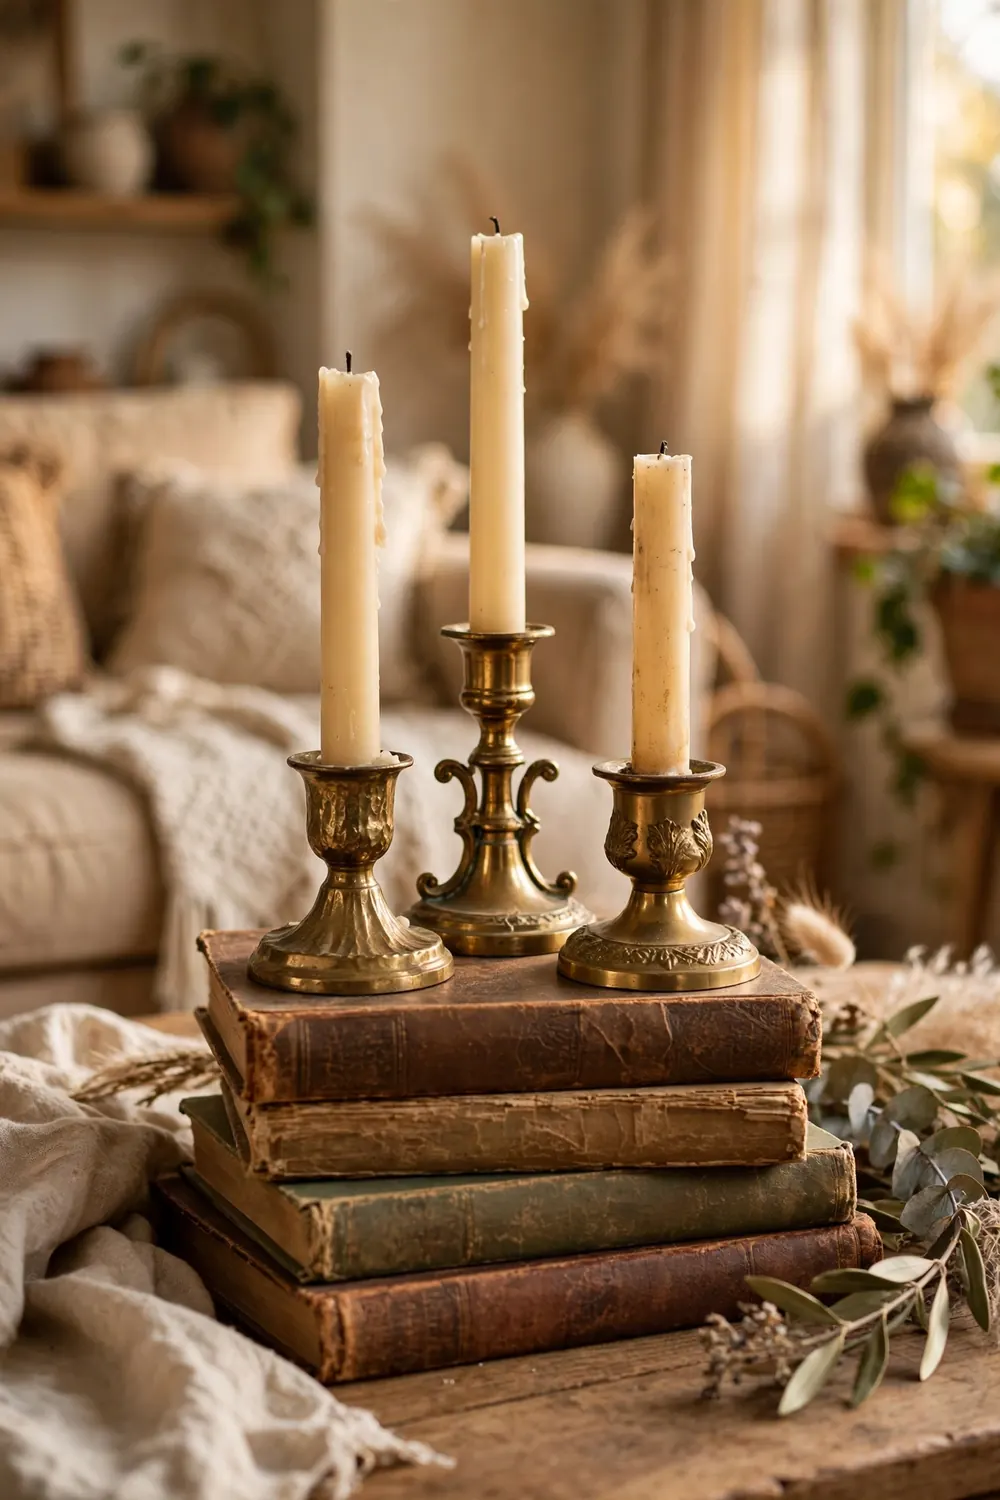
Brass candleholders show up in every thrift store, and they always look sad in the bin. At home, they tell a different story.
Wash them well and polish just the high points, leaving the patina in the crevices. That half polished look is what real antiques have.
Style them in a tight group of three on a stack of books or a small tray. Pair them with taper candles in cream or honey.
Grow a Homemade Gratitude Tree on the Sideboard
A gratitude tree takes an hour and becomes the thing people talk about after dinner.
Find a bare branch and stand it in a weighted vase. Cut leaf shapes from cardstock in fall colors, punch a hole in each, and hang them with short bits of twine. Leave a small bowl of blank leaves and a pen next to it.
Guests write what they are thankful for and hang their leaves. By dessert, the bare branch is full. Save the written leaves in an envelope. Reading them next November is half the fun.
What to have ready:
- One bare branch, about two feet tall, in a weighted vase
- Cardstock leaves with punched holes and twine
- A pen that writes, tied to the bowl so it does not walk off
Save the written leaves in an envelope. Reading them next November is half the fun.
Gratitude tree supply checklist
Drape a Gilded Acorn Garland Down the Staircase
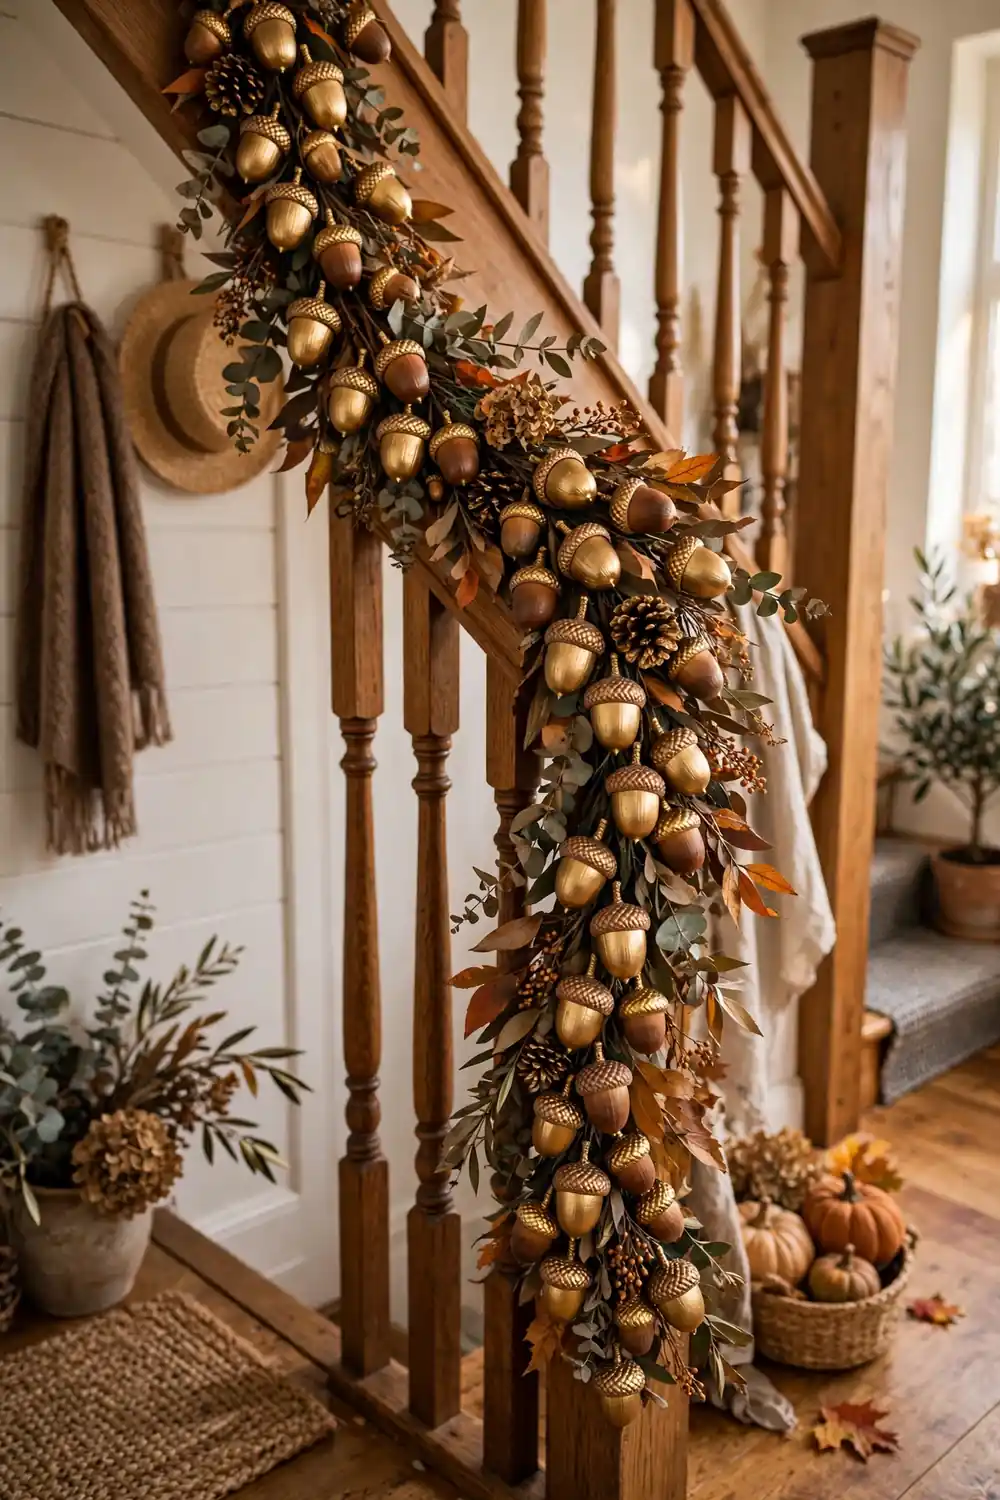
Acorns are tiny and free. Painted gold, they look like jewelry.
Gather a few dozen acorns with their caps still on. Dab metallic gold paint on the caps only, leaving the nut natural, and let them dry on parchment. The two tone finish is what makes them look crafted instead of sprayed.
Thread them onto twine with a needle, alternating gilded and natural acorns. The whole strand should feel varied, never uniform. Drape it along a banister, across a doorway, or down the front of a sideboard.
Paint the caps, leave the nuts. That two tone finish is the difference between crafted and crafty.
Make Dollar Store Finds Look Boutique With One Upgrade
Dollar store decor fails when you leave it as is. One upgrade fixes it.
The formula is always the same: buy the cheap base, change exactly one thing.
- Plastic charger plates get a coat of metallic paint on the rim
- Plain glass hurricanes get wrapped with a strip of burlap ribbon
- Faux berry stems get trimmed short and tucked into a real copper mug
- A foam pumpkin gets a stem of real cinnamon and a velvet ribbon bow
The upgrade is always finish, texture, or pairing. Pick the dollar piece you already pass in the aisle, change one thing about it, and it stops looking like it cost a dollar.
- ▸Metallic paint on rims and edges for instant richness
- ▸Burlap or velvet ribbon wrapped around plain glass
- ▸Real materials, like cinnamon or twine, paired with faux pieces
Bundle Dried Wheat Sheaves for the Entryway
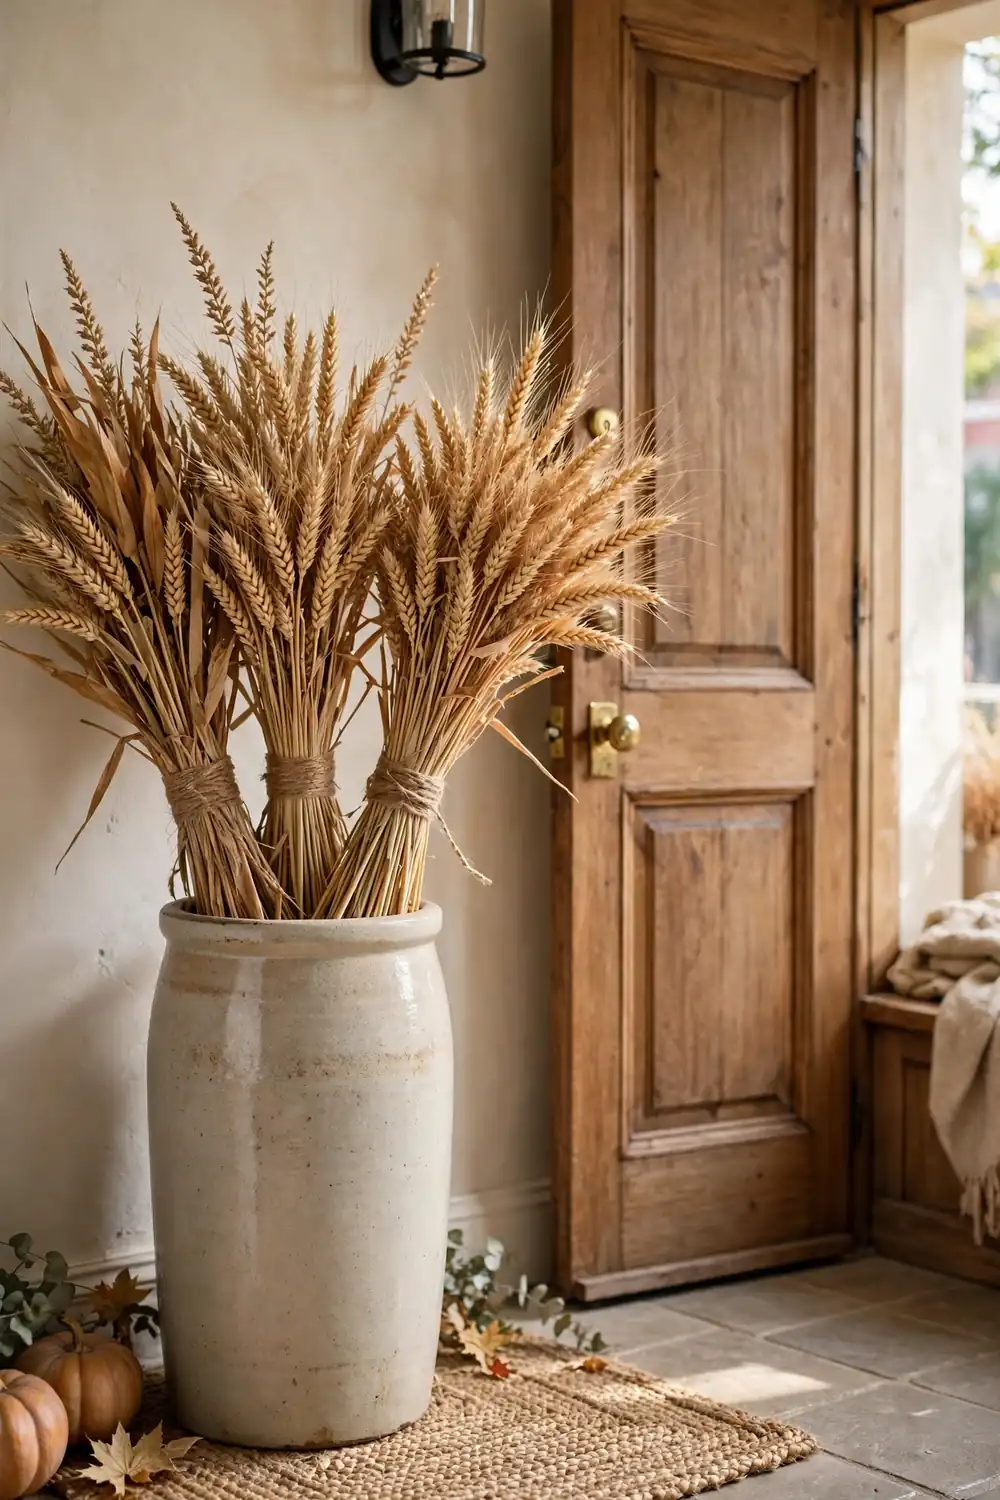
Nothing says harvest like wheat, and dried bundles cost very little at farm stands.
Buy a few bundles of dried wheat and tie each one with twine in two spots. Stand two bundles upright in a tall crock by the front door, fanning the tops outward. One bundle makes a flat door swag when tied with ribbon and hung upside down.
Wheat lasts for years if it stays dry. Bring it inside before rain and it comes back out every November.
Expensive looking decor is rarely about money. It is about finish, restraint, and one good trick per piece. A painted pumpkin, a gilded acorn, a branch from the yard styled with ribbon. None of these cost much. All of them look like they did.
These DIY Thanksgiving decorations work because they lean on real materials and simple upgrades instead of shiny store bought sets. Your table, mantel, and doorway will carry the whole season without straining the budget.
Pin this list to your fall board so every idea is waiting when you are ready to make it.