A dinner party on Halloween night lives or dies at the table. Guests forgive a plain front porch. They never forget a table that made them gasp.
The trouble is that most table advice falls into two traps. Either it looks like a kids birthday party with plastic spiders everywhere, or it goes so dark and gothic that nobody can see their food. Neither one works for adults who actually want to eat, talk, and linger past dessert.
These halloween table decor ideas take a middle path. Each one treats your dining table like a stage set for the evening: candlelight you can see by, textures that photograph well, and small surprises tucked into each place setting. Most cost less than takeout and take under an hour.
Pick three ideas that fit the mood you want, spooky elegant or playful creepy, and build from there. By the time the doorbell rings, your table will be doing half the entertaining for you.
Layer a Black Runner: The Simplest of These Halloween Table Decor Ideas
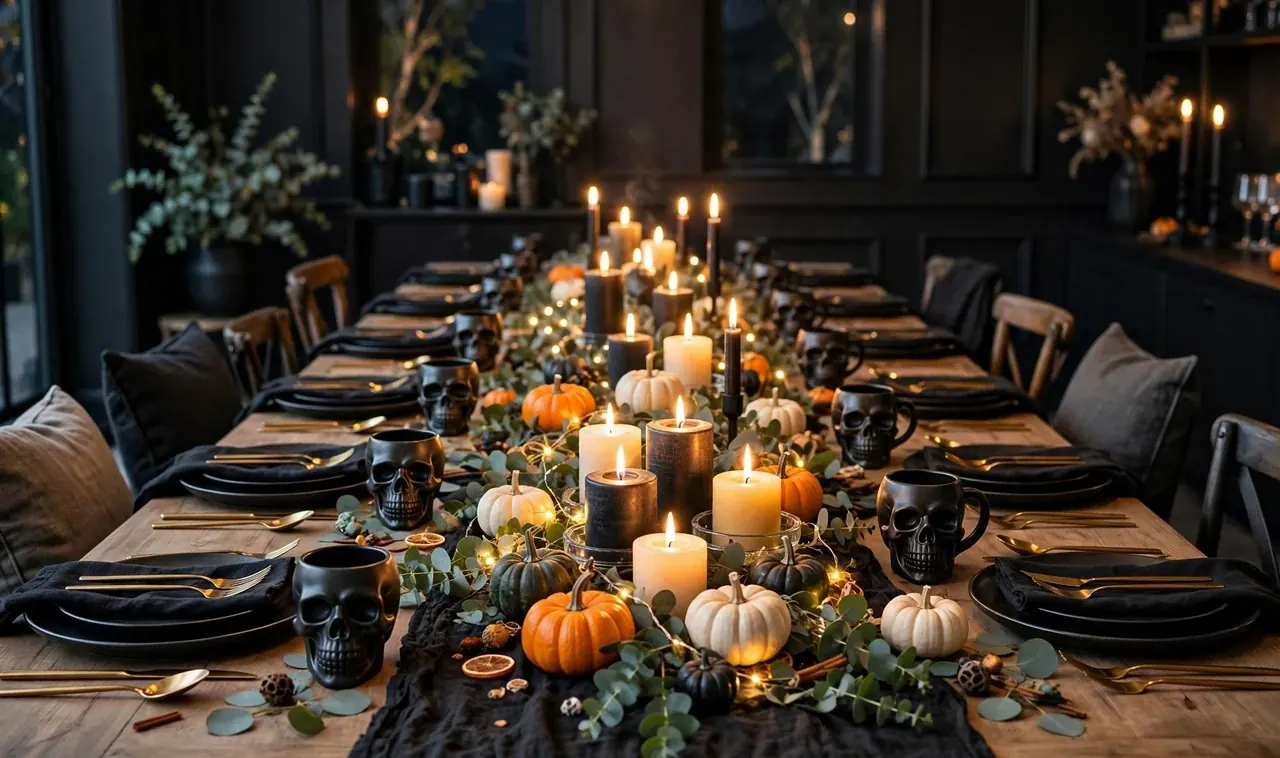
Start with the table itself: a black runner down the middle of a wood table changes the whole mood fast.
Cut black cotton fourteen inches wide and let the ends hang past the table edges. That overhang is what makes it look styled instead of improvised.
- Iron it first, wrinkles read as sloppy in candlelight
- Center it so equal wood shows on both sides
Guests notice the runner first, so this carries the most weight per dollar on the list.
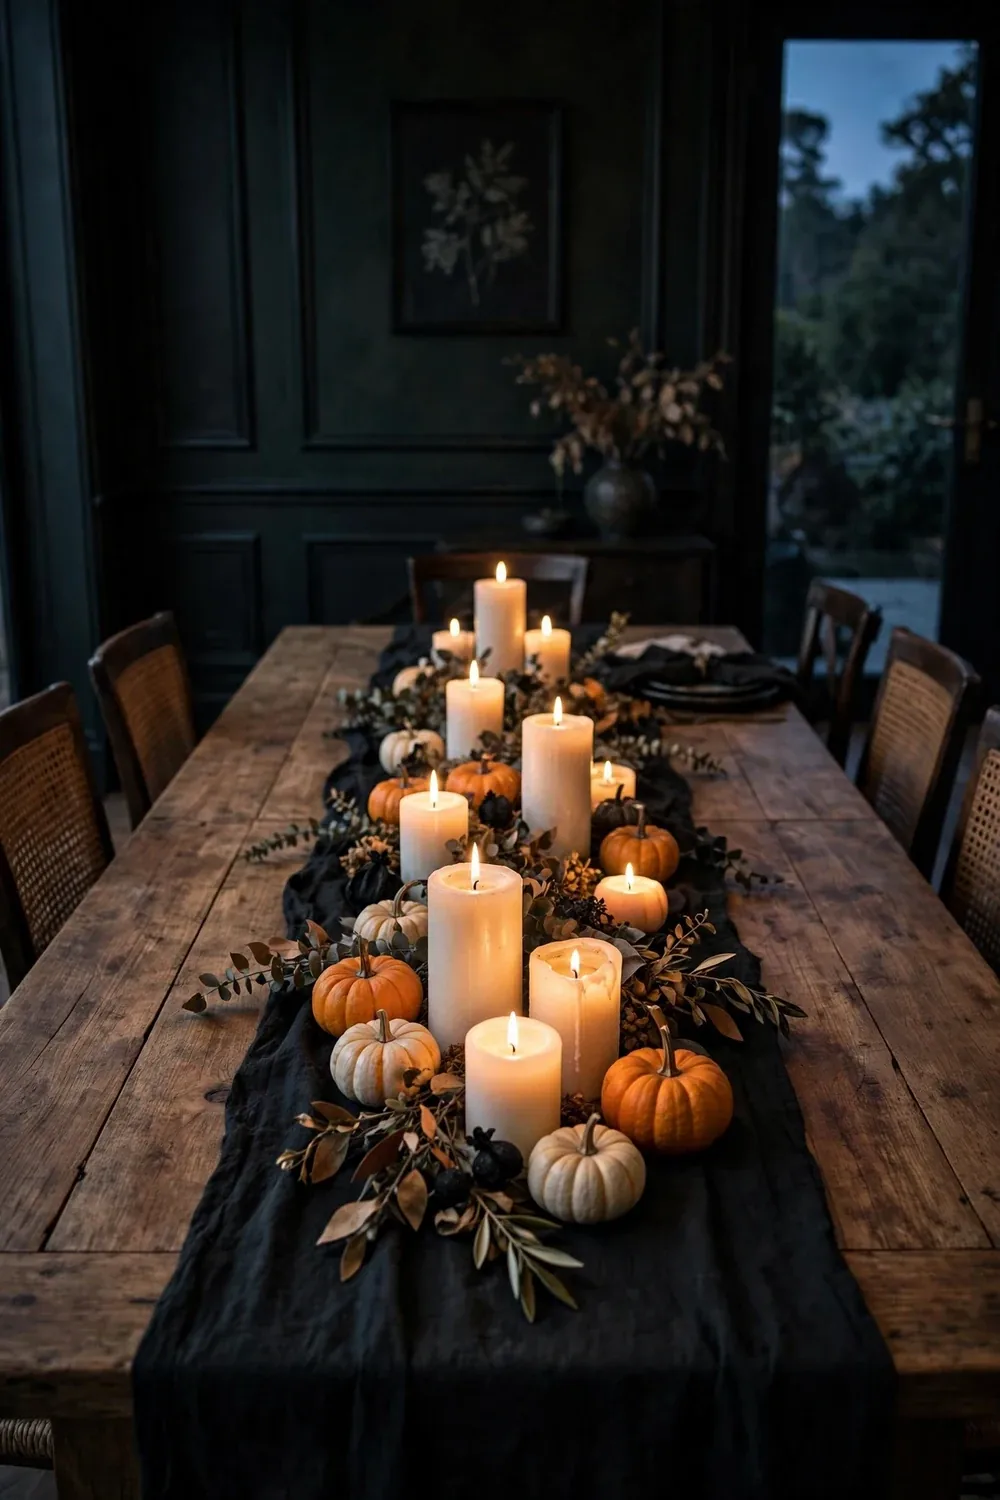
Cluster Pillar Candles in Odd Numbers Down the Center
Centerpieces fail when candles sit in a straight soldier row. They look stiff, and the light lands flat.
Group pillars in threes and fives, mixing tall, medium, and short. LED pillars with flicker mode work best, since real flames and low sleeves are a bad mix at dinner.
Vary heights by at least two inches so the light layers instead of lining up. Three clusters down a six foot table is plenty. Any more and guests start moving them aside for the bread basket.
💡 Quick Tip
Put the tallest candle in each cluster toward the middle of the table so sight lines stay open across the ends.
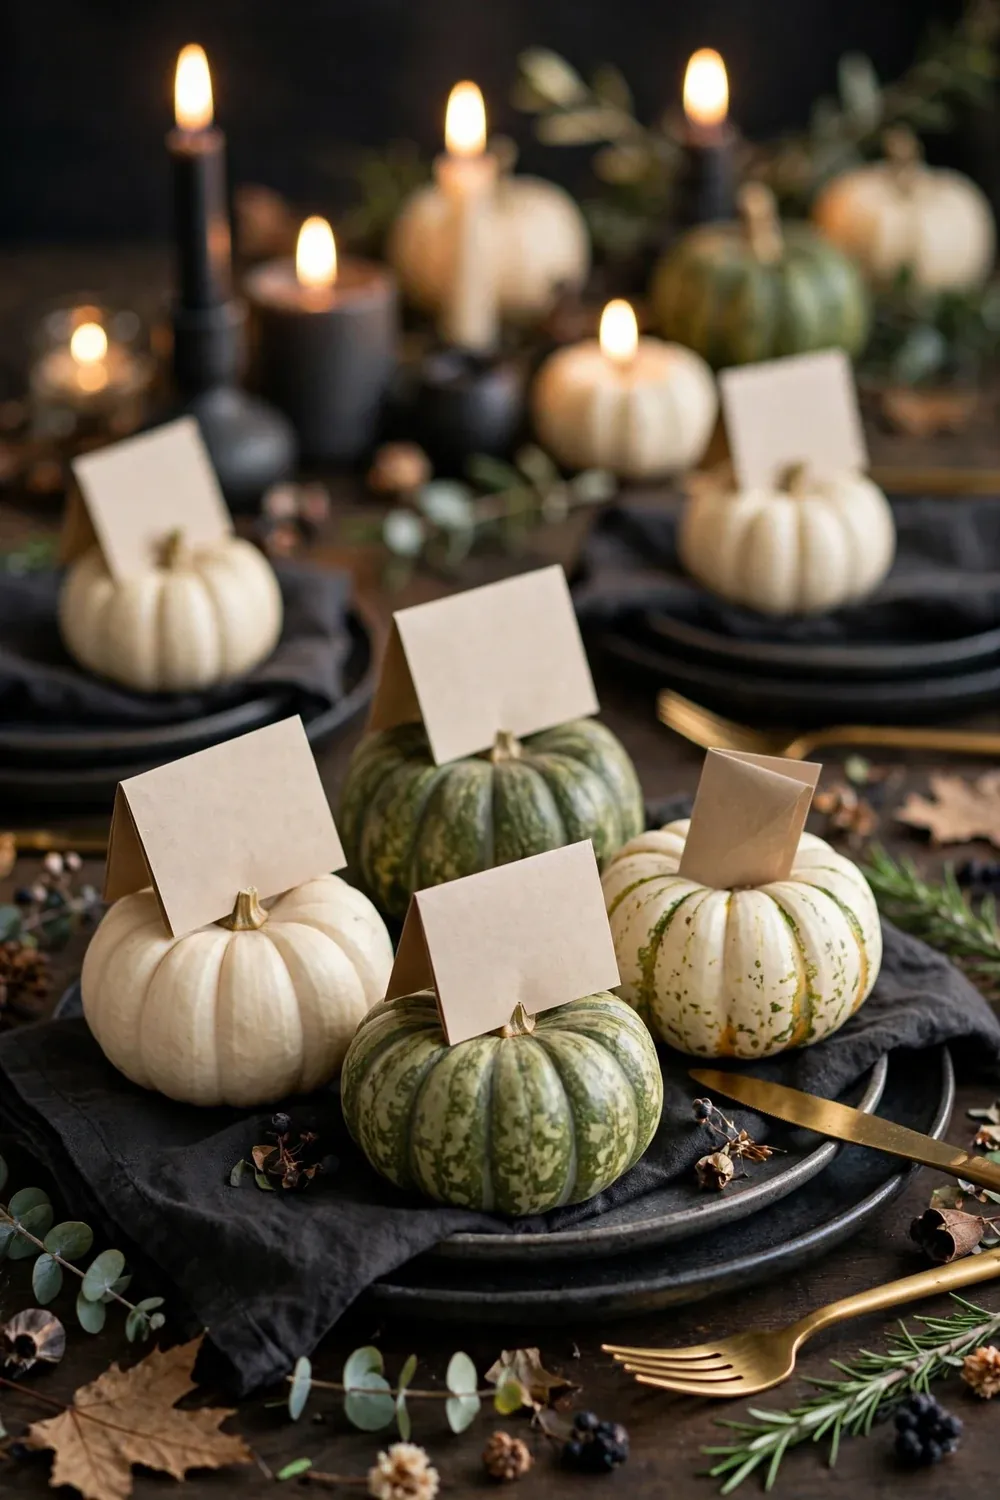
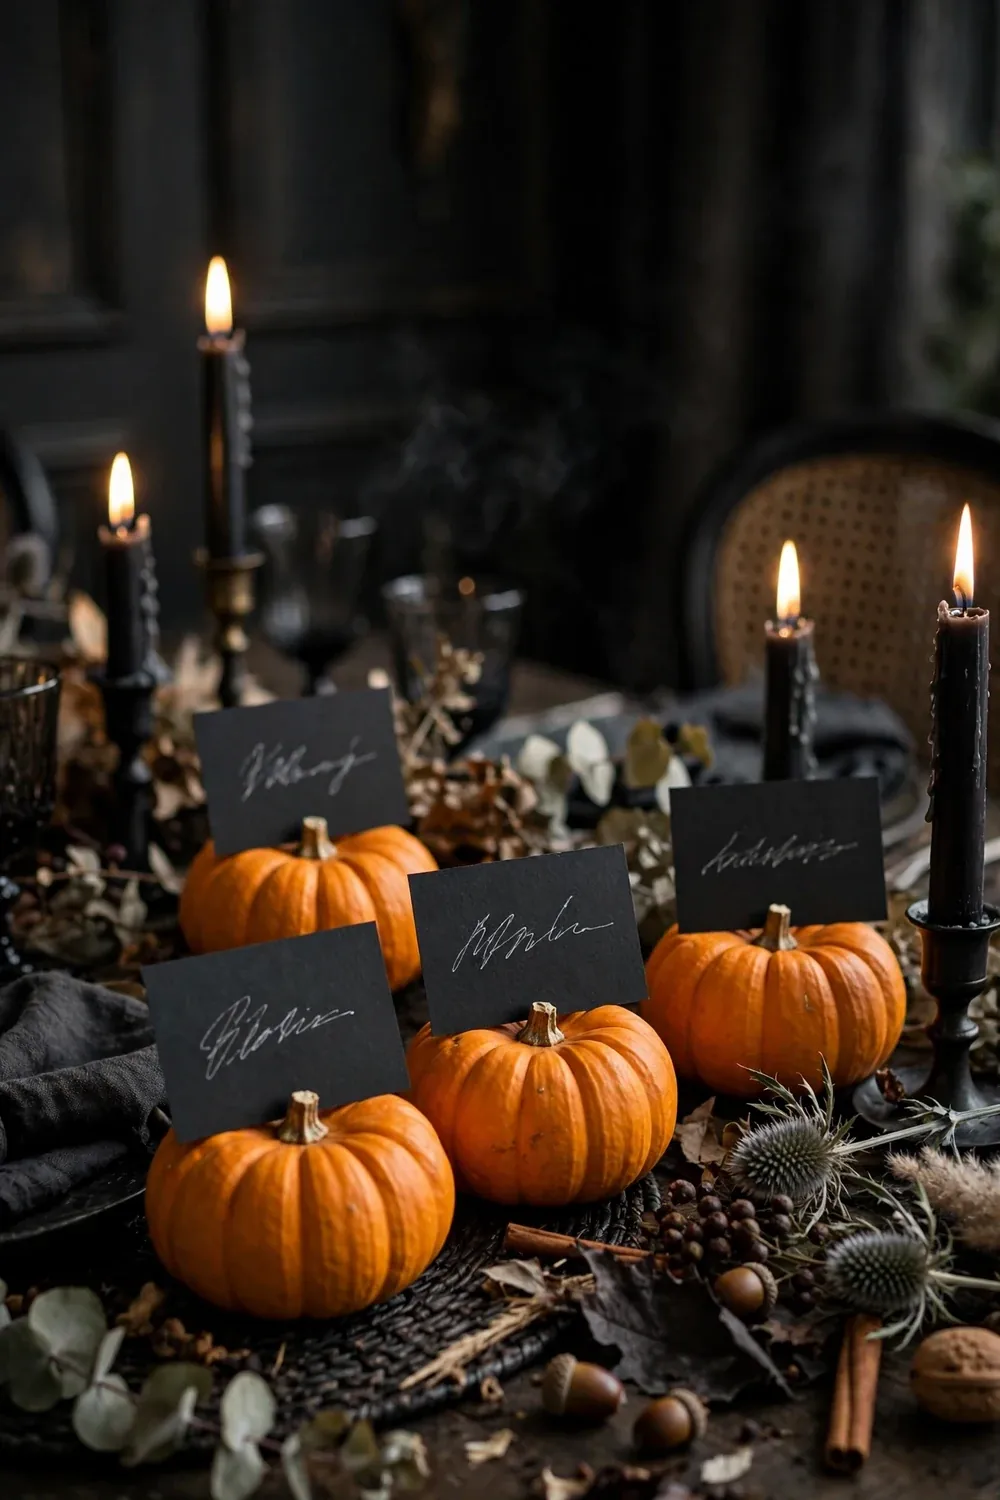
Use Mini Pumpkins as Place Card Holders
Guests remember the seat that had their name on a pumpkin. It costs almost nothing and photographs better than any paper tent card.
Pick sturdy-stemmed minis, slit the top, and slide in a folded name card. White and pale green minis show handwriting best, and a gold paint pen reads clearly in candlelight.
Set one at every seat. They double as favors people take home, unlike tent cards headed for recycling.
Fold Black Napkins Into Bat Wings
The mistake is buying bat shaped napkins that cost a fortune and look flat. Folded napkins do the same job for the price of a pack of black paper napkins.
Lay the napkin flat, fold it in half diagonally, then fold the two bottom corners up to make wing points. Tuck it under the fork or lay it across the plate so the wings lift a little.
What to grab first
They hold their shape all evening, and guests always unfold them to see how you did it.
Scatter Dried Leaves, Acorns, and Cinnamon Between the Plates
The space between plates looks empty until ten minutes before guests arrive. Then you panic and overfill it.
A loose scatter of dried oak leaves, acorns, and cinnamon sticks fills the gaps without blocking conversation. Keep everything flat and below glass height so plates still sit steady.
Bare table gaps that look unfinished, plates floating with nothing between them.
A natural confetti of fall texture that makes the table feel layered and full.
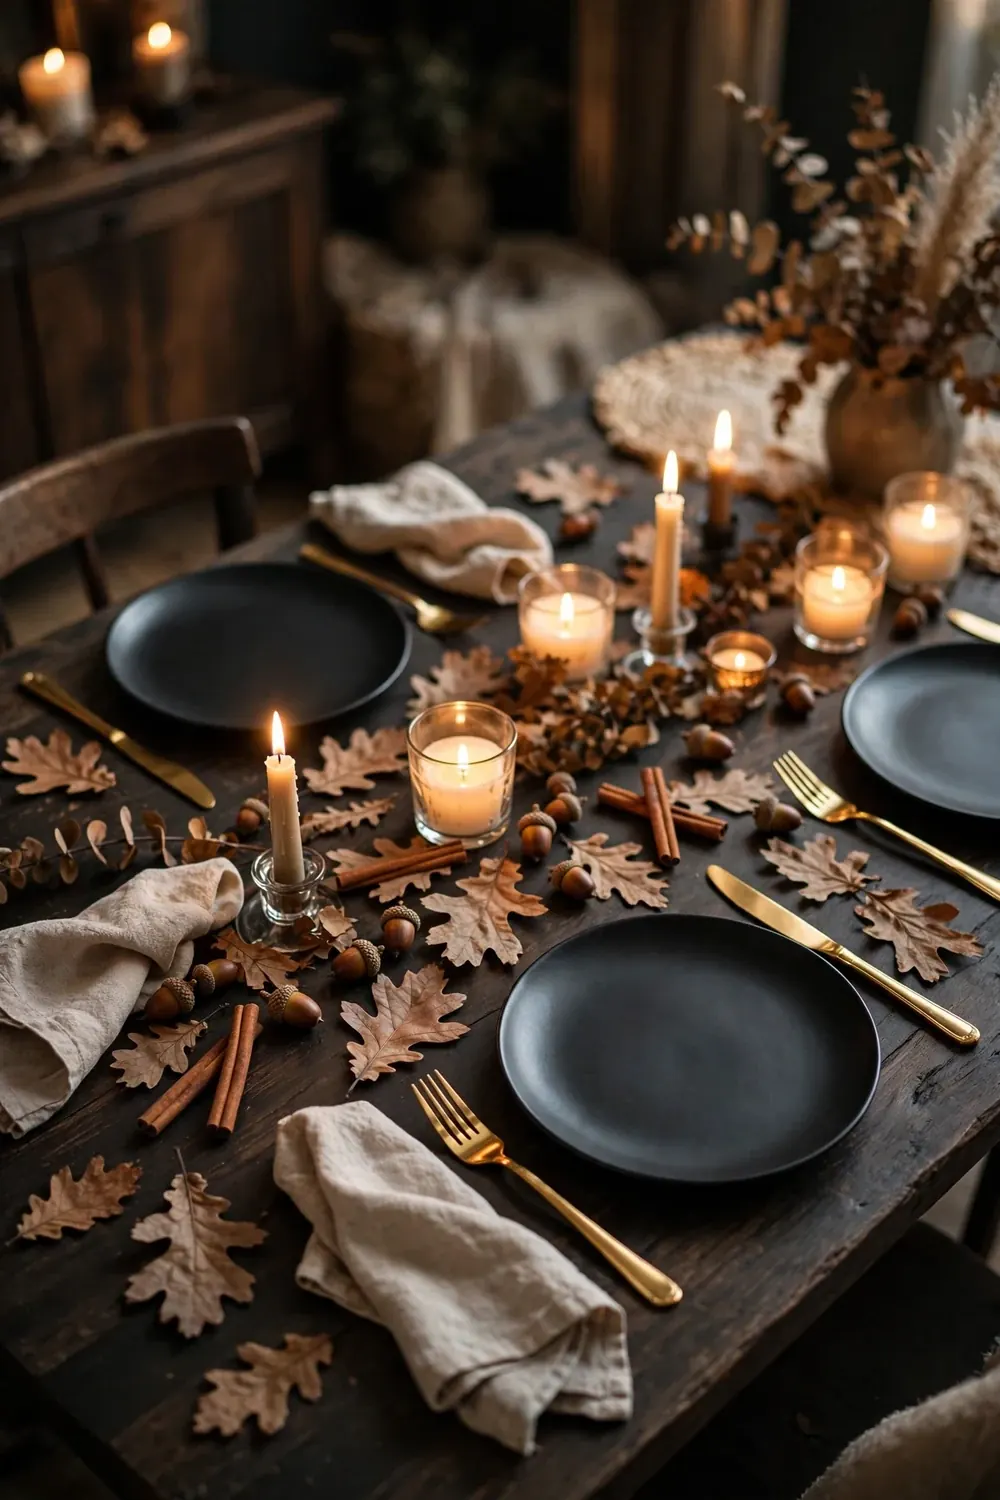
Ground Every Place Setting With a Matte Black Charger
Here is the rule: every plate needs a frame.
A matte black charger under each dinner plate gives the setting weight and makes food colors pop against the dark. Chargers never touch food, so cheap dollar store ones work fine, and they shield a wood table from hot plates too.
Set the charger first, centered on each chair.
Stack the dinner plate on top, leaving a one inch black border showing.
Add the folded napkin and flatware last so nothing slides.
Set the charger first and build upward from there.
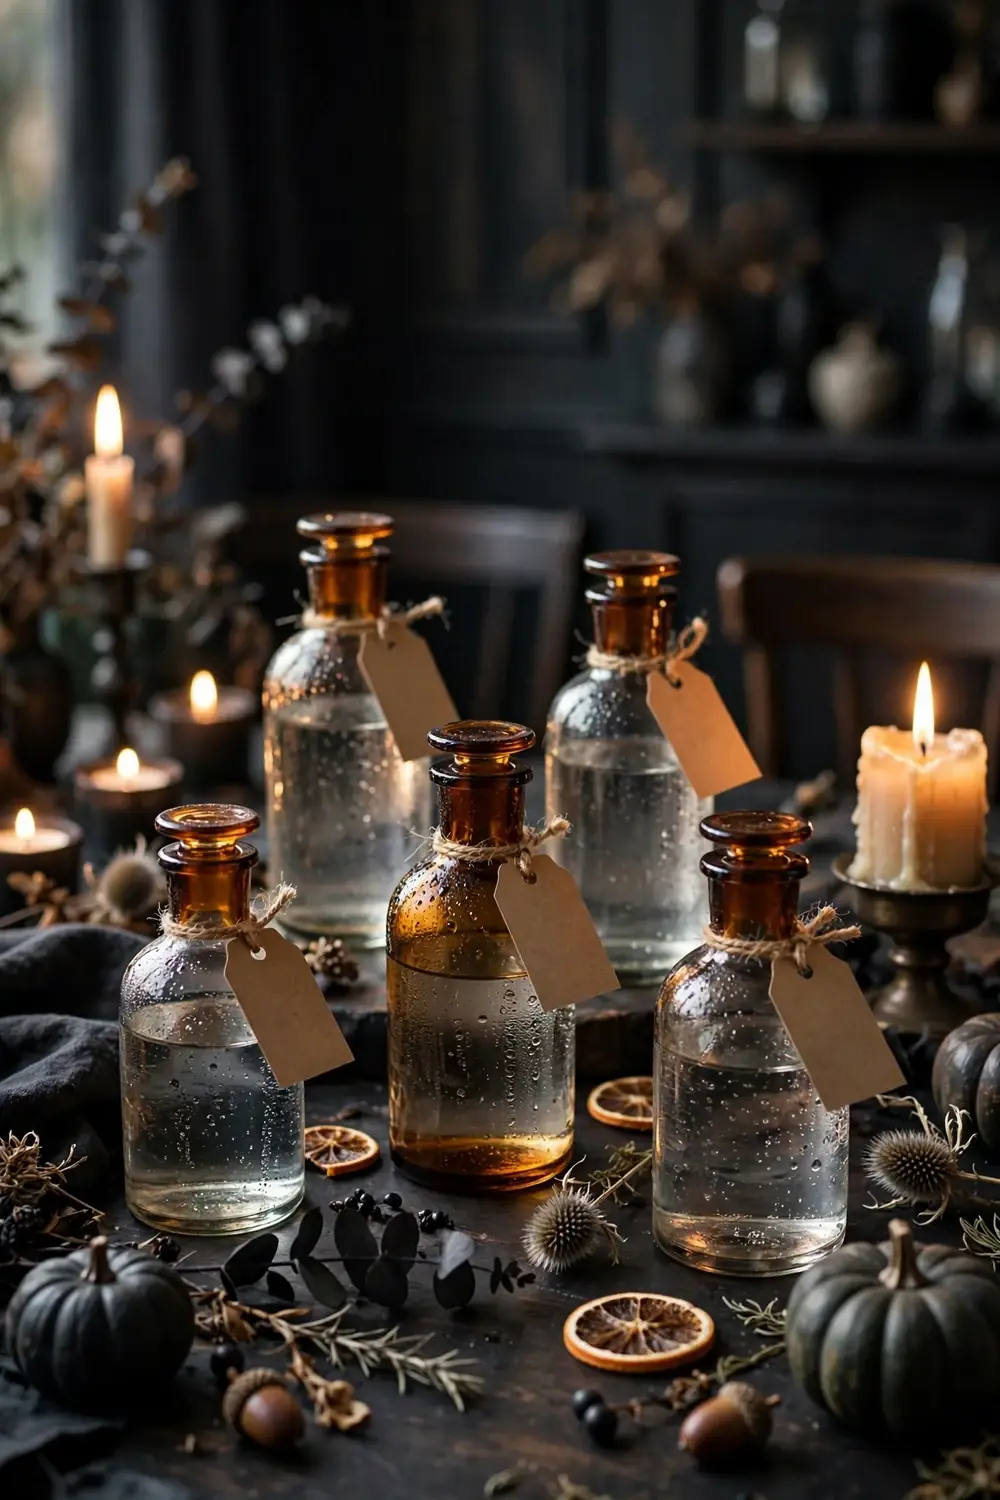
Turn Apothecary Bottles Into Water Carafes
People think labeled bottles on a dinner table are just for show. Filled with water at each end of the table, they become the most talked about practical piece of the night.
Rinse small amber bottles, fill with filtered water, and add a handwritten tag: “witches brew” for still, “moon water” for sparkling. Guests pour their own, saving you refills all night.
Use bottles with a narrow neck so they pour cleanly.
Keep one bottle per four guests at each end.
Sticky labels that peel in condensation.
Bottles too tall to see over across the table.
Hang Tea Lights at Different Heights Above the Table
From the doorway, the prettiest thing at a dinner party is light floating at different levels. Hang battery tea lights from a branch, a curtain rod, or ceiling hooks with clear fishing line.
Battery lights only. Real flames above a table full of food and sleeves are not worth the risk. Keep them clear of plates, where a bumped line could land in the food.
| Height above table | Effect |
|---|---|
| 12 inches | Intimate glow, keep clear of tall centerpieces. |
| 18 inches | Safe and airy, the best all around choice. |
| 24 inches | Dramatic, needs a high ceiling to work. |
Write Guest Names on Black Cards With a White Gel Pen
Guests pocket place cards as souvenirs when the handwriting looks good. A white gel pen on black cardstock is the cheapest calligraphy trick there is.
Cut cardstock into two by three inch cards. Write each name slowly, letting the pen lay down thick lines. Prop the card against a mini pumpkin or lean it on a water glass.
Let the ink dry fully before guests arrive. Smudged names look worse than plain ones.
Drape Cheesecloth Down the Table Like a Haunted Veil
A gauze runner from the party store costs plenty and looks thin. Cheesecloth from the fabric store does the same job for less and drapes better.
Cut it twice the table length, bunch loosely down the center, and let the ends puddle on the floor. Pull a few strands loose so it looks windswept, not ironed.
- Buy the widest cheesecloth you can find
- Layer two pieces if one looks too thin
- Keep it well clear of open flames
The veil softens every hard edge, which is why photographers love it.
- ▸Cheesecloth beats party gauze on price and drape
- ▸Let the ends puddle for a haunted, unfinished edge
- ▸Pull strands loose so it looks windswept, not ironed
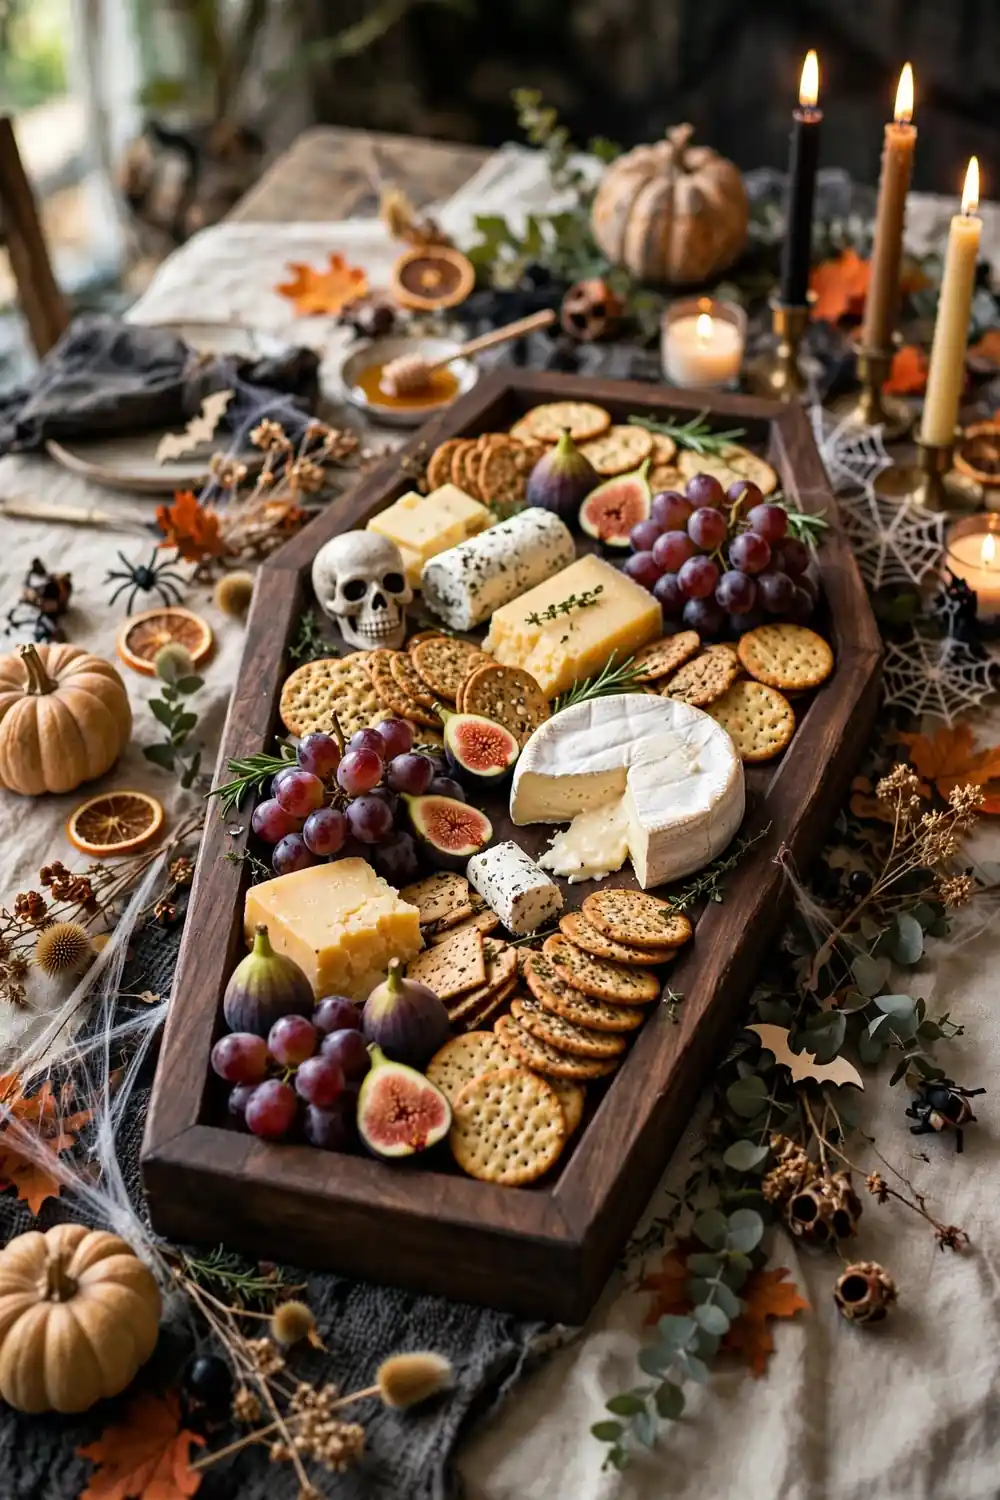
Serve Snacks on a Coffin Shaped Wooden Board
The snack spread gets the most photos, so give it a stage. A coffin shaped board turns cheese and crackers into a centerpiece guests talk about.
Cut the shape from a pine board with a jigsaw, or buy a ready made one and stain it dark. Sand the edges smooth so nobody gets a splinter with the brie.
Mix Matte Black Flatware With One Gold Accent
Two tone flatware looks styled without matching sets. Matte black forks and knives with one gold serving spoon per dish reads intentional and rich.
Buy one black set, then add gold serving pieces one at a time from the thrift store. The mix hides the fact that nothing matches, and guests assume it was planned that way.
⚠️ Watch Out
Wash black flatware by hand. Dishwasher heat dulls the coating and leaves spots that show up in candlelight.
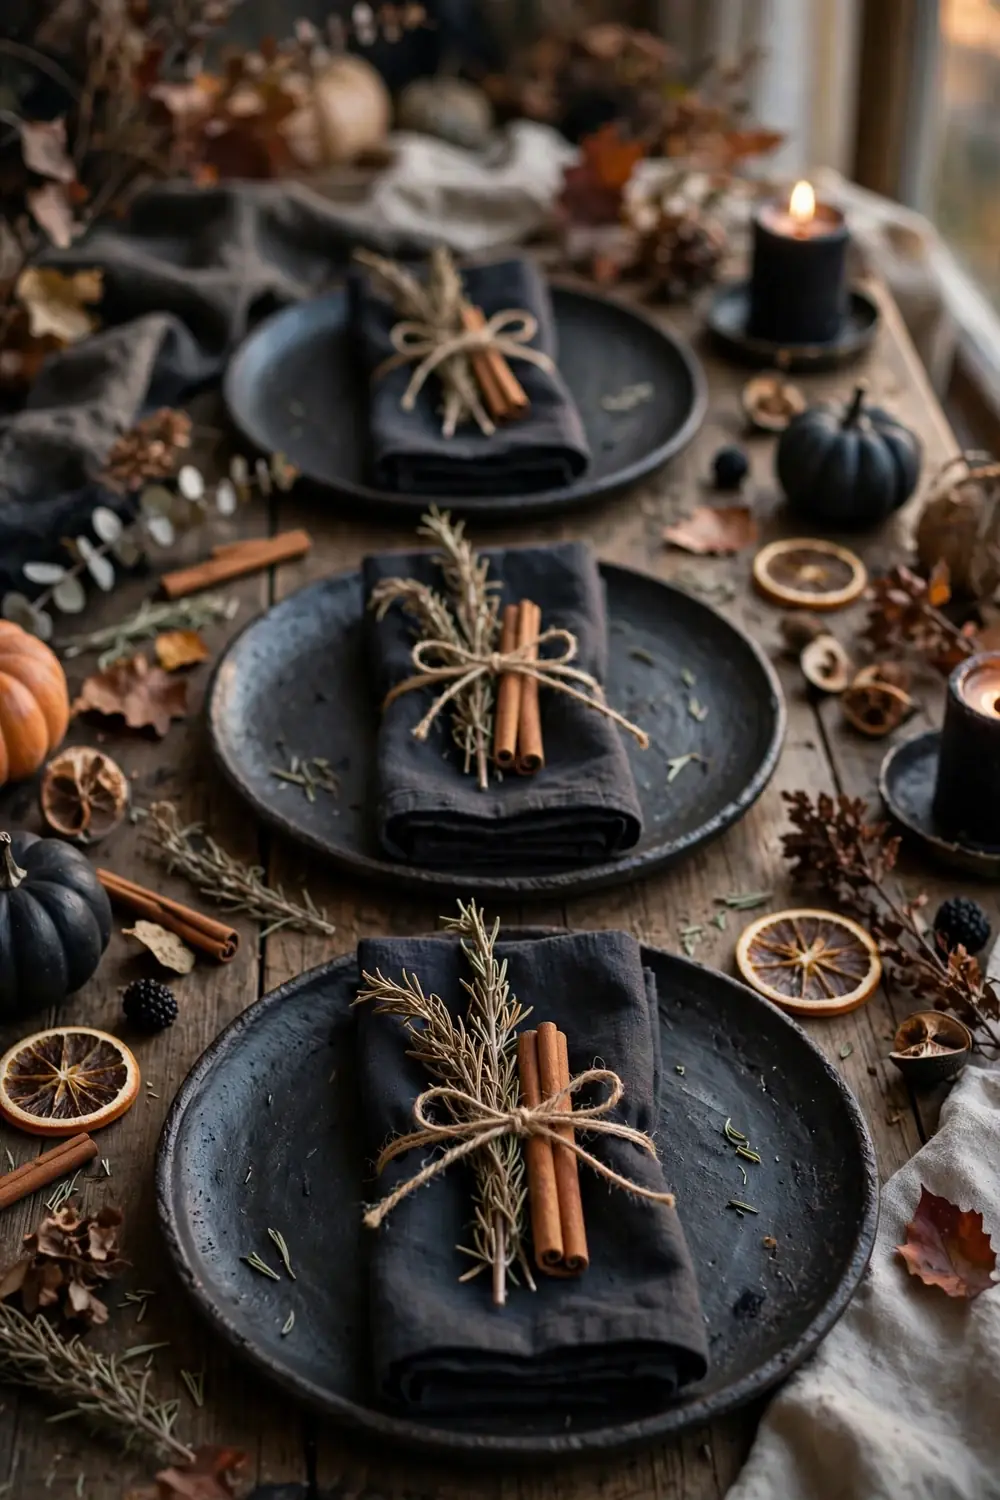
Tuck Dried Herbs and a Cinnamon Stick Into Each Napkin
Napkin rings feel fussy and cost too much for one night. A dried rosemary sprig and cinnamon stick tucked into a folded napkin does the same job and smells like fall.
Tie them with a short piece of twine if they slip. The herbs brush against hands when guests unfold the napkin, a small surprise most hosts skip.
Keep the Centerpiece Low So Guests Can Talk Across It
Here is the rule: if you cannot see the person across from you, the centerpiece is too tall. Nothing kills a dinner party faster than shouting over flowers.
Keep everything under twelve inches. Low pumpkin clusters, flat garlands, and short candle groups all work. Tall drama belongs at the ends of the table or on the sideboard, never in the middle.
Sight line checklist
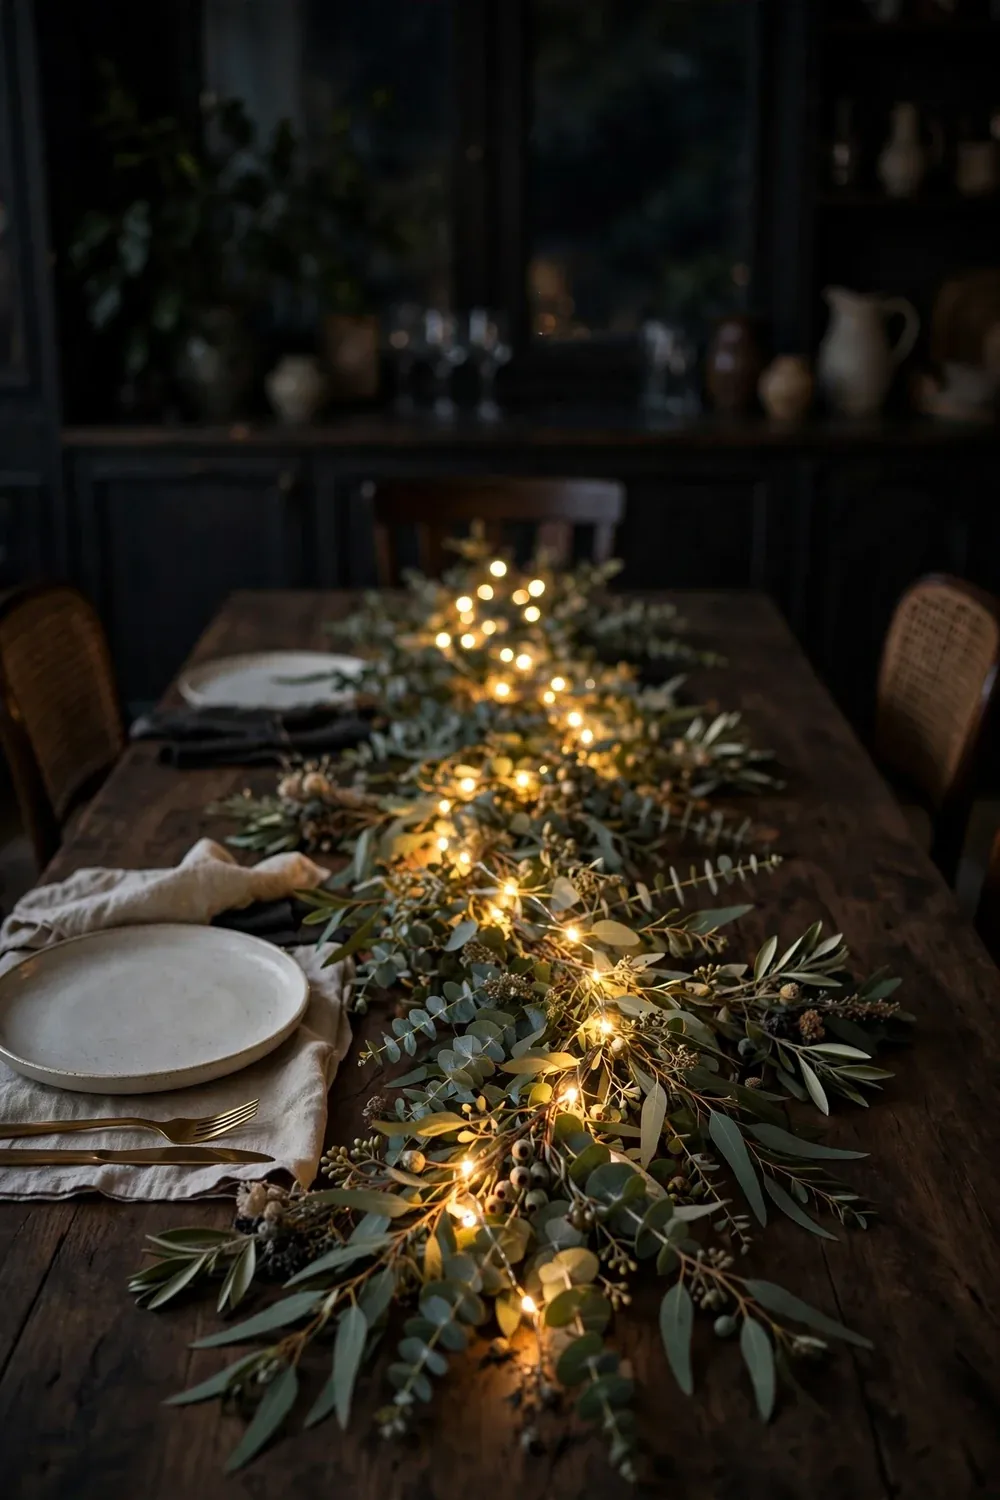
Weave Warm String Lights Through a Eucalyptus Garland
When the overhead lights go off and the table glows, the room goes quiet for a second. That is the moment people remember.
Run faux eucalyptus down the center, then weave warm white fairy lights through it. The leaves hide the wire, and the light catches every glass on the table.
Warm white only. Cool white lights make food look grey and the whole table feel like an office.
Set a Mini Cauldron Punch Bowl at the Drink Station
The drink station needs one hero piece. A small black cauldron filled with punch does it for the price of a punch bowl you would never use again.
Line it with a food safe insert, fill with dark red punch, and float orange slices plus a few plastic eyeballs on top.
Line the cauldron with a food safe insert or a glass bowl that fits.
Fill with dark red punch so it looks like a proper brew.
Float orange slices and plastic eyeballs on top for the laugh.
Set it slightly away from the table edge. Punch splashes, and black hides stains that would ruin a white bowl.
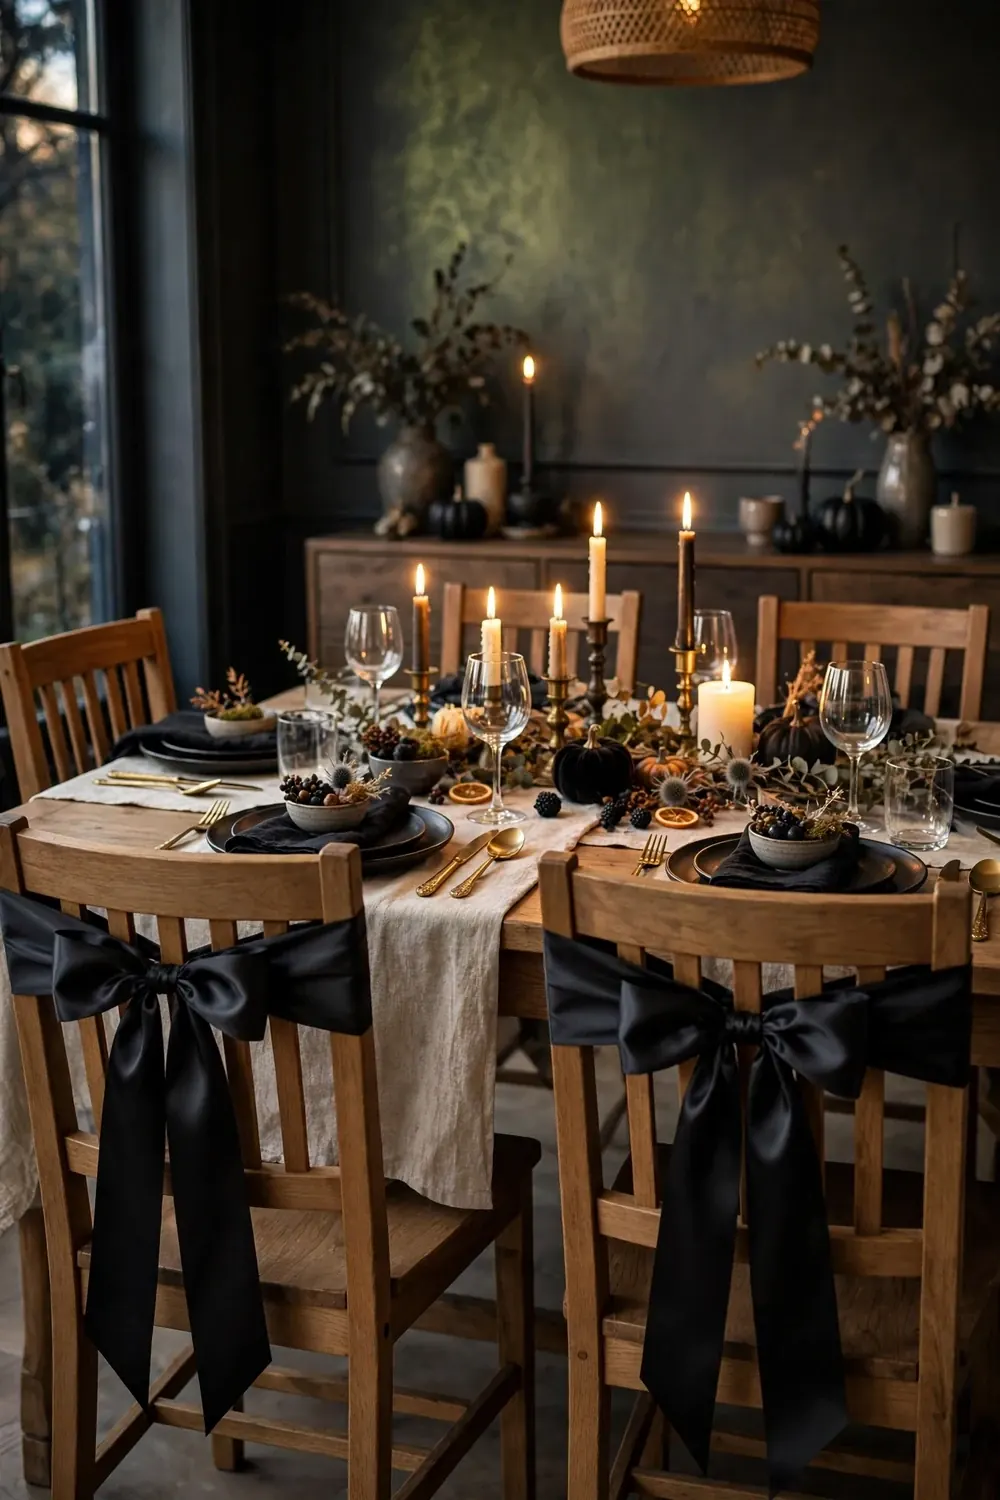
Tie Wide Black Ribbon Bows on Every Chair Back
Chair covers are expensive and make chairs look lumpy. A wide black ribbon bow on each chair back gives the same dressed up feeling for almost nothing.
Cut ribbon two yards per chair, loop it around the backrest, and tie a full bow with long tails. Satin catches candlelight best, and the tails sway when chairs move.
Plain dining chairs that look borrowed from the kitchen.
Every chair dressed for the party, the whole table framed in black bows.
Hollow Foam Pumpkins to Hide LED Tea Lights
A glowing pumpkin that never rots and never needs a knife is the dream. Foam pumpkins with a hollow center hide a tea light perfectly.
Cut a hole in the bottom with a craft knife, drop in an LED tea light, and set the pumpkin over it. The light glows through the foam skin with a soft orange halo that looks real from a few feet away.
💡 Quick Tip
Cluster three sizes together at the table ends. One alone looks like a nightlight, three look like a plan.
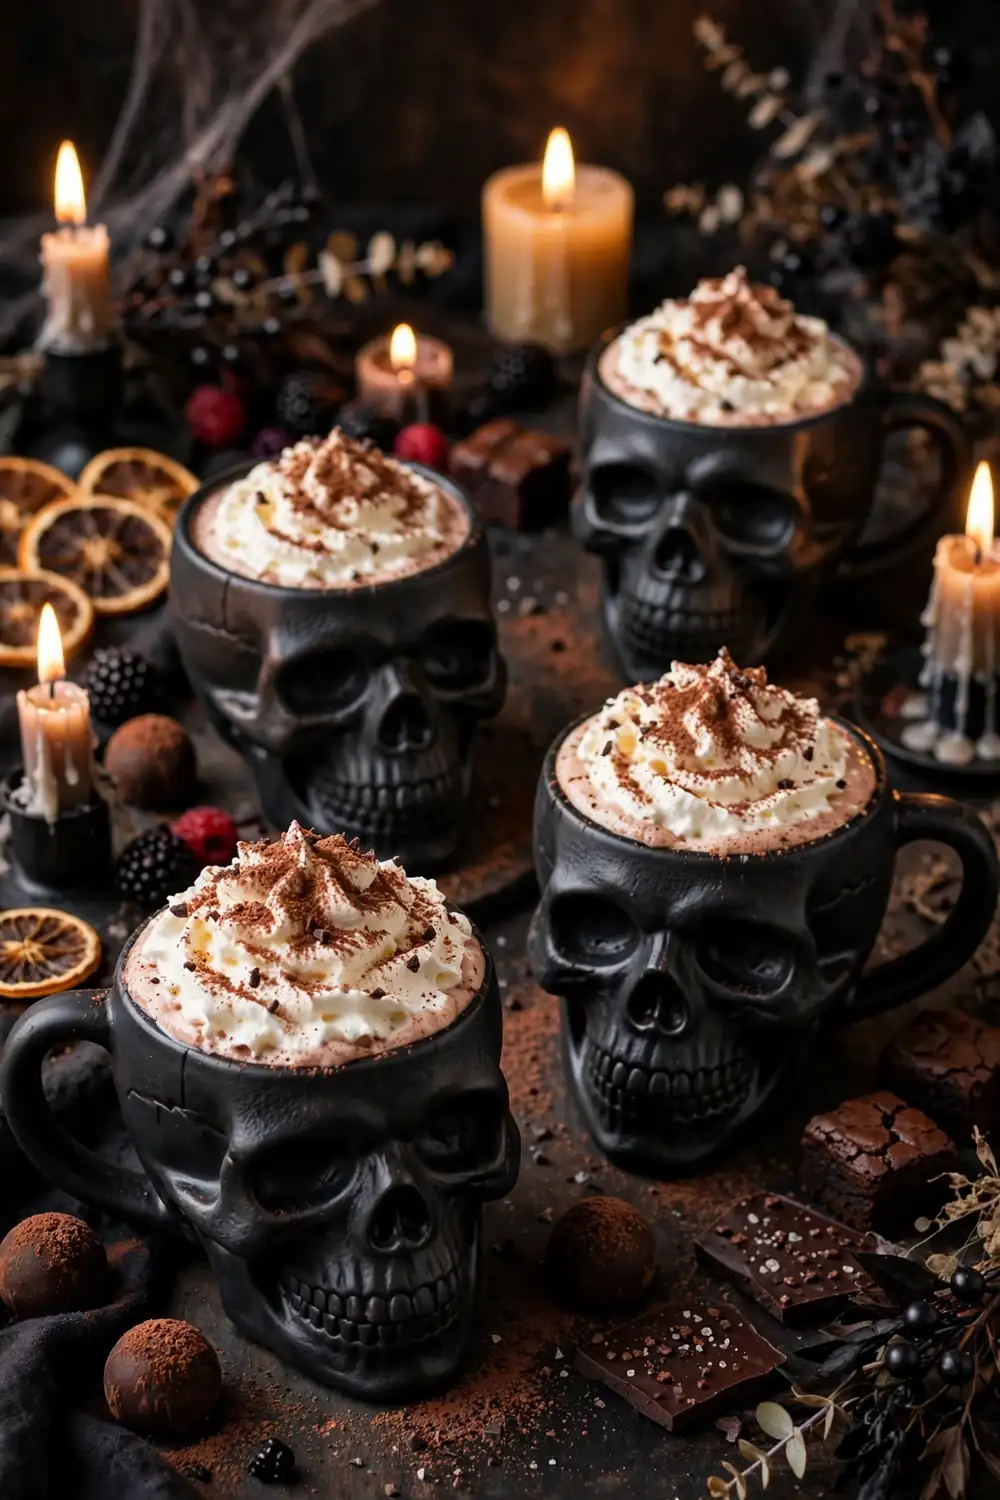
Pour Cocoa Into Skull Mugs for the Dessert Course
A dessert tray with plain white mugs says you ran out of ideas. Skull mugs say the theme runs all the way to the last course.
Fill them with hot cocoa and top with whipped cream. White cream on dark skull photographs well, and guests always ask where the mugs came from.
Preheat the mugs with hot water so cocoa stays warm.
Serve with a cinnamon stick as the stirrer.
Boiling liquid in thin novelty mugs.
Mugs with paint on the inside of the rim.
Build a Dessert Spread on a Black Slate Slab
Guests hover over a dessert table and do not touch anything when it looks too styled to disturb. A black slate slab with a chalk label per dessert fixes that. People read, point, and dig in.
Label each dessert with a spooky name: brownies become “graveyard dirt,” meringue cookies become “haunted puffs,” red velvet cake becomes “vampire velvet.”
| Dessert | Chalk label idea |
|---|---|
| Chocolate brownies | “graveyard dirt” |
| Meringue ghosts | “haunted puffs” |
| Red velvet cake | “vampire velvet” |
Wipe the slab between refills so crumbs do not dull the dark surface.
Place a Small Candy Favor Bag at Every Seat
The party ends, but the favor bag keeps it going. Guests find a small black bag of candy at their seat and the night ends on a sweet note.
Fill small black organza bags with wrapped candy, tie with orange ribbon, and set one on every plate. Add a name tag and the bag doubles as your place card.
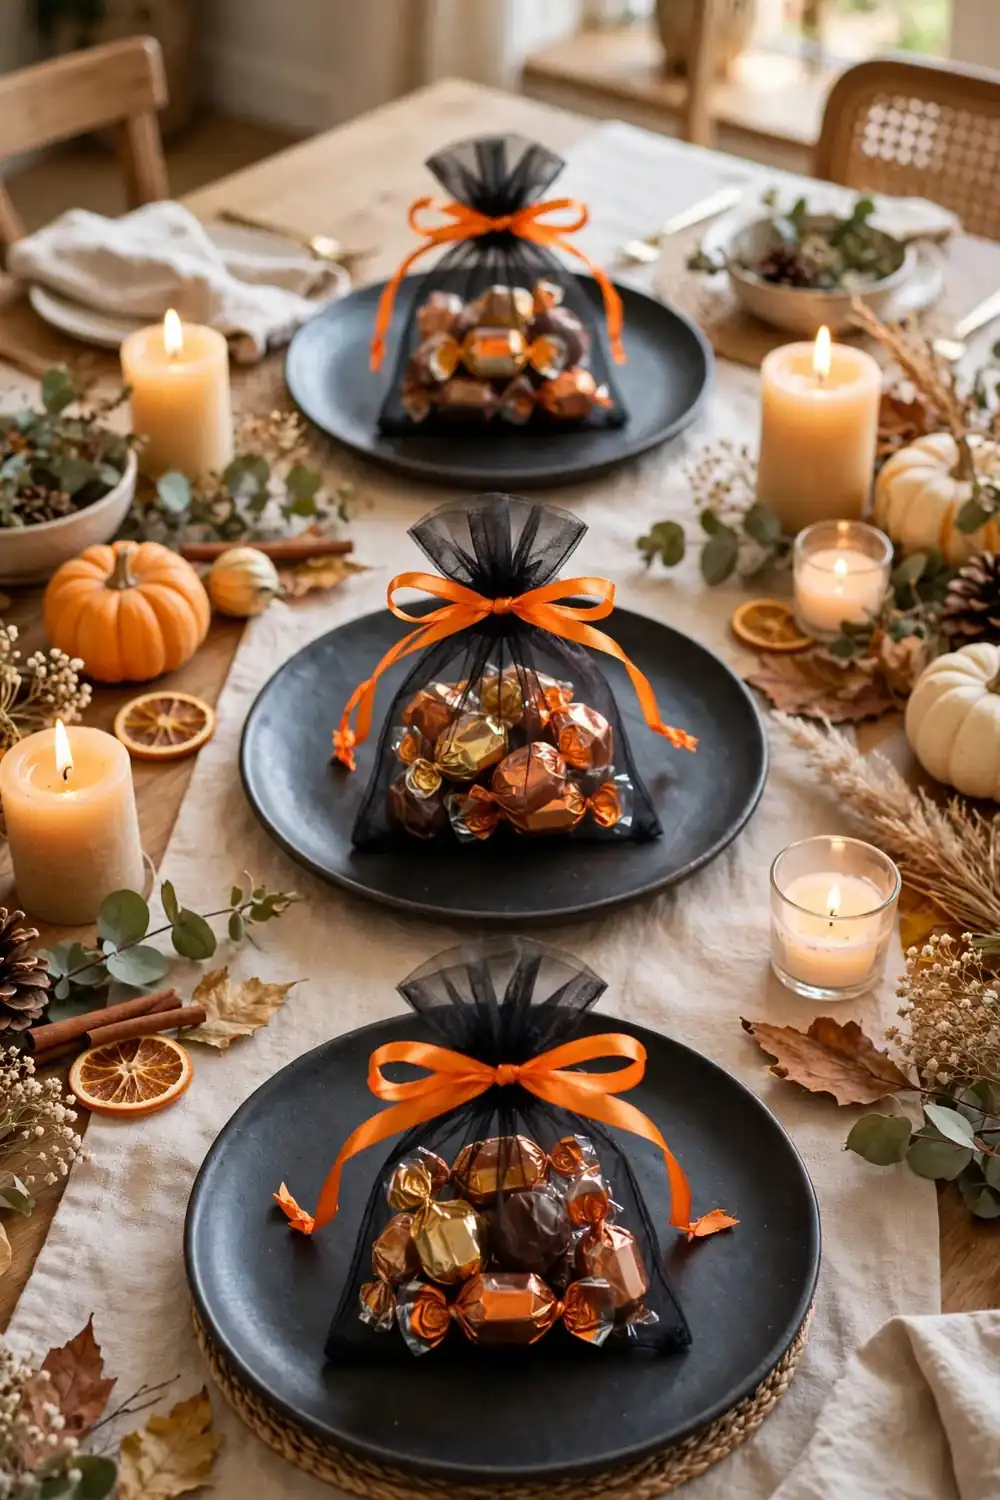
That is the whole table, from the runner to the favor bags. None of it needed a big budget or a craft degree, just candlelight, dark textures, and a few small surprises at each seat.
These halloween table decor ideas work because they treat dinner like theater. The table sets the scene, and your guests do the rest. Try the three that fit your style first, then add one more each year until the party has its own traditions.
Save this list to your Halloween board so it is ready when the invitations go out next October.