Plumbing
Detecting and Fixing Water Leaks: A Complete Homeowner Guide
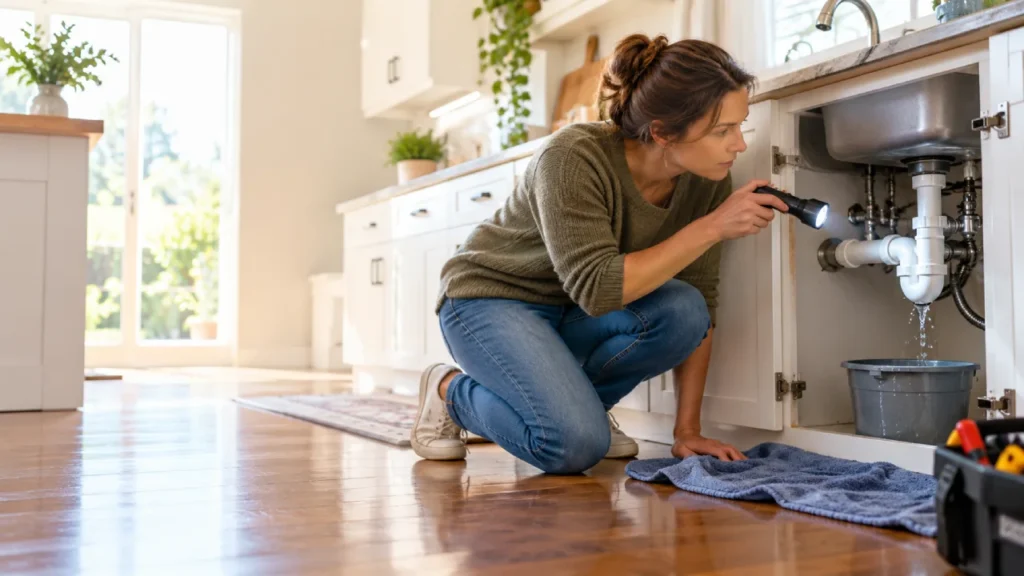
A small water leak may look harmless at first, but even a slow drip can lead to higher water bills, damaged cabinets, stained ceilings, weakened drywall and hidden moisture problems if it continues unnoticed.
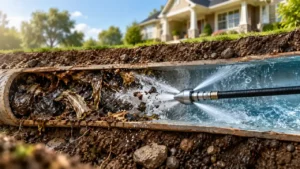
Some leaks are obvious, such as a dripping faucet or water collecting under a sink. Others develop behind walls, beneath floors, around appliances or underground, where they can remain hidden for weeks.
Knowing how to recognize the warning signs, test your plumbing system and decide whether a repair is suitable for DIY work can help you limit damage and avoid unnecessary water waste.
This guide explains how to detect, locate, fix and prevent common household water leaks, as well as when it is safer to call a professional plumber.
1. Signs You May Have a Water Leak
Many water leaks begin quietly. Instead of waiting for visible dripping water, pay attention to changes around your home.
Common warning signs include:
- An unexplained increase in your water bill
- Damp or discolored areas on walls or ceilings
- Peeling paint or bubbling wallpaper
- Musty odors in cabinets or rooms
- Water stains around plumbing fixtures
- Warped flooring or swollen baseboards
- The sound of running or dripping water when fixtures are turned off
- Unusually green or soft patches in the yard
- Low water pressure in part of the house
- A water meter that continues moving when no water is being used
A single symptom does not always confirm a plumbing leak, but several signs appearing together deserve immediate investigation.
2. What to Do Immediately When You Discover a Water Leak
If you discover an active leak, limiting additional water damage should be your first priority.
Step 1: Shut Off the Water
For a leaking toilet, faucet or appliance, use the local shutoff valve if one is available.
For a burst pipe, major hidden leak or leak you cannot isolate, turn off the home’s main water supply.
Every homeowner should know where the main shutoff valve is located before an emergency occurs.
Step 2: Consider Electrical Safety
Water and electricity are a dangerous combination.
If water is spreading near electrical outlets, appliances, wiring or the electrical panel, avoid touching electrical equipment while standing in a wet area.
For a significant leak involving electrical components, professional assistance may be necessary.
Step 3: Contain the Water
Use towels, buckets or other suitable containers to limit spreading water while the supply is being shut off.
If safe to do so, remove standing water promptly.
Step 4: Identify the Source
Check nearby:
- Supply lines
- Faucets
- Toilets
- Appliances
- Pipe joints
- Water heaters
- Valves
Do not open walls or floors simply to investigate a suspected hidden leak unless you understand the plumbing layout.
Step 5: Document Serious Damage
If the leak has caused significant property damage, taking photographs before removing damaged materials may be helpful for documentation purposes.
3. How to Check Your Water Meter for a Hidden Leak
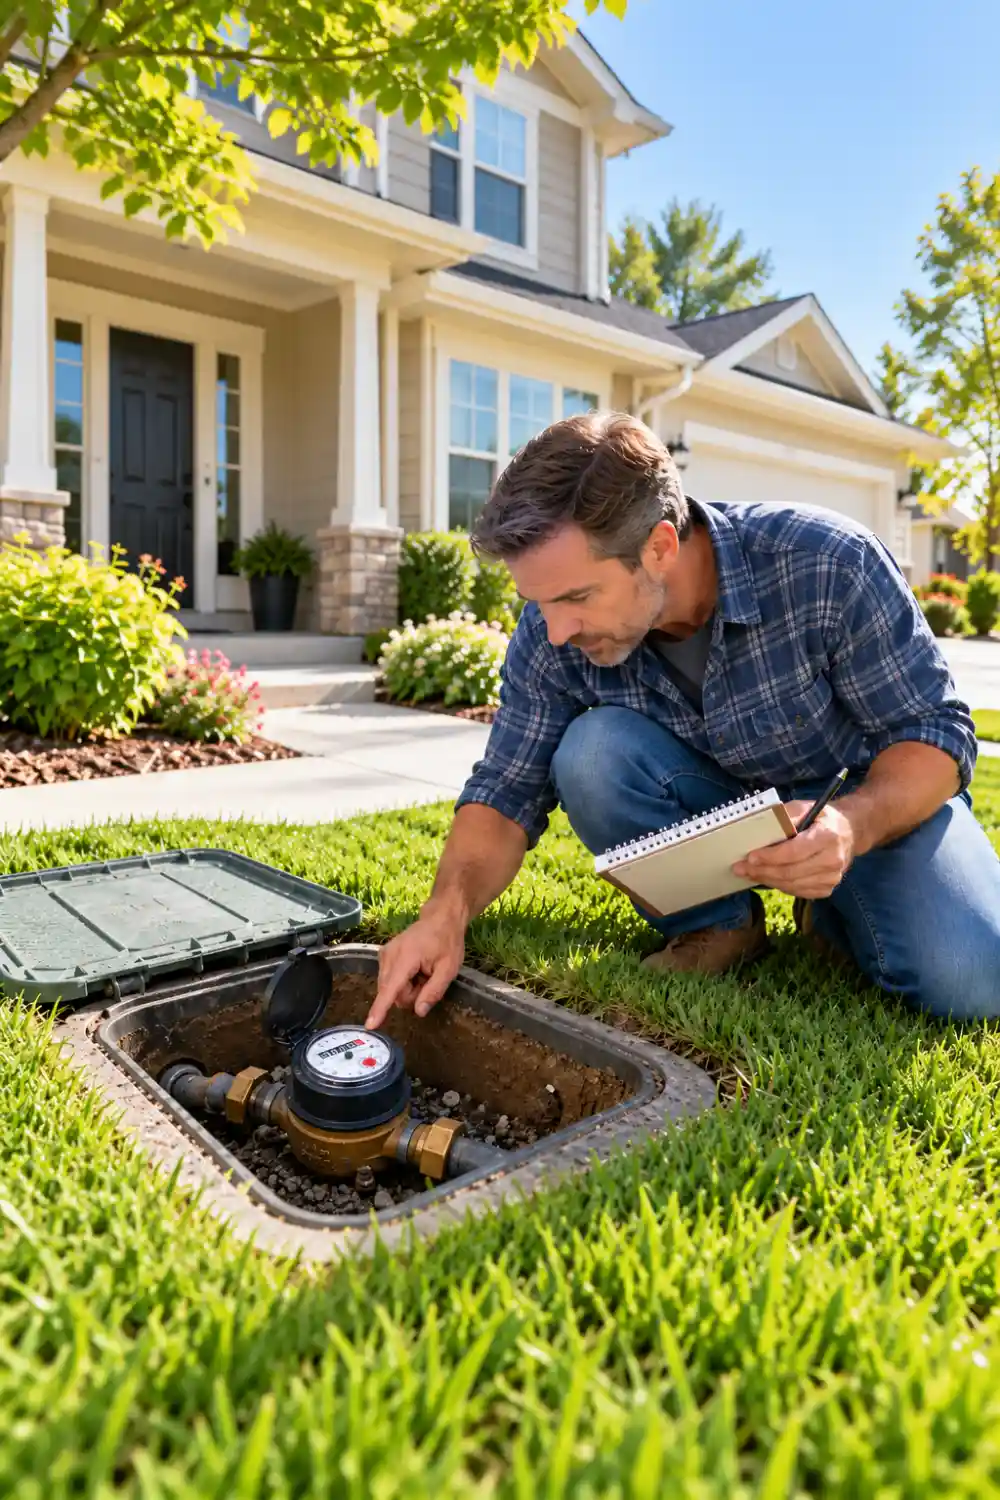
Your water meter can help reveal leaks that are not immediately visible.
A simple water meter test works like this:
- Turn off faucets, washing machines, dishwashers and other water-using fixtures.
- Make sure nobody uses water during the test.
- Record the water meter reading.
- Wait approximately two hours without using water.
- Check the meter again.
If the reading changes even though no water has been intentionally used, there is probably a leak somewhere in the system.
The EPA’s WaterSense program recommends this method as a practical way to check a home for hidden water loss.
4. Use the Toilet Dye Test
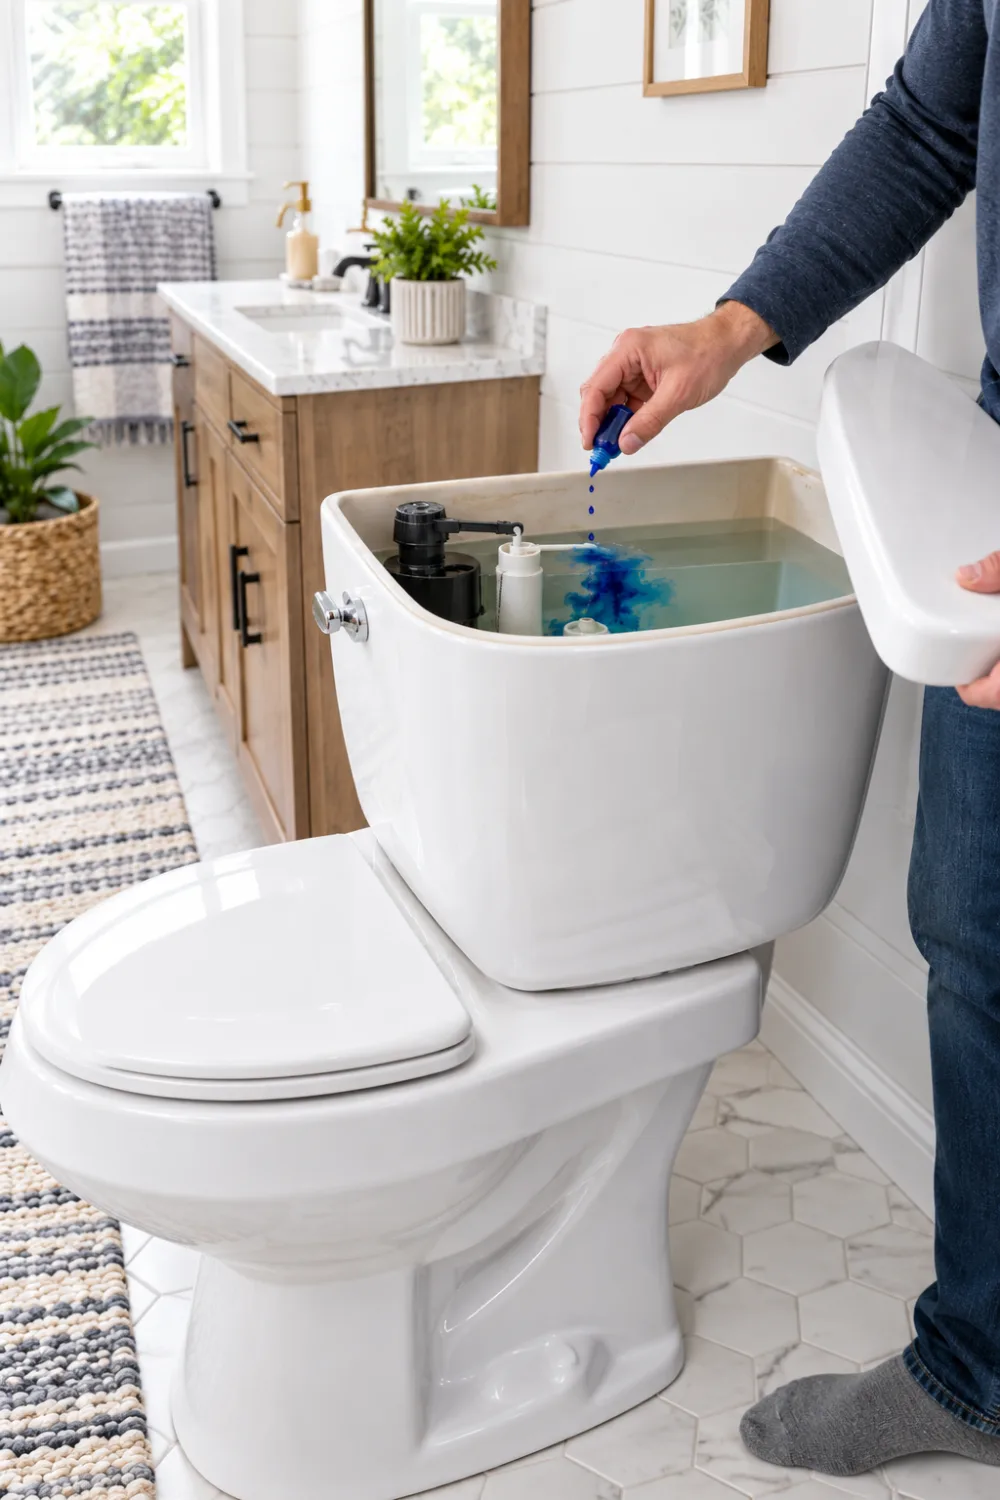
Toilets are one of the most common sources of silent household leaks.
A worn flapper can allow water to move continuously from the tank into the bowl without producing an obvious dripping sound.
To test a toilet:
- Remove the tank lid.
- Add a few drops of food coloring to the tank.
- Do not flush.
- Wait approximately 10 minutes.
- Check the toilet bowl.
If colored water appears in the bowl, water is leaking from the tank.
Flush immediately after the test so the coloring does not stain the toilet.
5. Where Water Leaks Commonly Occur
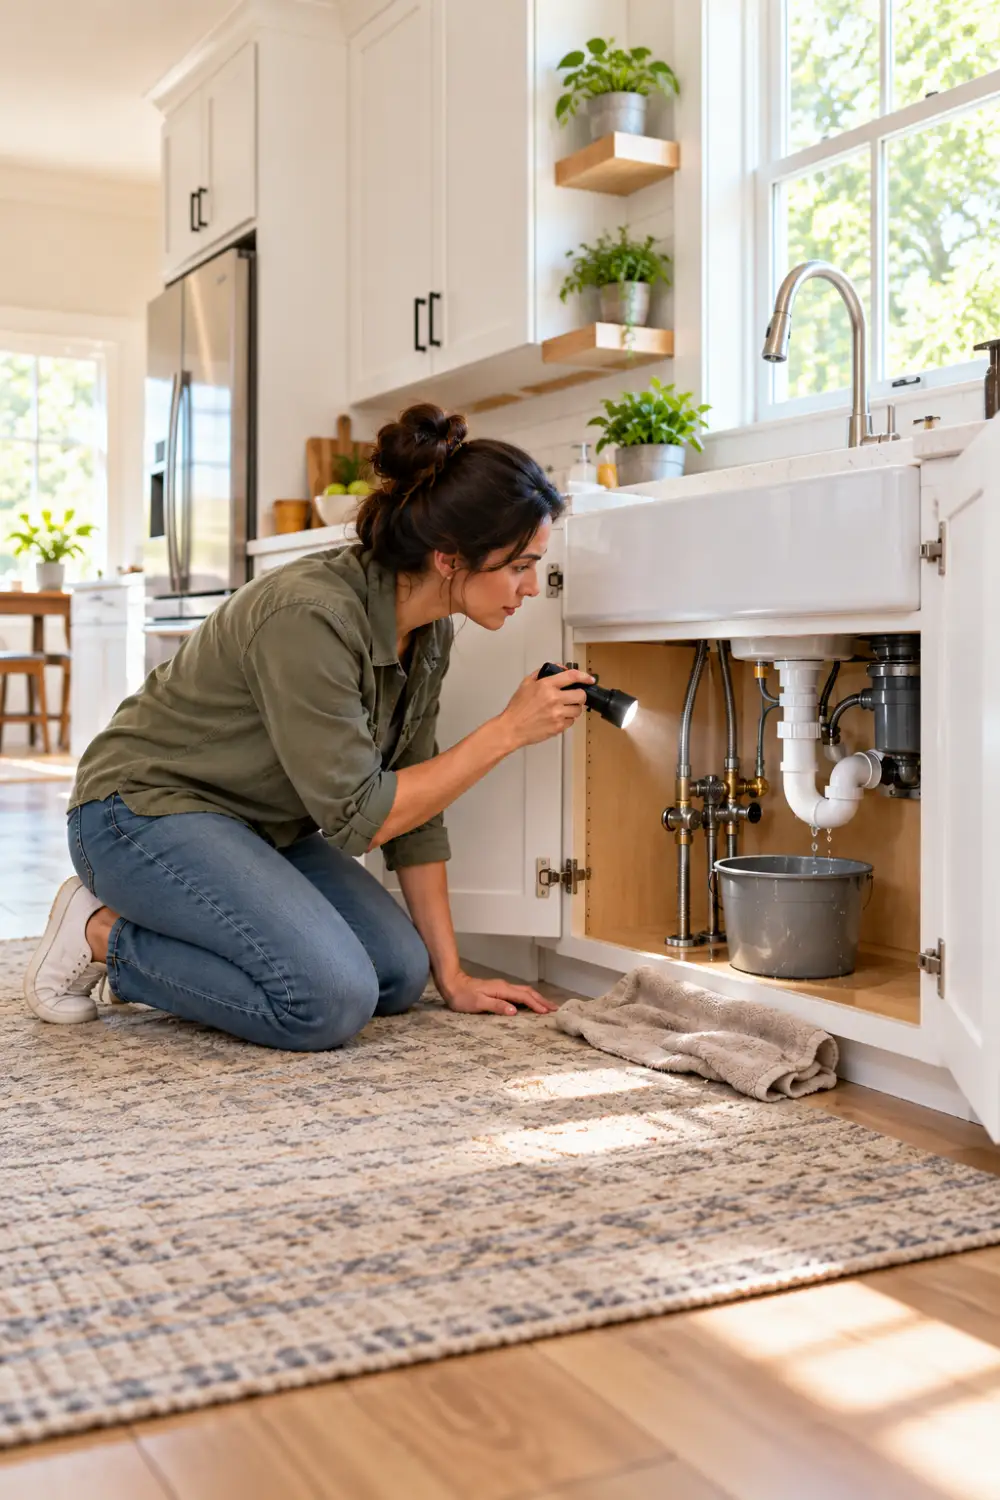
When searching for a leak, start with areas containing the most plumbing connections.
Bathroom
Inspect:
- Toilet flappers
- Toilet supply lines
- Toilet bases
- Sink faucets
- Sink drain connections
- Shower valves
- Showerheads
- Bathtub plumbing
- Exposed pipe joints
Watch for water around the toilet base, under vanities and around shower walls.
Kitchen
Check:
- Faucet connections
- Supply hoses
- Pipes under the sink
- Garbage disposal connections
- Dishwasher hoses
- Refrigerator water lines
- Ice maker connections
Moisture inside the cabinet under the sink is often one of the first signs of a kitchen plumbing leak.
Laundry Room
Pay particular attention to:
- Washing-machine supply hoses
- Shutoff valves
- Drain hoses
- Floor drains
- Nearby wall connections
A failed washing-machine hose can release a large volume of water quickly, so aging or damaged hoses should not be ignored.
Water Heater Area
Inspect:
- Connections at the top of the tank
- Valves
- Drain valve
- Nearby pipes
- The floor beneath the heater
Moisture around a fitting may be repairable, while water leaking from the tank itself can indicate a more serious problem requiring professional assessment.
Outdoors
Look at:
- Outdoor faucets
- Irrigation systems
- Sprinkler heads
- Underground supply lines
- Hose connections
A constantly damp patch of ground, unexpected plant growth or soft soil may indicate an underground leak.
6. How to Find a Hidden Water Leak Behind a Wall
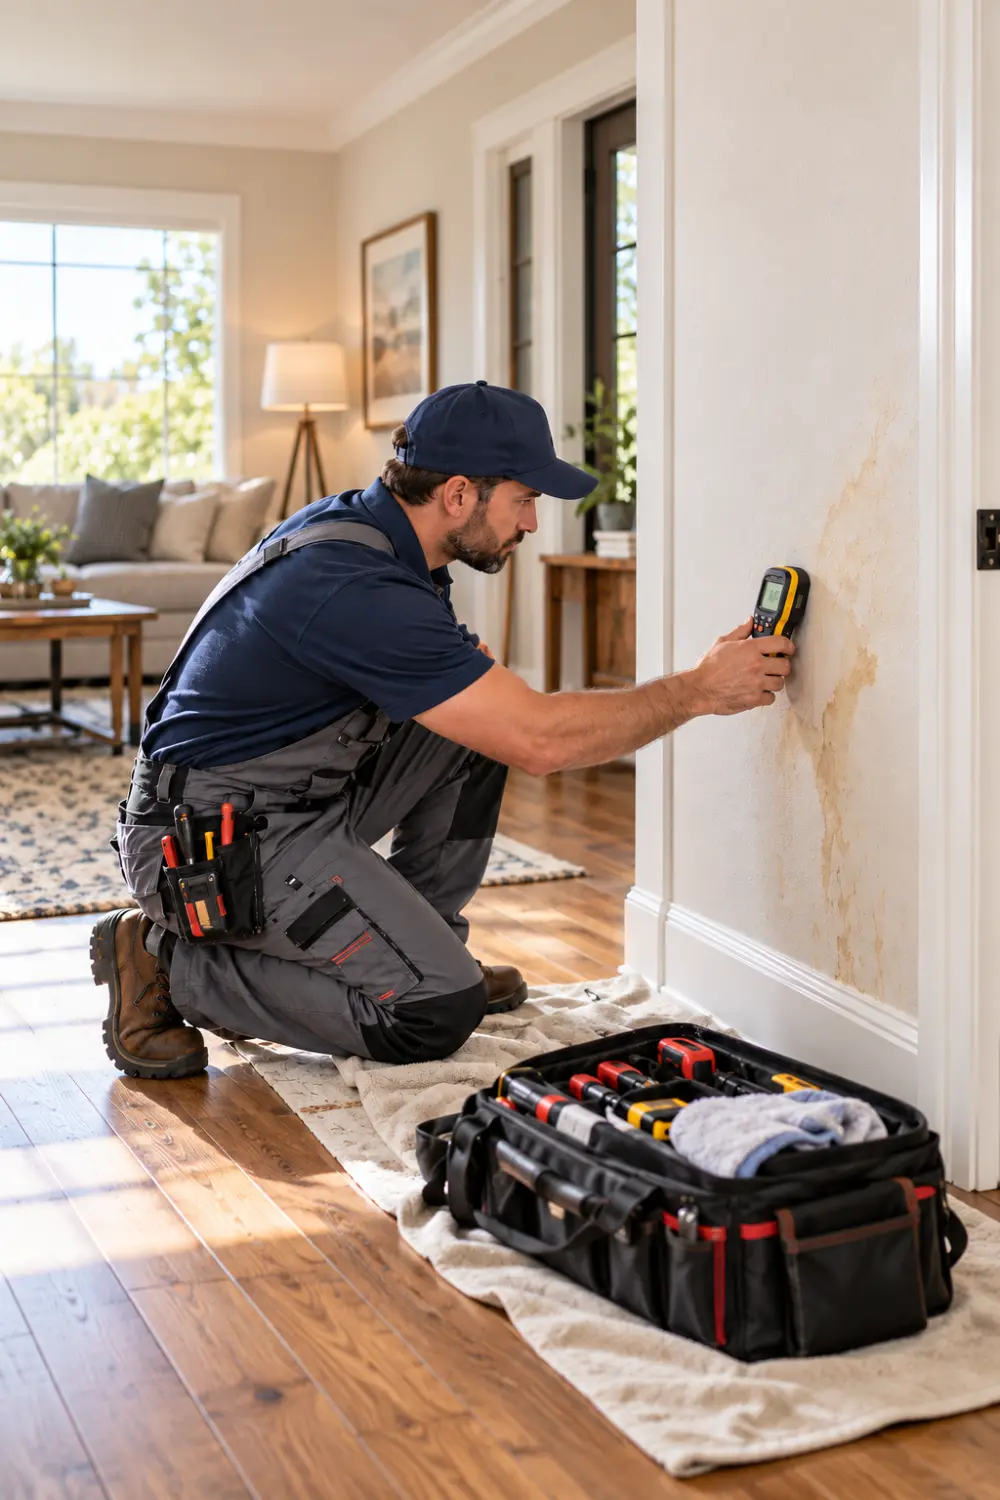
Hidden plumbing leaks can be more difficult to diagnose because the water may travel before becoming visible.
Possible signs include:
- Brown or yellow wall stains
- Bubbling paint
- Soft drywall
- Warped trim
- Peeling wallpaper
- Musty smells
- Persistent dampness
- Water sounds inside a wall
- Unexplained meter movement
Do not assume the visible stain is directly below the leaking pipe. Water can follow framing, pipes and other building materials before appearing.
Professional plumbers may use tools such as moisture meters, acoustic detection equipment or thermal imaging to narrow down the leak location before opening a wall.
7. DIY Repairs for Minor Water Leaks
Some small leaks are manageable for homeowners who are comfortable performing basic repairs.
Always shut off the water before disassembling plumbing components.
Dripping Faucet
A dripping faucet may be caused by a worn:
- Washer
- Cartridge
- O-ring
- Seal
- Valve component
The exact replacement procedure depends on the faucet design.
Leaking Toilet Flapper
If a dye test confirms water is leaking from the tank into the bowl, inspect the flapper.
A damaged, warped or deteriorated flapper can often be replaced without changing the entire toilet mechanism.
Loose Plumbing Connection
A loose threaded connection beneath a sink may sometimes be corrected by carefully tightening it.
Avoid excessive force. Overtightening can damage fittings, washers or plastic components.
Damaged Supply Hose
A leaking appliance or faucet supply hose should normally be replaced rather than repeatedly patched.
Choose a replacement that matches the fixture and connection specifications.
8. Temporary Leak Repairs vs Permanent Repairs
Pipe repair tape, clamps and epoxy products can sometimes help control a minor leak temporarily.
However, temporary sealing methods should not automatically be treated as permanent plumbing repairs.
A lasting repair may require:
- Replacing the damaged fitting
- Replacing part of the pipe
- Installing a new valve
- Correcting corrosion
- Replacing a worn supply line
- Repairing improper installation
If the pipe is badly corroded, cracked or leaking inside a concealed area, professional repair is usually a better solution than repeatedly patching the damaged section.
9. DIY or Call a Plumber?
Not every leak should become a DIY project.
| Water Leak Problem | DIY May Be Suitable | Professional Help Recommended |
|---|---|---|
| Dripping faucet | Yes | If repair fails |
| Worn toilet flapper | Yes | Rarely required |
| Loose exposed fitting | Sometimes | If fitting is damaged |
| Appliance supply hose | Often | If valve or pipe is damaged |
| Leak behind a wall | Limited | Yes |
| Ceiling water leak | Investigation only | Usually |
| Underground water line | No | Yes |
| Burst pipe | Emergency shutoff only | Yes |
| Water heater tank leak | No major DIY repair | Yes |
| Repeated unexplained leaks | No | Yes |
If you are unsure about the leak source or the repair could damage a pressurized plumbing line, calling a qualified plumber is usually the safer option.
10. When a Water Leak Is an Emergency
Seek prompt professional help when:
- A pipe has burst
- Water cannot be shut off
- Water is spreading rapidly
- Water is entering ceilings or walls
- The leak involves a water heater tank
- Plumbing damage is close to electrical equipment
- An underground supply line may have failed
- Multiple leaks occur at the same time
- Water pressure suddenly drops throughout the house
Fast action can reduce the amount of building material exposed to water.
11. Smart Water Leak Detectors and Flow Monitors
Modern leak detection technology can help homeowners discover leaks before major damage occurs.
There are two common approaches.
Moisture Sensors
These small sensors are placed in leak-prone locations such as:
- Under sinks
- Beside toilets
- Near washing machines
- Near dishwashers
- Around water heaters
When the sensor detects moisture, it can sound an alarm or send a notification.
Whole-Home Flow Monitoring
Flow-monitoring devices track water moving through the home’s plumbing system.
Some systems learn normal water-use patterns and alert the homeowner when unusual continuous flow is detected.
Certain systems can also work with automatic shutoff valves to stop water when a serious leak is detected.
Smart leak detection can be especially useful in:
- Vacation homes
- Rental properties
- Homes left empty frequently
- Houses with finished basements
- Properties with expensive flooring or cabinetry
- Homes with aging plumbing
Smart devices do not replace plumbing maintenance, but they can provide earlier warning when something goes wrong.
12. What to Do After the Leak Is Fixed
Stopping the leak is only part of the job.
Wet building materials need to dry properly so moisture does not remain trapped inside the home.
Remove Standing Water
Dry visible water as soon as it is safe to do so.
Improve Air Movement
Fans and dehumidifiers can help remove moisture when electricity is safe to use.
Open Wet Cabinets and Enclosed Areas
Opening doors and drawers can help air circulate around damp surfaces.
Check Porous Materials
Drywall, insulation, carpet padding and some wood-based materials can absorb significant amounts of water.
Materials that remain saturated may require removal or replacement.
Watch for Mold
According to the CDC, wet materials should ideally be cleaned and dried or removed within approximately 24 to 48 hours to help prevent mold growth.
A persistent musty odor, visible spotting or damp materials after a leak deserve further investigation.
13. Do Not Simply Paint Over Water Damage
A water stain may remain after the surface dries, but repainting should come only after:
- The leak has been completely repaired.
- The area has dried.
- Damaged material has been assessed.
- Any mold or contamination has been addressed.
Painting or sealing a wet surface can trap moisture and hide an ongoing problem.
14. Prevent Future Plumbing Leaks
Preventive maintenance can reduce the likelihood of sudden water damage.
Inspect Supply Lines
Regularly check hoses serving:
- Toilets
- Faucets
- Washing machines
- Dishwashers
- Refrigerators
Replace damaged, cracked, bulging or corroded lines.
Check Under Sinks
A quick monthly inspection can reveal slow leaks before they damage cabinetry.
Monitor Water Bills
A sudden unexplained change in water consumption may indicate a leak.
Know Your Main Shutoff Valve
Make sure household members know its location and understand how to operate it.
Protect Pipes From Freezing
In cold climates, exposed pipes in garages, crawlspaces and exterior walls may need insulation or other freeze protection.
Watch Water Pressure
Excessive water pressure can place unnecessary stress on fixtures, valves, supply hoses and plumbing connections.
If plumbing components repeatedly fail or pressure appears unusually high, ask a plumber to inspect the home’s pressure and pressure-regulating equipment.
Inspect Appliances
Dishwashers, washing machines, refrigerators and water heaters all contain connections that may deteriorate with age.
15. How Much Water Can Household Leaks Waste?
Small leaks can add up faster than many homeowners expect.
The U.S. Environmental Protection Agency reports that an average household’s leaks can waste more than 9,300 gallons of water every year.
EPA data also indicates that fixing easily corrected household leaks can save homeowners about 10 percent on their water bills.
A faucet dripping at approximately one drip per second can waste thousands of gallons over the course of a year.
Finding leaks early therefore protects more than your walls and flooring—it also helps reduce unnecessary water consumption.
16. A Simple Home Water-Leak Checklist
Use this checklist whenever you suspect a leak:
- Check the water bill for unusual changes.
- Listen for running water when fixtures are off.
- Inspect toilets with a dye test.
- Check under kitchen and bathroom sinks.
- Inspect appliance hoses.
- Look around the water heater.
- Check walls and ceilings for stains.
- Inspect outdoor faucets and irrigation.
- Perform a two-hour water meter test.
- Call a plumber if the leak cannot be located.
Frequently Asked Questions
How do I know if I have a hidden water leak?
Common clues include an unexplained water bill increase, damp walls, musty odors, bubbling paint, warped flooring or movement at the water meter when every water fixture is turned off.
How can I tell if a pipe is leaking behind a wall?
Look for stains, peeling paint, soft drywall, unusual moisture, musty odors or the sound of dripping or running water inside the wall. Professional leak-detection equipment may be necessary when the source cannot be located visually.
Can a small water leak cause mold?
Yes. Even a relatively small leak can create damp conditions that support mold growth if building materials remain wet.
How quickly should water damage be dried?
Wet materials should be dried as quickly as possible. A useful target is approximately 24 to 48 hours, particularly when trying to reduce mold risk.
How do I know if an underground pipe is leaking?
Possible indicators include continuous water-meter activity, unexplained high bills, unusually wet soil, soft areas in the yard or unusually vigorous vegetation along the water line.
Are smart leak detectors worth installing?
They can be valuable in homes where early warning would reduce significant damage. Moisture sensors can detect water at specific locations, while whole-home flow monitors can identify unusual water consumption. Some systems can automatically shut off the water supply.
Can I permanently repair a leaking pipe with tape?
Repair tape can help with some temporary leaks, but it should not automatically be considered a permanent solution. Damaged or corroded plumbing may require replacement.
What is the most common household water leak?
Toilet flappers, dripping faucets, leaking valves and fixture connections are among the most common household leak sources.
Final Thoughts
Water leaks are easier and less expensive to deal with when they are discovered early.
Regularly checking plumbing connections, watching your water usage and knowing how to perform a simple water-meter test can help identify problems before they cause widespread damage.
Minor issues such as a worn toilet flapper or dripping faucet may be suitable for DIY repair. Hidden leaks, burst pipes, underground lines and major water damage generally deserve professional attention.
Most importantly, do not ignore moisture after the plumbing repair is complete. Drying the affected area quickly is an essential part of protecting walls, flooring, cabinetry and other building materials from longer-term damage.