Carving pumpkins sounds fun until you are the one holding the knife. The guts get under your nails, the design never looks like the picture on the box, and three days later the whole thing caves in and starts to smell. If you have little kids, they just watch from the sidelines because the tools are too sharp.
There is a better way to get that Halloween look on your porch. These no-carve pumpkin decorating ideas use paint, fabric, stickers, and simple craft supplies instead of blades and saws. No slime, no seeds stuck to the counter, and nothing rotting by the weekend.
Below you will find 25 ideas, starting with the simplest and building up to the most creative. Most take under an hour and use supplies from the dollar store or your craft drawer. Kids can safely help with almost every one. Pick one tonight and your pumpkins will be done before the pizza arrives.
Matte Chalk Paint Pumpkins in Soft Fall Colors
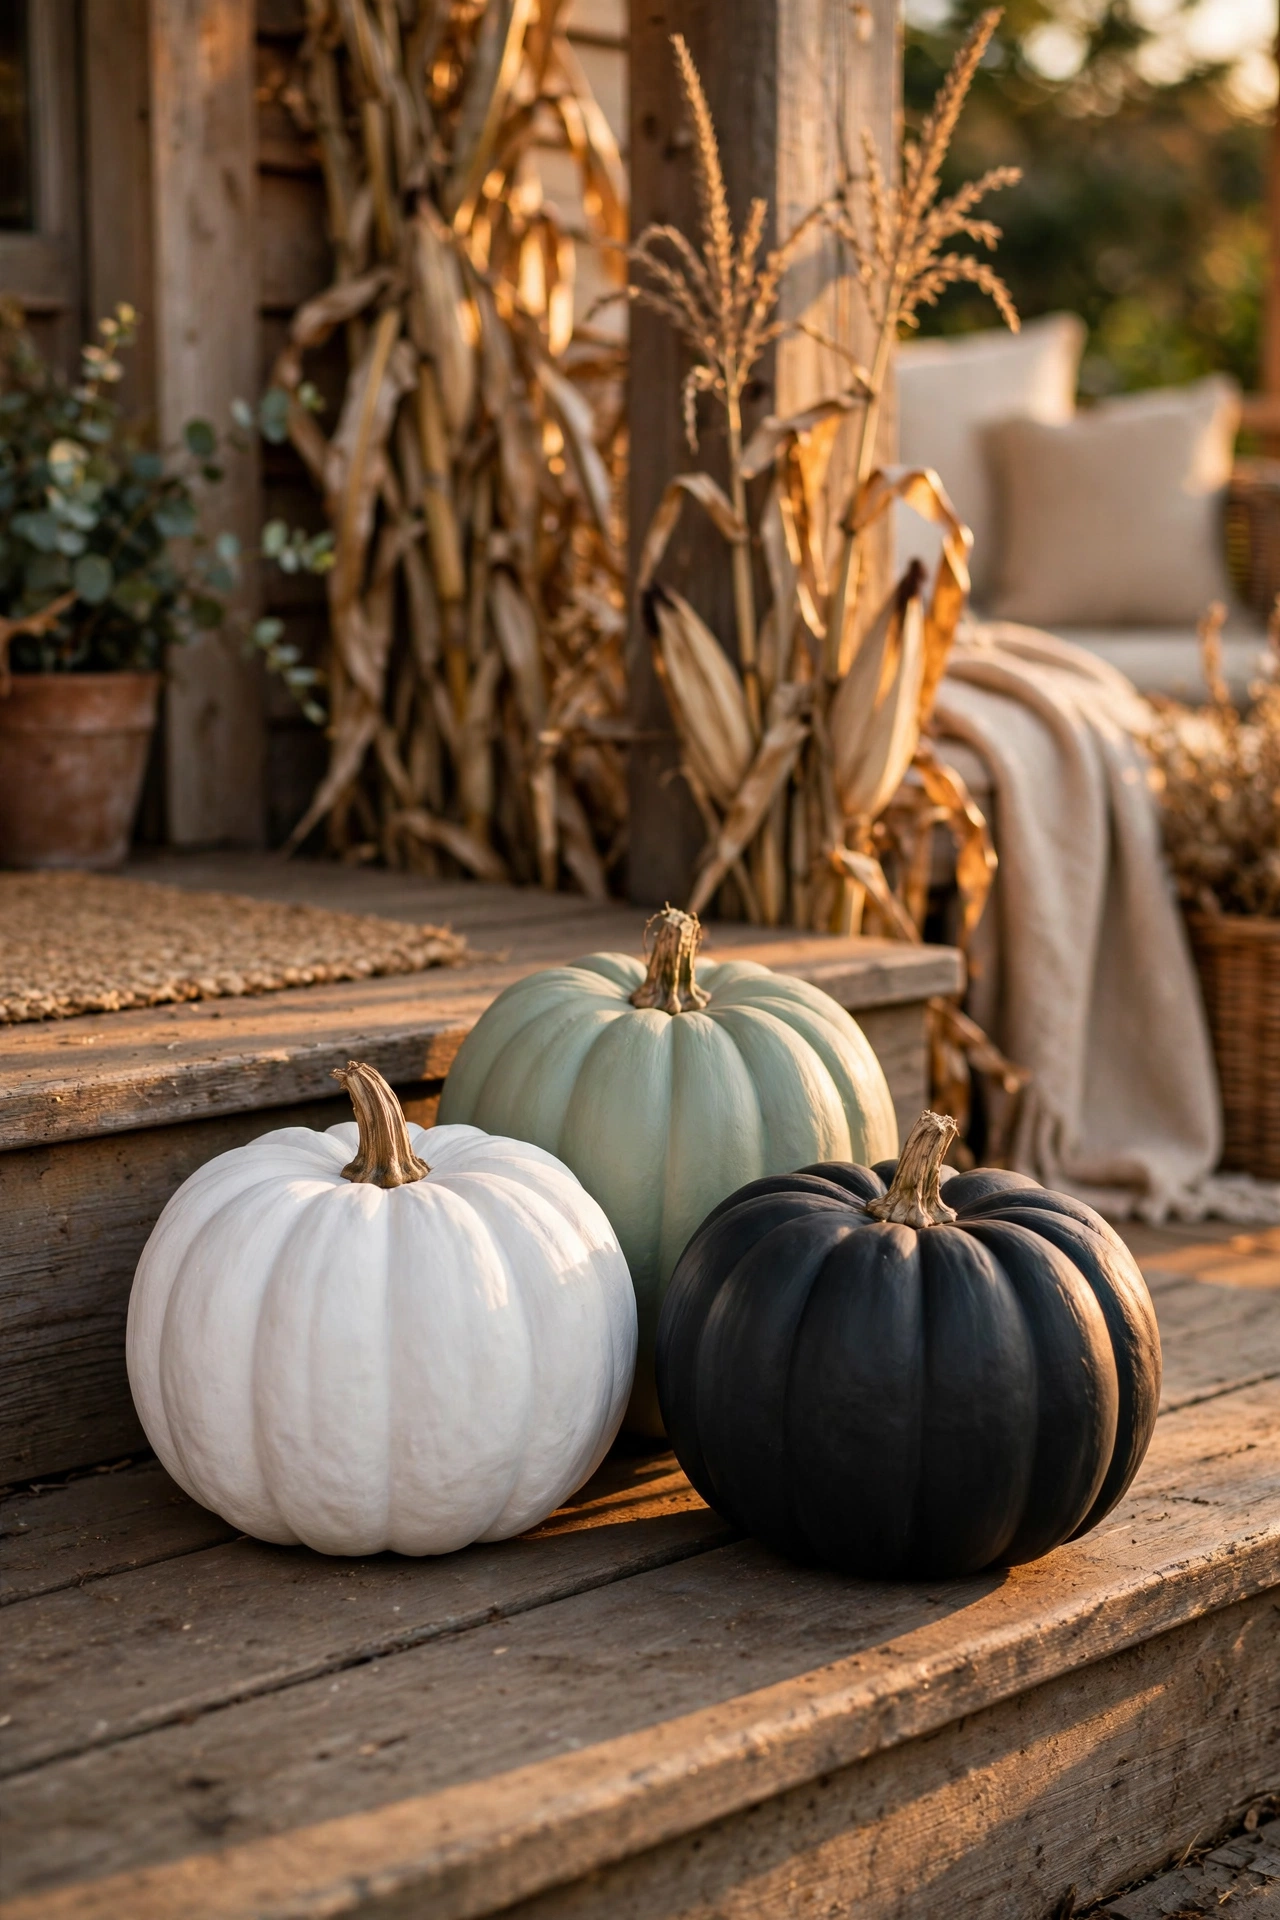
Matte pumpkins look expensive, and chalk paint is the shortcut. One coat usually covers the orange completely.
- Pick white, sage green, or soft black for a calm fall look
- Use a cheap foam brush to skip visible brush marks
- Dry each pumpkin on wax paper so the bottom does not stick
Group a few sizes together on your steps. They read as one planned display instead of random leftovers from the patch.
Fabric Strip Wrap Pumpkins
Tear, do not cut. Torn cotton strips have soft edges that melt into the pumpkin and hide every seam.
Brush decoupage glue on one small section at a time, press the strip down, and keep wrapping with the edges overlapping slightly. Work from the stem downward so the layers lie flat. Tuck the final end underneath with a dab of glue and let the pumpkin dry standing up.
Fabrics that wrap best
Napkin Decoupage Pumpkins
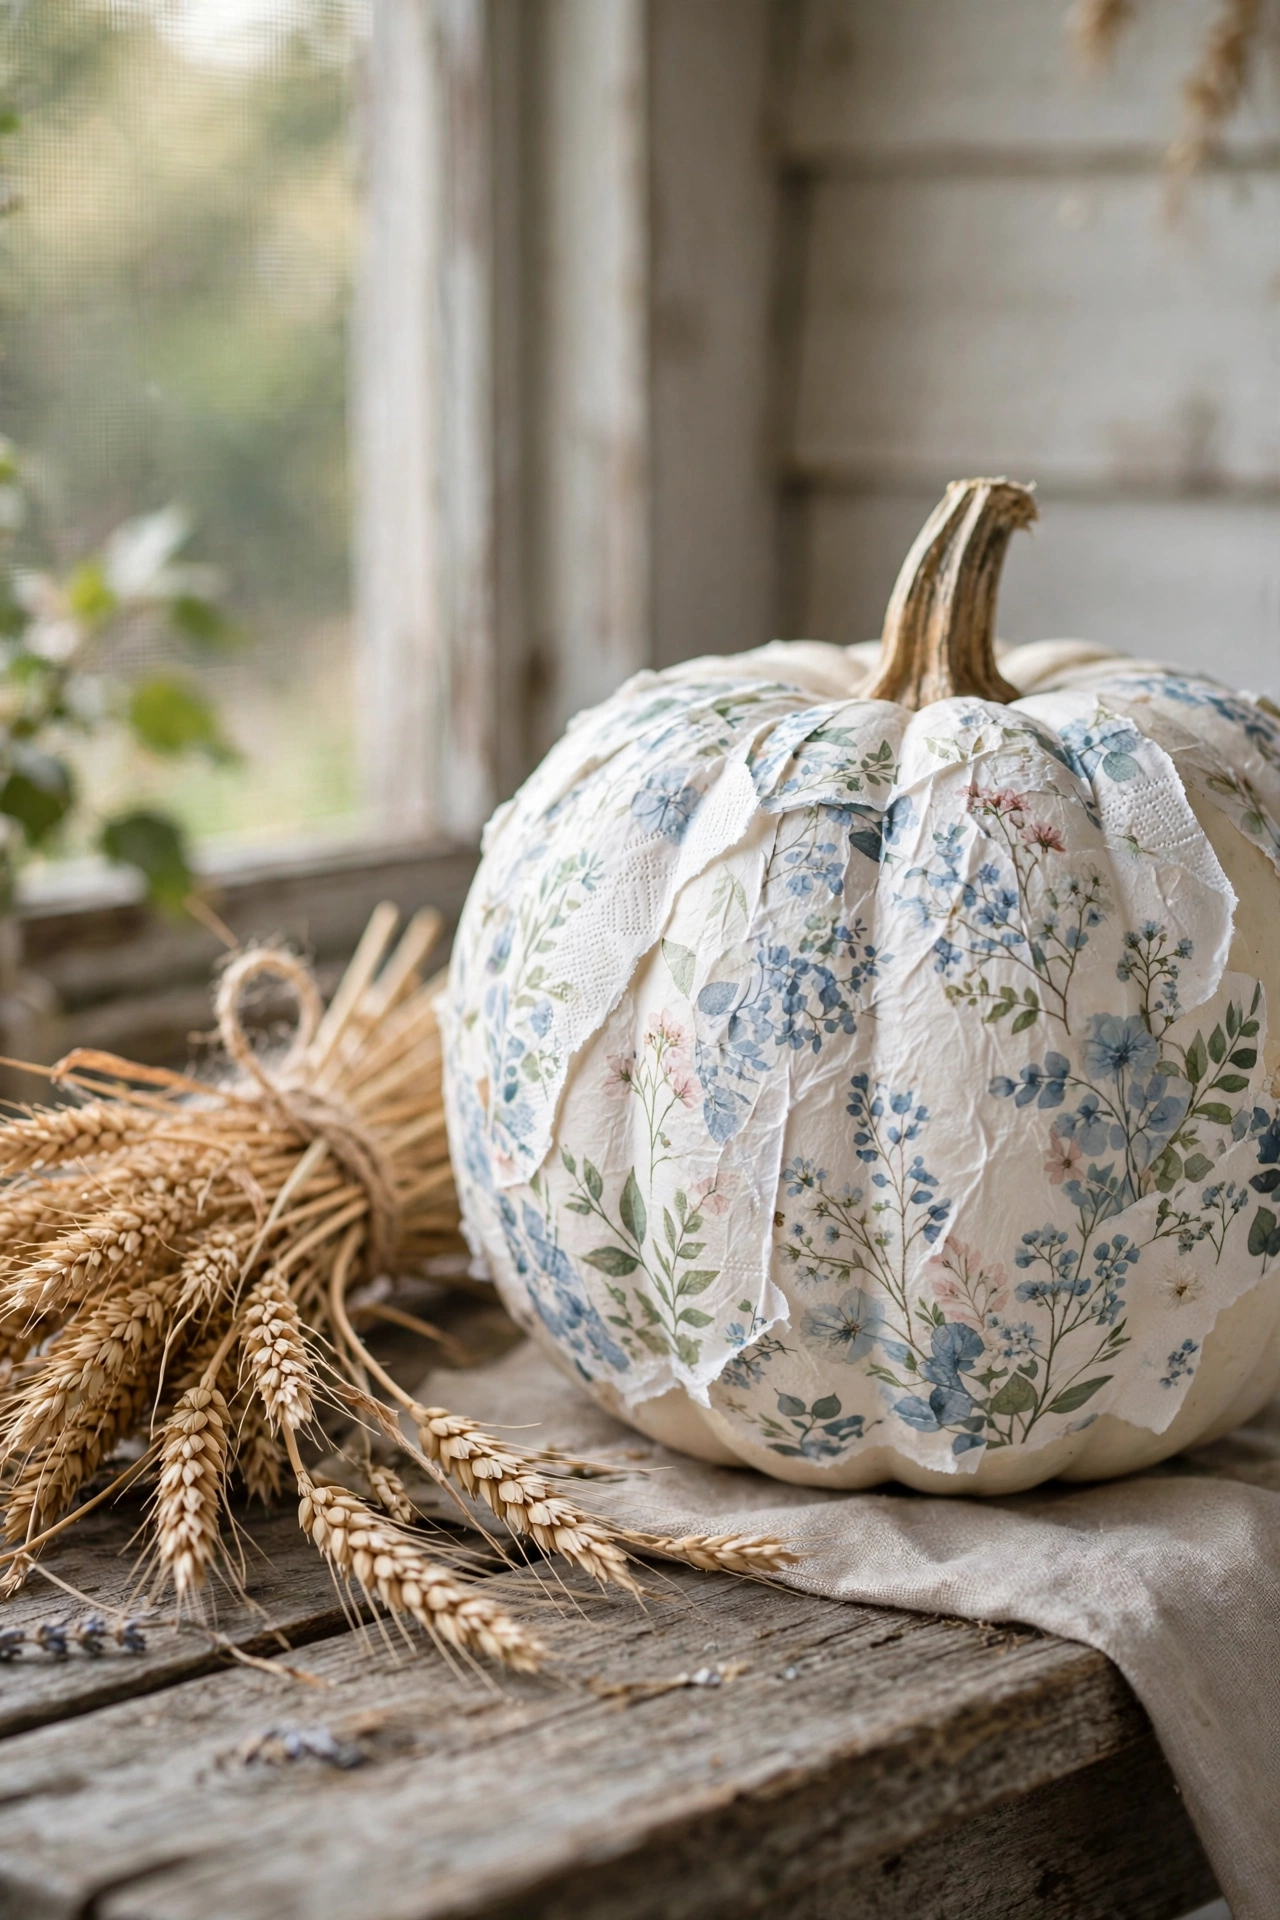
Plain orange pumpkins can clash with a neutral porch. Pretty paper napkins fix that in under an hour.
- Peel the napkin down to the single printed layer
- Tear it into rough pieces instead of cutting
- Smooth each piece on with decoupage glue and a soft brush
The torn edges vanish into the surface. From the sidewalk it looks hand painted.
Glitter Dipped Pumpkins
Brush craft glue around the bottom third of the pumpkin, then roll it through a tray of fine glitter. Tap off the extra and stand it on wax paper to dry.
Keep the glitter line uneven on purpose. Use fine glitter, not chunky. The small grains catch the light better, feel smooth, and a wavy edge hides the spot where the glue started and stopped.
💡 Quick Tip
Mist a light coat of clear sealer over the glitter once it dries. It stops the shedding so glitter does not end up all over your table.
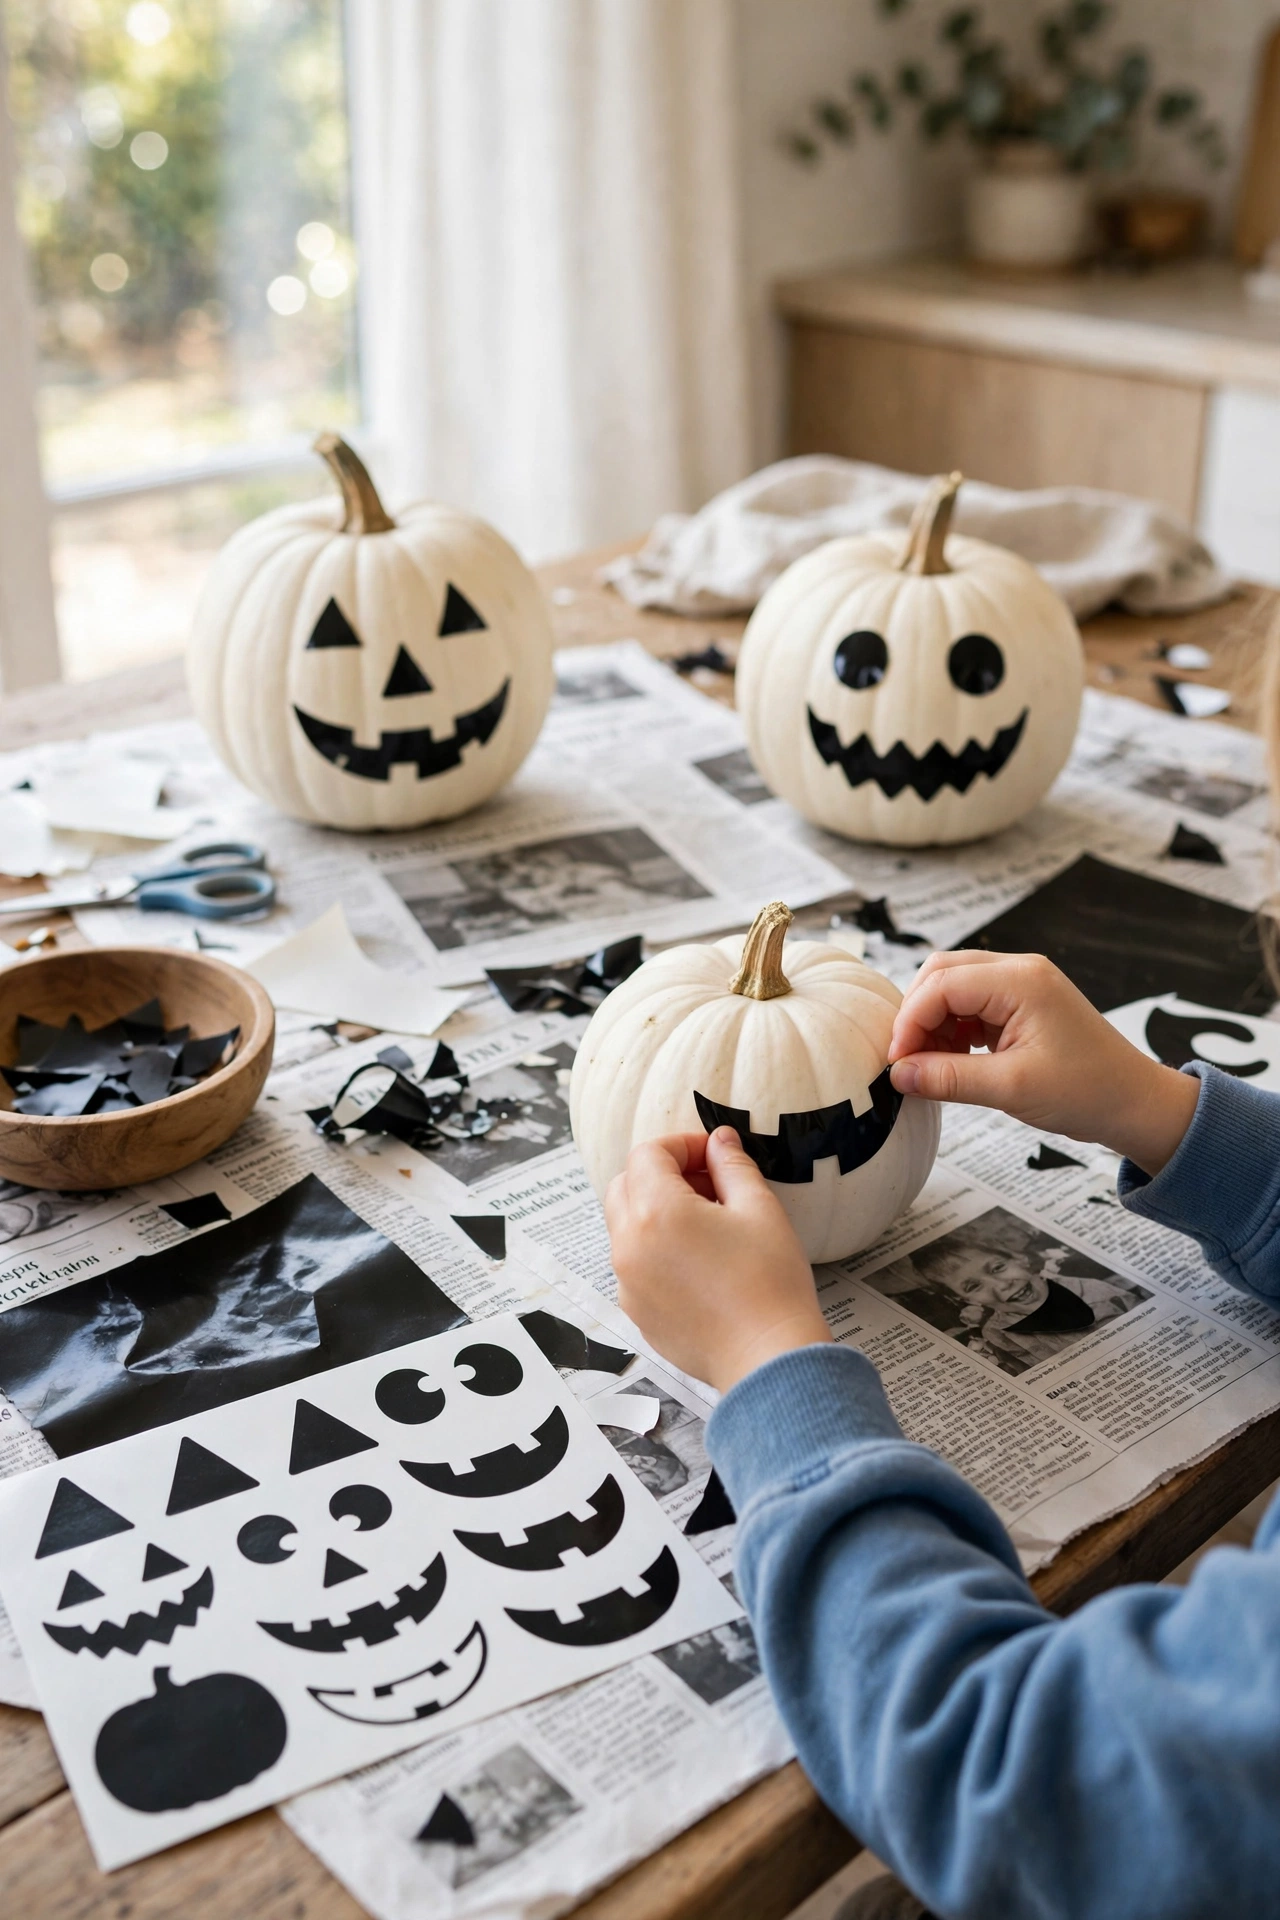
Removable Vinyl Face Jack-o-Lanterns
Removable vinyl faces give you jack-o-lanterns with zero knife work, and kids can place every piece themselves.
- Warm the pumpkin in the sun first so the vinyl sticks better
- Press each piece from the center outward to push out air bubbles
- Peel the faces off after Halloween and reuse the pumpkin for Thanksgiving
One sheet of vinyl decorates three or four pumpkins.
Warm the pumpkin in the sun so the vinyl grips better.
Press each piece from the center outward to push out air.
Sticking vinyl on a damp or cold pumpkin.
Stretching the vinyl, which warps the faces.
Polka Dot Pumpkins
A round sponge dauber from the craft aisle turns any pumpkin into confetti.
Dip the dauber lightly, dot, and lift straight up. Space the dots about two finger widths apart so the pattern can breathe. One color looks modern and calm. Three colors looks like a party landed on your porch. Let the first color dry before adding the next, or the dots smear.
Wipe the pumpkin clean so the paint grips the skin.
Dip the dauber lightly. Less paint gives crisper dots.
Press straight down and lift up without twisting.
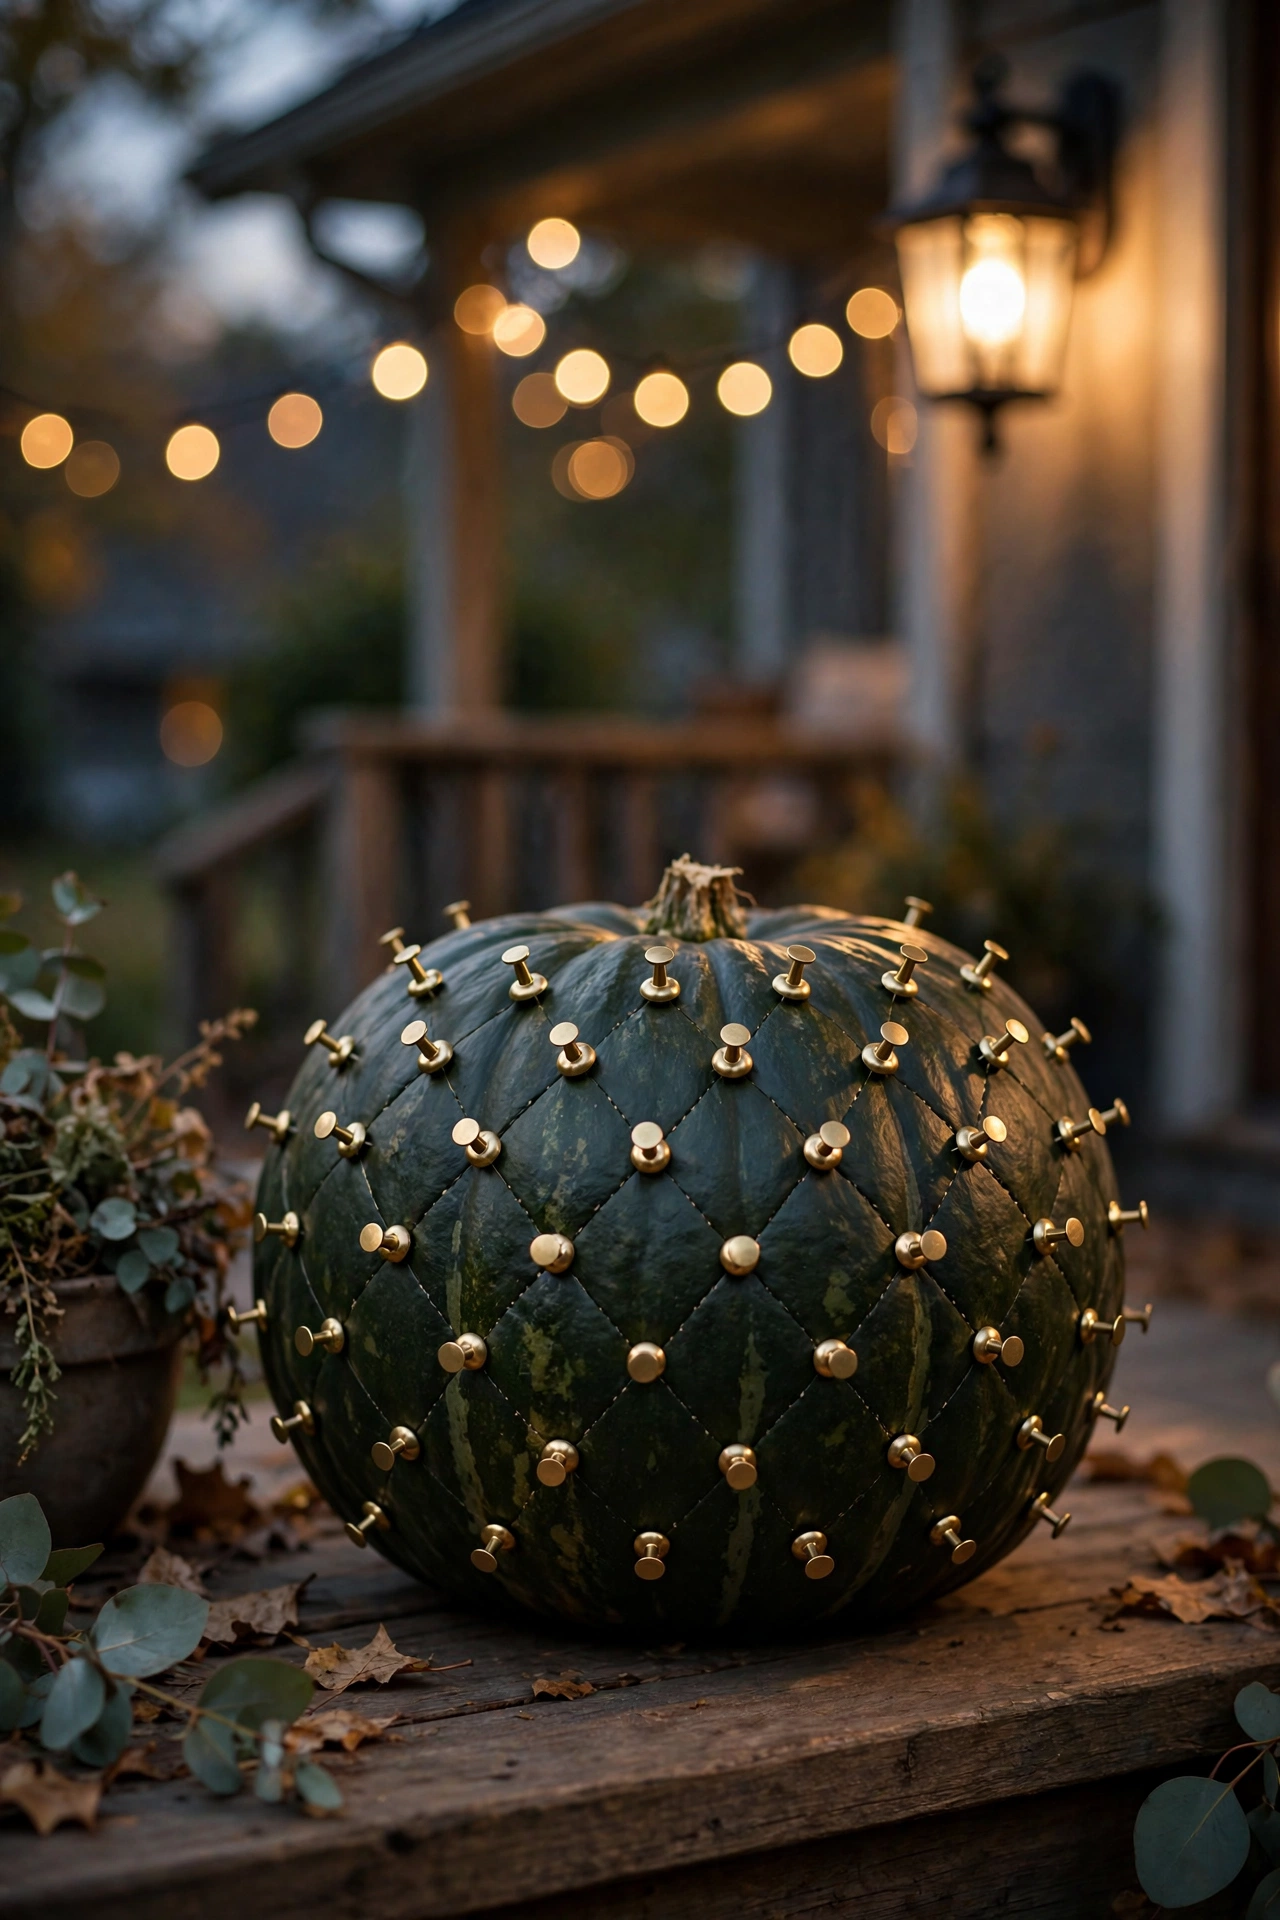
Brass Thumbtack Studded Pumpkins
Rows of brass thumbtacks catch the porch light and look far fancier than the effort involved.
Push the tacks in along the natural ribs of the pumpkin, keeping them evenly spaced as you go. Straight lines, zigzags, and diamonds all work well. Your thumb will get tired, so switch hands or take short breaks between pumpkins. Draw your pattern lightly in pencil first so the rows stay straight.
A plain pumpkin that blends into the porch and gets ignored.
Brass stud rows that catch the porch light and look custom made.
Chunky Yarn Wrapped Pumpkins
Chunky yarn turns a pumpkin into something soft and cozy for the mantel.
Start at the stem with a dot of hot glue, then wind the yarn in a spiral, adding tiny glue dots every few turns. Keep the rows snug so no orange peeks through. Cream, mustard, and rust yarn look best against fall leaves. Tuck the final end under the last row with one more glue dot.
| Yarn type | The look you get |
|---|---|
| Chunky knit | cozy cabin feel |
| Variegated | playful color shifts |
| Jute | rustic farmhouse |
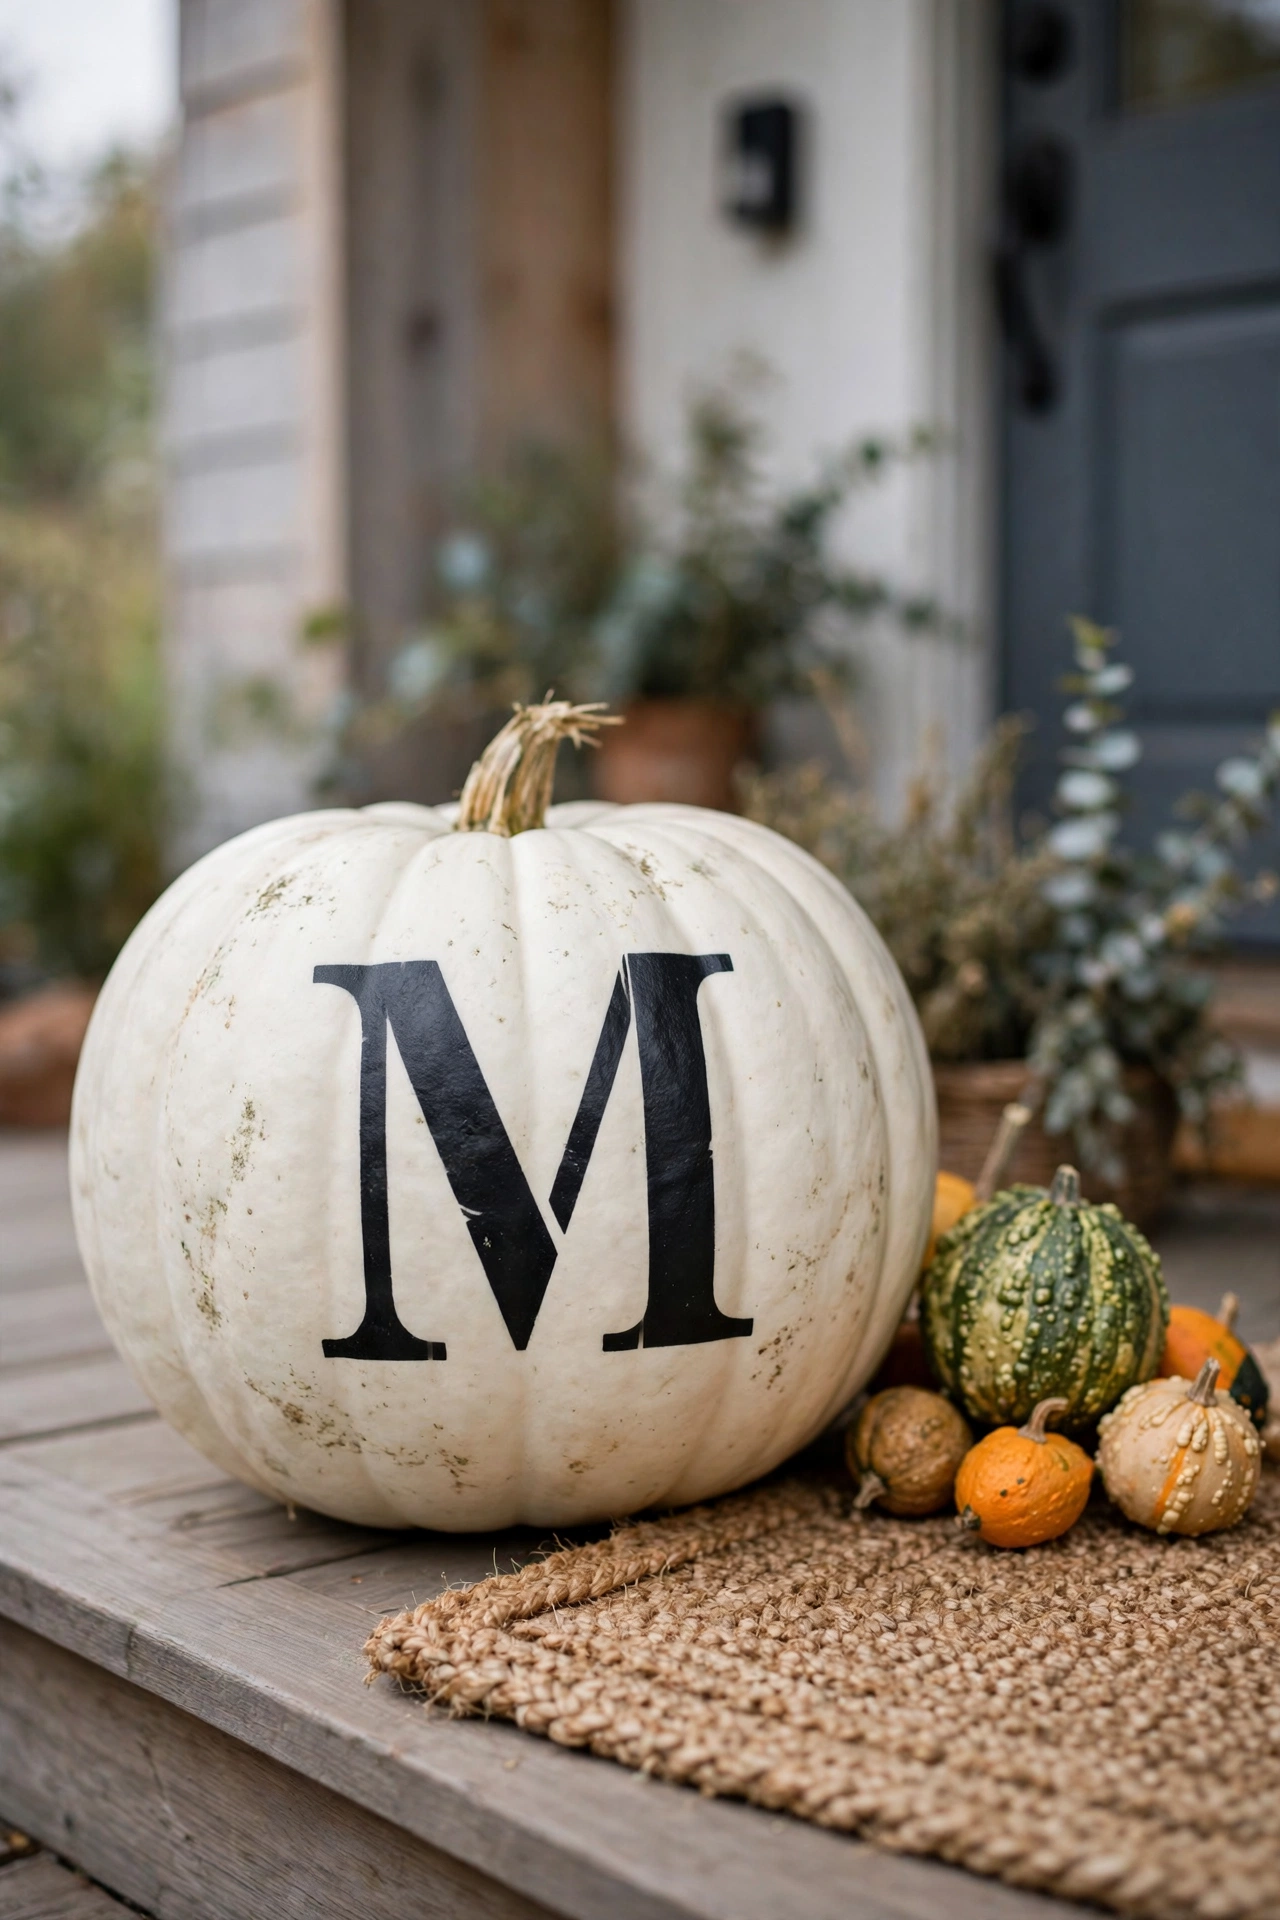
Stenciled Monogram Pumpkins
Your mailbox wears your initial, so why not your pumpkins.
- Grab an adhesive letter stencil from the craft store
- Center it on the flattest side of the pumpkin
- Dab paint on with a nearly dry brush so nothing bleeds underneath
Peel the stencil off while the paint is still tacky for the cleanest edge. Black paint on a white pumpkin reads best from the street.
A nearly dry brush is the whole trick. Heavy paint bleeds under the stencil every time.
Metallic Gold Spray Painted Pumpkins
One light coat of metallic gold spray paint makes even a lumpy pumpkin look intentional. Spray outside on a calm day, turning the pumpkin as you go so the coat stays even.
The paint feels dry fast but smudges for a good hour. Do not move it until tomorrow if you can wait. A drop cloth under the pumpkin saves your patio from gold speckles.
⚠️ Watch Out
Spray too close and the paint runs. Keep the can about a foot away and use two light passes instead of one heavy one.
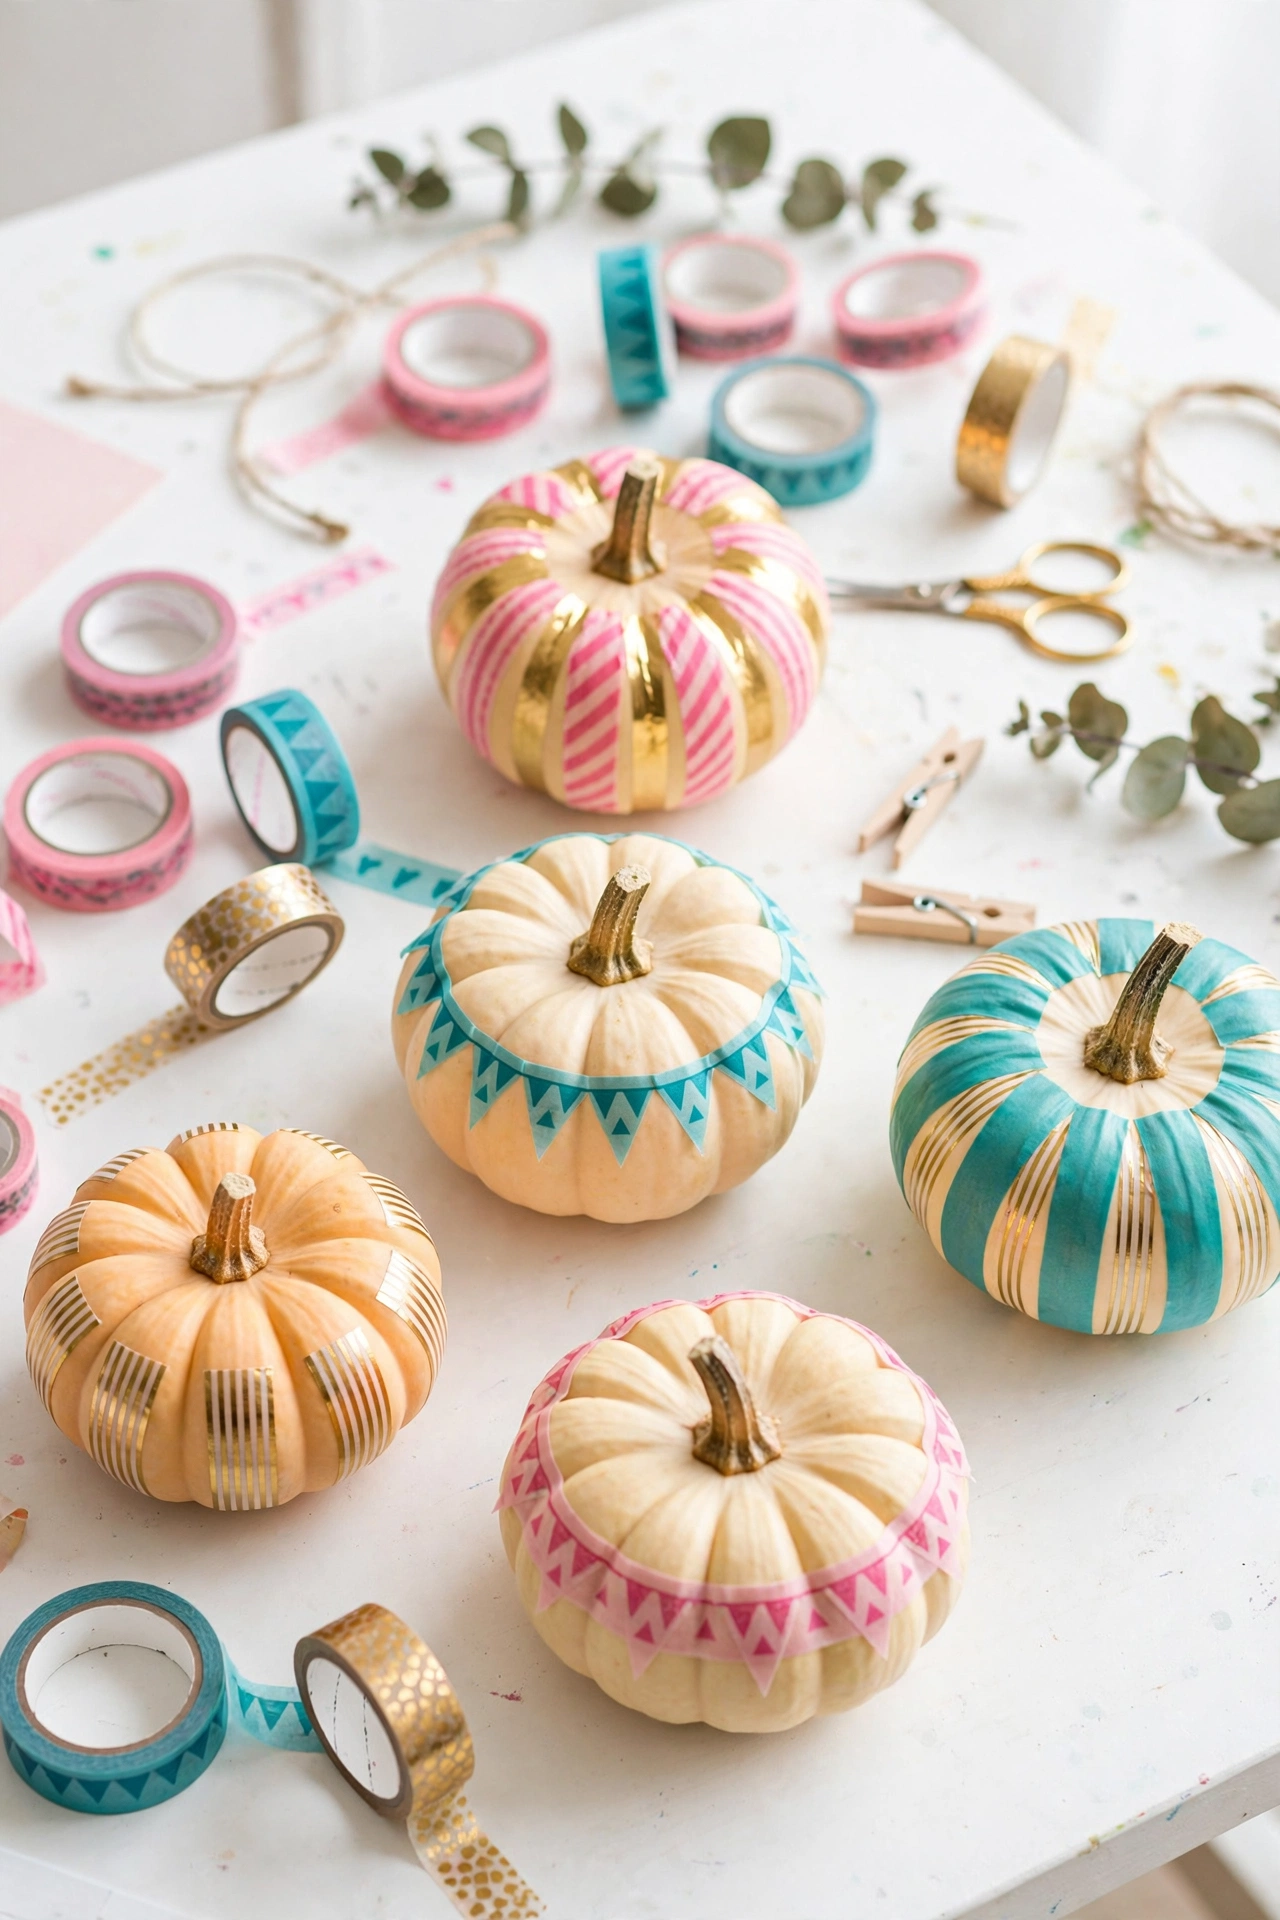
Washi Tape Pattern Pumpkins
Washi tape is the fastest pattern you will ever put on a pumpkin. It sticks well, peels off clean, and the patterns are endless.
- Wrap stripes straight around for a candy look
- Cross strips into a plaid grid
- Cut small triangles for a bunting row around the middle
Two patterns on one pumpkin still look pulled together. Press each strip down firmly so the edges do not curl in the rain.
Fresh Flower Topper Pumpkins
Fresh flowers tucked into the top of a pumpkin look like a florist arranged it.
Nestle short stemmed mums, marigolds, or eucalyptus sprigs into the ridges around the stem, pushing the stems slightly into the flesh so they stay put. Mist them with water and they hold for days. Choose flowers in deep reds and oranges and the whole thing glows at sunset.
Flowers that hold up best
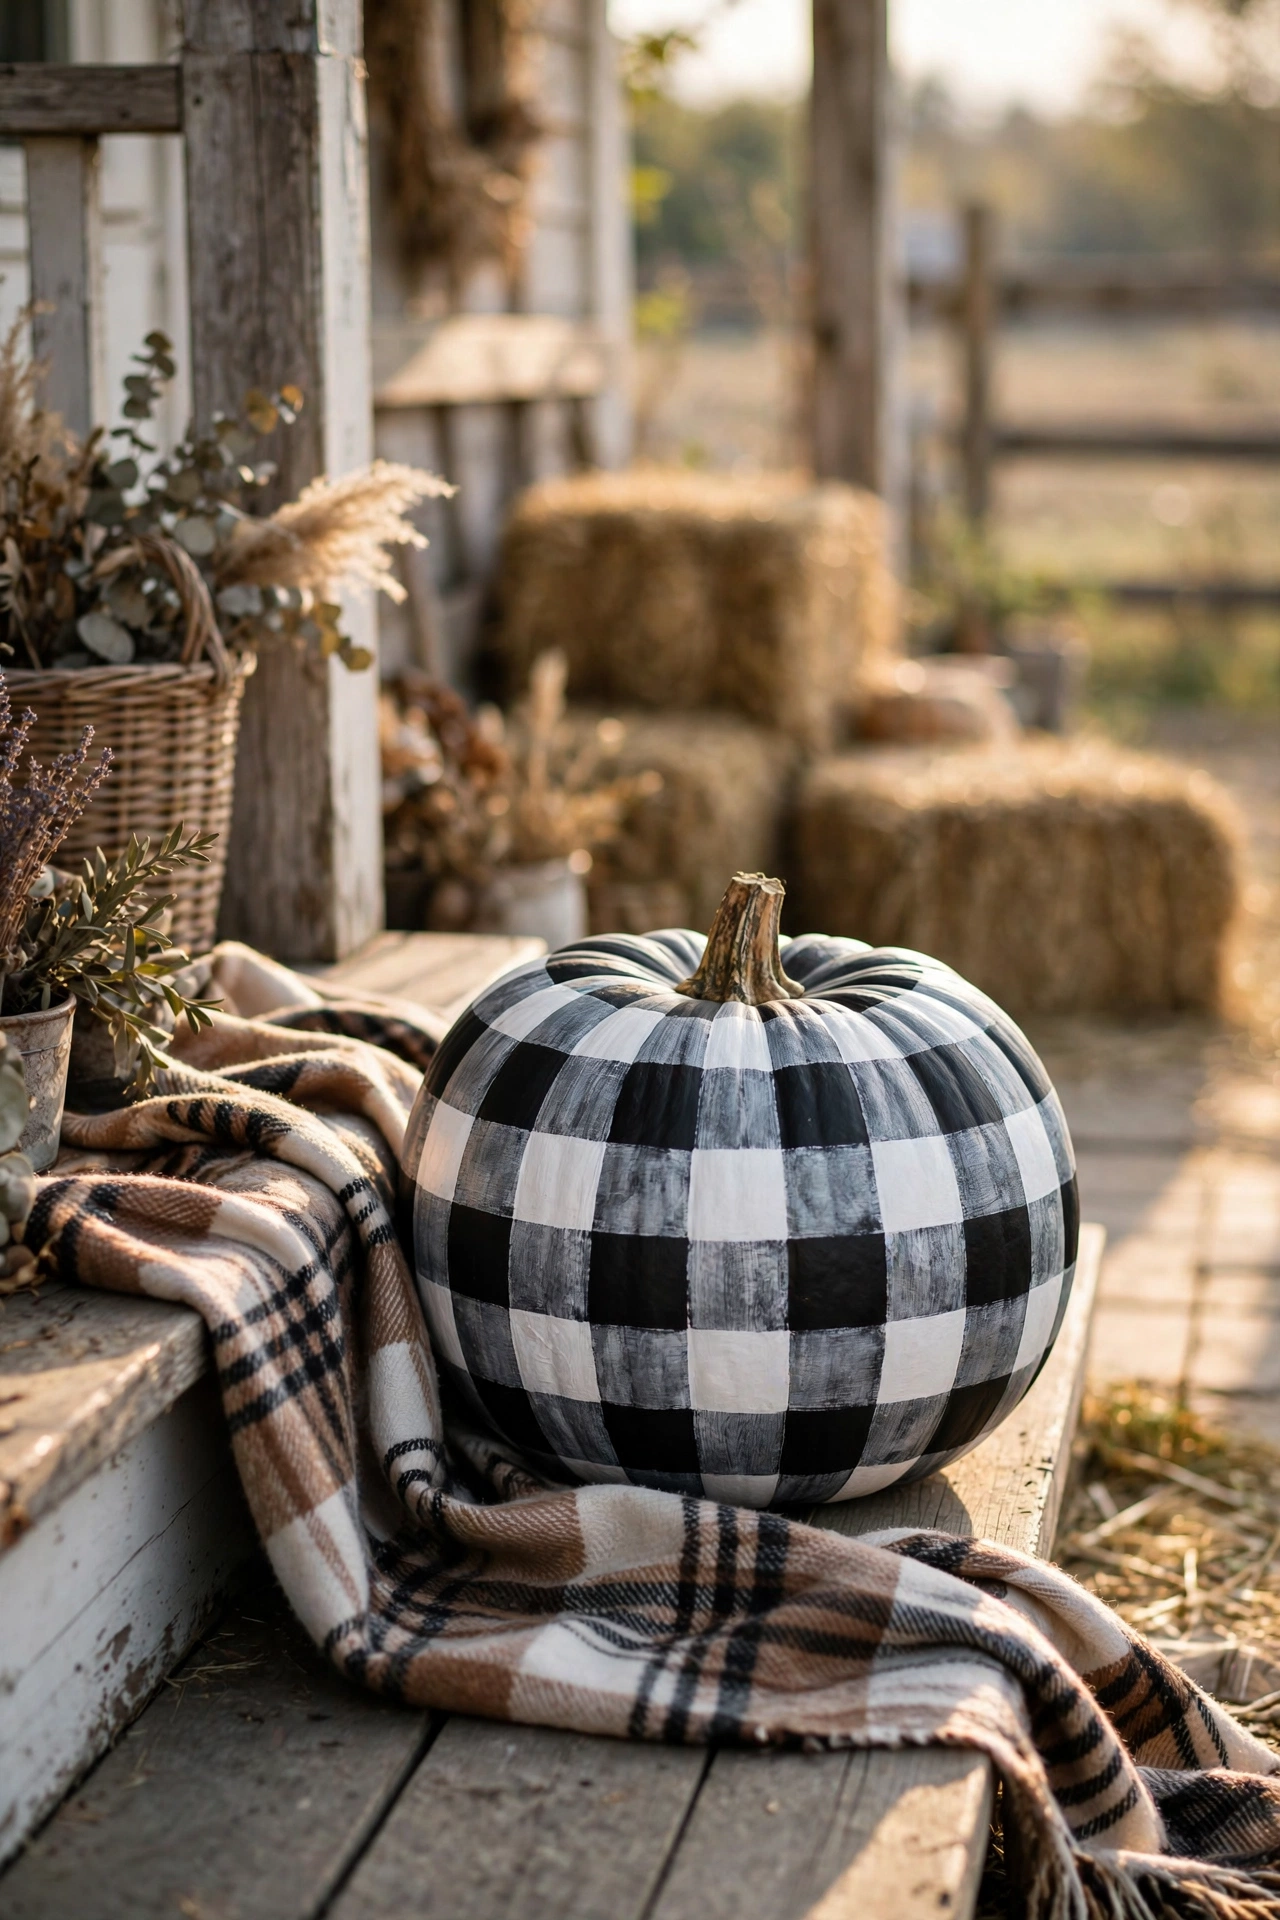
Buffalo Check Painted Pumpkins
Buffalo check looks hard to paint. It is just tape and two colors.
Paint the whole pumpkin white first and let it dry completely. Lay painter’s tape in a grid over the surface, paint over everything with black, then peel the tape while the paint is still slightly wet. The squares come out crisp with zero freehand work. Keep your tape lines about an inch wide for the classic check scale.
Ribbon Laced Pumpkins
Paint washes off in the rain. Ribbon does not.
Crisscross ribbon over the pumpkin the way you would lace a shoe, pinning each crossing with a pearl head pin. Black velvet ribbon on a white pumpkin is the classic pairing. Keep the ribbon slightly loose, since pulled tight it digs into the flesh and the lines go crooked by morning. Snip the ribbon ends into a V shape so they look finished.
- ▸Black velvet ribbon for a classic look
- ▸Burlap ribbon for farmhouse style
- ▸Striped grosgrain for something playful
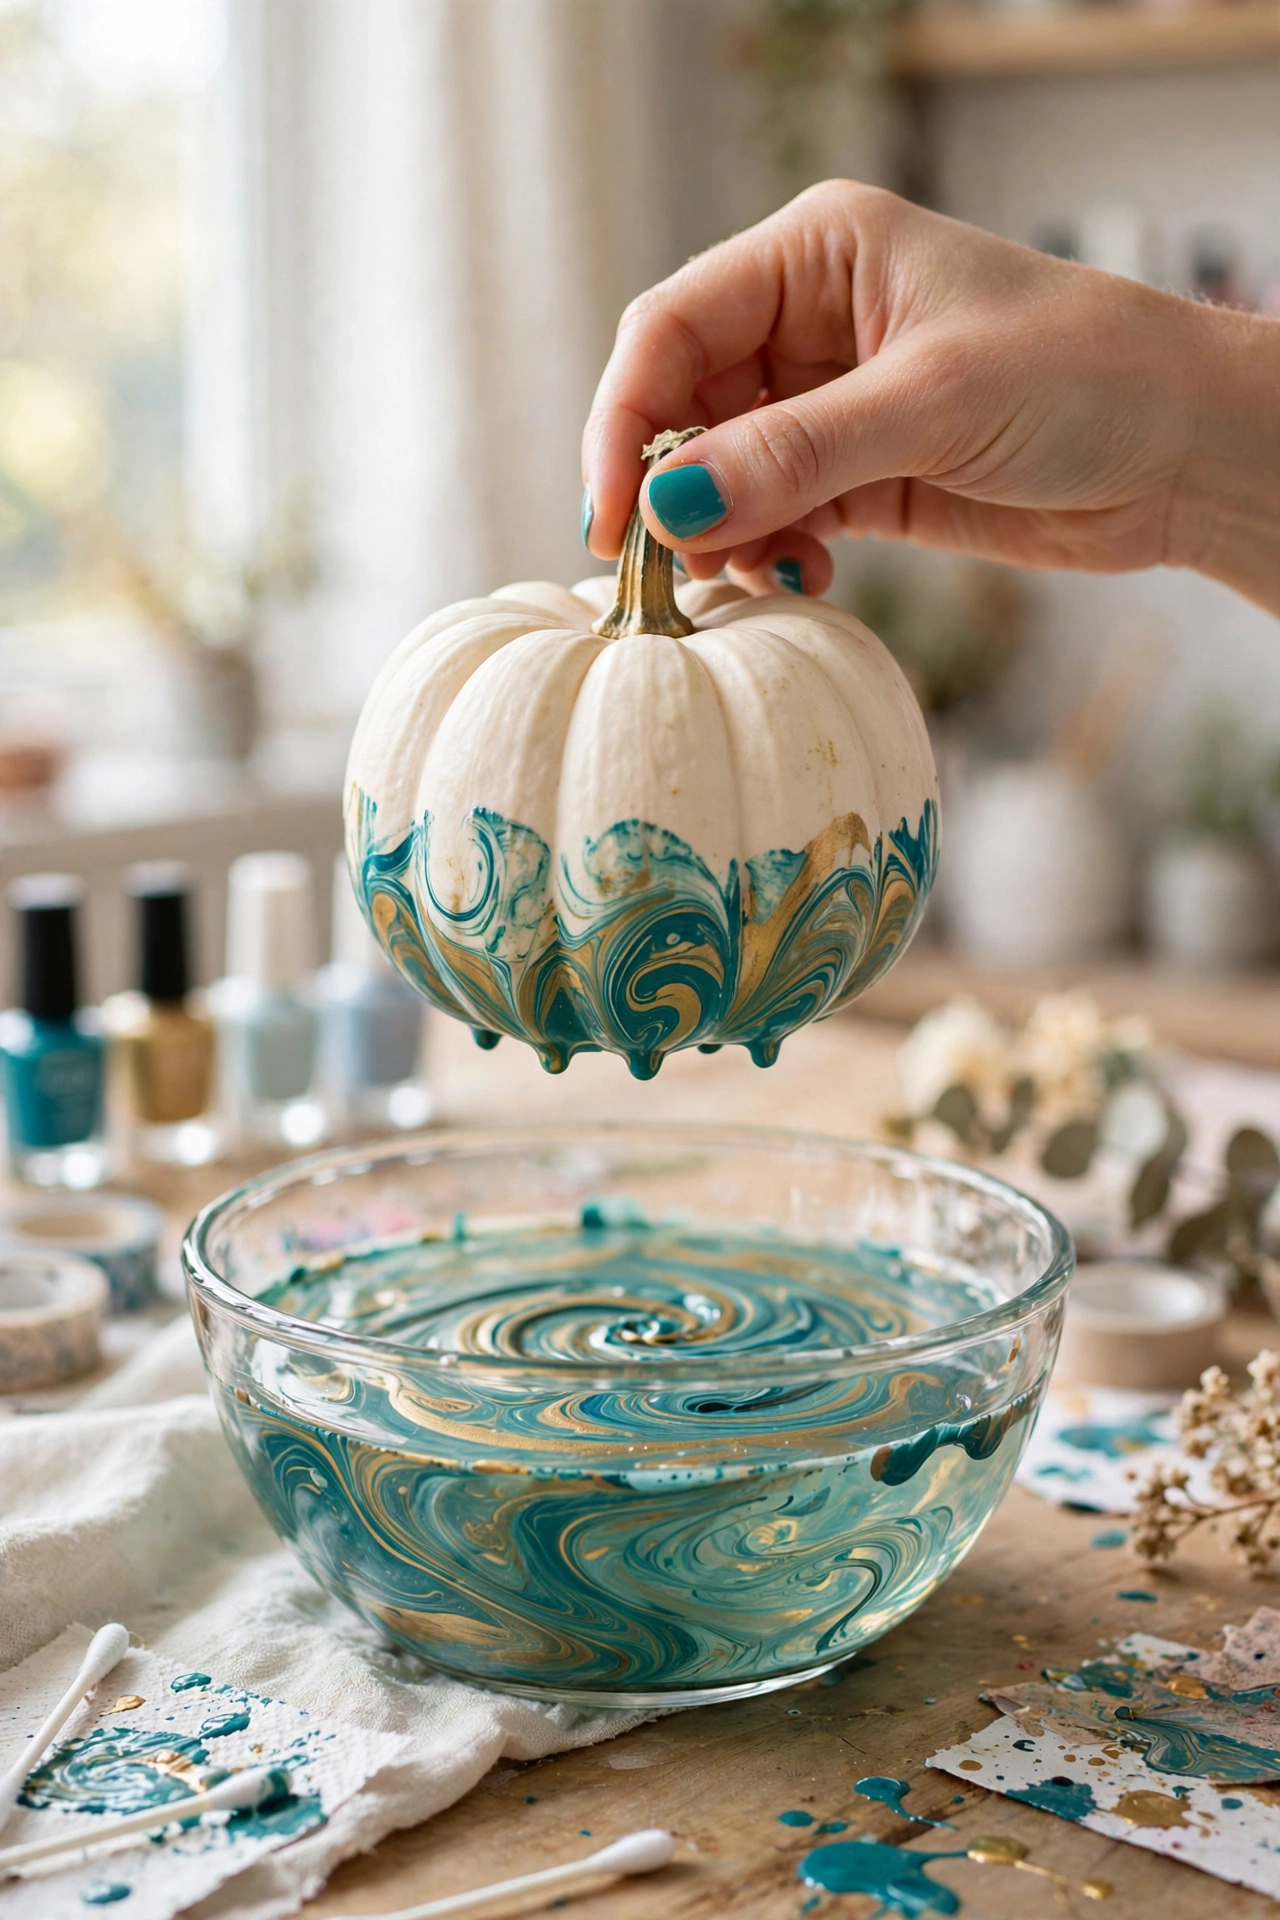
Marbled Nail Polish Dipped Pumpkins
The mistake is dunking too deep. You only want the bottom half marbled.
Drip a few drops of two polish colors into a bowl of room temperature water, swirl once with a toothpick, and dip the pumpkin base in for three seconds. Lift it straight out. The swirl sets almost instantly, so there is no second chance. Work near an open window because the fumes are strong.
Use room temperature water for smooth swirls.
Swirl once with a toothpick, then dip right away.
Cold water, which makes the polish clump.
Dipping twice, which turns the colors muddy.
Chalkboard Message Pumpkins
Kids can rewrite these pumpkins every single day of October.
Brush on two coats of chalkboard paint and let it cure overnight. Hand the kids the chalk and let them draw ghosts, write their names, or keep a countdown to Halloween. A damp cloth wipes it clean for the next design. Colored chalk works too, and kids always reach for it first.
💡 Quick Tip
Season the chalkboard first. Rub chalk over the whole surface and wipe it off. After that, every drawing erases much cleaner.
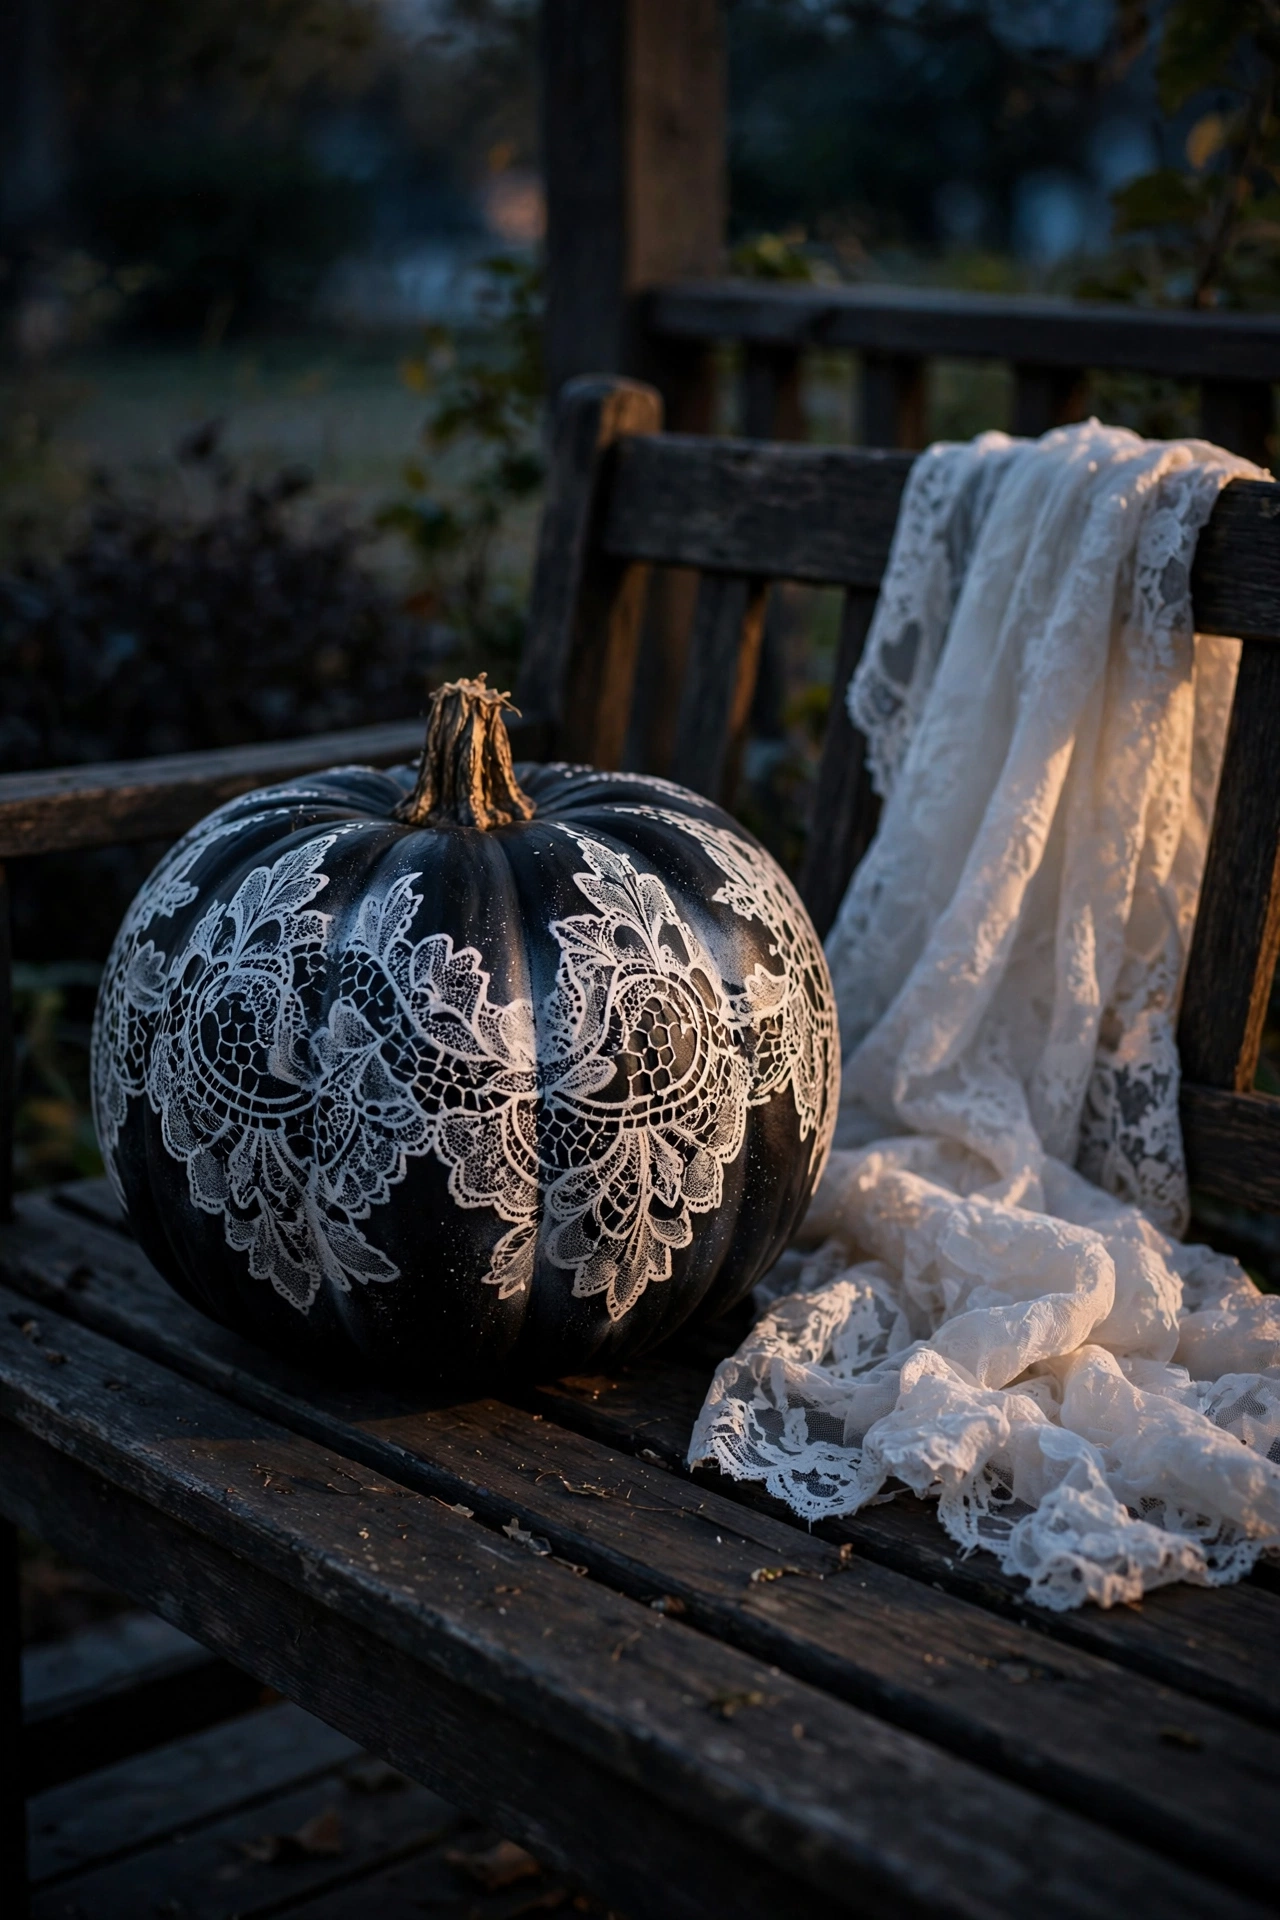
Lace Stencil Spray Pumpkins
Spray paint over lace, peel the lace away, and the pattern stays behind like a stencil.
- Drape the lace flat and pin it at the stem so nothing shifts
- Spray in light passes from about a foot away
- Peel the lace off while the paint is still tacky
A white lace pattern on a black pumpkin looks striking after dark. Old tablecloth lace from the thrift store works well and costs almost nothing.
Lace bunched up in the craft drawer doing nothing.
A delicate pattern that looks airbrushed onto the pumpkin.
Ombre Spray Painted Pumpkins
Start with the darkest color at the bottom and fade upward into a lighter shade. The trick is overlapping spray passes so no hard line forms where the colors meet.
Practice the fade on newspaper first. Two minutes of practice saves a pumpkin from a blotchy finish. Hold the can farther away than feels natural for a softer blend. Warm sunset shades like deep plum fading to peach look rich on a porch.
Paint the base color and let it dry fully.
Spray the dark color over the lower third.
While it is tacky, mist the lighter color upward with overlapping passes.
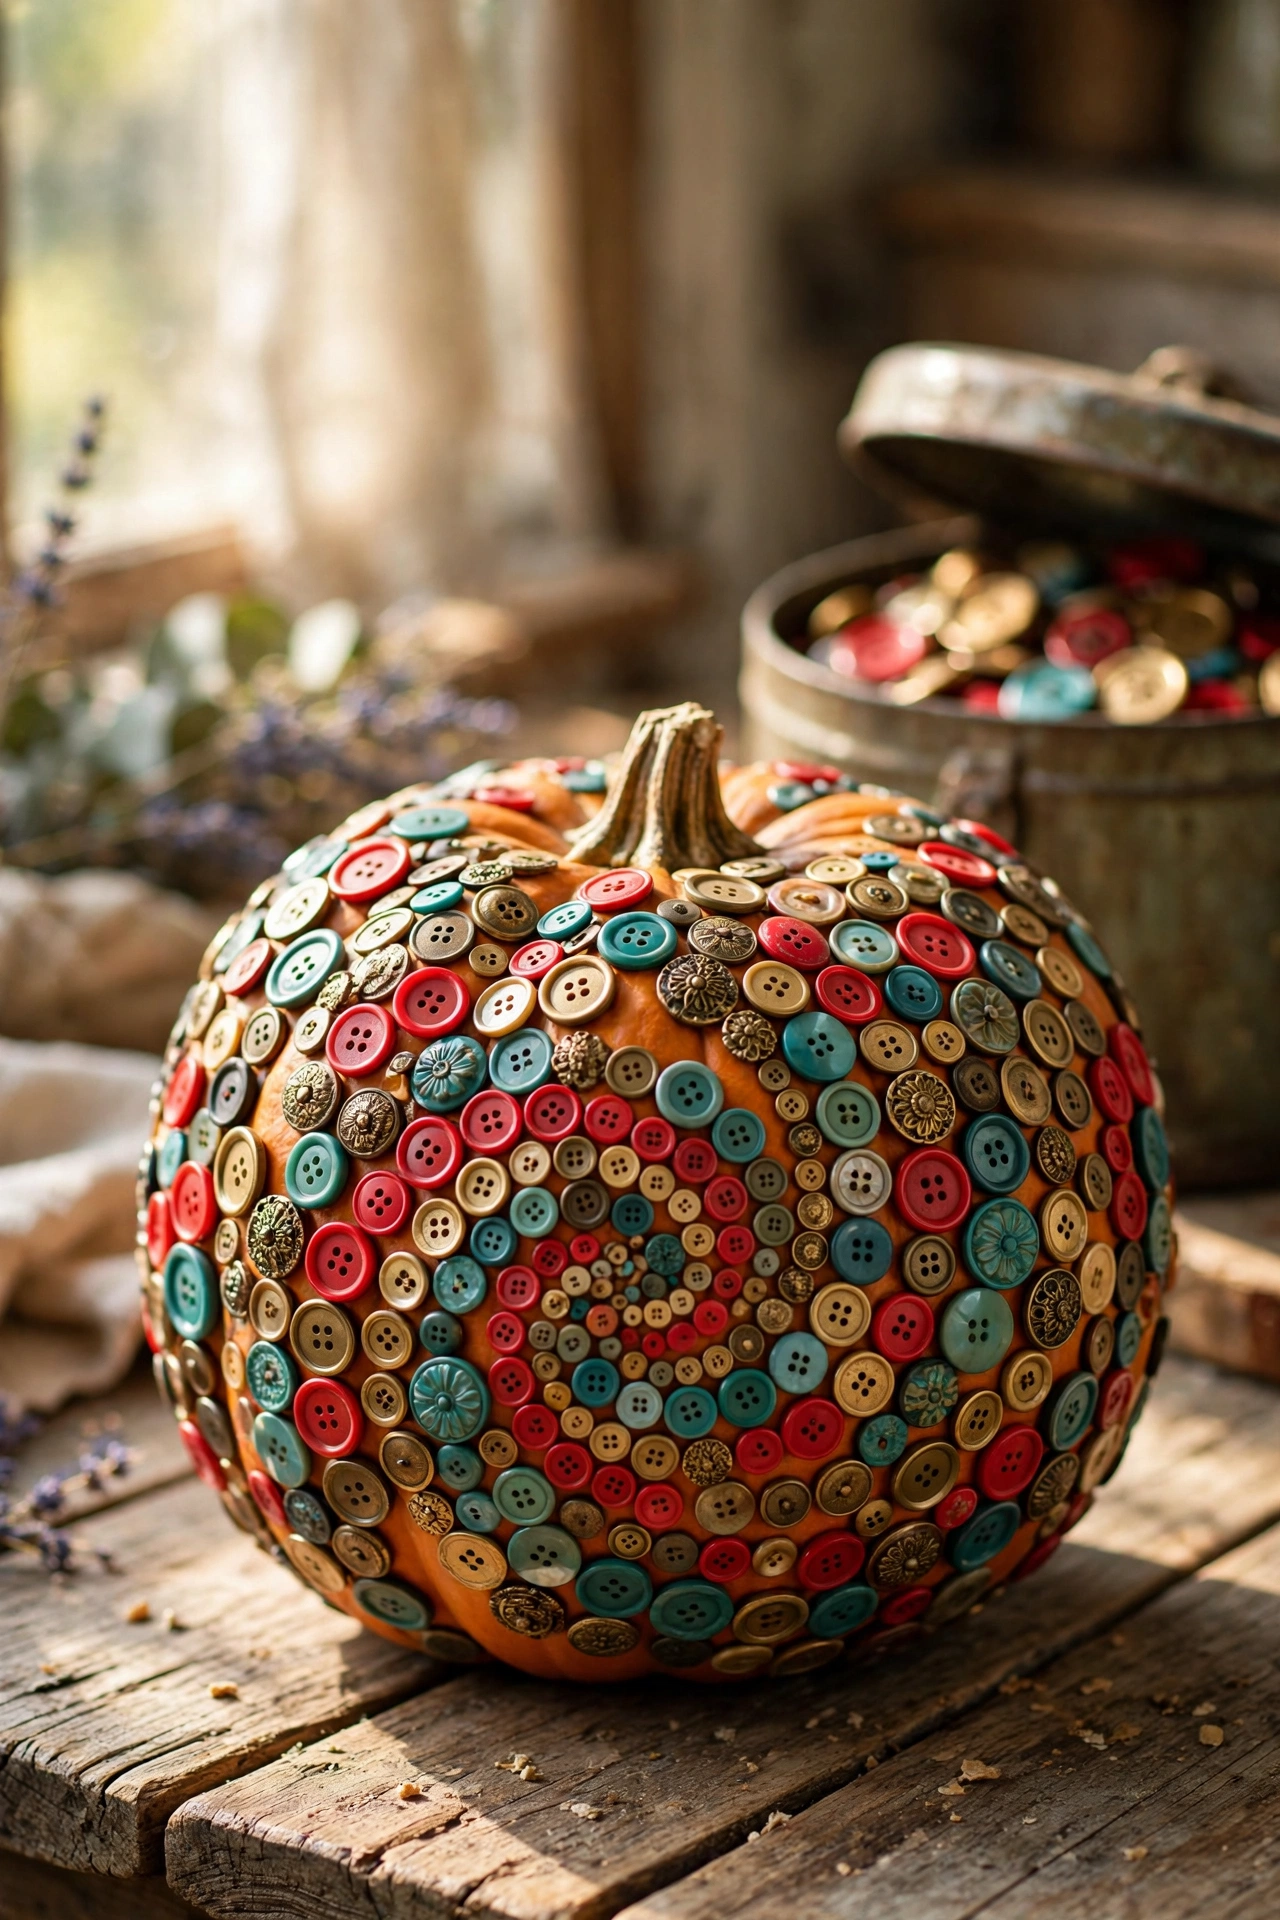
Button Mosaic Pumpkins
My grandmother’s button tin finally has a job. Old buttons glued in rings or swirls turn a pumpkin into a keepsake.
Sort the buttons by color first so you are not hunting mid project. Hot glue holds fastest and strongest. Cover the whole pumpkin, or just build one big flower on the front and leave the rest plain. Mismatched buttons look better than matching ones here.
Paper Leaf Collage Pumpkins
Cut leaf shapes from scrapbook paper in fall colors and Mod Podge them all over the pumpkin, overlapping like real foliage.
Small leaves go on easier than big ones. Large pieces wrinkle around the curves, while little ones hug the surface. Mix in a few gold or copper leaves and the pumpkin catches the afternoon light. Brush a final thin coat of glue over everything to seal the edges down.
Paper that works well
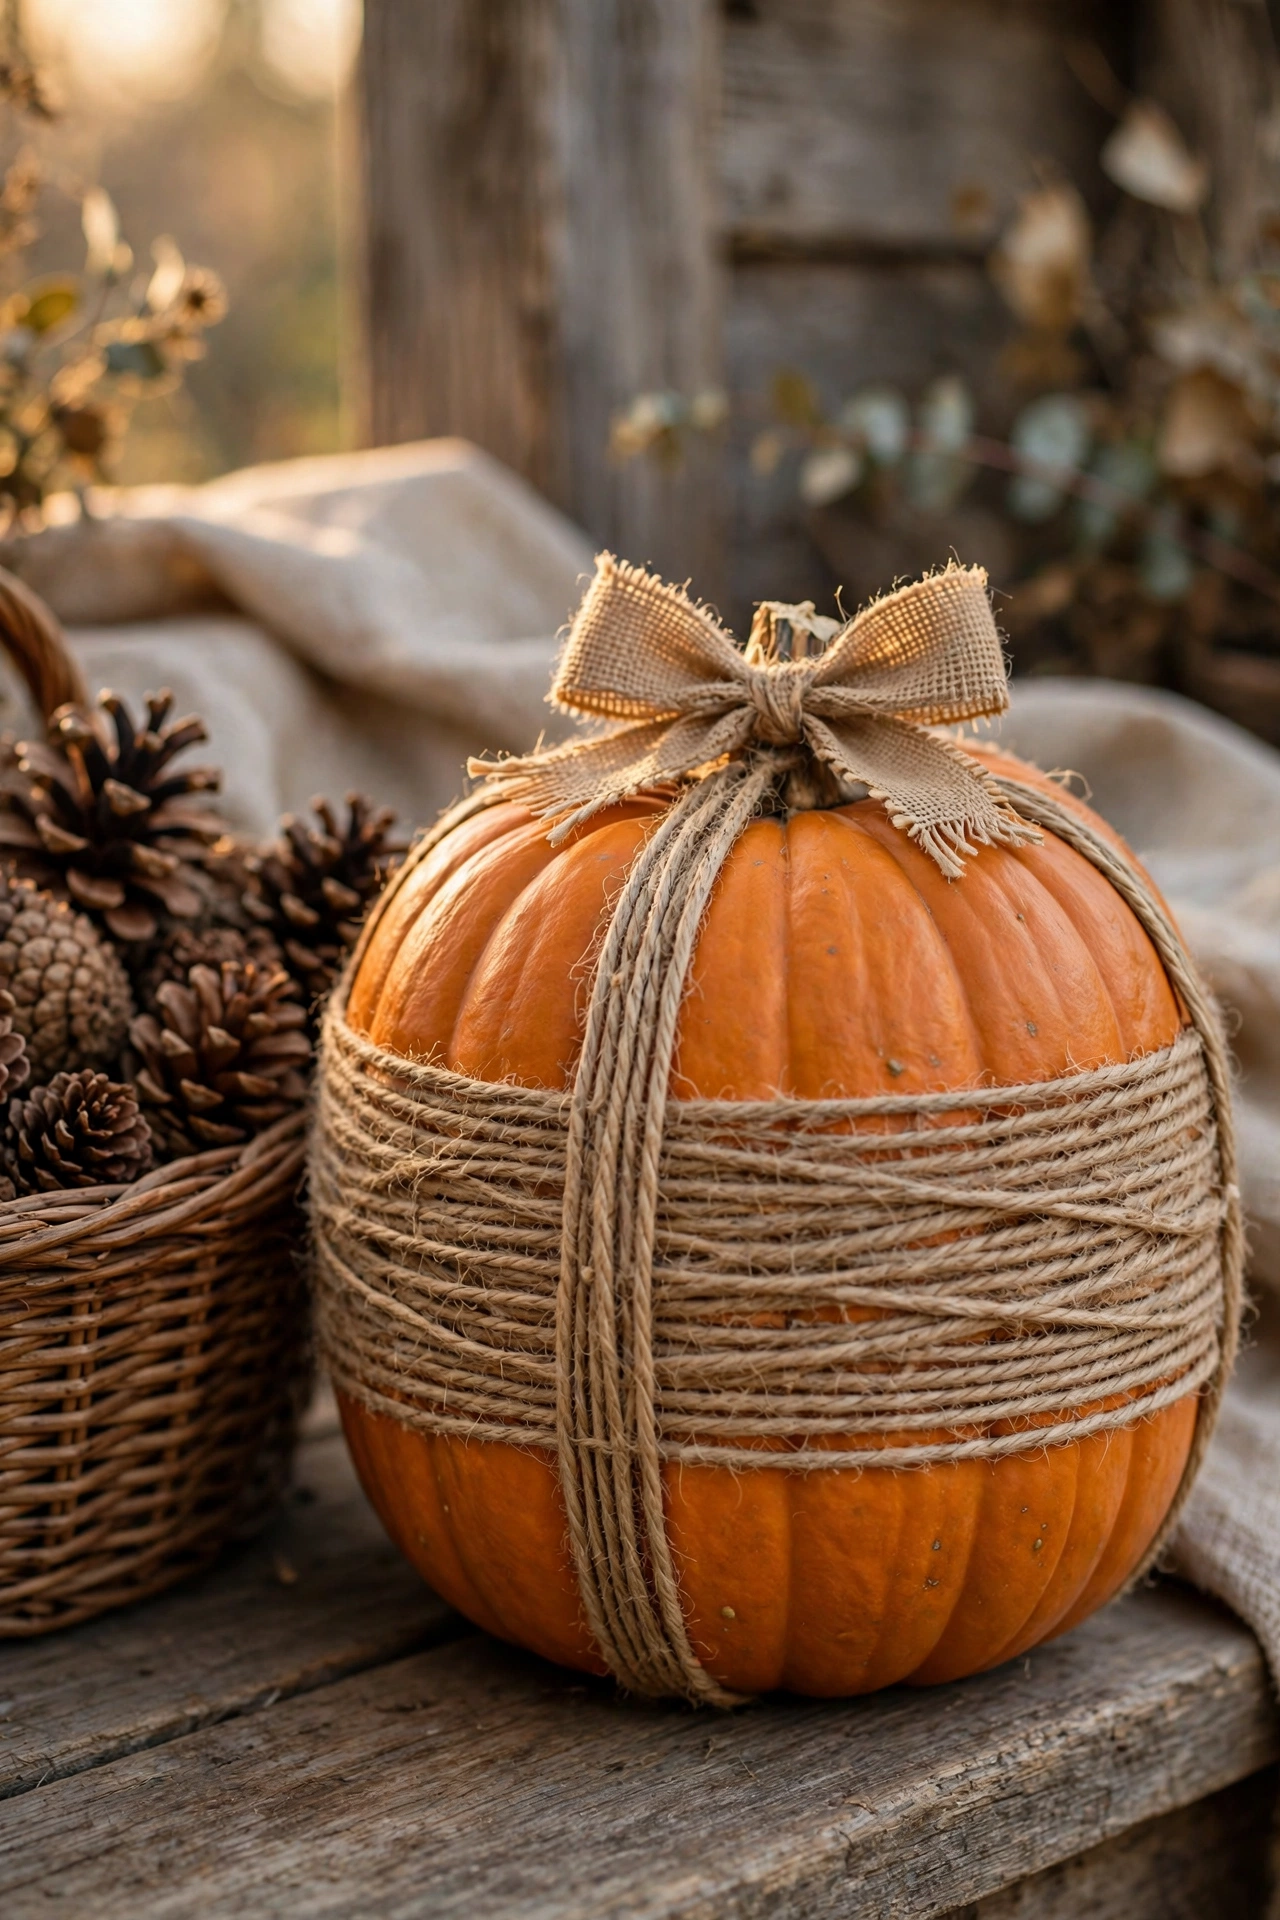
Jute Twine Wrapped Pumpkins
Rule of thumb: if you can see orange between the rows, wrap tighter.
Start at the bottom with a dot of hot glue, wind jute twine upward in a tight spiral, and add glue every few inches so nothing slips. Tie a small bow at the stem to finish. Natural jute frays a little, which only adds to the rustic look. It looks like something from a farmhouse catalog.
Glue every few inches as you wind. Twine glued only at the ends slides out of place by morning.
Candy Corn Striped Pumpkins
Painted candy corn pumpkins beat the real candy. They last all month and nobody fights over them.
Paint the whole pumpkin white first. Once it is dry, tape off the top third and paint it orange, then tape again and paint the bottom tip yellow. Peel the tape while the paint is still tacky for sharp lines. Stand it next to real candy corn in a bowl and guests always do a double take.
| Section | Paint color |
|---|---|
| Top third | white |
| Middle band | orange |
| Bottom tip | yellow |
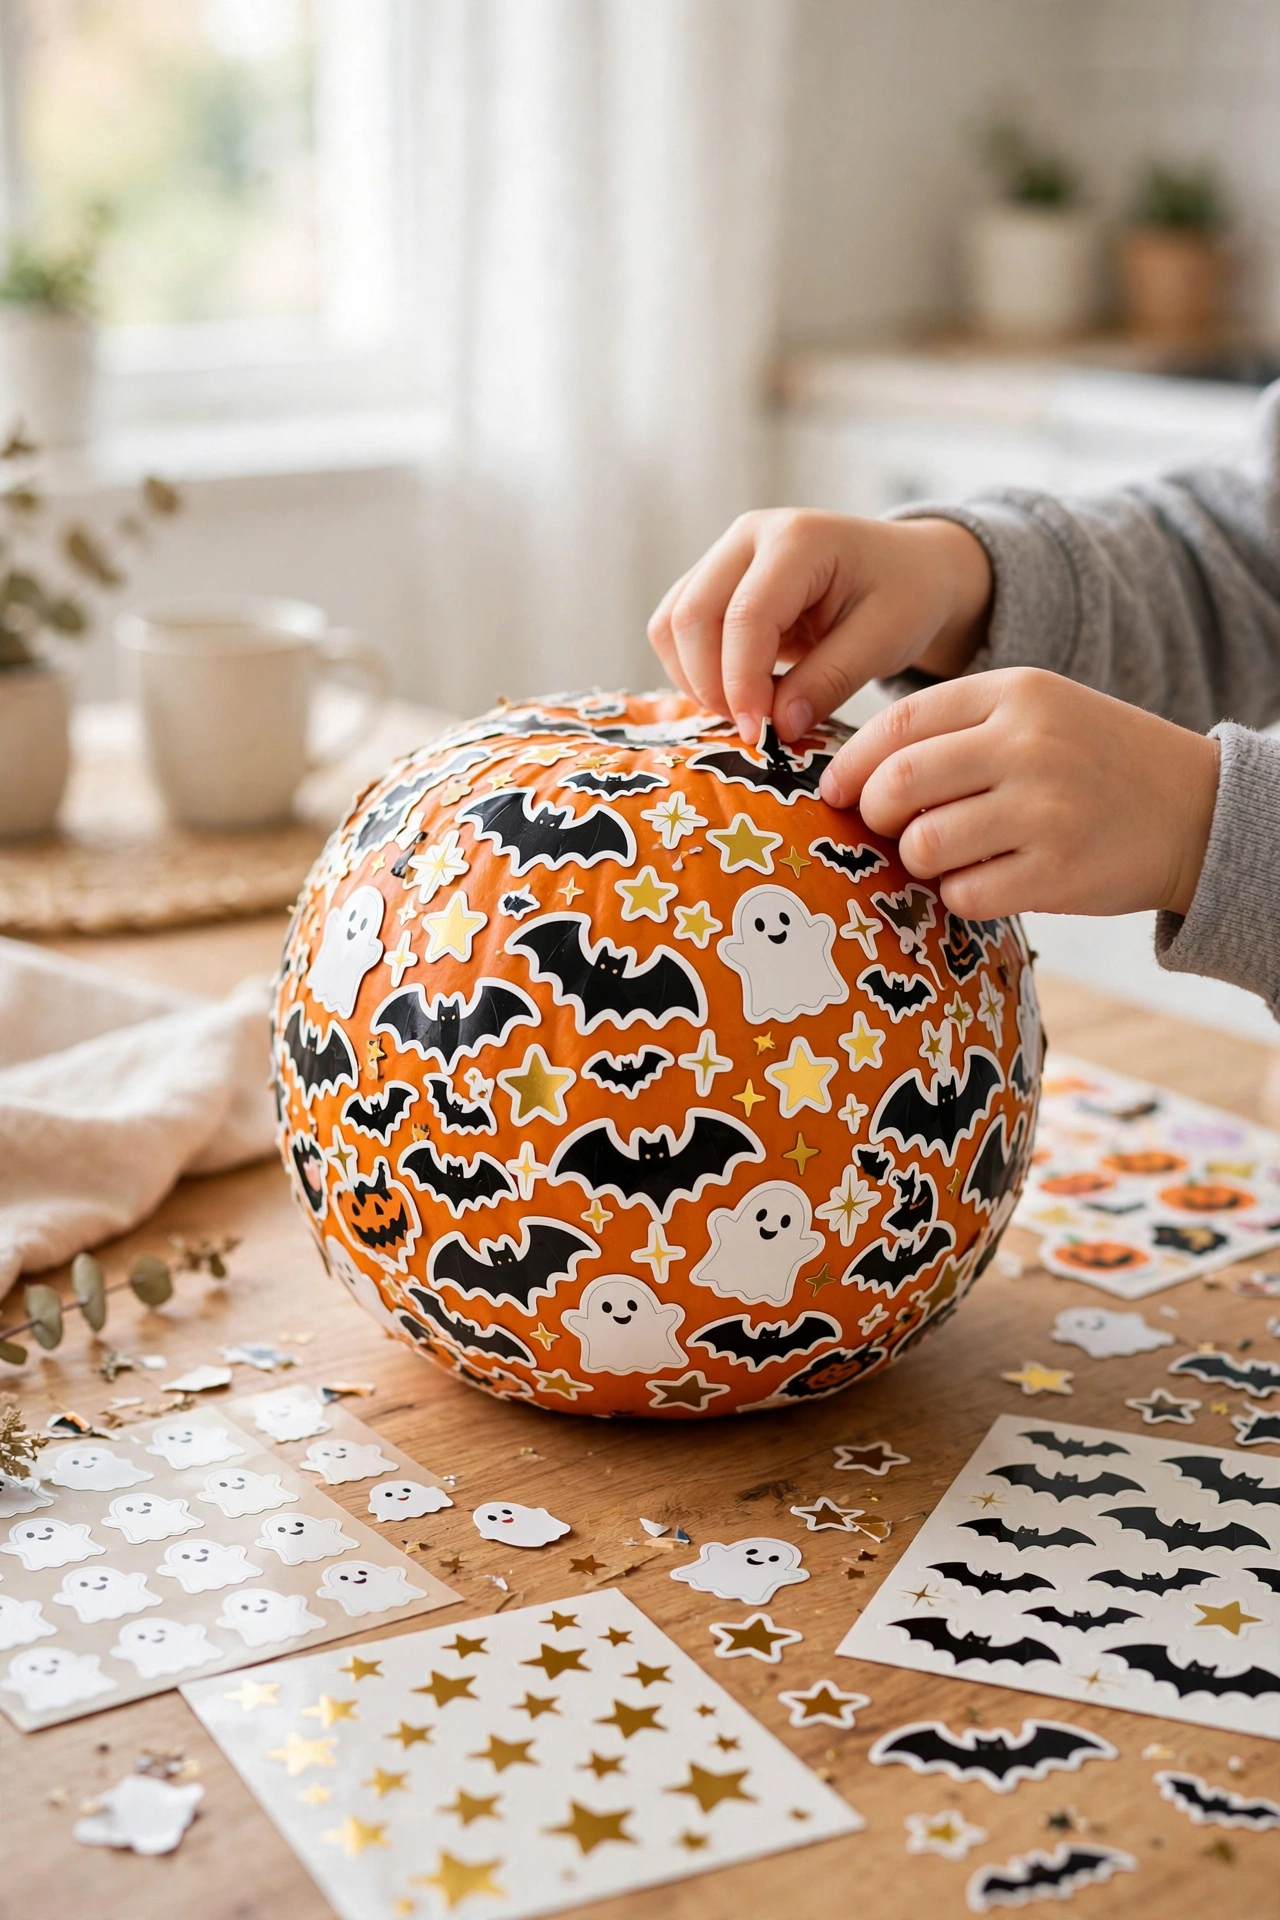
Sticker Mosaic Pumpkins
Cover a pumpkin edge to edge in Halloween stickers and call it done. Kids go wild for this one, and every pumpkin ends up completely different.
Hand each child their own pumpkin and a sticker sheet. Bats, ghosts, and stars layered over each other look far better than one lonely sticker in the middle. Foam stickers add a fun 3D texture that flat stickers cannot match.
Sweater Cozy Pumpkins
That sweater with the stretched cuffs in your donate pile is about to become pumpkin decor.
Cut one sleeve off, slip it over a small pumpkin, and fold the extra fabric under at the bottom. The ribbed cuff hugs the stem like a turtleneck. Cable knit patterns look the coziest of all. Tuck a cinnamon stick beside the stem and the whole thing smells like fall.
📌 Good To Know
Felt a wool sweater first with a hot wash and dry. It shrinks down snug and will not unravel when you cut it.
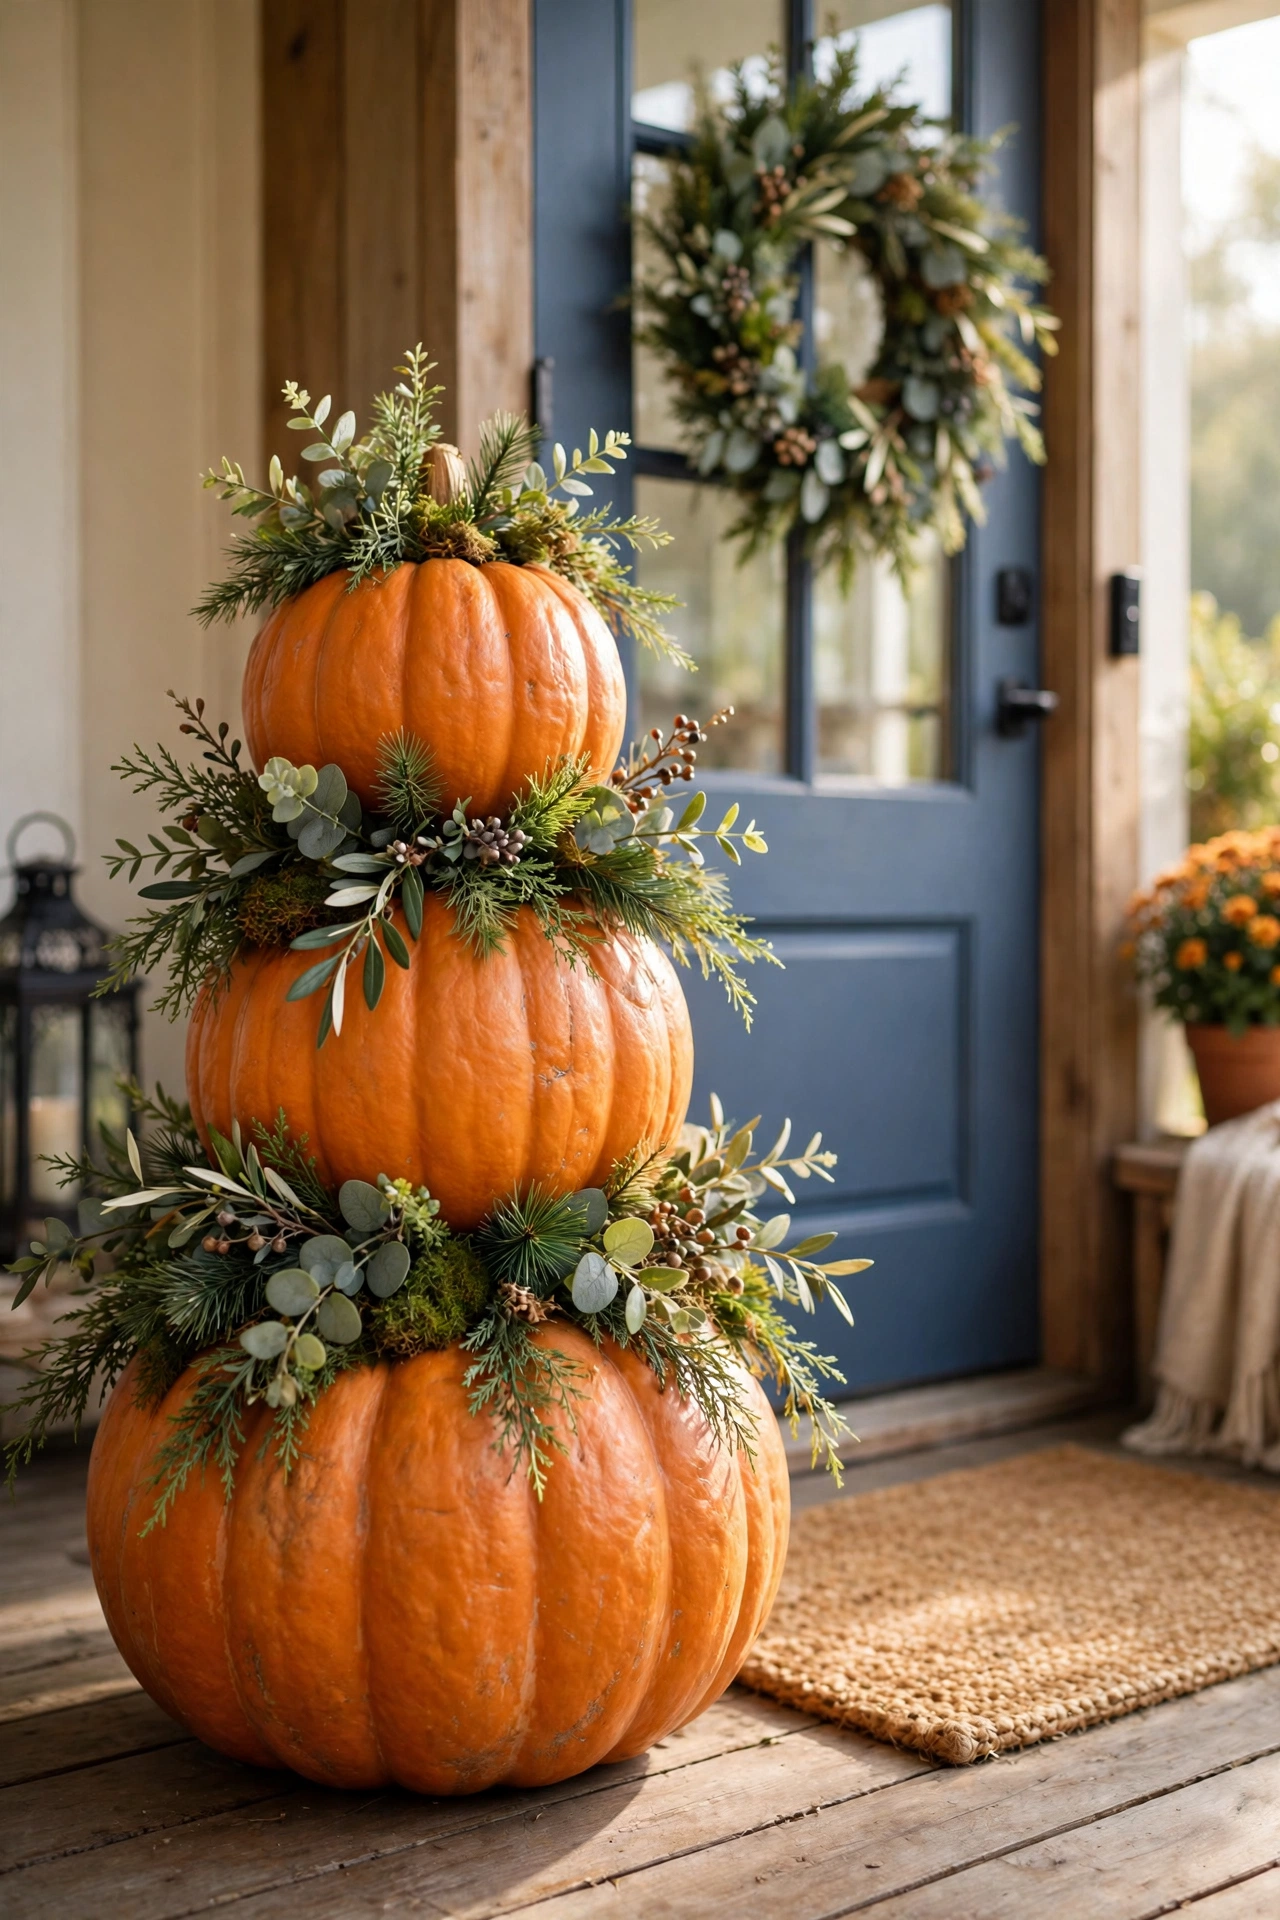
Stacked No-Carve Pumpkin Topiary for the Front Porch
A three pumpkin tower makes your porch look decorated with almost no effort.
Stack large, medium, and small pumpkins, securing each with a wooden dowel pushed down through the centers. Tuck faux greenery or Spanish moss around each joint to hide the seams. It stands steady all season without wobbling. Top it with a small gourd or a bow and the tower looks finished.
Three pumpkins rolling around the porch looking random.
One tidy tower that looks planned and welcoming.
That is all 25. The best part of no-carve pumpkin decorating ideas like these is how long everything lasts. Painted, wrapped, and stickered pumpkins stay good for weeks, while carved ones give up in days. Most of these use supplies you already own, so there is no big craft store run needed. Start with the simplest one that caught your eye, see how it looks on your porch, then try a bolder one next weekend. Save this list to your Halloween board so it is waiting when the pumpkins hit the stores.