VR is the one kind of gaming where the room itself is part of the hardware. A great VR room makes you forget the walls exist. A bad one reminds you with a bruised shin.
These 15 VR gaming room ideas cover both sides of the equation: safety first, immersion second. Clear space, smart cable management, and thoughtful lighting turn any room into a play space you can trust blindfolded.
Start with the play zone, because everything else depends on it. Measure your space, mark your boundaries, then build the atmosphere around a room you know is safe.
1. Clear a Dedicated 6.5 x 6.5 Foot Play Zone
Room-scale VR needs a minimum of about 6.5 by 6.5 feet of clear floor. Measure your space and move everything outside that square before you do anything else.
Push furniture to the walls or into another room temporarily. The play zone should be empty enough that you can spin with arms outstretched and touch nothing. Mark the zone with painter’s tape on the floor for the first week until the space becomes muscle memory. Redraw your guardian boundary after any furniture move, even a small one. More setup inspiration in our cozy gaming room ideas.
2. Mark Boundaries With a Round Rug
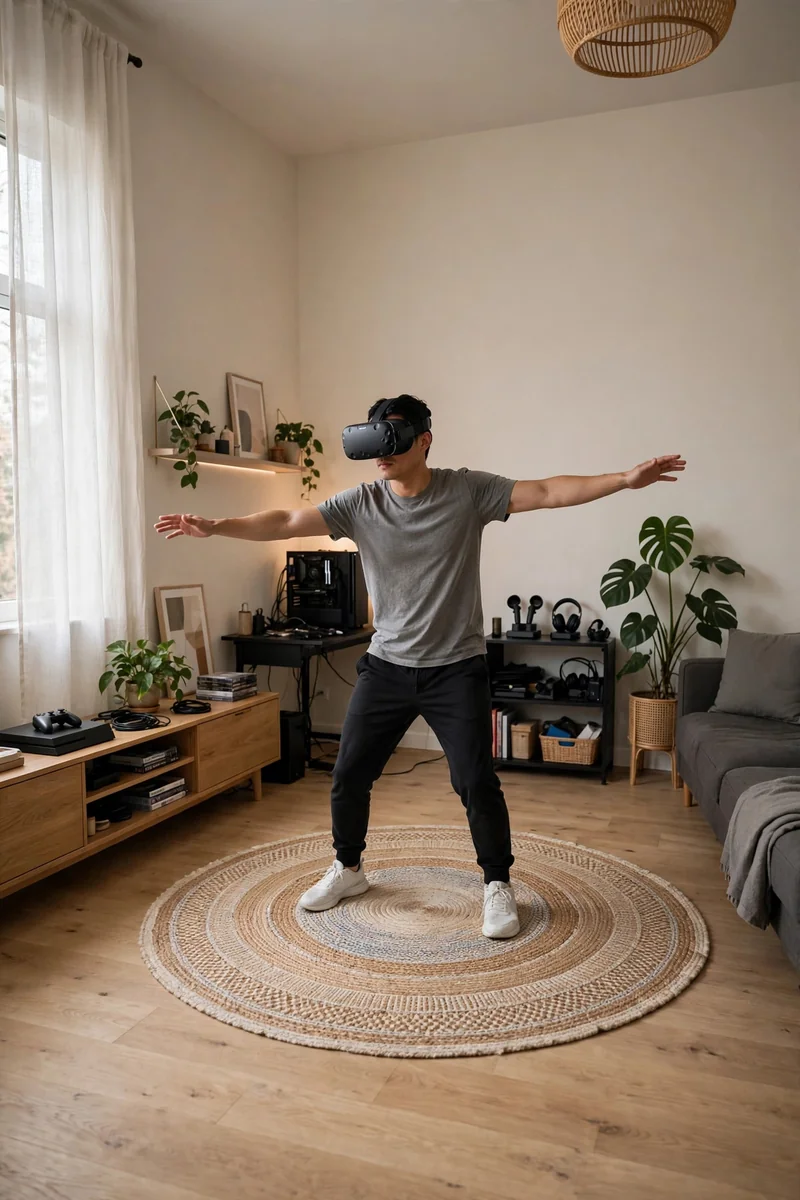
A round rug in the center of your play zone does two jobs: it cushions your feet and tells your body where center is without looking.
Choose a rug slightly smaller than your play zone so its edge warns you before the guardian boundary does. Low pile keeps your footing stable during fast movement. A rug pad underneath stops the rug from sliding when you pivot hard, which matters more than most people expect. Washable rugs are worth it, because VR sessions get sweaty.
💡 Quick Tip
A rug with a distinct center medallion gives your feet a home base to return to between rounds.
3. Pad Every Hard Edge in Reach
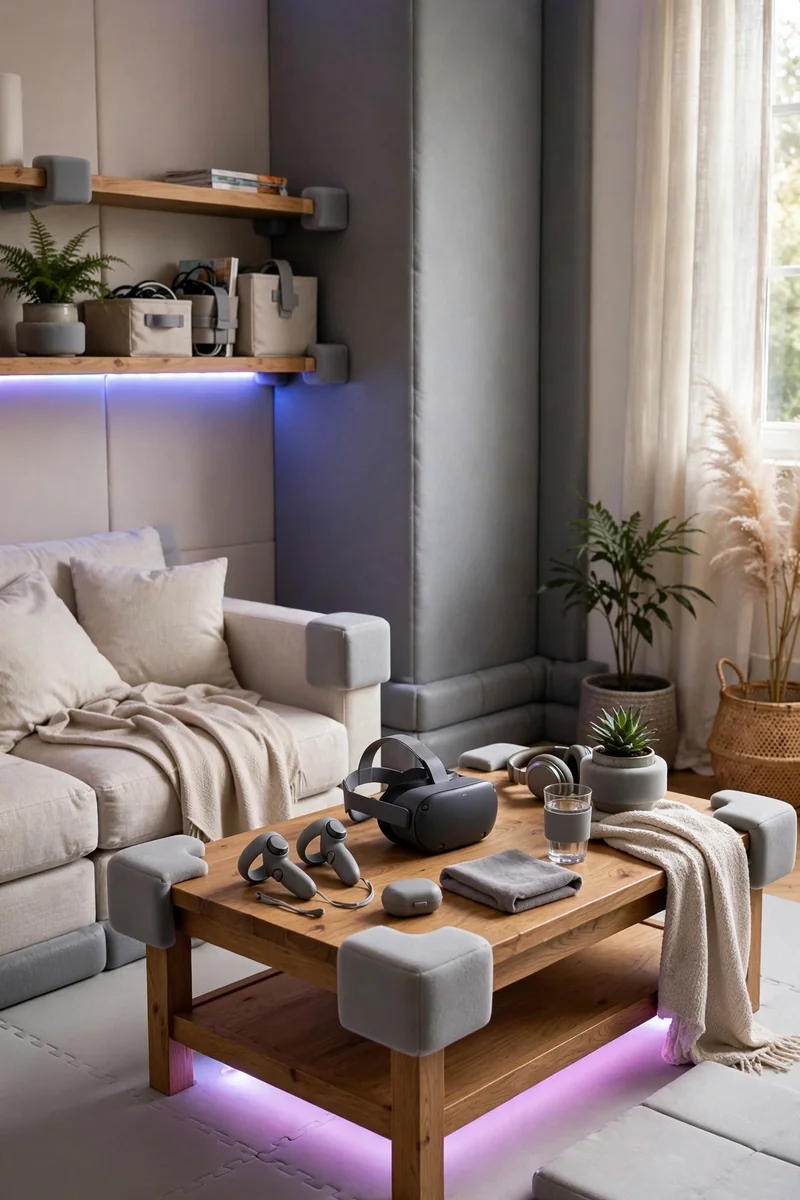
Walls, table corners, and door frames are the enemy in VR. Foam corner guards and adhesive padding turn every hard edge into a soft one.
Walk your play zone with arms extended and pad anything you can touch. Pay special attention to coffee tables, which sit exactly at shin height. Soft foam tiles on the wall behind your play zone also protect both the wall and your controllers during enthusiastic swings. Check the padding monthly, since foam compresses and adhesive loosens over time.
4. Hang Cables From a Ceiling Pulley System
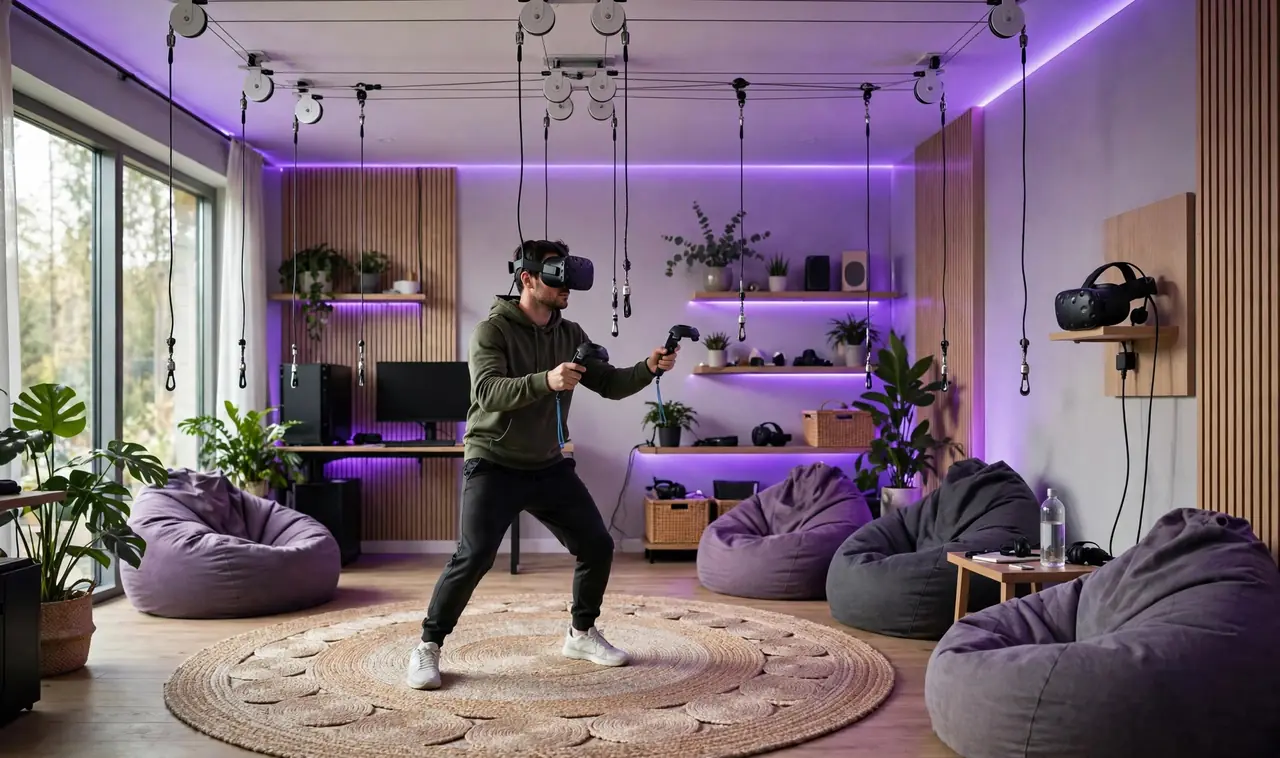
A tri-pulley cable system suspends your headset cable from the ceiling, so it never tangles around your legs or yanks your head mid-game.
Mount the pulleys in a line above your play zone with adhesive ceiling hooks or a tension-mounted rail. The cable retracts as you move, giving you near-wireless freedom. If your ceiling is rented, a tall floor lamp with a hook arm achieves the same effect without a single hole. Test the full range of motion before your first real session to catch snags early.
What to grab first
5. Set Dimmable Ambient Lighting
Bright overhead lights cause tracking issues and kill immersion. Dimmable smart bulbs let you drop the room to a soft glow that tracking cameras love.
Set lights to 30 to 50 percent during play. Avoid direct light hitting your play zone from above, since it can confuse inside-out tracking. Mirrors and large windows are tracking enemies too, so cover them with curtains during play sessions. A quick guardian setup check at the start of each session takes ten seconds and prevents accidents. More atmosphere in our RGB gaming room ideas.
Dim, even light keeps tracking happy and immersion unbroken.
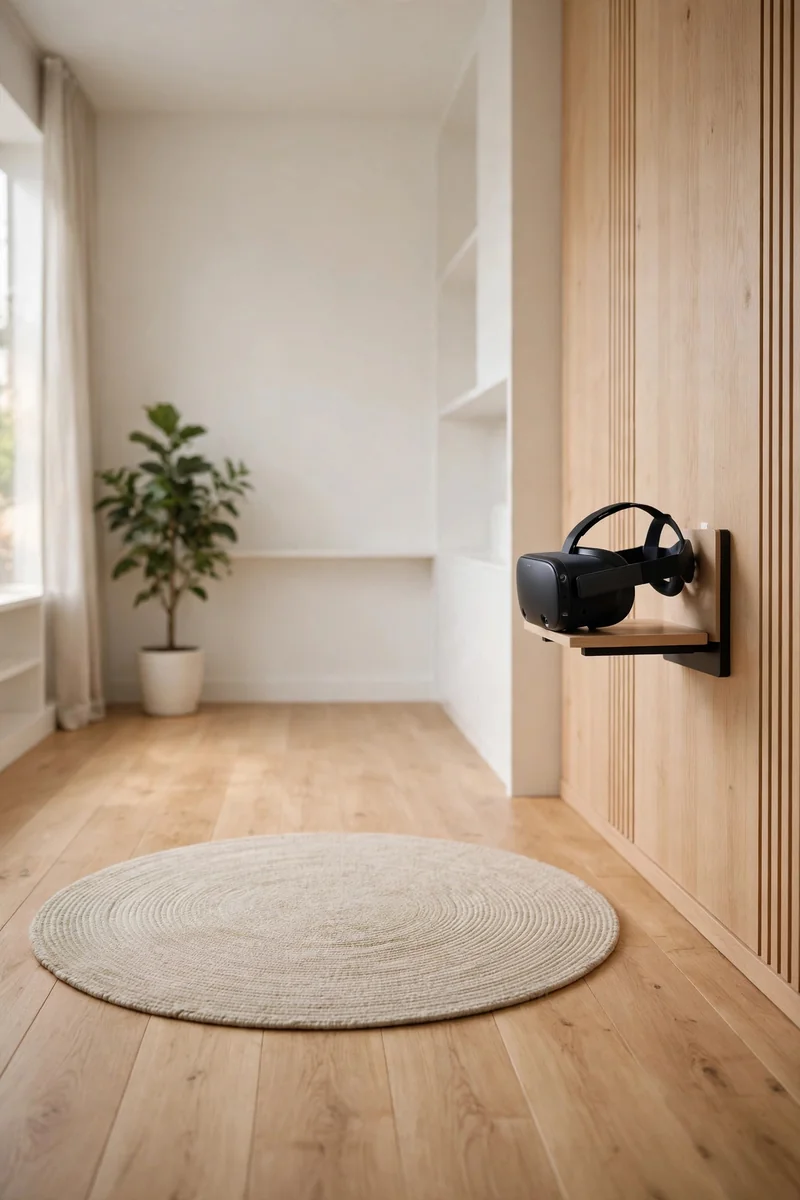
6. Mount the Headset on a Wall Stand
A wall-mounted headset stand keeps your VR gear safe, charged, and always in the same spot. No more hunting for the headset under the couch.
Mount it just outside the play zone at shoulder height. Cable the stand’s charging dock to a wall outlet behind furniture so no wire ever crosses your floor. Silica gel packets in the headset cupboard fight lens fog between sessions. A stand with built-in charging keeps controllers topped up between sessions.
Mount just outside the play zone at shoulder height.
Choose a stand with built-in controller charging.
Keep the cable routed along the wall, never across the floor.
7. Point a Fan at the Play Zone
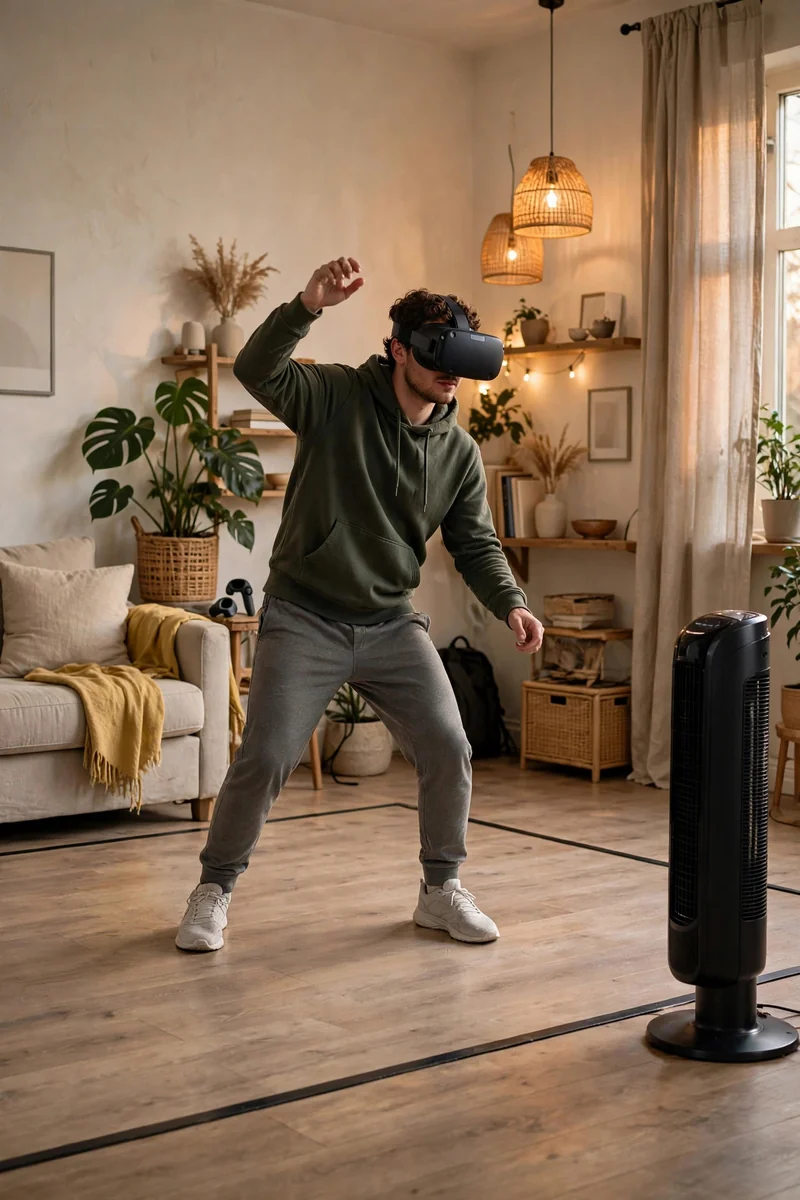
A fan does triple duty in VR: it cools you down, gives your brain a constant direction reference, and dries sweat that fogs lenses.
Place it at the edge of the play zone blowing gently across. The airflow becomes your compass when the virtual world spins. Your inner ear will thank you during smooth locomotion games. A tower fan works best because it spreads airflow wide without blasting one spot. Point it slightly upward so air flows across your face, not just your legs.
Sweaty, disoriented, lenses fogging mid-session.
Cool, oriented, and fog-free for hours.
8. Build a Battery Charging Station
Dead controllers end sessions early. A dedicated charging dock with spare rechargeable batteries keeps you playing without pause.
Keep two sets of batteries in rotation: one in the controllers, one on the charger. Magnetic charging cables make docking effortless in the dark. Label your battery sets with the purchase date and retire them after about a year of heavy use. Keep a small towel on the stand for wiping down the headset facial interface.
| Rechargeable Setup | Disposable Batteries |
|---|---|
| Swap in seconds, play for years. | Mid-session runs to the store. |
| One purchase, endless sessions. | Constant cost and waste. |
9. Use a Mat With a Center Marker
A VR mat with a raised center marker keeps you oriented without breaking immersion. Your feet find center automatically during intense moments.
Place the mat’s center at your play zone’s center and align it with your forward direction in-game. The tactile marker becomes your anchor. Some players add a second small marker for their forward foot position in boxing and fitness games. Replace the mat if the edges start curling, since curled edges cause trips.
Align the marker with your in-game forward.
Choose a mat with beveled edges.
Thick mats that trip you at the edge.
Smooth mats with zero tactile feedback.
10. Choose Speakers or Headphones Wisely
Room speakers free your ears from headset pressure and let others hear the game. Headphones give better positional audio and privacy.
For solo immersion, quality headphones win. For party VR nights, a soundbar lets everyone share the experience. Keep both options ready. Open-back headphones are popular for VR because they keep you aware of the real room while delivering great game audio. Whatever you choose, keep volume moderate to protect your hearing long term.
- ▸Headphones for solo immersion and positional audio.
- ▸Speakers for party nights and shared fun.
- ▸Keep both connected and switch in seconds.
11. Keep the Play Zone Clutter-Free
The number one VR injury cause is not the game, it is the stuff on the floor. Build a strict habit: nothing enters the play zone except you.
Before every session, do a 30-second sweep. Shoes, bags, cables, and pets all move outside the boundary. Make it a ritual like stretching before sports. Teach housemates the rule too, because a chair rolled into the zone mid-session is a classic VR horror story. A small sign on the door during sessions prevents surprise walk-ins. Our cable hiding guide keeps wires out of the zone permanently.
12. Dock Controllers in a Charging Cradle
A charging cradle on the headset stand keeps controllers paired, charged, and exactly where your hands expect them.
Dock them after every session without exception. The two seconds it takes saves the ten-minute hunt that kills your motivation to play. Wipe the controller grips with a dry cloth when docking, since sweat buildup shortens their life. Store the headset lens-side down or covered, because sunlight damages VR lenses fast.
💡 Quick Tip
A cradle with LED charge indicators shows at a glance if the gear is ready for tonight’s session.
13. Add Bias Lighting Behind the Display
If your VR room has a TV or monitor for spectators, bias lighting behind it reduces eye strain and makes the room feel cinematic.
A simple USB LED strip stuck to the back of the display washes the wall in soft color. It also helps non-players follow the action comfortably. Set the strip to a static warm color rather than flashing effects, which distract spectators. Match the bias light color to the game’s mood for extra immersion.
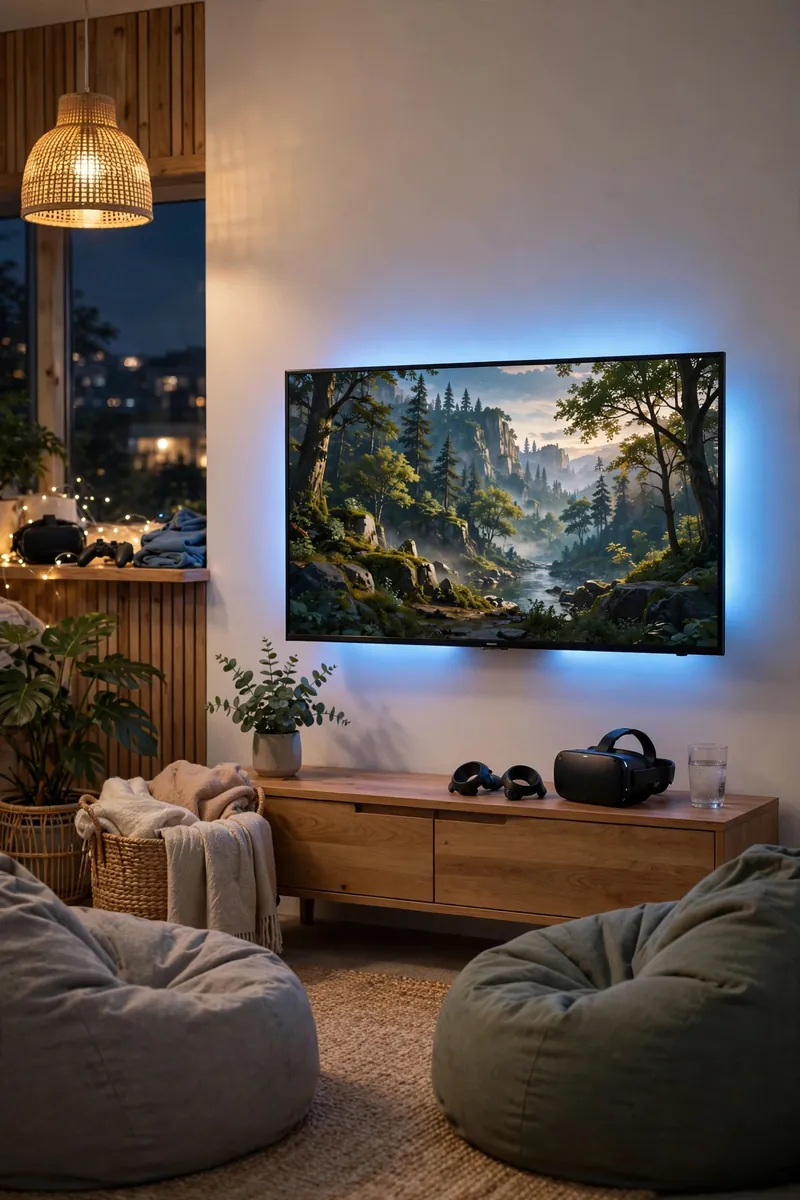
14. Add Seating for Spectators
VR is twice as fun with an audience. A bean bag or two just outside the play zone gives friends a safe spot to watch and laugh.
Keep spectator seating outside the guardian boundary with a clear line of sight to the display. Watching VR is entertainment in itself. A strict no-entry rule during active play keeps both players and spectators safe from collisions. Kids love watching VR, so set clear turn-taking rules before the headset goes on.
What to grab first
15. Control Temperature and Ventilation
VR workouts heat up fast. A room that starts comfortable becomes a sauna in twenty minutes without airflow planning.
Crack a window or run the fan on low before you start. Keep water just outside the play zone, because dehydration sneaks up in VR. Take the headset off for five minutes every half hour, since breaks also reset your balance and focus. If you feel queasy, stop immediately and sit down, since pushing through makes it worse.
Cool air and water within reach. Your body is the controller, treat it like one.
A safe VR room is an invisible one. When the space disappears, the virtual world takes over completely, and that is the whole point. Build the play zone first, pad the dangers, manage the cables, then layer in the atmosphere.
Start this weekend with the sweep ritual and the rug. Those two free changes make every session safer immediately. Save this guide and build your play space one upgrade at a time.