
Look behind your desk right now. If you see a tangled nest of black cables collecting dust, you are not alone. Almost every gaming setup starts clean and ends up a spaghetti junction within a month, because every new headset, charger, and console adds one more wire with nowhere to go. Learning how to hide cables in a gaming setup is less about buying fancy gear and more about giving every wire a planned path.
The good news is that you can fix the whole mess in about ninety minutes with a handful of cheap supplies. No drilling into walls, no electrician, no special skills. This guide walks you through eight steps in the exact order that works: unplug and label, mount your power, route, bundle, and hide. By the end, every cable will have a home, your desk will look twice as big, and cleaning underneath it will stop being a dreaded chore. Grab some velcro ties and let’s tame the nest.
- Surge-protected power strip (12 outlets is plenty)
- Under-desk cable tray (screw-mount or adhesive)
- Adhesive cable raceway for the wall or desk edge
- Reusable velcro cable ties (a pack of 50)
- Masking tape and a marker for labels
- Small adhesive cable clips
- Fabric cable sleeve or cable box (optional cover-up)
- Rubbing alcohol and a cloth (for adhesive mounts)
- Unplug everything and photograph the mess
- Label every cable before you move anything
- Mount the power strip under the desk
- Run the main lines through a tray or raceway
- Bundle the slack with reusable ties
- Hide the remaining cables out of sight
- Tame the monitor and desk-surface cables
- Plug back in by zone and test everything
1. Unplug everything and photograph the mess
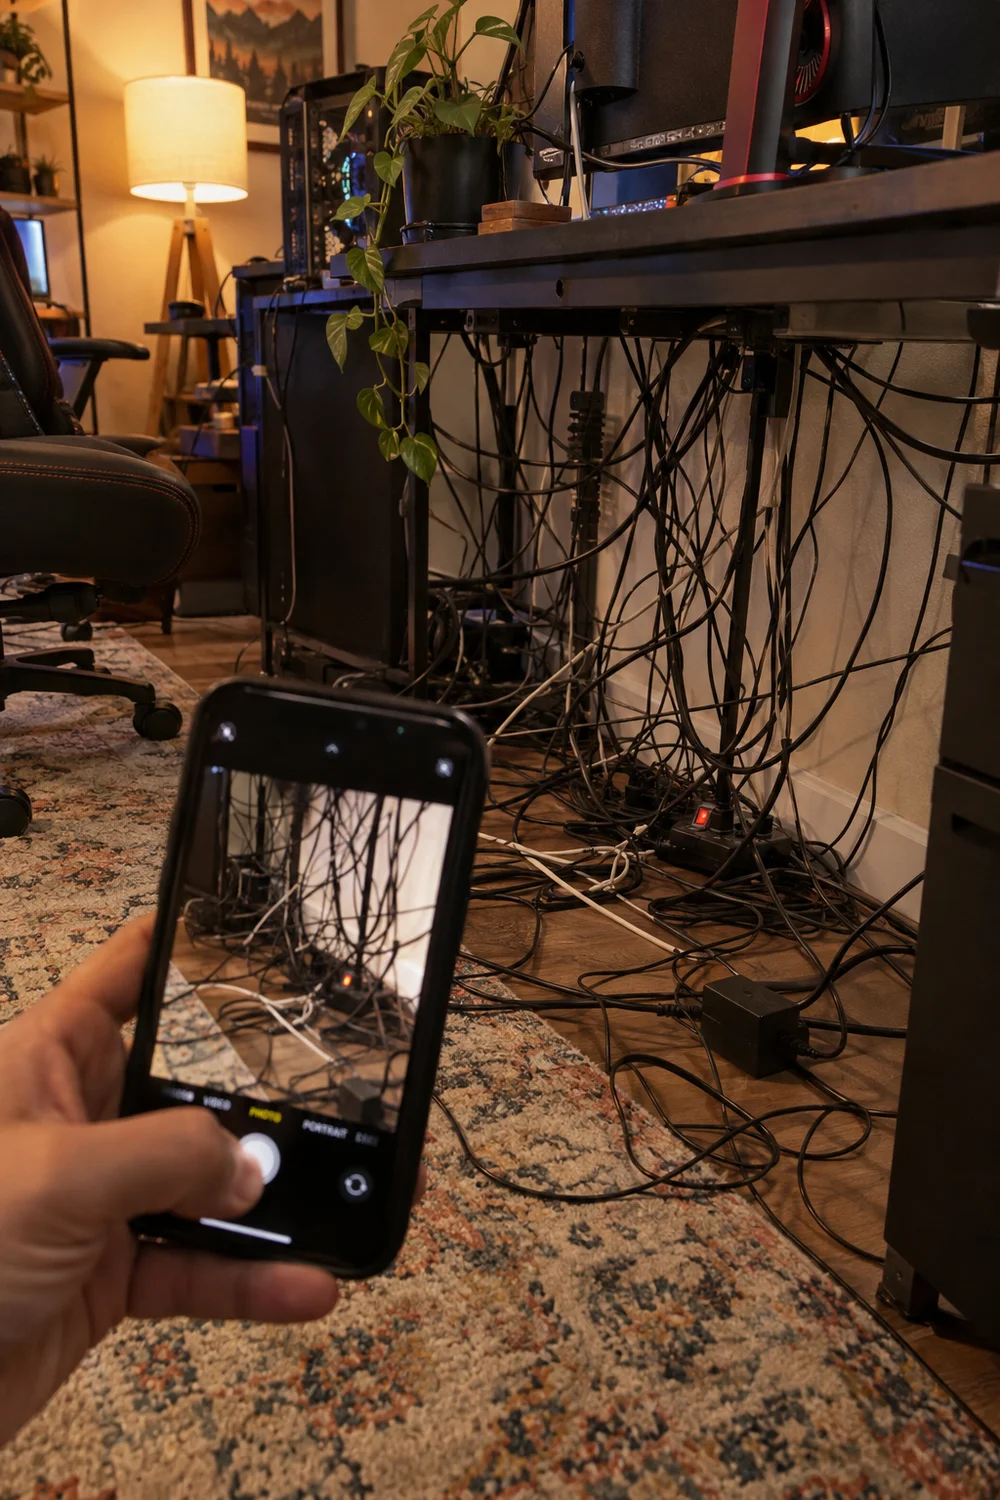
That photo is your insurance policy. Unplug every cable from the PC, monitors, and consoles, then pull the whole nest out where you can see it. Snap a clear photo of where each plug went, especially behind the PC where ports all look alike. Coil each cable loosely and lay them on the floor in groups: power, video, USB, audio. 90 minutes from now, this chaos becomes a system.
2. Label every cable before you move anything
A strip of masking tape and a marker beat a perfect memory every time. Wrap a small flag around each cable near its plug and write what it connects: “monitor 1 power”, “headset USB”. Label both ends of long cables. When you plug everything back in step 8, these little flags turn a guessing game into a five-minute job.
3. Mount the power strip under the desk
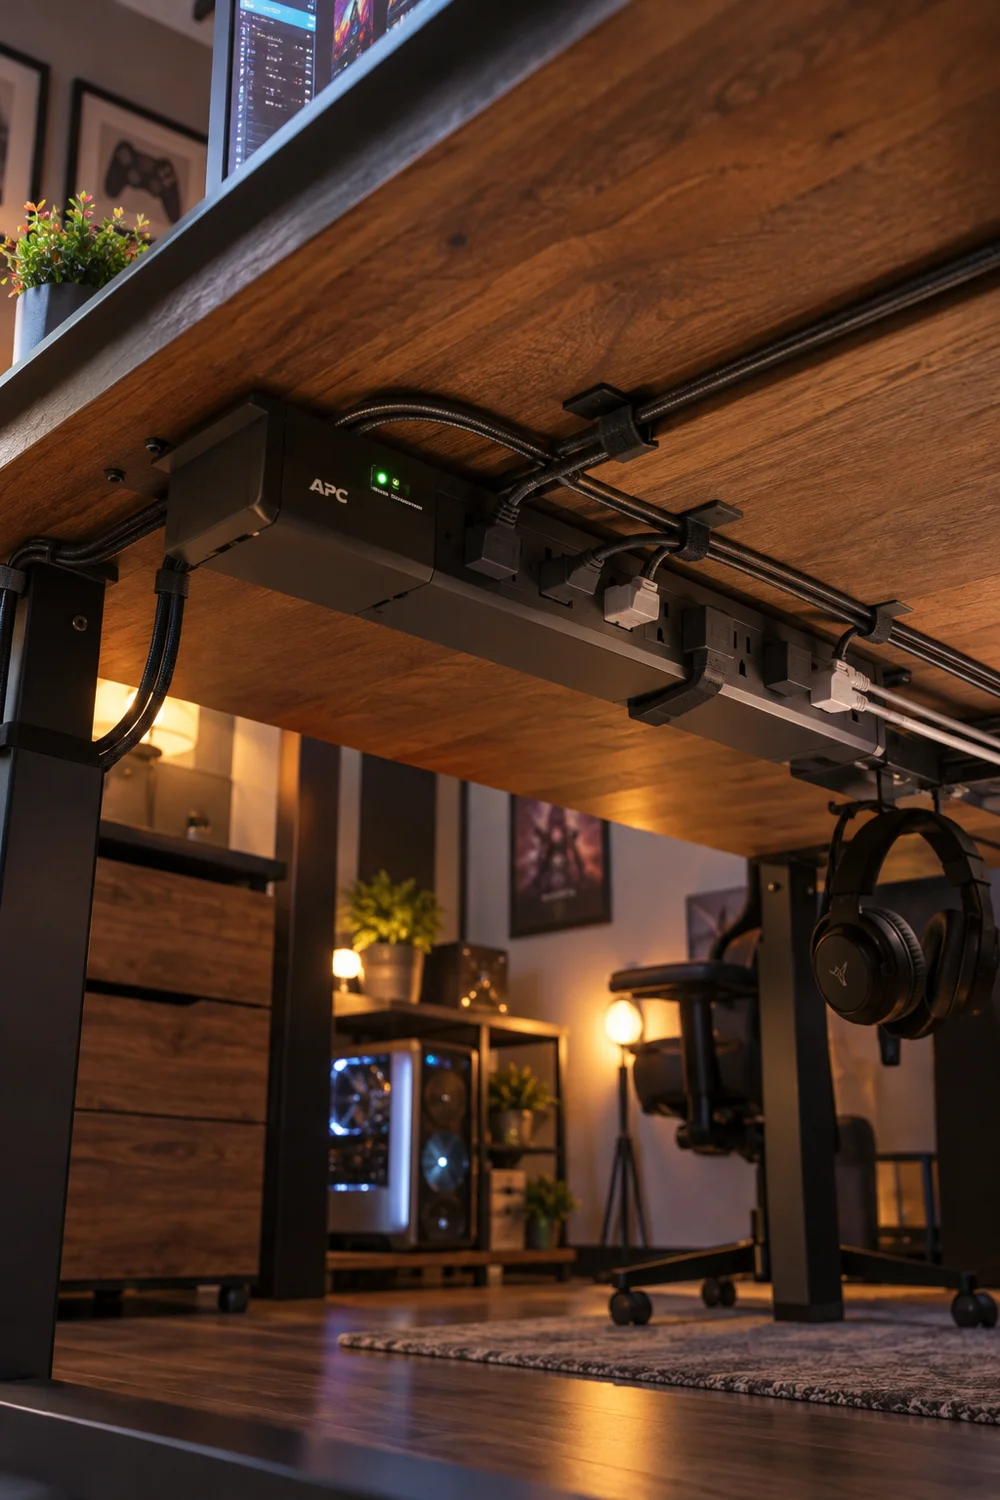
Everything starts at the power strip, so get it off the floor and under the desk where it belongs. A 12-outlet surge-protected strip mounted with screws or heavy-duty adhesive puts every plug within reach and off the carpet. Position it toward the back edge, centered under your main gear. Leave 6 inches of clearance on each side so bulky adapters do not crowd each other. Plug in only the big permanent items for now: PC, monitors, and console power bricks.
4. Run the main lines through a tray or raceway
With power sorted, give the long runs a dedicated path. Screw a wire tray under the back edge of the desk, or stick an adhesive raceway along the wall behind it. Drop every cable that travels from floor to desk into this channel first. One shared highway beats five separate drooping lines every time.
5. Bundle the slack with reusable ties
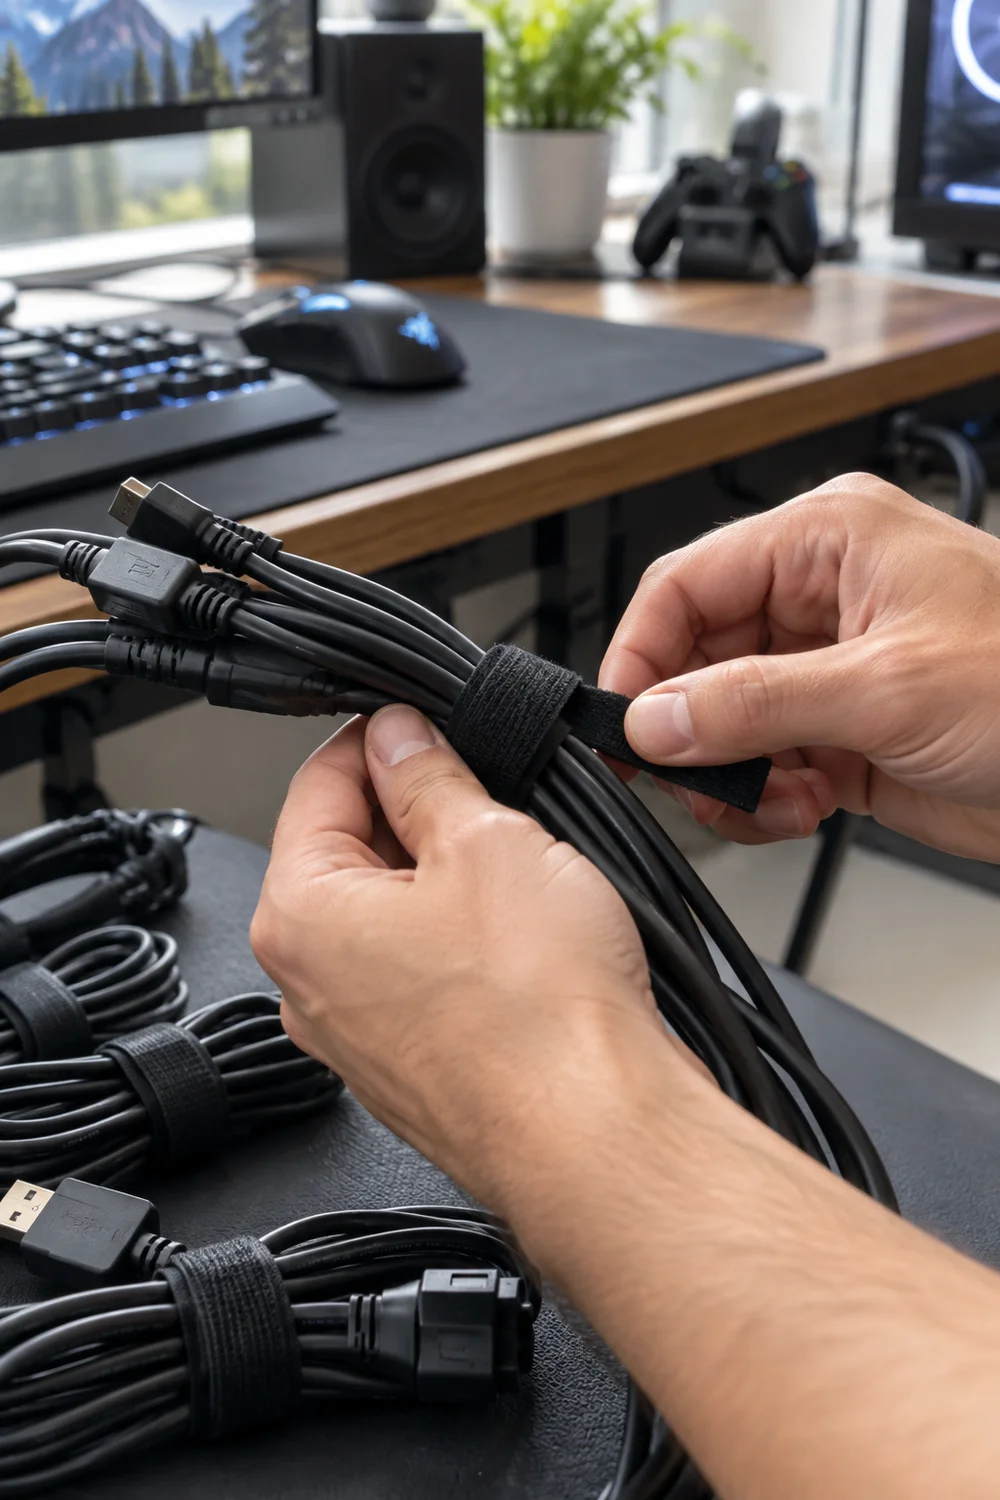
Here is where the magic happens. Gather cables heading to the same device and wrap them together with velcro ties every 8 to 10 inches. Snug, not strangled: you should be able to slide one finger under the tie. Leave a small service loop, about 4 inches of slack, near each device so you can pull a monitor forward without unplugging it. Work from the tray outward, one bundle at a time. Resist the urge to combine everything into one giant snake; separate bundles for power, video, and USB stay readable when you need to change something later.
6. Hide the remaining cables out of sight
Short on patience for perfect routing? There is no shame in a cover-up. A fabric cable sleeve swallows a whole bundle in seconds, and a hollow cable box hides the power strip entirely. Tuck the box behind a desk leg or under the desk’s back edge. Out of sight still counts as organized.
7. Tame the monitor and desk-surface cables
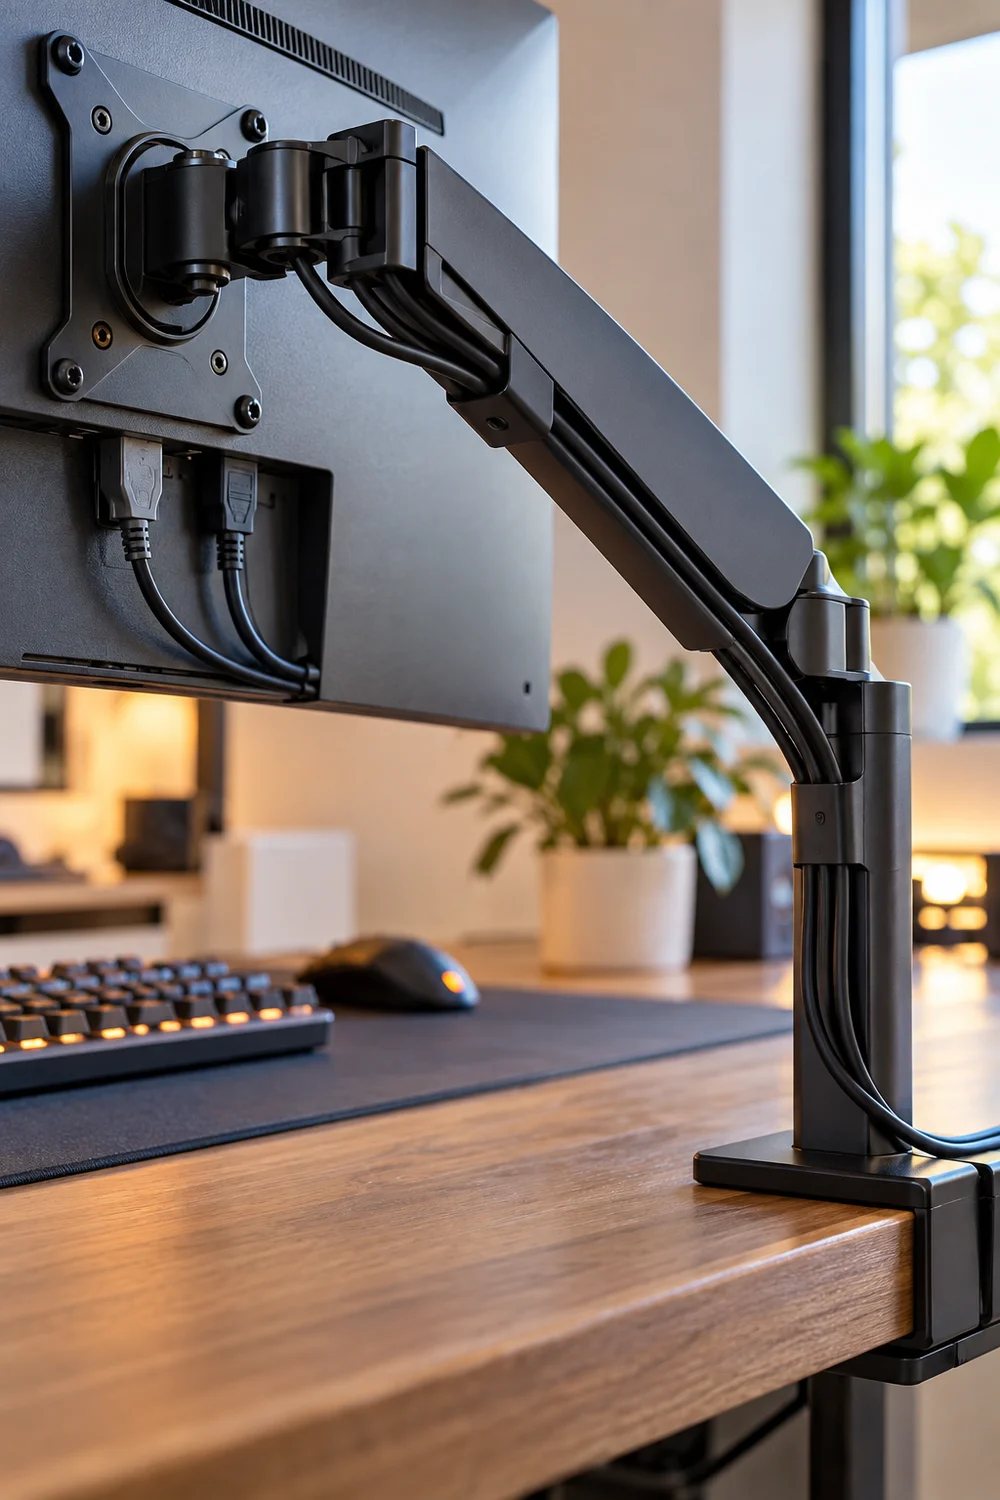
The cables you see while sitting down matter most. Route monitor power and video down through the monitor arm’s built-in channel, or clip them to the arm with small adhesive clips every 6 inches. For keyboard, mouse, and headset wires on the desk, run them to the back edge and drop them straight into the tray. A 1-inch adhesive clip under the desk’s front lip parks your headphone cable exactly where your hand expects it.
8. Plug back in by zone and test everything
Those little labels earn their keep now. Starting with the PC, plug each device back in following your photo from step 1. Power on one zone at a time: screens first, then audio, then accessories. Wiggle each bundle gently to confirm nothing pulls tight. When every light is on and every screen glows, step back and enjoy the cleanest your setup has ever looked.
| If This Happens | Try This |
| A cable no longer reaches after routing | Reroute with a longer cable or move the strip closer. Never leave a cable stretched taut. |
| The adhesive tray keeps falling down | Clean the surface with rubbing alcohol, let it dry fully, then press for 30 seconds. Still failing? Switch to screw mounts. |
| It still looks messy behind the monitor | Shorten the visible runs first. Excess length is almost always the real problem, not the routing. |
| You need to add a new device later | Open one bundle at a time, lay the new cable alongside, and re-tie. That is why you used velcro. |
Frequently Asked Questions
Will hiding cables make my setup run hotter?
Not if you keep bundles snug rather than tight and leave the PC’s vents clear. Cables do not generate meaningful heat; blocked airflow does.
Can I do this in a rental without drilling?
Yes. Adhesive trays, raceways, and heavy-duty mounting strips hold well on clean, dry surfaces and remove without damage.
How often should I redo my cable management?
Do a quick check every few months. A full redo is only needed when you add or replace major gear.
Is it safe to bundle power cables with data cables?
For a home setup, yes. Keep them in separate bundles if it gives you peace of mind, but modern shielded cables coexist fine.
You need: surge-protected strip, cable tray, raceway, velcro ties, masking tape + marker, adhesive clips.
- Unplug everything, photograph the mess
- Label every cable
- Mount the power strip under the desk
- Route main lines through tray or raceway
- Bundle slack with velcro ties
- Hide leftovers in a sleeve or box
- Tame monitor and desk cables
- Plug back in by zone and test
Wrapping Up
You did it. Every cable in your gaming setup now has a planned path instead of a tangled fate. Once you know how to hide cables in a gaming setup, the method works anywhere: the TV corner, the home office, the next apartment.
Pick one drawer or one shelf as your next target this weekend. Pin this guide so the steps are waiting when you need them, and enjoy the cleanest desk you have ever gamed at.