
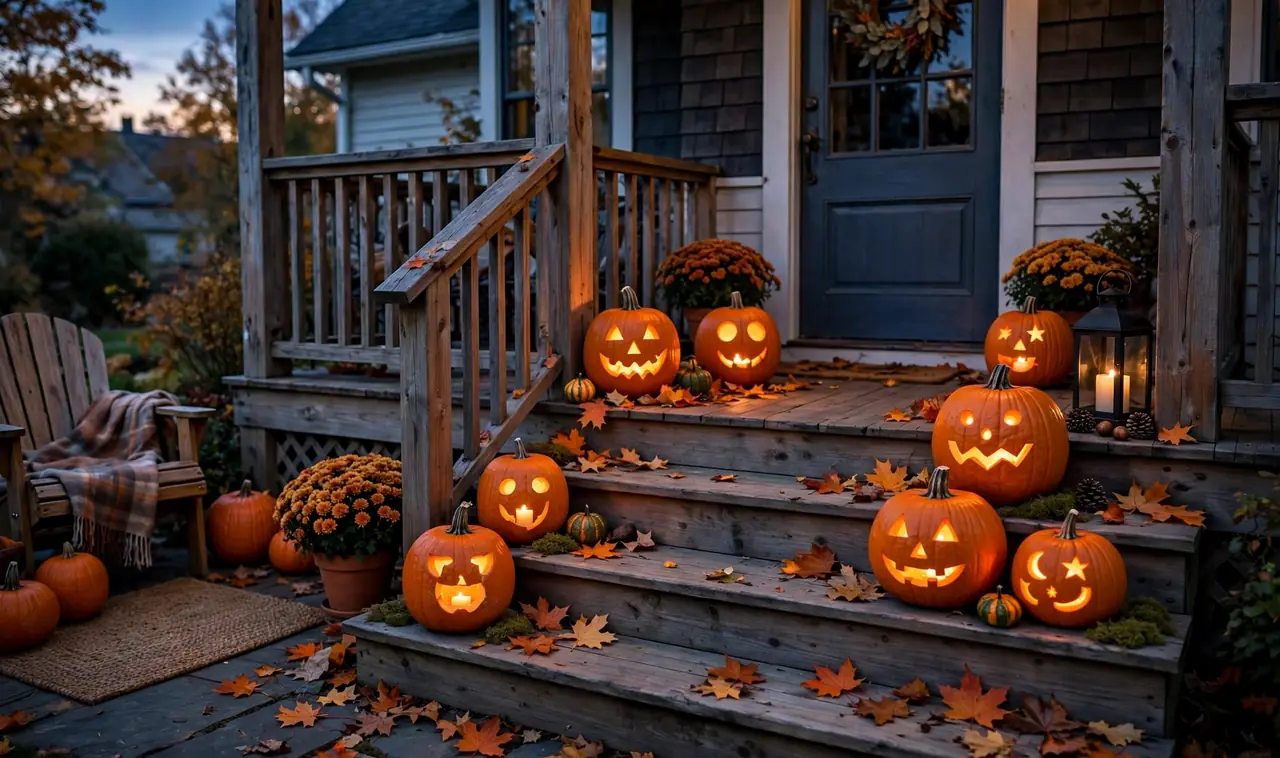
Your first pumpkin does not need to look like the ones in the store window. Most of those were carved by people who have done it twenty times, and the internet makes it look harder than it is. The truth is simpler: a sharp little saw, a steady hand, and one forgiving design will get you a jack-o-lantern you are proud to put on the porch.
This list of pumpkin-carving ideas was built for people who have never carved before. Every idea uses simple shapes, cheap tools, or no cutting at all. You will find classic faces, no-carve tricks, and a few techniques that make the whole job cleaner and safer. Pick the one that sounds fun, give yourself an hour, and enjoy the mess. That is honestly the best part.
1. Start With the Classic Triangle-Eyes Jack, the Kindest of These Pumpkin-Carving Ideas
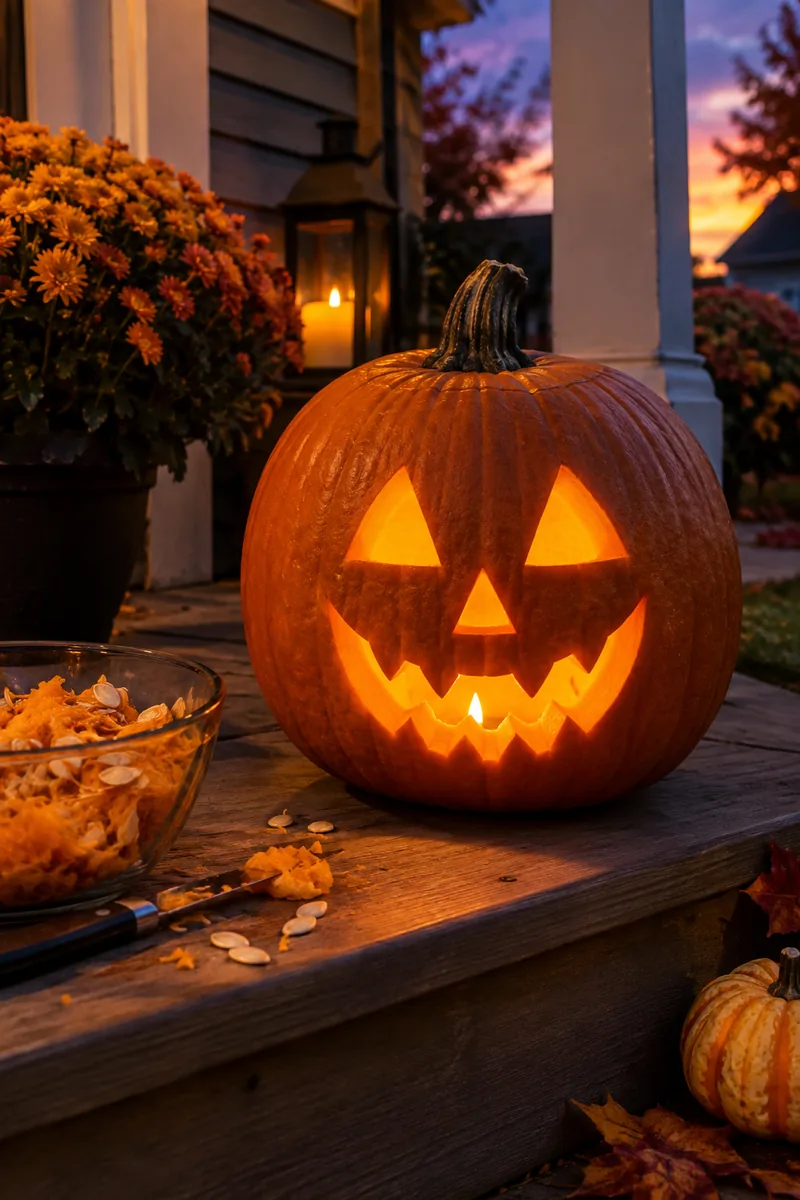
There is a reason every kid draws this face first. Two triangle eyes, a triangle nose, and a jagged grin forgive every wobble. If your line drifts a little, it just looks like character.
Draw the face with a dry-erase marker before you cut. The marker wipes off with a damp cloth, so a bad sketch costs nothing. Cut the eyes first, then the nose, then the mouth, pushing each piece out from the inside with your thumb so the edges do not tear.
2. Skip the Knife and Paint the Face Instead
Small kids, shaky hands, or no good cutting tools. Paint solves all three. Acrylic craft paint sticks to pumpkin skin well, and a mistake wipes off with a wet paper towel before it dries.
- Use a foam brush for big areas and a thin liner brush for details.
- Let each color dry ten minutes before adding the next.
- Seal it with clear matte spray so it survives a damp night.
💡 Quick Tip
Paint the pumpkin white first as a base coat. Colors pop on white, and one thin base layer hides every bruise and scratch on the skin.
3. Use Foam Sticker Shapes for a Zero-Cut Face
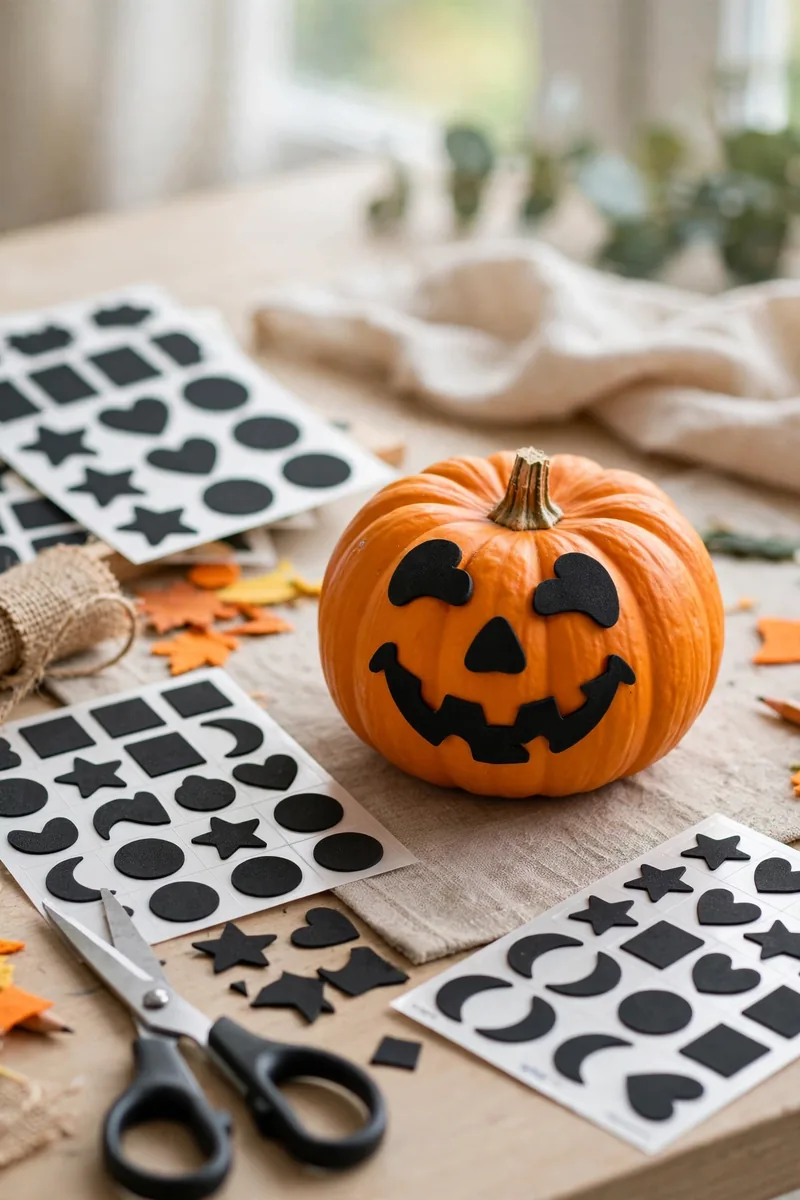
Foam stickers from the craft aisle are the fastest route to a finished pumpkin. Peel, stick, done. A sheet of black foam triangles, circles, and zigzags gives you eyes, noses, and mouths in about two minutes.
The trick is placement. Put the face slightly above the middle of the pumpkin, not dead center. Faces look friendlier and less surprised when the eyes sit high. Press each sticker down firmly and smooth the edges so rain cannot sneak underneath and curl them up.
4. Press Cookie Cutters Into the Skin as Stencils
Metal cookie cutters make perfect outlines with zero drawing skill. Hold a star, heart, or bat cutter flat against the pumpkin and tap it gently with a rubber mallet until it dents the skin.
After that, trace the dent with a marker and cut along it, or fill the dent with dark paint for a no-carve version. Both look far more precise than anything drawn freehand.
5. Drill Tiny Holes for a Starry-Sky Glow
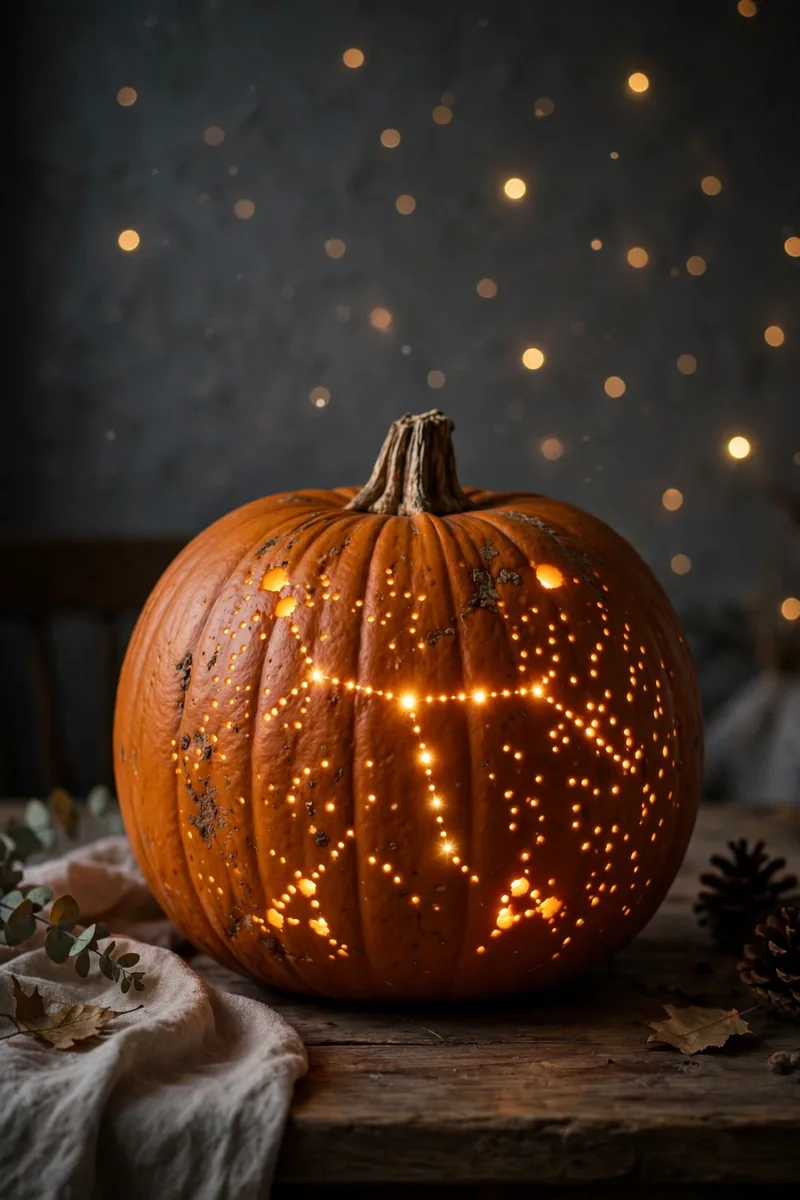
A power drill turns carving into dot-to-dot. Sketch a loose constellation with a marker, then drill small holes along the dots. The light inside throws real pinpricks onto the wall behind the pumpkin.
Use a 1/8-inch bit for fine stars and a 1/4-inch bit for bigger ones, keeping the speed low so the bit bites instead of tearing. A grown-up can run the drill while a child points to each spot.
What to grab first
For that glow to carry the whole porch, borrow placement tricks from our Halloween lighting ideas and set the pumpkin near the brightest spot by the door.
6. Carve One Crescent Moon With Three Stars
Beginners do best with one bold shape instead of a busy scene. A fat crescent moon takes about six cuts, and three little stars fill the empty space without extra planning.
Draw the moon big, at least four inches tall. Small curves are where saws slip, so bigger is genuinely easier. Cut the moon first, then poke the stars out with the saw tip.
7. Give Your Pumpkin a Single Big Googly Eye
One giant eye is funnier than two normal ones, and it is almost impossible to mess up. Cut a single large circle, roughly the size of your fist, and set a plastic googly eye behind it from the inside.
Tape the googly eye to a small square of cardboard, then tape the cardboard over the hole inside the pumpkin. Add a straight-line mouth underneath.
8. Make a Surprised Face With One Zigzag Cut
Some nights you only have twenty minutes. Two round eyes and one zigzag mouth deliver a full personality with five cuts total. Round eyes read as surprise, and the zigzag mouth keeps it from looking plain.
Cut the eyes with the tip of a small paring knife, twisting gently to pop out clean circles. For the mouth, cut one straight zigzag line instead of a full shape. Less cutting means fewer chances to slip, and the face still photographs beautifully.
9. Trace a Free Paper Stencil for Crisp Lines
Stencils are training wheels, and there is no shame in that. Print a simple pattern, tape it to the pumpkin, and poke along the lines with a pushpin. The dotted outline transfers perfectly.
Remove the paper and cut dot to dot with short, gentle strokes. The pinholes show exactly where to stop and turn, which is the part beginners usually guess at.
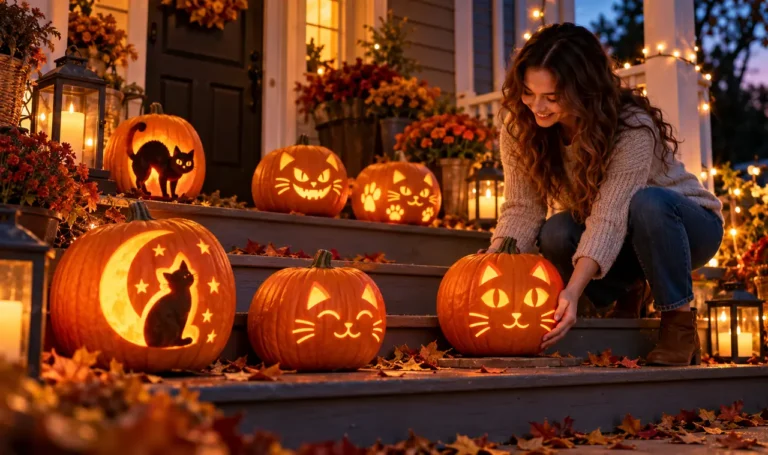
10. Cut a Simple Two-Triangle Cat Face
Cat people, this one is yours. Two triangle ears on top, two triangle eyes, a tiny triangle nose, and three whisker lines scratched lightly into the skin. No mouth needed.
Cut two ear triangles at the top edge of your design area, angled slightly outward.
Cut the two eye triangles and the small nose triangle below them.
Scratch three short whisker lines on each cheek with the saw tip, just through the outer skin.
The whiskers sell it. Keep them shallow, just a scratch, so light glows through the thin skin without full holes.
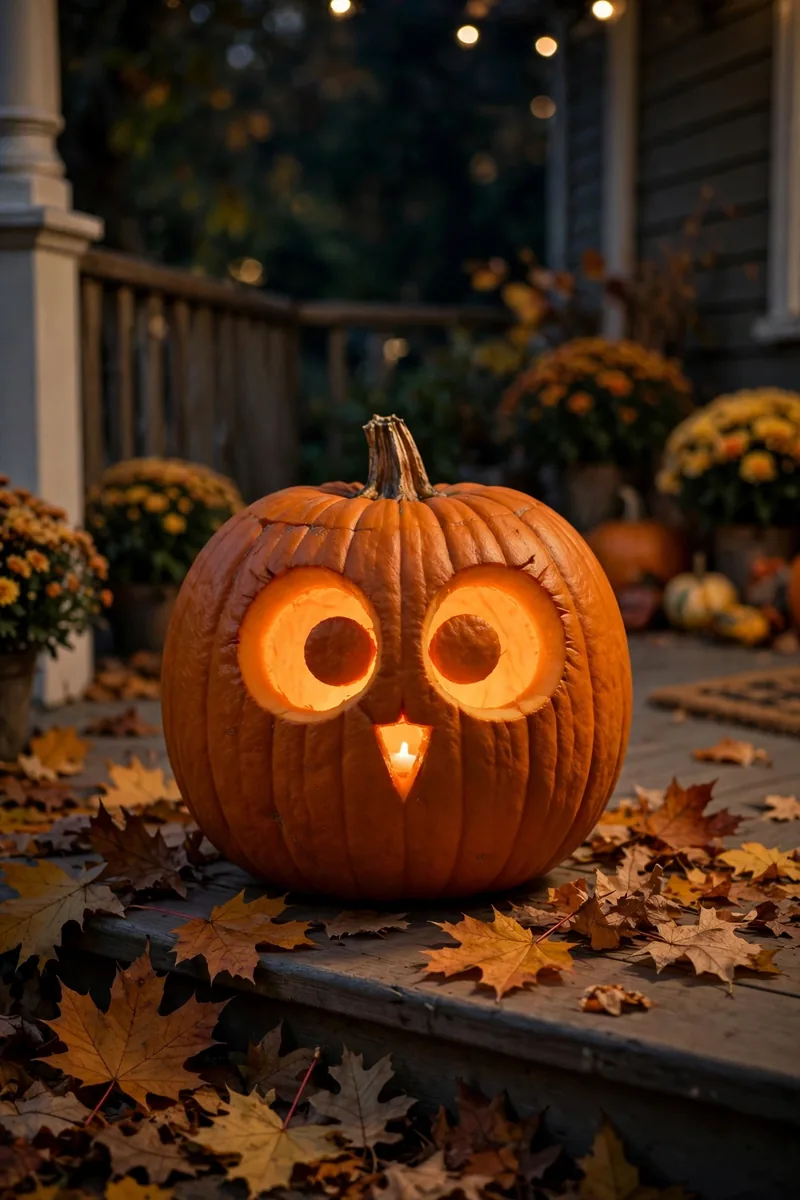
11. Scoop Out Big Round Owl Eyes
Owls are just two circles and a beak, which puts them firmly in beginner territory. Cut two large circles for the eyes, close together near the top, then a small downward triangle for the beak between and below them.
The trick is spacing. Eyes set close together look wise and owlish, so leave less than an inch between the circles. A few feather shapes scratched lightly around the edges finish the look.
12. Cut the Lid From the Bottom, Not the Top
This is the single best technique tip in this whole list. Cut your opening in the bottom of the pumpkin instead of the top. The pumpkin sits flat, the stem stays pretty, and lighting the candle becomes trivial because you just lower the pumpkin over the flame.
Use a battery tea light anyway for safety, but the bottom-opening method also stops the lid from drying out and caving in, which is what ruins most carved pumpkins by day three. Your jack-o-lantern will simply last longer.
13. Scrape the Skin Instead of Cutting Through
This technique looks advanced and takes five minutes to learn. Instead of cutting through the wall, carve away only the outer skin inside your drawn shape. The thin flesh underneath glows softly when lit, like a lantern shade.
Use a linoleum cutter or a small clay loop tool from the craft store. Work in thin layers and stop when the wall feels about a quarter inch thick. Hold the pumpkin up to a lamp as you go to check the glow.
14. Glue on Gems for a No-Carve Sparkle Pumpkin
Some pumpkins never meet a blade and still steal the show. Craft gems, rhinestones, and flat-back pearls stick to pumpkin skin with a dot of hot glue or strong craft glue, and the result catches porch light beautifully.
Sketch your pattern lightly in pencil first, then glue one gem at a time. A gem-covered pumpkin fits a calm, uncluttered porch, much like the looks in our minimalist Halloween decor ideas, where one strong piece beats a crowded display.
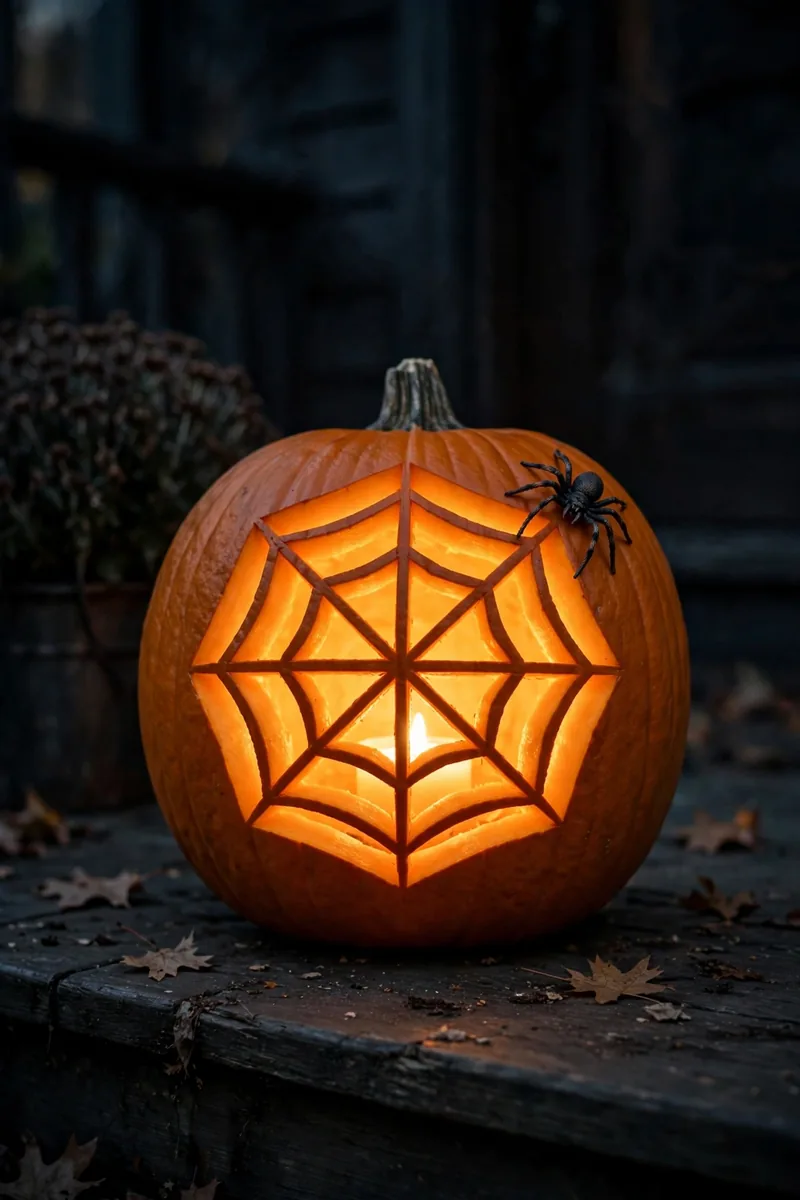
15. Score Straight Lines for an Easy Spider Web
A spider web sounds hard and is secretly just straight lines. Draw a small circle, then draw six to eight straight lines radiating out from it like sun rays. Connect the rays with short curved arcs, working outward ring by ring.
Cut along the lines with a thin saw, or scratch them shallow for a glowing web instead of an open one. Add a small plastic spider from the dollar store with a dot of glue.
16. Carve Two Ovals for a Friendly Ghost Face
Not every October face needs to be scary. Two tall ovals for eyes and one small oval for a surprised little mouth make a ghost that looks sweet on a doorstep, especially for houses with toddlers.
Ovals are forgiving because they have no corners to catch the saw. Cut slowly around the curve and let the tool do the work. A ghost face also carves fast, which matters when little helpers are losing patience.
17. Carve Only Half the Face and Let It Peek
Turn the pumpkin so one side faces the street and carve the face off-center, near the edge. From the sidewalk, the jack-o-lantern looks like it is peeking around at passersby. Kids find this absolutely hilarious.
The half-face also means half the cutting. One eye, half a nose, and half a grin are all you need. Place it on a step or a low wall where the angle reads clearly, and it becomes the pumpkin everyone remembers.
18. Stack Three Mini Pumpkins Into a Totem
Small pumpkins are cheaper, easier to cut, and far less intimidating. Carve a simple face on three minis, then stack them largest on the bottom, threading them onto a wooden dowel pushed into the ground.
Run a dowel through the centers so wind cannot topple the stack.
Use battery lights in each pumpkin for an even glow.
Stacking without support on a windy porch step.
Real candles inside small pumpkins, which scorch the flesh fast.
A totem like this loves a staircase. Line the steps with one totem per stair, a display straight out of our Halloween staircase decorating ideas with almost no carving skill required.
19. Carve Your Family Initial Into the Rind
A single letter is the most personal pumpkin on the block. Draw your family initial big and blocky, then cut it out or scrape it shallow for a glowing monogram.
Block letters beat script every time for beginners. Straight lines and simple corners are easy to follow, and a one-letter design leaves huge margins for error. Put it beside the front door where guests see it up close.
20. Finish With a Battery Tea Light, Not a Real Flame
The last of these pumpkin-carving ideas is about the finish, not the face. A flickering LED tea light gives the same warm glow as a candle with none of the worry. No scorched lids, no fire risk near dry leaves, no relighting in the wind.
Drop two tea lights into big pumpkins for an even glow, and set them on a timer plug so they switch on at dusk by themselves.
That is the whole secret of carving as a beginner: pick a simple shape and let the candlelight do the flattering. These pumpkin-carving ideas all look far harder than they are. Carve one this weekend and save this list for next October.


One Response