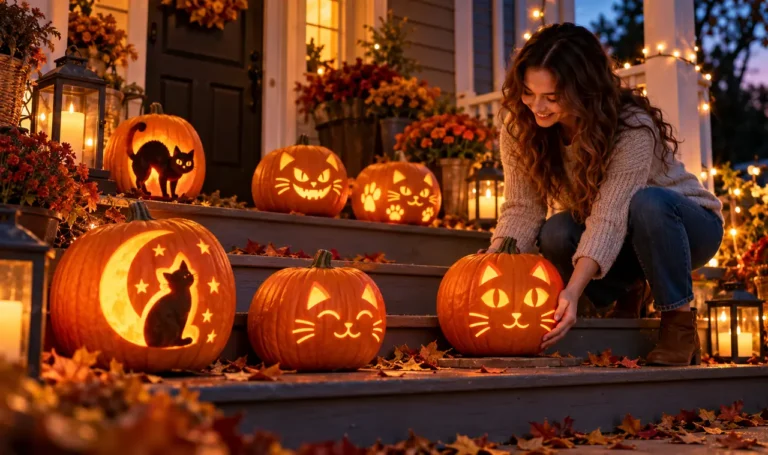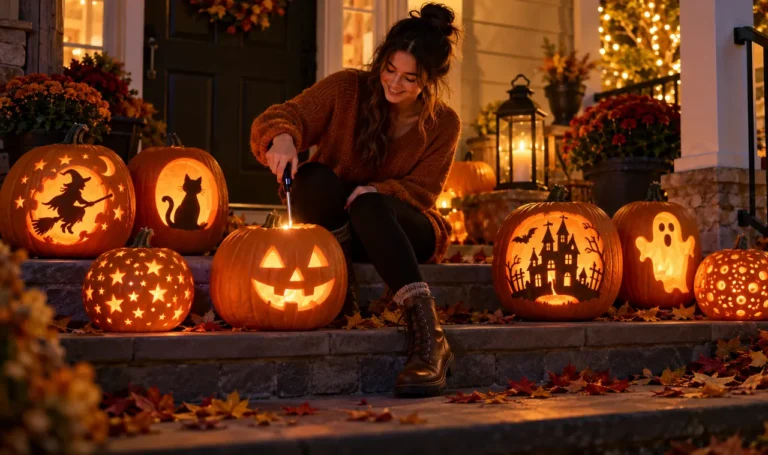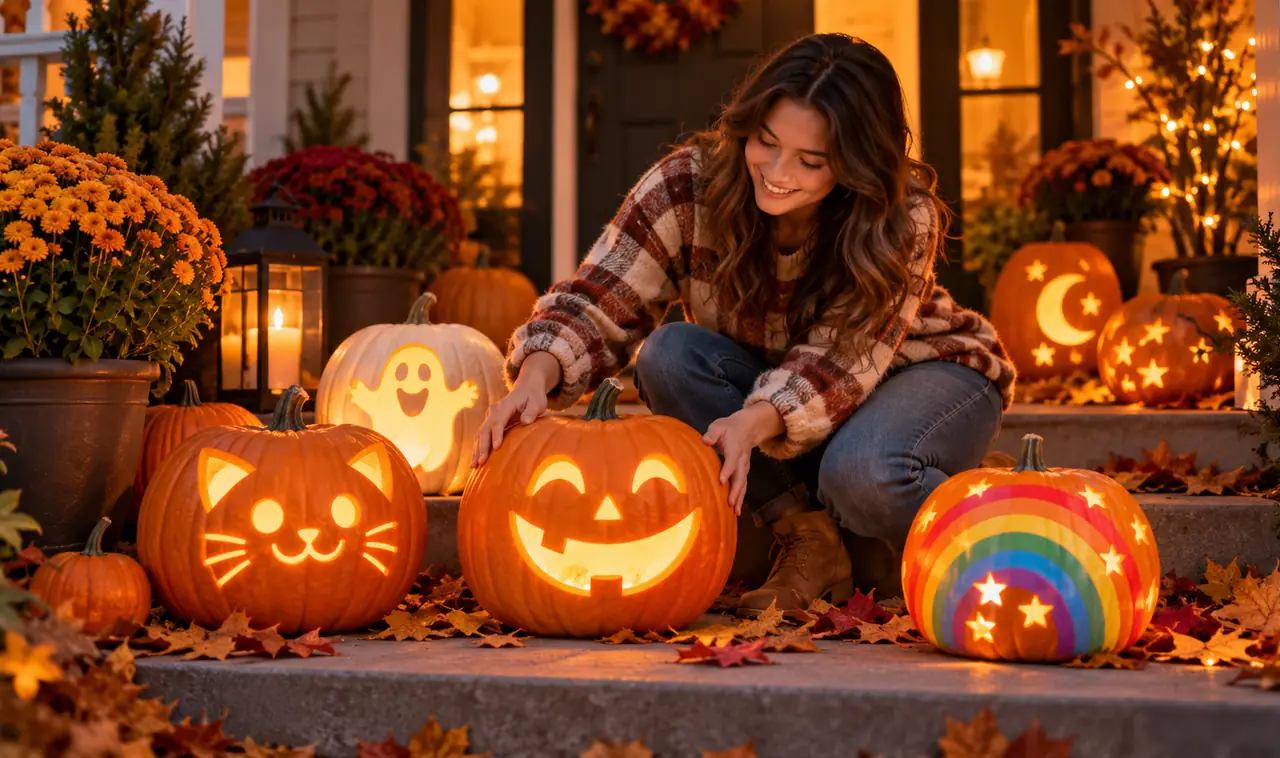
Every October the same thing happens on our street. The pumpkins come out, and every single one is trying to look terrifying. Sharp teeth, angry eyes, the works. My youngest hid behind my legs last year and refused to walk past the neighbor’s porch.
That is the moment I stopped carving scary faces. There is no rule that says a jack-o-lantern has to frighten anyone. A pumpkin can grin, wink, wear a flower crown, or look like a sleepy cat, and it still counts as Halloween.
These cute pumpkin-carving ideas are built for anyone who wants the holiday without the horror. Every design below is simple enough for a first timer, friendly enough for toddlers, and sweet enough that your porch feels welcoming instead of haunted. Most of them take under an hour, and none of them need steady artist hands. Grab a pumpkin, a simple carving kit, and pick the face that makes you smile first. That is the one to carve.
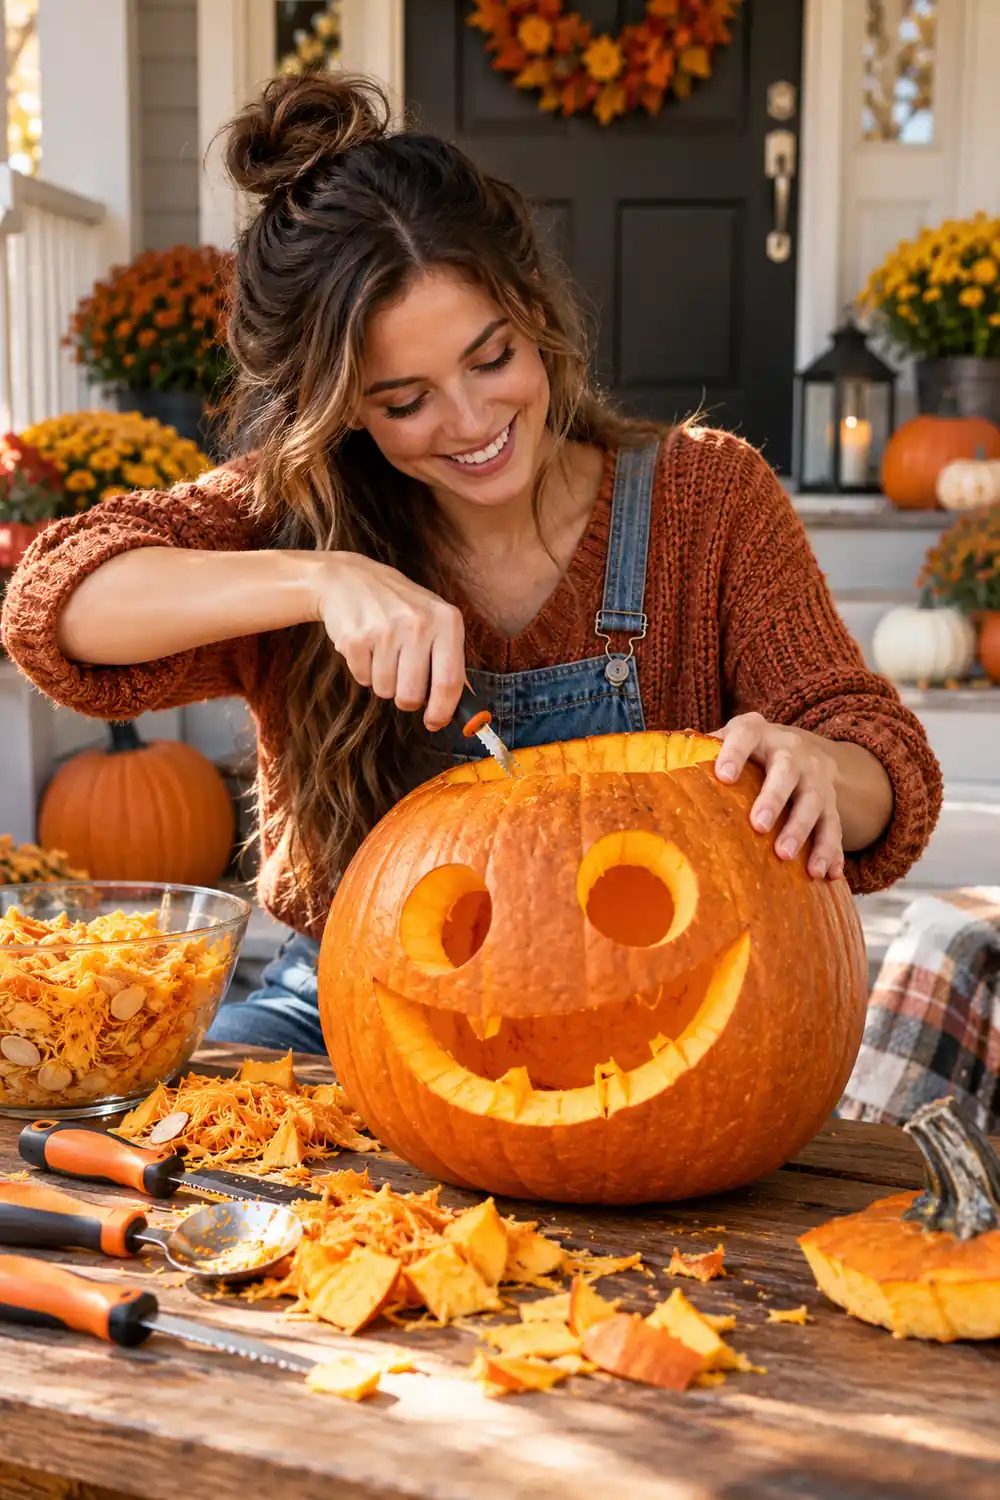
1. Carve a Big Friendly Grin Instead of a Scary One
Start with the face everyone knows, then soften every edge.
The classic jack-o-lantern only looks scary because of sharp triangles and jagged teeth. Round everything out and the whole mood changes. Draw two big circles for eyes, a small rounded triangle for the nose, and a wide smile that curves up at both ends. Cut inside your lines so the shapes stay chunky. A battery tea light gives a warm glow without a real flame.
- ▸Round eyes instead of triangles.
- ▸A smile that turns up, not down.
- ▸No teeth at all. Gums are friendlier.
2. Press Cookie Cutters Into the Pumpkin for Perfect Shapes
Shaky hands are not a problem when the shape is already decided.
Metal cookie cutters turn carving into a tracing exercise. Pick simple shapes like stars, hearts, or flowers. Hold the cutter flat against the pumpkin and tap it gently until it dents the skin, then follow the dent with a small serrated saw. Stars scattered across the pumpkin look sweet with a light glowing inside. Kids can pick the cutters and decide where each shape goes.
💡 Quick Tip
Warm the cutter under hot water for a few seconds first. It slides into the pumpkin skin much easier.
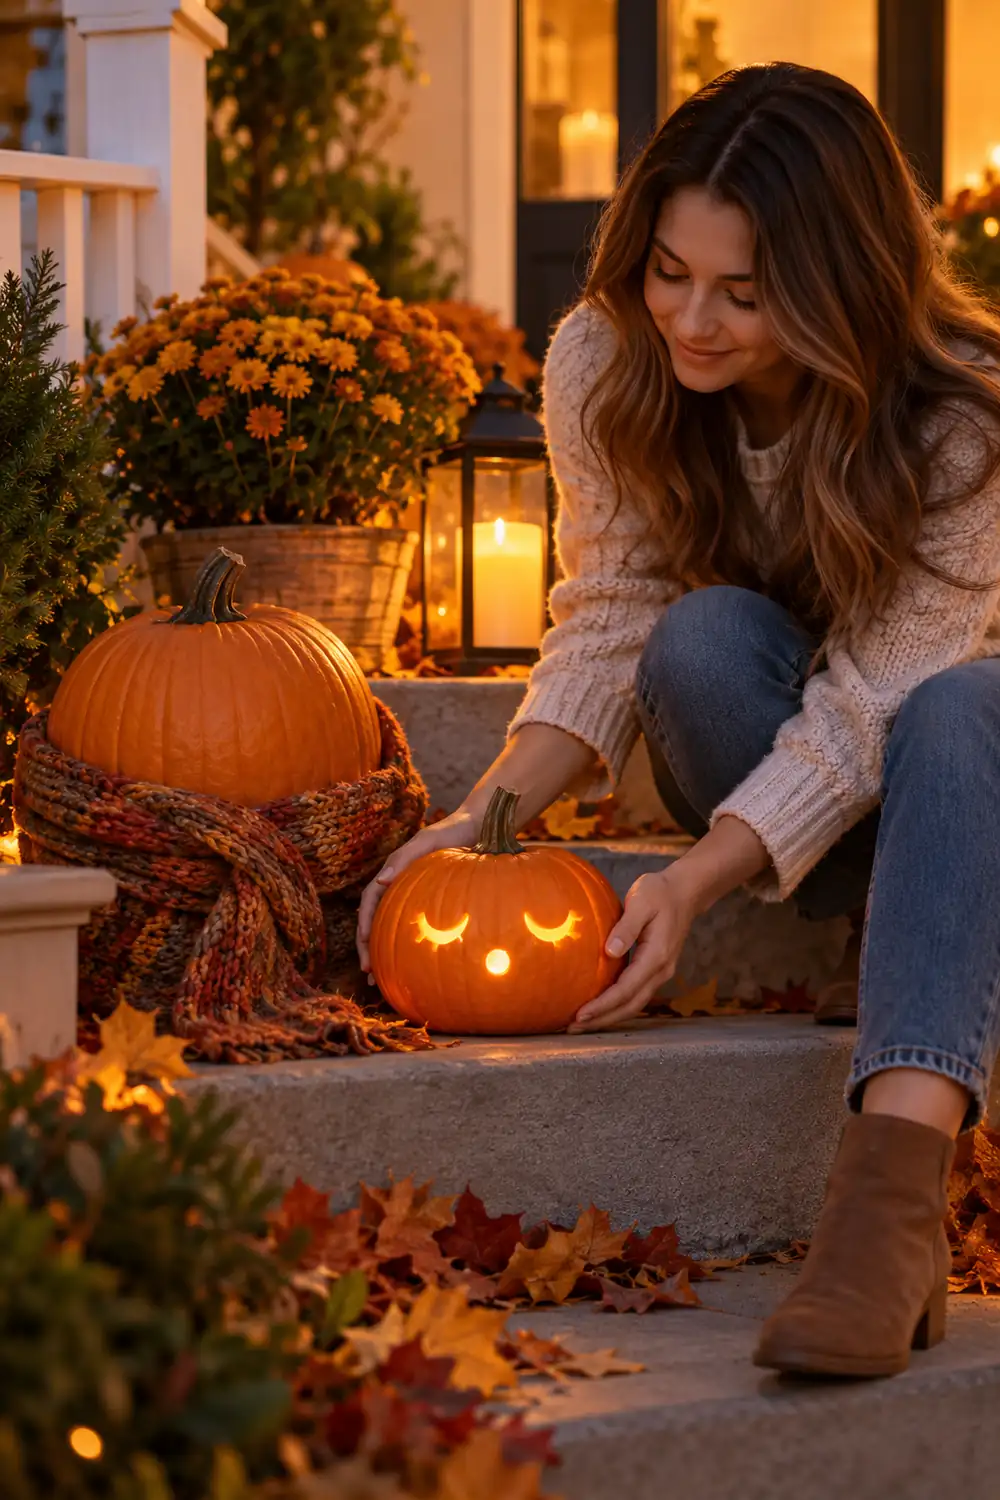
3. Give Your Pumpkin Sleepy Closed Eyes
Two curved lines can say more than a whole scary face.
Carve two downward curves, like a pair of smiling parentheses laid on their sides, and add a tiny round nose underneath. That is the whole face. The closed eyes read as sleeping or dreaming, which is why toddlers love this one. Set it on the porch steps next to a plain pumpkin with a knitted scarf for a bedtime scene. If your family loves gentle designs, these cute pumpkin-carving ideas for families have even more soft faces to try.
- ▸Tuck a tiny pillow under the pumpkin.
- ▸A battery candle turns it into a night-light.
- ▸A tag that says “Do Not Disturb” gets a laugh.
4. Turn Your Pumpkin Into a Sweet Cat Face
My daughter asked for a cat pumpkin three years in a row, so this one is well tested.
Cats are easy because the face is mostly triangles and whiskers, and both forgive wobbly cuts. Carve two triangle ears at the top, two almond eyes, a small triangle nose, and a W shaped mouth. Paint thin whisker lines on with black craft paint instead of carving them. A pink painted nose finishes the look.
Cat face kit
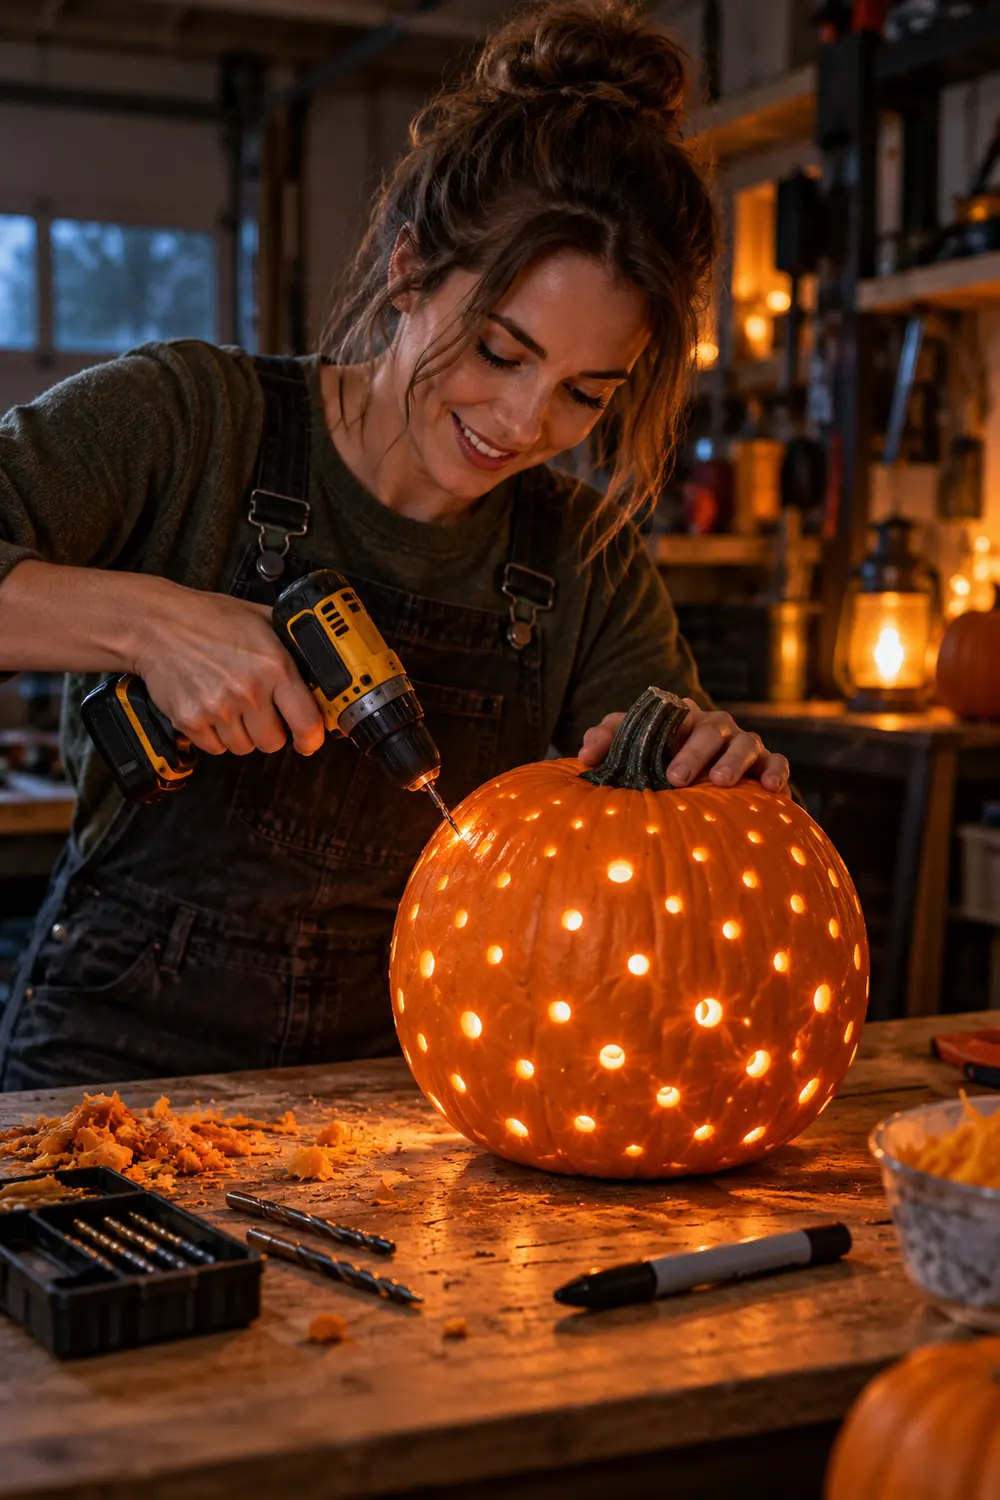
5. Drill a Field of Tiny Polka Dots
Rule: if you can make dots, you can make this pumpkin.
Mark a loose pattern of dots with a washable marker, then drill straight through with a small bit. The holes glow like tiny lanterns with a light inside, more fairy lights than fright night. Vary the bit sizes for a playful look, or keep every dot the same for a tidy pattern. The drill never changes direction mid-cut, so there is nothing to slip on.
- Mark dots with a washable marker.
- Drill each dot with a quarter inch bit.
- Shake out the loose bits of skin.
- Drop in a battery light.
6. Carve a Wide-Eyed Owl That Looks Friendly
Owls usually look stern, which is a problem when the goal is cute.
Carve two big circles close together instead of angry slits, and add a small beak between them. Big round eyes read as curious and sweet on any animal face. If circles feel hard, trace around a jar lid first and cut just inside the line. These easy pumpkin-carving ideas anyone can recreate include more round-eyed designs that use the same trick.
- ▸Glue on felt eyebrows for extra expression.
- ▸Sit it on a stack of books like a wise little pet.
7. Add a Piggy Nose and Curly Tail
A pig snout is one circle. That is the whole carving skill this one needs.
Carve two round eyes and a smiling mouth, then make the snout from a slice of a second small pumpkin or a painted foam circle glued on the front. A pipe cleaner twisted into a spiral makes the tail. Gluing the snout on is faster than carving it and looks rounder, which reads as cuter.
8. Top It With a Flower Crown
I have seen flower crowns turn the grumpiest carved face sweet.
Weave fake daisies, baby’s breath, and small leaves into a circle and rest it on top of the pumpkin. The flowers pull the eye upward and soften everything below. Use floral wire to hold the circle together so it survives a windy porch. The crown also hides a lid that does not sit quite flat.
Best blooms: daisies, baby’s breath, small sunflowers, eucalyptus sprigs. Stick to fake flowers so the crown lasts all season.
9. Make a One-Eyed Cutie With a Googly Eye
The mistake is carving the eye. Glue it on instead.
A giant googly eye from the craft store gives more personality than any carved eye. Carve a simple smiling mouth, paint two rosy cheeks, then stick the googly eye on the forehead with craft glue. The eye wobbles in the wind, which makes the pumpkin look alive. There is only one real cut to make, so it is done in minutes.
Carve a wide smile and nothing else.
Paint two pink circles for cheeks.
Glue the googly eye on and let it dry.
10. Carve a Cuddly Teddy Bear Face
People think animal faces are advanced. A teddy bear is just circles.
Two round ears on top, two round eyes, one oval snout, and a small nose and mouth inside it. Every cut is a simple curve with no corners to mess up. Draw the face with a marker first and check it in your phone camera. Brown craft paint rubbed lightly over the skin gives a fur-like tint without hiding the glow.
Best for kids who want a pumpkin they can hug goodnight.
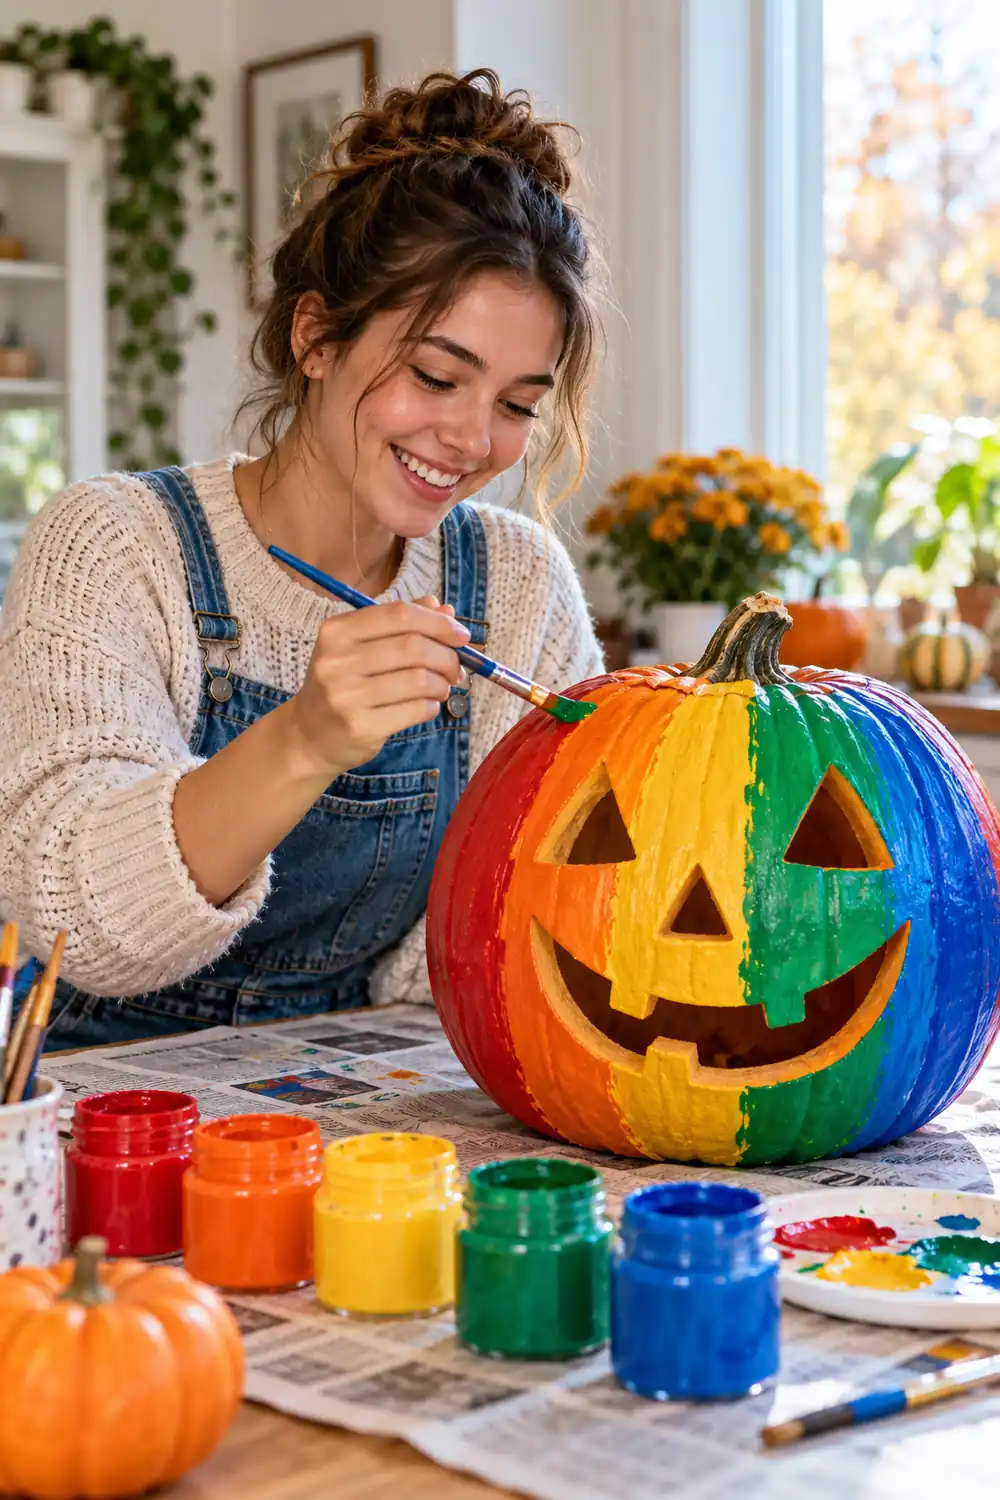
11. Paint a Rainbow, Then Carve the Smile
Last spring my neighbor’s kid painted her pumpkin like an Easter egg, and it worked in October too.
Paint arched rainbow stripes across the pumpkin and let them dry completely before carving. Then cut a simple happy face right through the paint. The colors glow from behind when the light is on. Use acrylic paint in thin coats so it does not crack. The drying time is the only slow part.
- ▸Rainbow order that photographs best: red, orange, yellow, green, blue.
- ▸Keep the face centered so every color shows.
12. Give It Bunny Ears From Felt
The fastest cute upgrade on this list needs almost no carving at all.
Cut two long ear shapes from gray or white felt, fold a pink felt inner ear inside each, and hot glue them to the top. Then carve or paint a simple bunny face: two oval eyes, a tiny triangle nose, a small mouth. The ears do most of the cute work. For more first-timer friendly designs, these pumpkin-carving ideas for complete beginners start with the same easy cuts.
Ear options: felt is sturdiest, construction paper is fastest, twigs wrapped in yarn look rustic.
13. Carve a Frog With a Big Happy Mouth
Rule: the wider the smile, the friendlier the frog.
Carve two half-circle eyes on top so they bulge upward like a real frog’s, then cut one long wide smile across the front. Green craft paint over the whole pumpkin sells the look instantly. Keep the smile turned up at the corners. A flat mouth is the one thing that makes a frog look grumpy.
| Carve it | Paint it |
|---|---|
| Eyes as half circles on top. | Whole pumpkin green first. |
| Mouth as one long curved cut, corners up. | Darker green spots for texture. |
14. Turn the Pumpkin Into a Giant Ice Cream Scoop
The mistake is carving first. Paint the scoop, then add the face.
Paint the pumpkin pastel pink, mint, or vanilla white and let it dry. Sit it in a big bowl or glue a paper cone underneath as the cone. Then carve or paint a simple face: two dot eyes and a tiny open smile. A cherry on top from a red foam ball finishes it. Use two thin coats of paint instead of one thick coat for a smoother finish that dries faster.
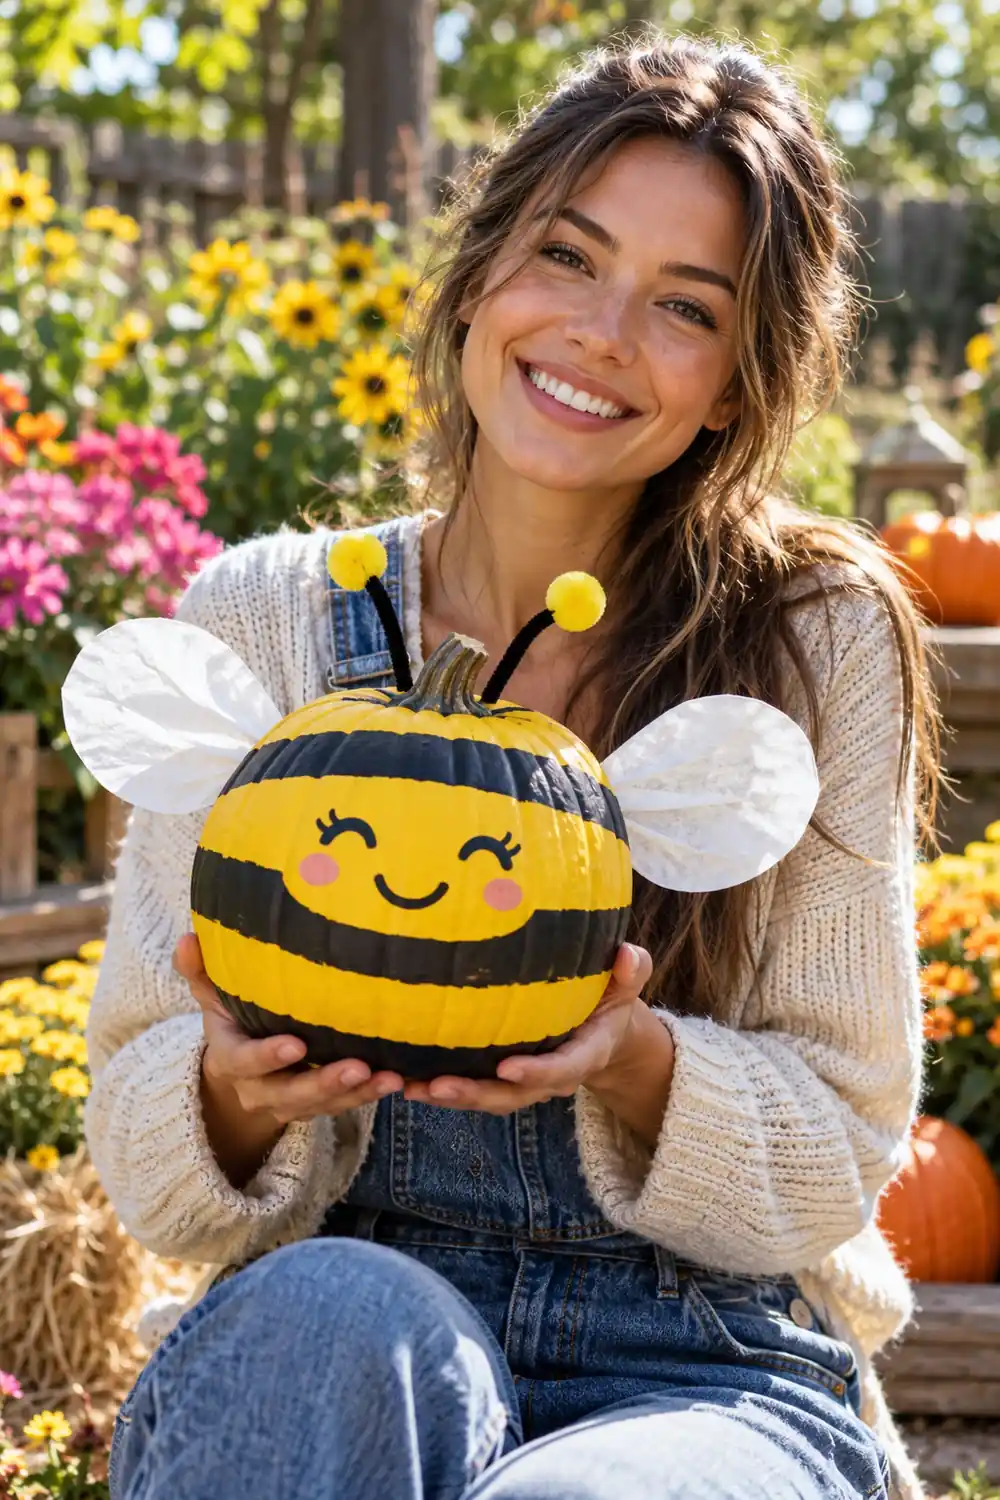
15. Add Stripes and Wings for a Sweet Little Bee
Yellow paint, black stripes, paper wings. Done.
Paint the whole pumpkin yellow and add three or four black stripes, using painter’s tape for crisp lines. Cut wing shapes from white tissue paper or coffee filters and glue them to the sides. Carve a smiling face on the front, or paint it to keep things simple. The wings flutter in the breeze, which gives the bee a lively feel on the porch.
- ▸Two antennae from pipe cleaners.
- ▸A tiny flower tucked by the stem completes the story.
16. Carve a Ghost That Smiles Back
I used to think ghosts had to be spooky until I saw one with dimples.
Carve two oval eyes and a small round open mouth, like a surprised but happy “oh.” Drape white cheesecloth over the top for a floaty effect, or paint the pumpkin white and skip the cloth. A jagged mouth says haunted house, but a neat circle says friendly ghost. Set it behind your other pumpkins so it peeks out.
A short string of fairy lights inside makes the cheesecloth glow softly and turns eerie into endearing.
17. Finish With Heart-Shaped Eyes
Heart eyes are the universal symbol for “I adore this.”
Carve two hearts for eyes and a small smiling mouth, and the pumpkin instantly looks smitten. Make each heart with two angled cuts that meet at a point, or press a heart shaped cookie cutter in as a guide. Red or pink paint around the eyes makes them pop in daylight. This is the sweetest face on the list and a fitting finale: Halloween can be adorable.
Put this one closest to the sidewalk. It will get the most smiles.
Scary has its place, but a porch full of grinning, sleepy, flower-crowned pumpkins has a charm that fright night cannot match. These cute pumpkin-carving ideas prove that Halloween decorating works just as well with smiles as with scares, and most of them are easy enough to finish in one relaxed afternoon. Pick your favorite face, keep the cuts simple, and let the glow do the rest.
📌 Save this list for carving night so every pumpkin gets a personality. Happy carving, and may your porch be the friendliest one on the street.