Every October the same thing happens. You buy a big orange pumpkin with big plans, then the carving kit sits in the drawer because the designs you find online look like they need an art degree. Here is the truth: the pumpkins that get the most compliments are rarely the most complicated ones.
What actually makes a carved pumpkin look good is clean lines, a steady hand, and a design that fits your skill level. A simple moon cutout with a candle inside will outshine a wobbly detailed portrait every single time. These easy pumpkin-carving ideas anyone can recreate keep things honest. No special talent required, no expensive tools, and most of them take under an hour from first cut to front porch.
1. The Classic Friendly Jack-o’-Lantern
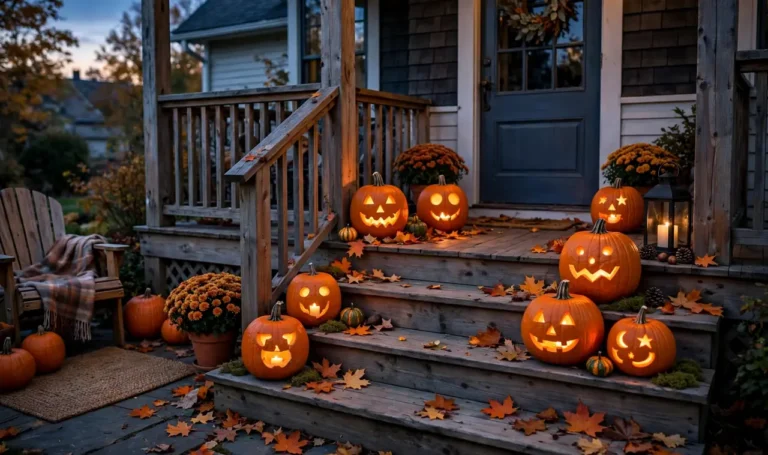
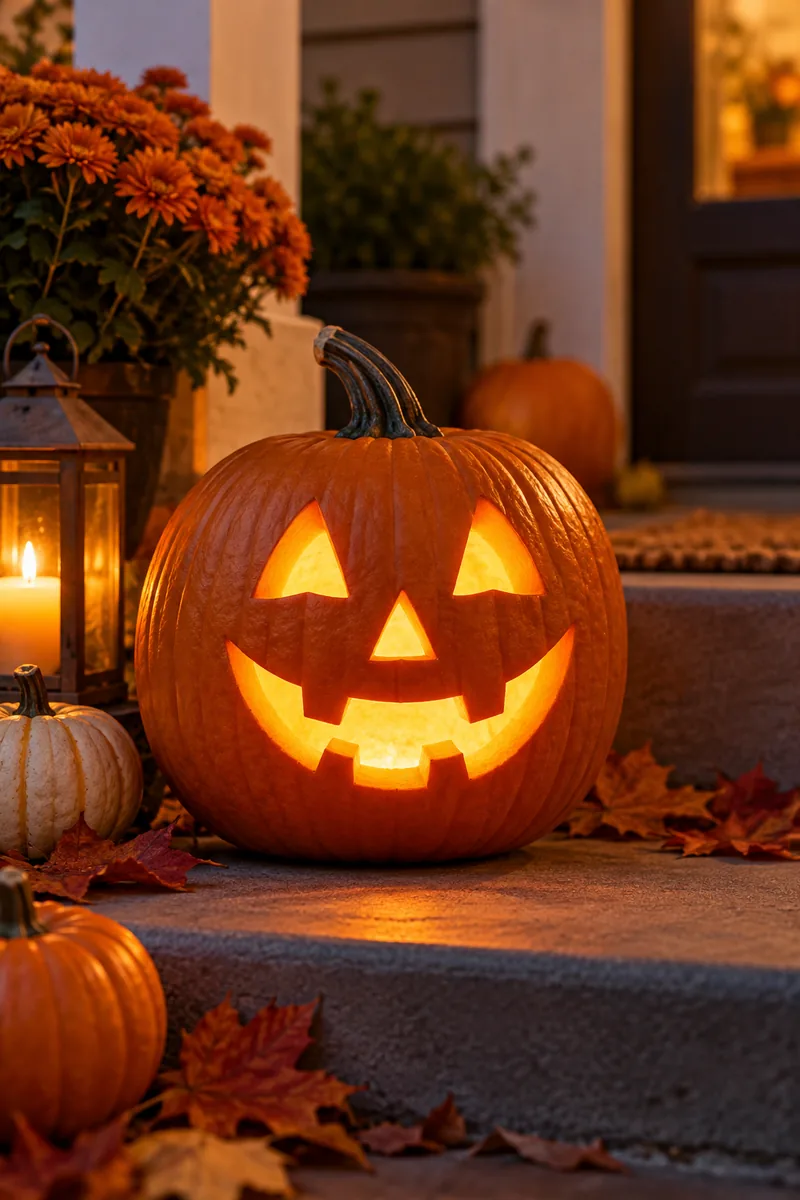
Start where everyone should start. Triangle eyes, a triangle nose, and a wide grin with three square teeth read clearly from the street, which is the whole point.
Draw the face with a dry erase marker first so you can wipe and adjust. Cut the lid at a slight angle so it sits like a plug instead of falling inside. Scoop the walls to about an inch thick, because thin walls are far easier to cut through.
2. Polka Dot Pumpkin
Dots are the most forgiving shape in carving. There are no straight lines to wobble and no symmetry to stress about.
- Use a small round cookie cutter or the wide end of a metal straw to punch dots
- Scatter large and small dots so it looks planned, not random
- Leave one side mostly plain so the lit dots have room to glow
At night each dot becomes a little window of light. It looks far fancier than the effort suggests.
3. Crescent Moon Cutout
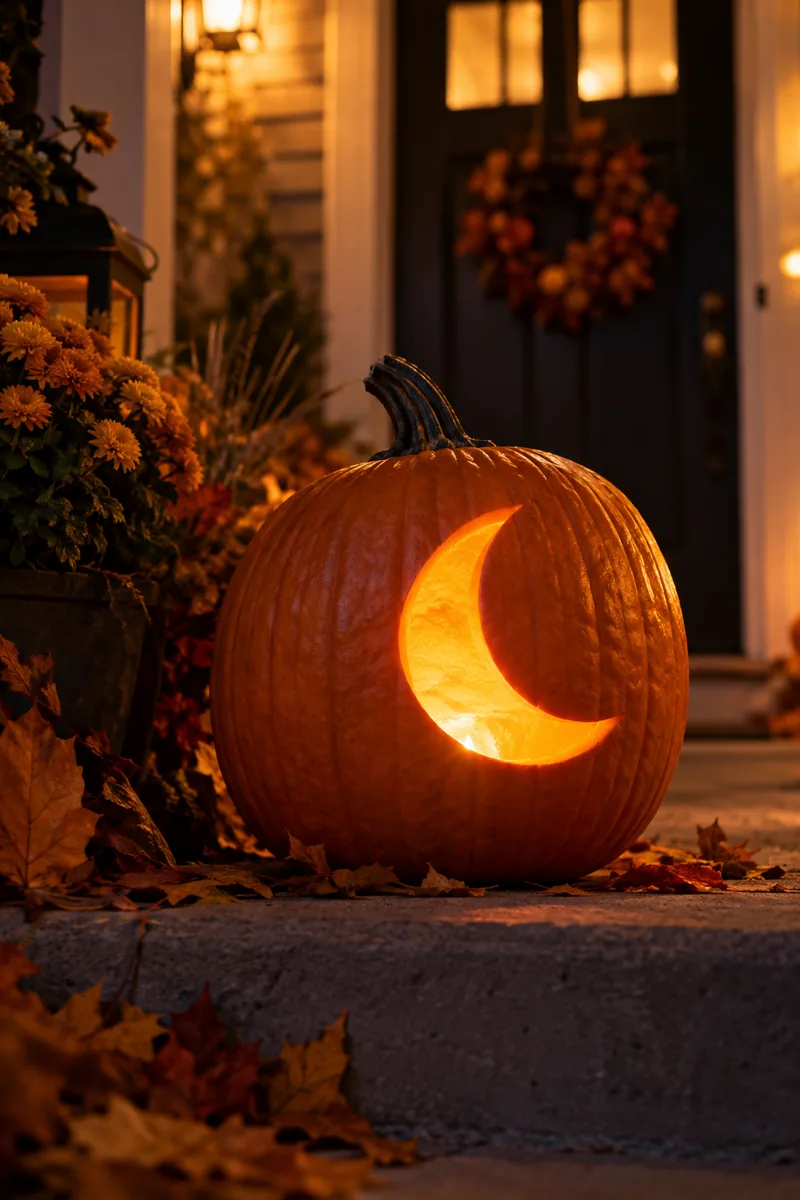
One curved shape, cut once, and you are done. The crescent moon might be the highest reward to effort ratio on this whole list.
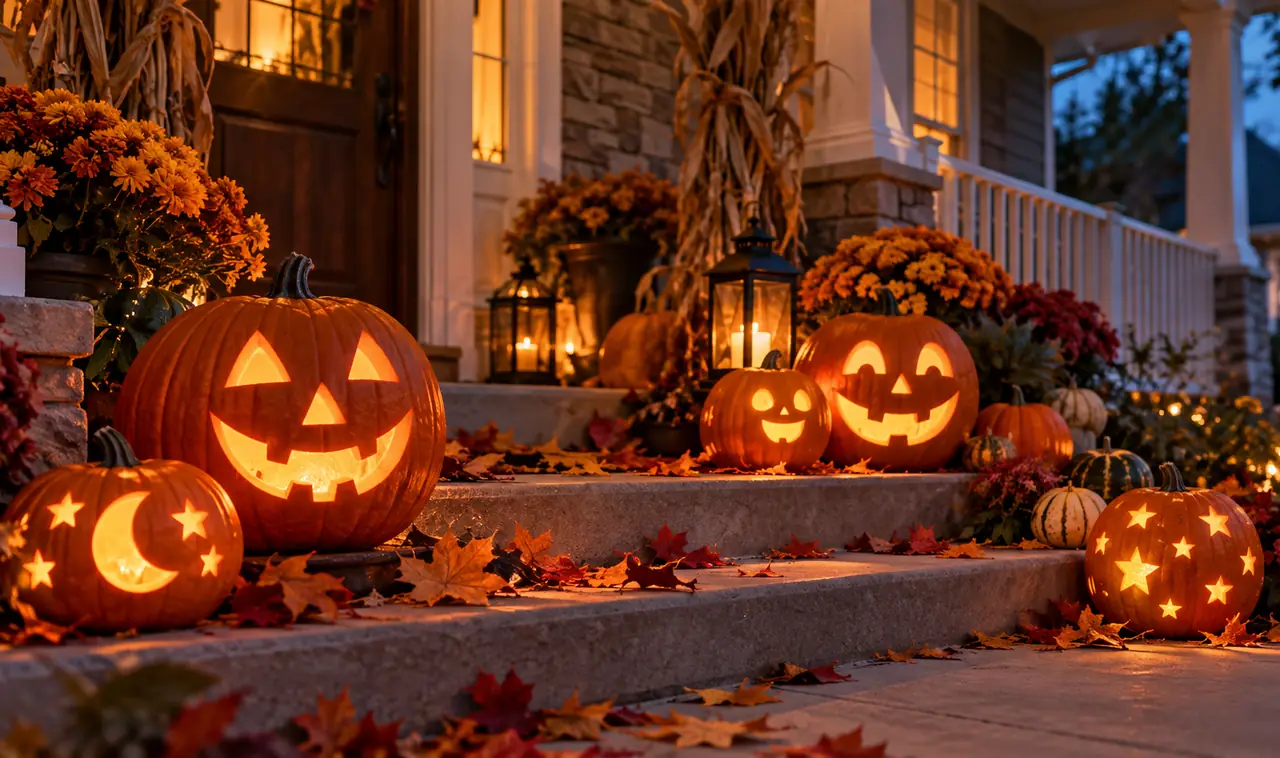
Sketch the crescent with two overlapping circles as your guide, then cut along the outer curve only. A battery candle inside makes the moon shape throw a soft crescent shadow on the wall behind it. This one suits a slim tall pumpkin best.
4. Starry Night Sky
A drill does the work here, not a knife. Different sized drill bits make stars of different sizes, and the whole thing takes about fifteen minutes.
Mark your star positions lightly in pencil first. Drill straight in, then wiggle the bit slightly to widen the hole. Small holes read as distant stars and big ones as bright ones.
💡 Quick Tip
Keep the drill on a low speed. High speed melts the pumpkin flesh and leaves ragged edges instead of clean round holes.
5. Cute Cat Face
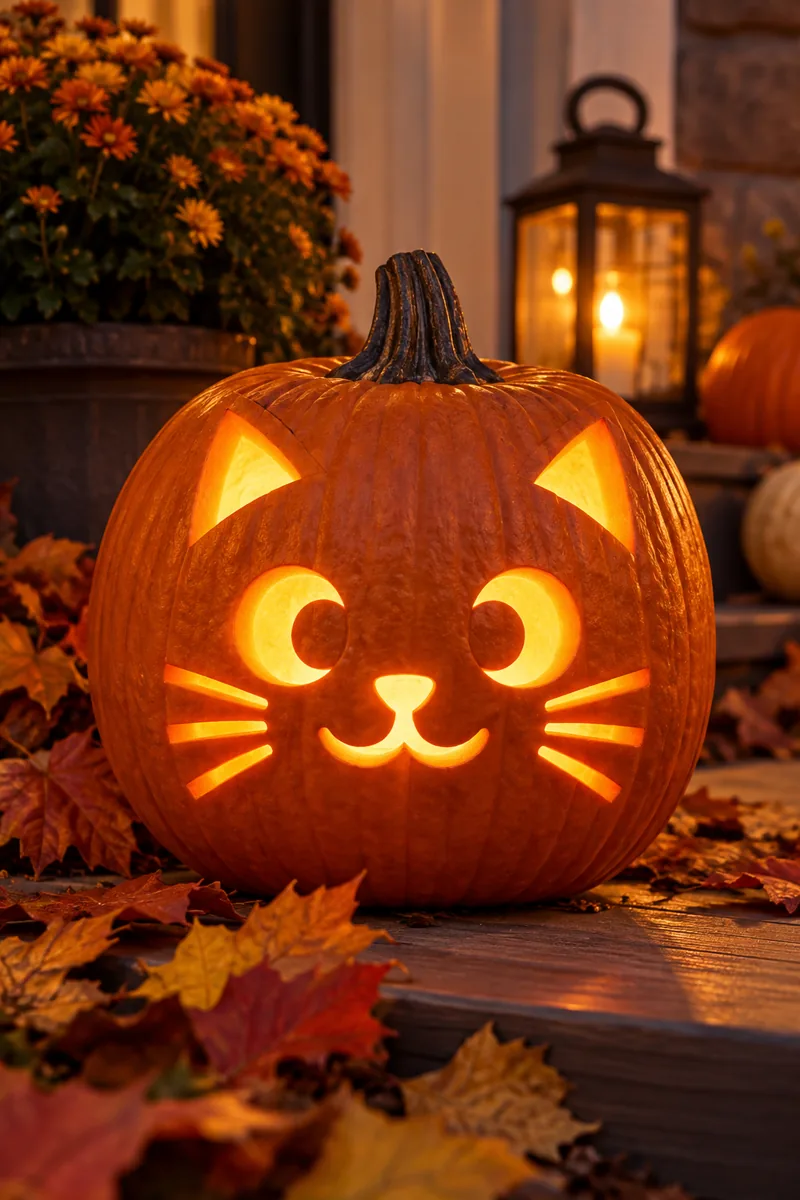
Two triangle ears, round eyes, a tiny triangle nose, and whisker slits. Kids love this one and it is genuinely hard to mess up.
Cut the ears as part of the lid opening so they stand up naturally. For whiskers, make short straight slits rather than trying to carve thin lines. A warm white light inside keeps it cute instead of creepy.
6. Silly Winking Face
One round eye, one winking eye made from a simple curved slit, and a lopsided grin. The asymmetry is the charm.
- Cut one big circle for the open eye
- Make the wink a single curved line, like a sideways smile
- Give the mouth one tooth for extra silliness
This face photographs well and always makes visitors laugh.
7. Ghost Shape Silhouette
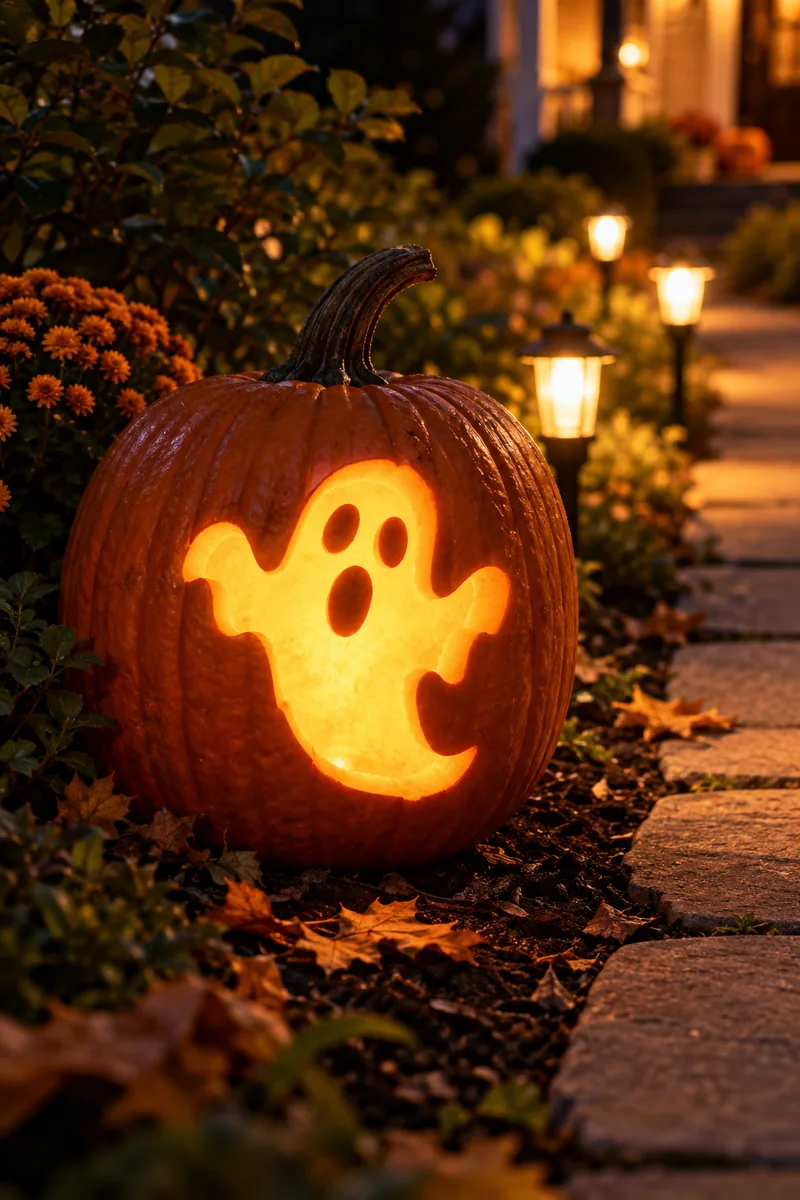
Cut a simple ghost outline clean through the pumpkin wall and let the light do the talking.
Draw the ghost with a wavy bottom edge and two oval eyes. Because the whole shape is one cutout, there is nothing fiddly to break. Set it near the walkway where guests pass close, since the glowing ghost shape reads best from a few feet away.
8. Spooky Bat Cutout
Bats are just two curved wings and a small body. Fold a paper template in half to get both wings matching, then trace it on.
- Keep the body chunky so it does not snap during carving
- Cut wings with smooth scallops along the bottom edge
- One bat looks fine, three at different heights look intentional
Hang the finished pumpkin at eye level if you can, since bats read best slightly above the viewer.
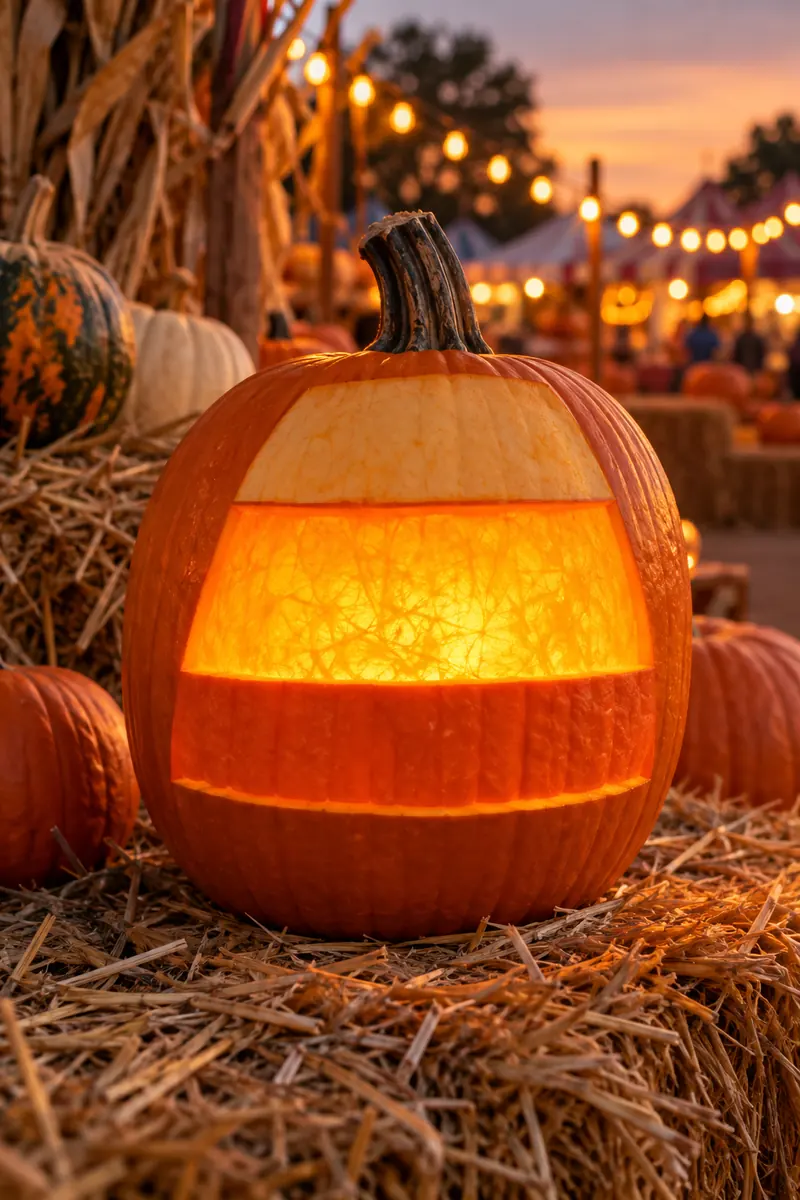
9. Candy Corn Stripes
Three horizontal bands, each a different width, mimic the classic candy without any carving skill at all.
Score the stripe lines lightly with a knife, then carve out only the middle band all the way through. Leave the top and bottom bands as shallow grooves. When lit, the middle glows bright while the grooves catch soft shadows. It reads as candy corn from across the yard.
10. Owl Face
Two big round eyes do almost all the work. Owls are naturally symmetrical, which makes them forgiving to draw.
What to grab first
Add a small triangle beak between the eyes and two short ear tufts at the top. Done.
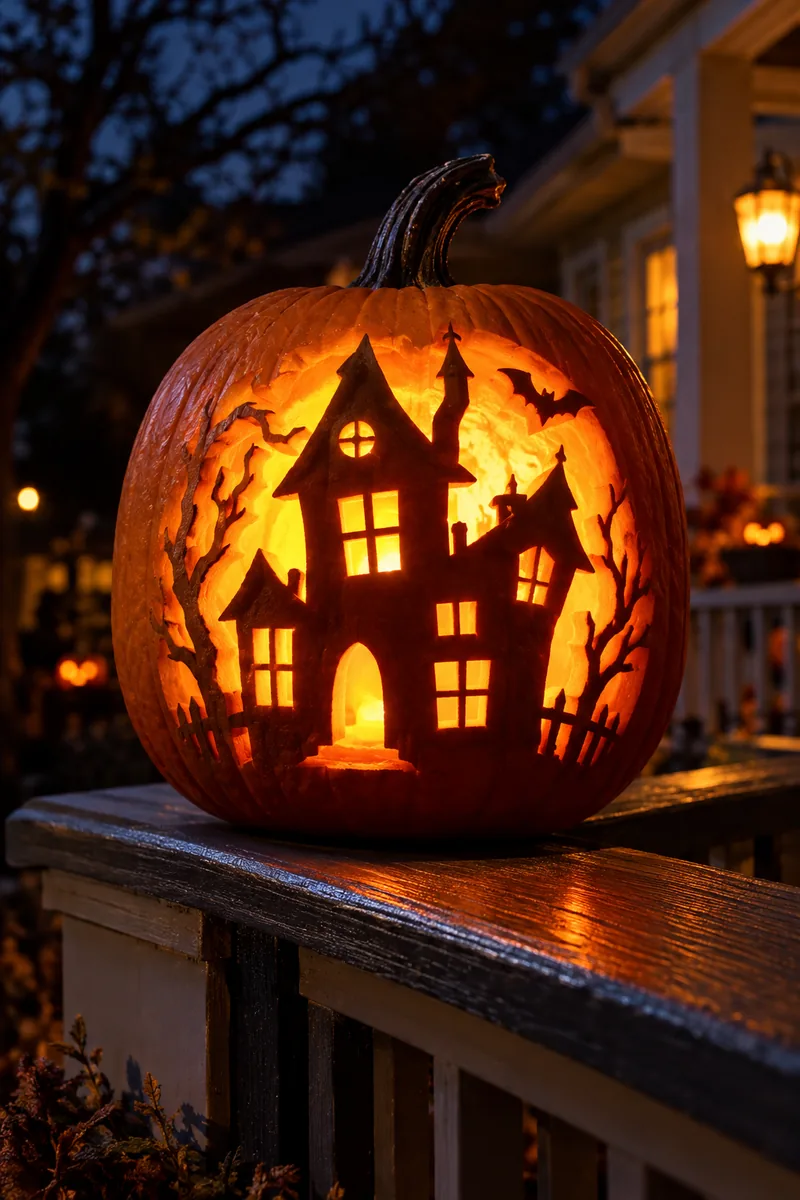
11. Haunted House Silhouette
A lopsided house with a crooked chimney is easier than it sounds, because crooked is the goal.
Draw a simple house shape with a pitched roof, one leaning chimney, and two or three square windows. Cut the windows all the way through and leave the house outline as a shallow carve. The lit windows sell the whole effect.
12. Toothless Grin
Skip the teeth entirely. A big open grin with no teeth looks goofy and friendly, and it removes the hardest part of the classic face.
- Make the mouth wide, stretching nearly edge to edge
- Round the corners so it smiles instead of snarls
- Pair it with simple dot eyes for a baby pumpkin look
Little kids find this one funny rather than scary, which matters if toddlers visit.
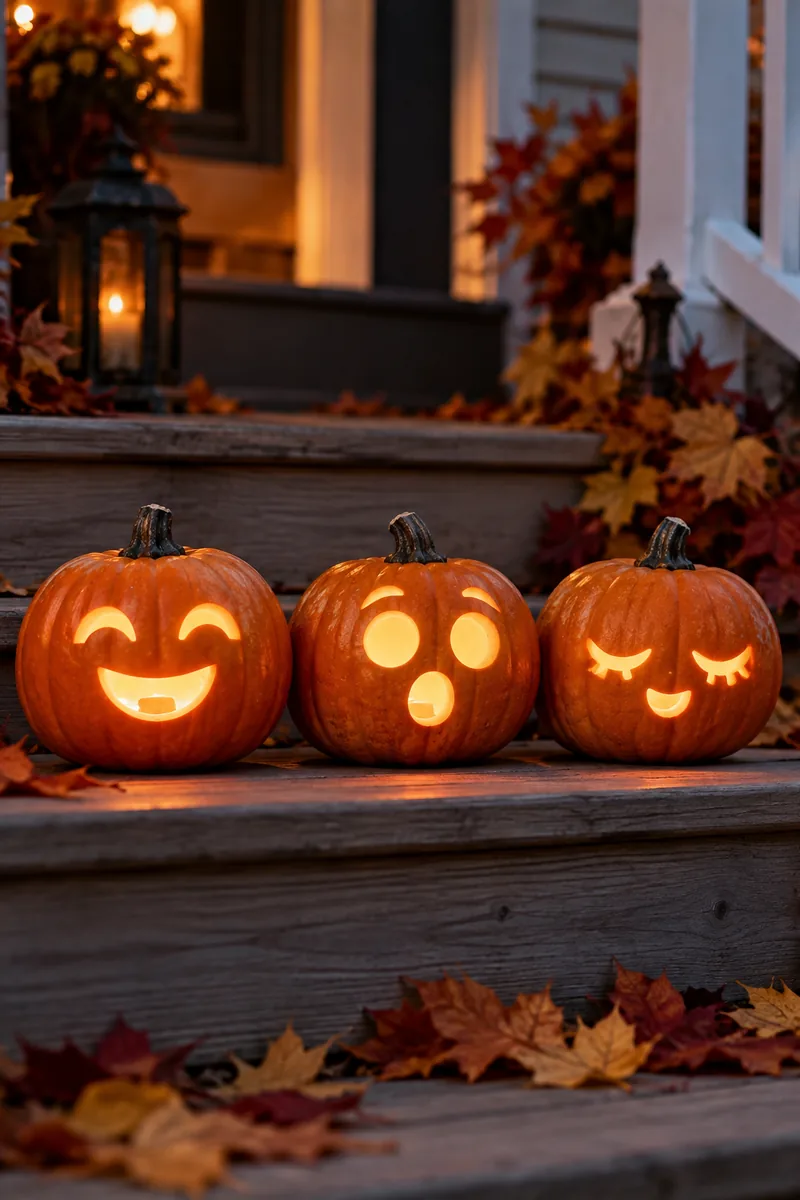
13. Mini Pumpkin Trio With Simple Faces
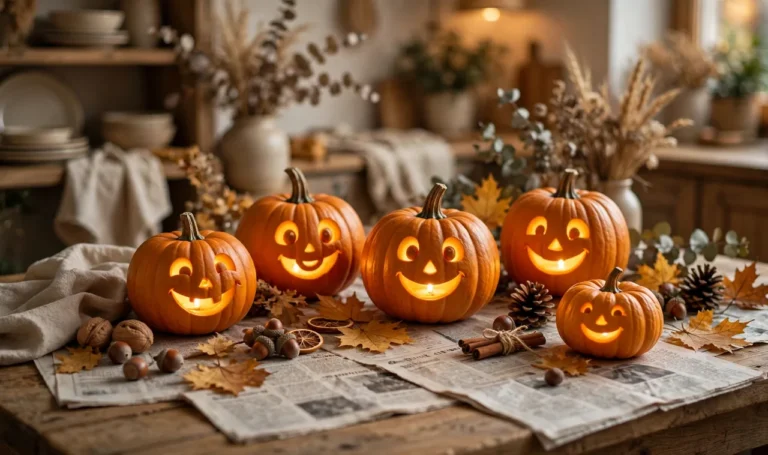
Three small pumpkins, three one-minute faces. A group always looks more deliberate than a single small pumpkin alone.
Give each mini a different simple expression: happy, surprised, sleepy. Line them on a step or windowsill at slightly different heights. The whole project costs a few dollars and takes less time than carving one big pumpkin.
14. Leaf Pattern Cutouts
Trace real leaves from the yard and cut their outlines through the pumpkin. Autumn leaves on an autumn pumpkin never looks wrong.
Press the leaf flat and trace around it with a marker. Simple leaf shapes with smooth edges carve fastest.
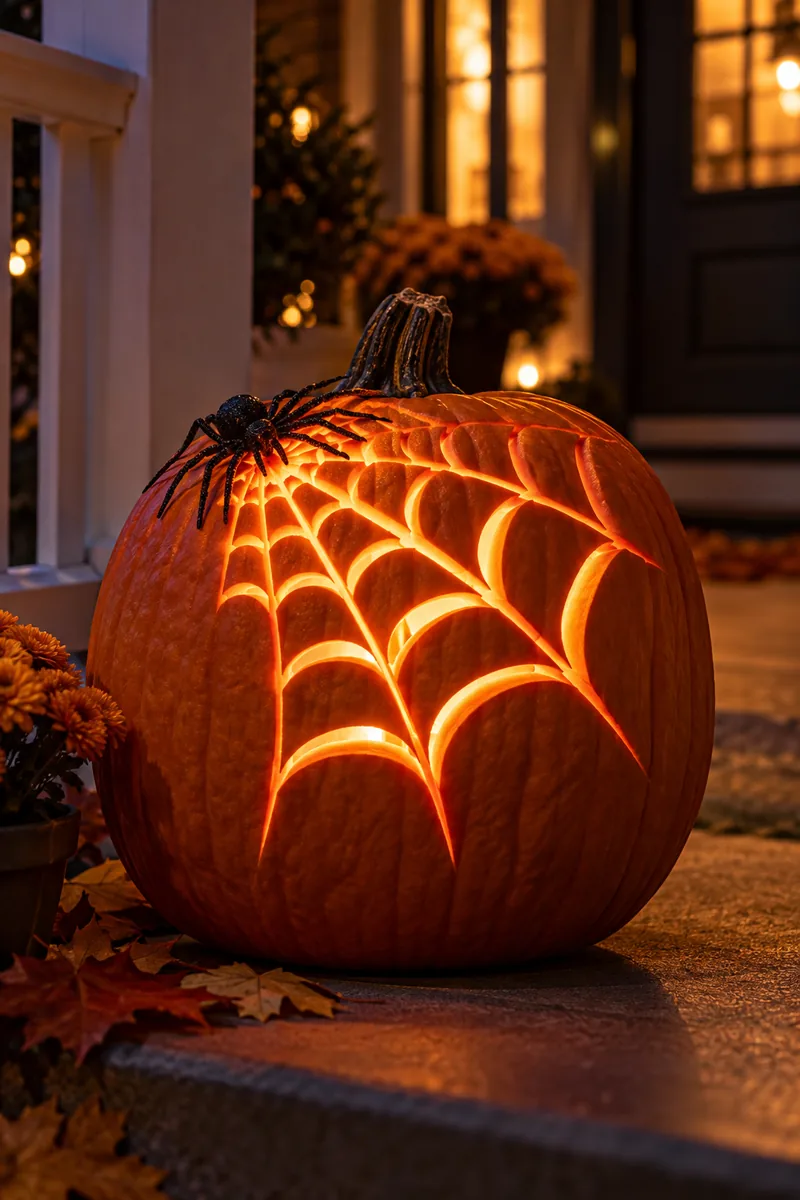
15. Spider Web Corner
You only carve one corner, not the whole pumpkin. A web tucked into the upper corner looks artful and takes minutes.
Draw straight lines radiating from the corner, then connect them with shallow curved scoops. Cut the radiating lines through and leave the curves as surface carves. Add a small plastic spider on top for the full effect.
16. Chevron Stripes
Zigzag bands around the middle of the pumpkin look sharp and modern with almost no drawing skill needed.
- Wrap a strip of paper around the pumpkin to mark straight guide lines
- Draw zigzags between the lines with a ruler
- Carve every other zigzag band through for an alternating light pattern
This one suits the design crowd and looks great in a row of three.
17. Pumpkin Votive Lantern
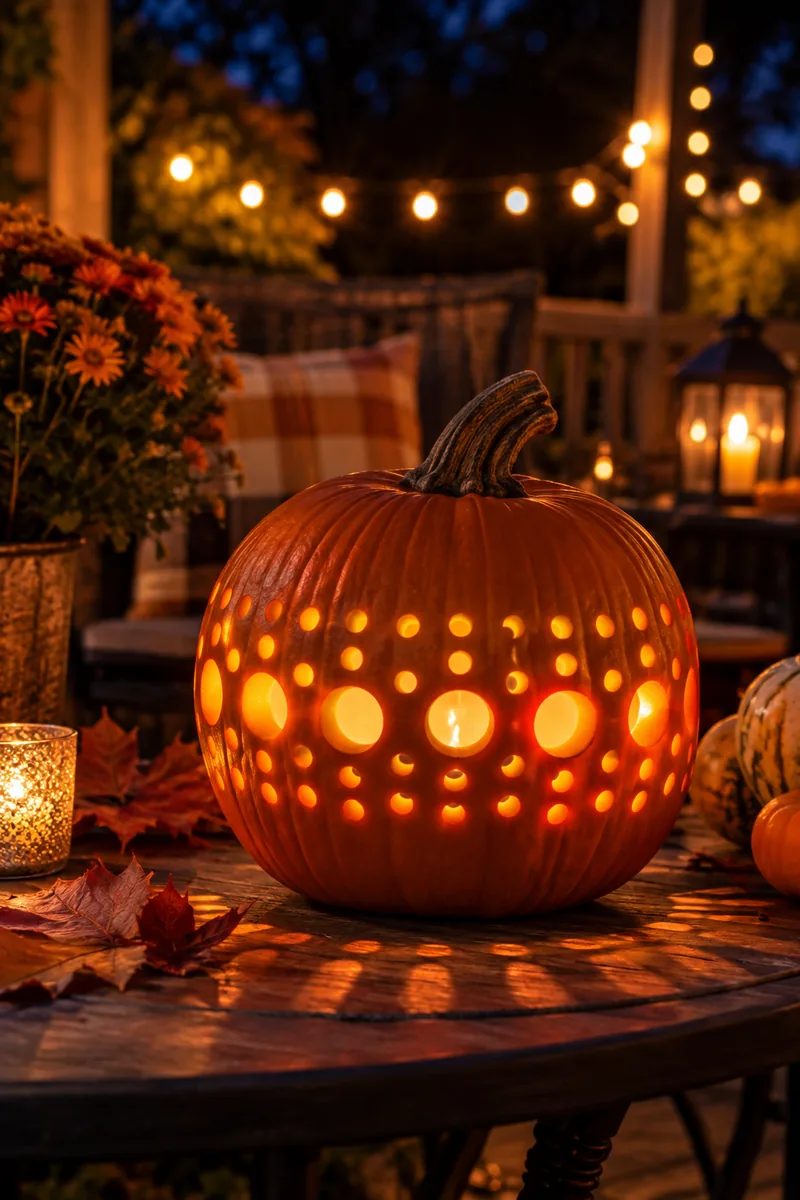
Drill a ring of holes around the pumpkin and drop a candle inside. It is a lantern first and a jack-o’-lantern second.
Keep the holes evenly spaced and all the same size for the cleanest look. A flickering LED candle inside gives the glow without any fire worry, and if you want more ideas for lighting pumpkins safely, these Halloween lighting ideas cover candles, string lights, and porch setups that work well with carved pumpkins.
18. Zigzag Mouth Monster
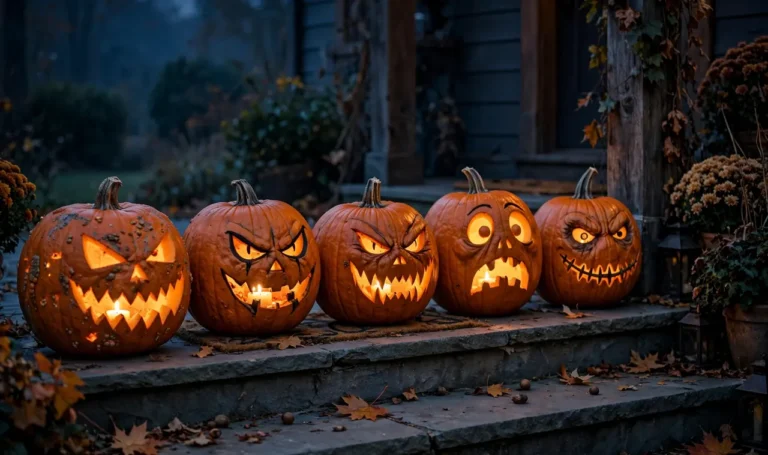
One jagged mouth and two mismatched eyes make a monster with real personality. Kids can draw this one themselves.
Make the zigzag wide and chunky so the teeth do not snap.
Let kids draw the face, then you handle the knife.
Thin spiky teeth that break off during carving.
Cutting the mouth before the eyes, which weakens the wall.
19. Carved Top Pumpkin on a Plain Stack
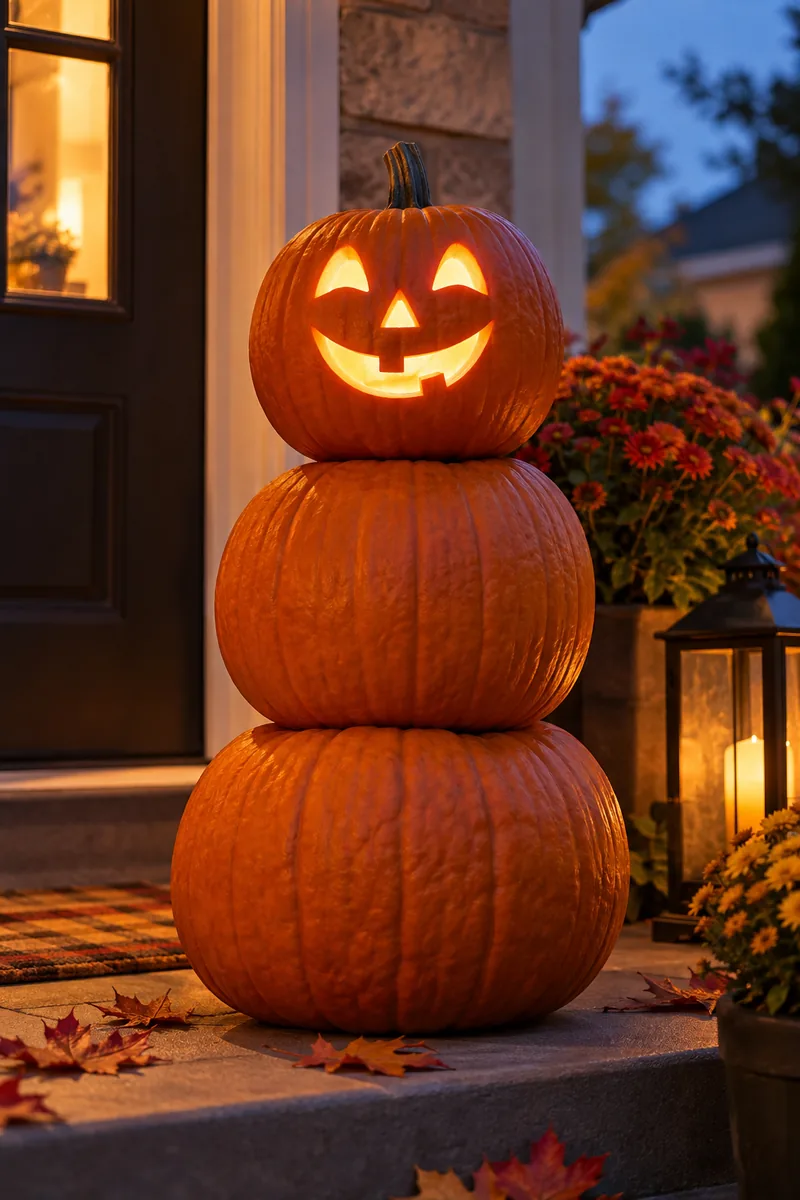
Stack two or three pumpkins and carve only the top one. The plain pumpkins underneath make the carved one look like a deliberate display.
Use a flat bottomed pumpkin on top so it sits steady, and pin the stack with a wooden dowel through the centers if it wobbles. Carve a simple face or a single shape on the top pumpkin. The height catches eyes from down the street.
20. Heart Shape Cutout
A heart cutout glows warmly and works for households that prefer sweet over spooky.
Fold paper in half, cut half a heart, and unfold it for a perfectly even template. Place the heart facing the street or a front window, where the shape reads clearly at night. For more ways to show off glowing pumpkins after dark, these Halloween window decoration ideas pair nicely with a heart pumpkin in the glass.
21. Diamond Pattern Row
A row of diamonds around the belly of the pumpkin looks like a quilt pattern when lit.
Mark evenly spaced dots around the middle, then connect them into diamonds with straight lines. Carve every other diamond through. The repeating pattern hides small wobbles, which is why beginners do well with it.
22. Sleepy Face With Closed Eyes
Two curved lines for closed eyes and a small round mouth. It looks peaceful on the porch and could not be simpler.
This face suits a quiet corner of the porch rather than the main walkway.
23. Pumpkin Diorama Scene
Cut one large window in the front and build a tiny scene inside. A few twigs, a plastic figure, and a candle create a whole little world.
Keep the opening big and simple, since the scene is the star, not the carving. Old fashioned cutout scenes like this have a folk art feel that fits right in with vintage Halloween decorating ideas, especially when you use muted candlelight instead of bright LEDs.
24. Painted Then Carved Combo
Paint the pumpkin first, then carve through the paint. The carved lines reveal bright orange against the painted surface.
- Black paint with orange carved lines looks classic
- White paint with carved stars looks modern
- Let paint dry fully before cutting, or it will smear
This trick makes even a plain circle design look like real art.
25. The Single Star Cutout
One star, cut once, glowing on the porch. When time is short, a single bold shape beats a rushed complicated face.
Use a star cookie cutter and a rubber mallet to punch it clean through. That is the entire project. Set it where the star shape can throw its shadow on the house wall behind it for double the effect.
Carving a pumpkin should feel like the start of the holiday, not a craft project you dread. Pick the one idea from this list that made you smile, grab a spoon and a small knife, and give yourself an hour. The porch will look better tonight than it did this morning, and that is the whole point.
If you try one of these easy pumpkin-carving ideas, save this list to your Halloween board so it is waiting for you next October too.