
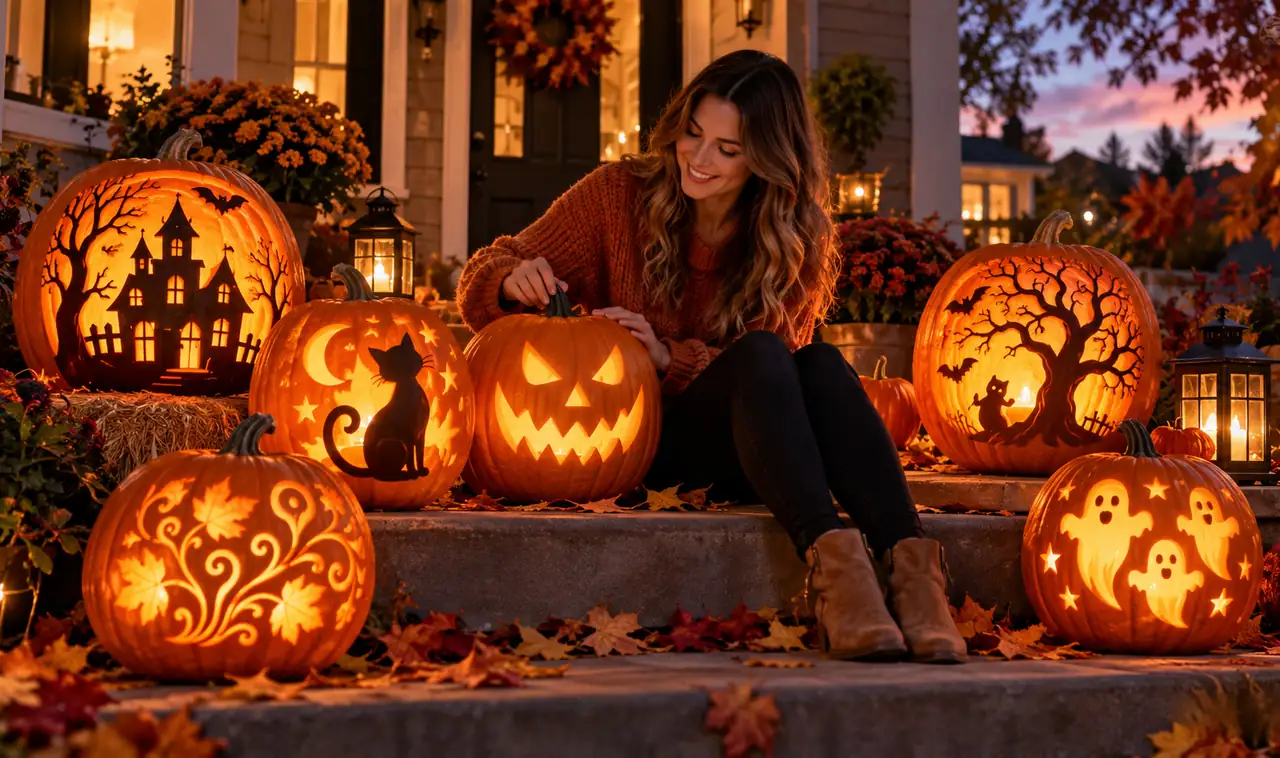
Most first pumpkins look like first pumpkins. The triangle eyes sit crooked, the grin leans left, and one tooth always ends up longer than the rest. There is nothing wrong with a goofy jack, but maybe this year you want the porch to look like you knew what you were doing.
Here is the good news. Pumpkin Carving for Beginners does not have to mean basic results. The trick is picking designs that hide mistakes instead of showing them off. Big shapes forgive wobbles. Repeating patterns look neat even when they are not perfect. And a ten dollar drill does work your hands never could.
Below are twenty ideas built on that exact logic. Every one of them looks impressive from the sidewalk, and every one of them is genuinely doable on your first try. Grab a pumpkin, keep your cuts simple, and let the design do the showing off.
1. Punch a Haunted Skyline: Bold Shapes Are a Pumpkin Carving for Beginners Best Friend
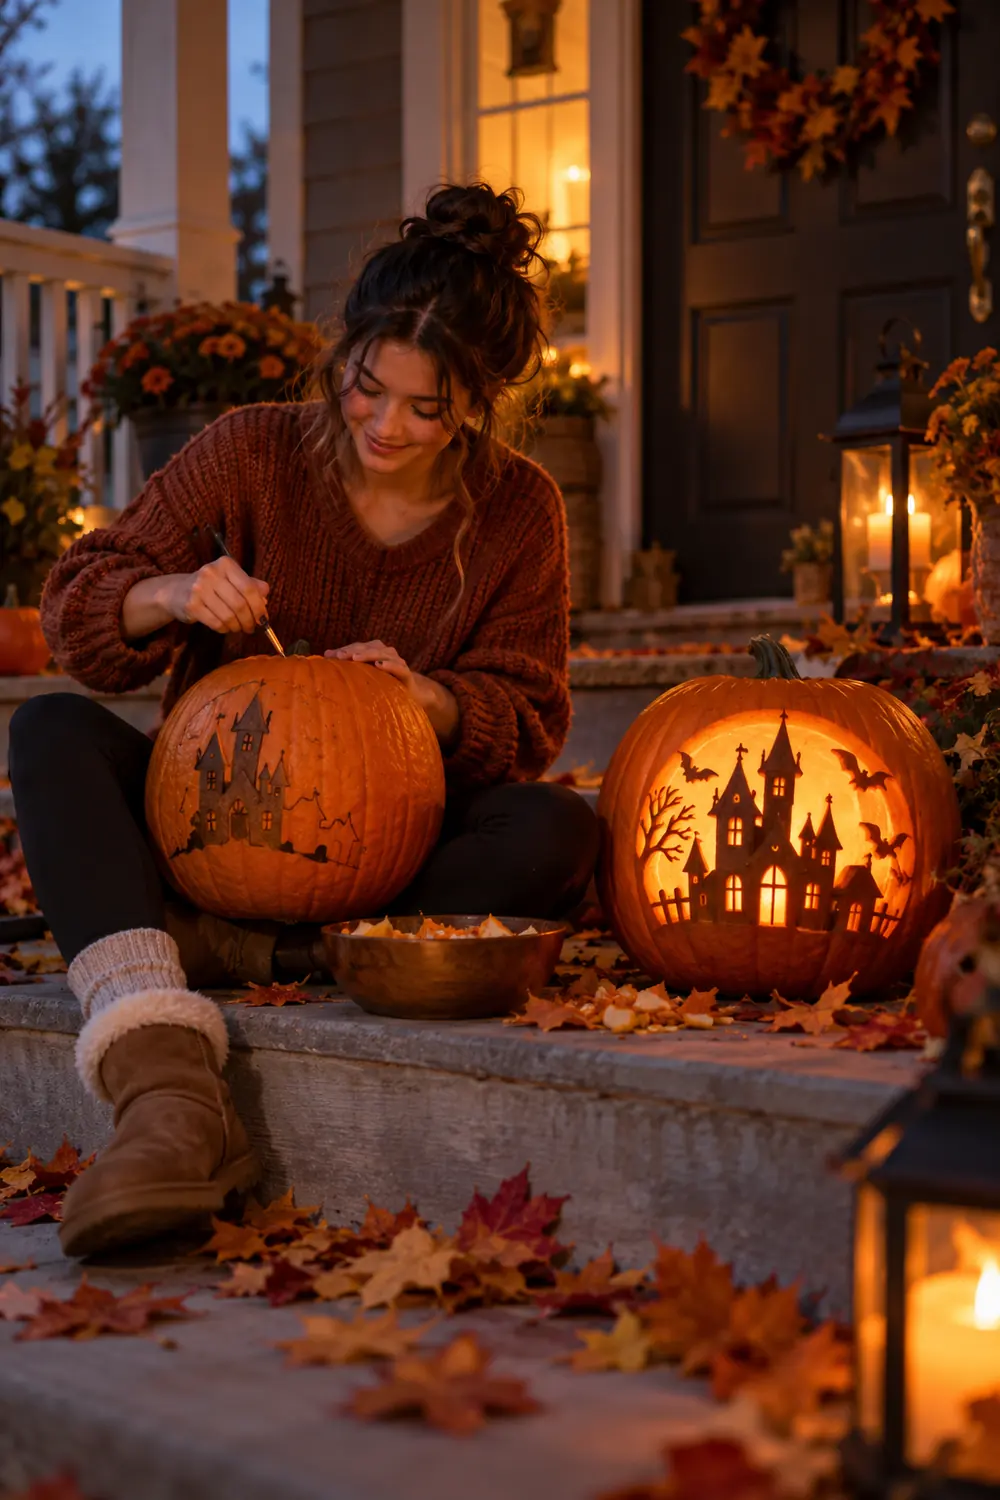
Wobbly lines show the most on small fiddly details. So go big instead. Draw a row of simple house silhouettes along the middle of your pumpkin, just rectangles with triangle roofs, and cut them out in one connected strip.
From the street, all anyone sees is a glowing haunted town. Nobody can tell your rectangles were uneven, because the eye reads the whole row as one shape. Add a few tiny bats above the rooftops with the tip of your knife.
2. Fade Drill Dots From Dense to Sparse for an Ombre Glow
A drill turns you into a carving prodigy in about five minutes. Mark a band around the middle of the pumpkin and drill holes close together at the bottom of the band, then space them wider as you move up.
When the candle goes in, the dense holes blaze bright and the sparse ones fade softly, like the pumpkin is glowing from the inside out. Use two drill bit sizes for extra depth. This one gets compliments every single time.
3. Scoop Shallow Circles That Glow Like Little Lanterns
You do not have to cut all the way through for light to shine out. Press a melon baller into the rind and scoop out shallow round craters, leaving a thin layer of flesh at the bottom of each one.
Lit from inside, every crater glows like a tiny paper lantern. Scatter them randomly or line them up in rows. The pumpkin keeps its strength since you never pierce the wall, so it lasts longer on the porch too.
💡 Quick Tip
Shine a flashlight through the wall as you scoop. When the crater glows bright orange, stop. Go deeper and you will poke through.

4. Tape Chevron Stripes and Carve Between the Lines
Straight lines are the hardest thing to cut freehand, which is exactly why painter’s tape exists. Stick zigzag chevron stripes around your pumpkin using short tape pieces, then carve out every other stripe.
Peel the tape and you get crisp graphic zigzags that look like a designer stencil did them. This works beautifully on tall pumpkins, where the stripes can run top to bottom like a bold geometric vase.
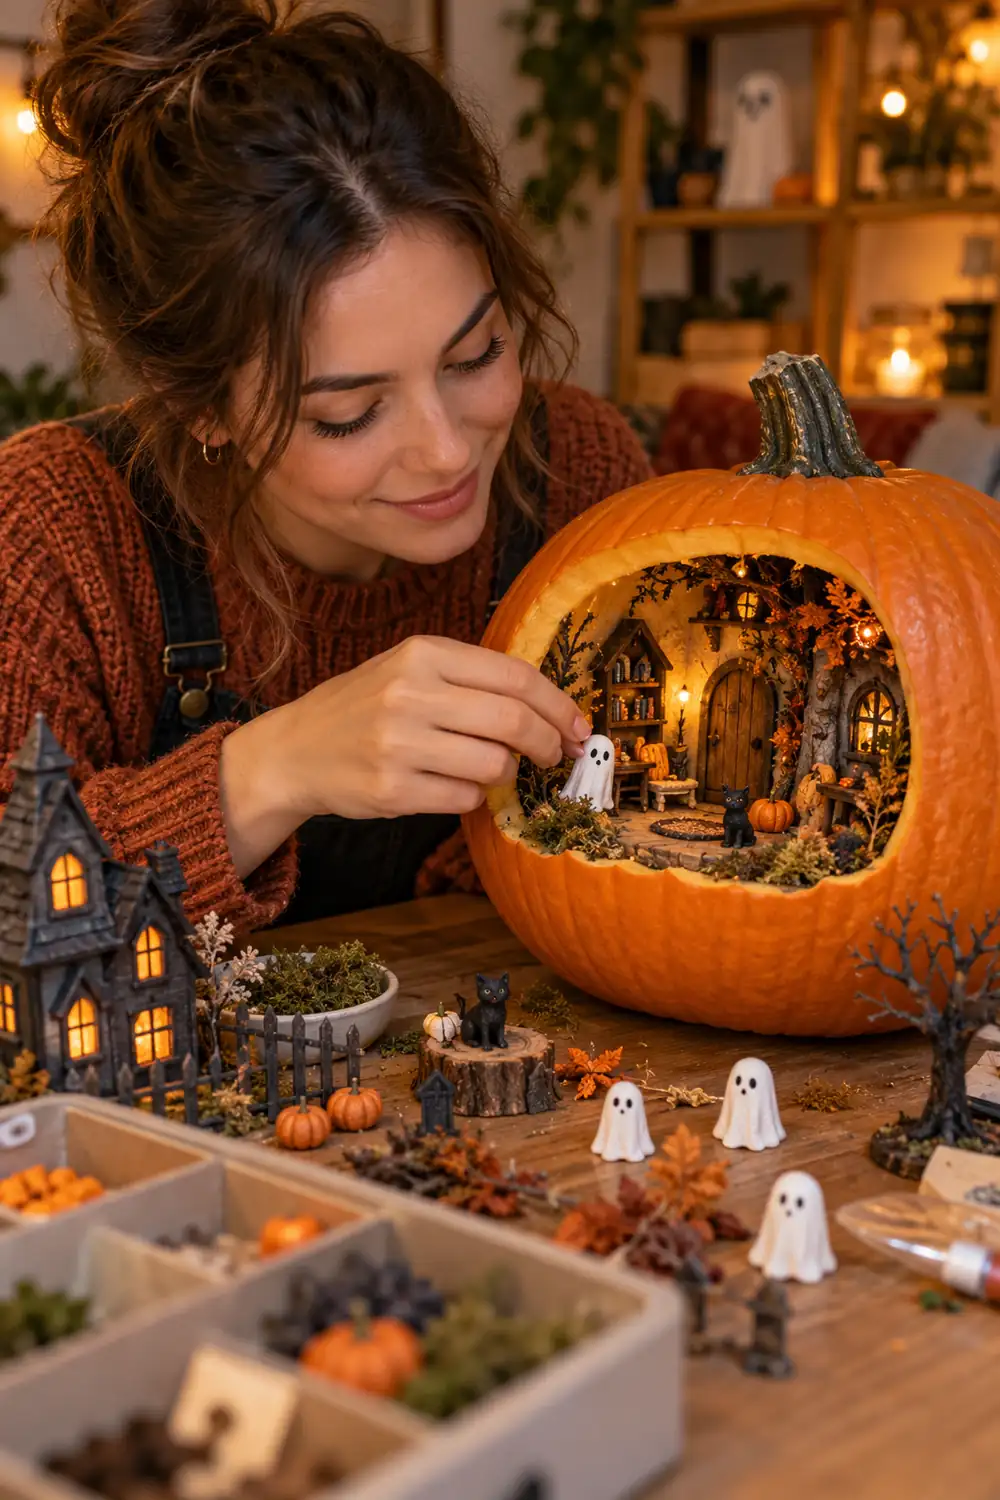
5. Cut a Window and Build a Tiny Scene Inside
Here is a cheat nobody expects from a beginner. Cut one big oval window in the front of the pumpkin, then set a tiny scene inside on the floor of the cavity: a plastic ghost, a mini haunted house toy, a few pebbles.
Put the light behind the scene, not in front of it, and the window frames it like a little theater. People will lean in close, which is exactly the reaction you want. If this feels ambitious, warm up with these easy pumpkin-carving ideas first.
6. Let a Big Pumpkin Eat a Mini Pumpkin
Carve a big jagged mouth on a large pumpkin, then wedge a mini pumpkin into the opening so it looks like it is being gobbled up. Give the mini pumpkin a scared little face with a marker.
This gets laughs from every age group and requires exactly one real cut: the mouth. Everything else is placement. Set it near the walkway where trick or treaters cannot miss it.
7. Drip Melted Crayon Down the Sides for No-Carve Art
Skip the knife entirely for this one. Hold crayons against the top of the pumpkin and blast them with a hairdryer until the wax melts and drips down the sides in colorful streaks.
Use black, purple, and orange for a Halloween palette, or go wild with every color in the box. The result looks like a fancy art pumpkin from a boutique, and kids can do the whole thing with supervision.
What to grab first
8. Repeat Diamonds for a Harlequin Pattern
Repeating one simple shape reads as fancy even when each shape is imperfect. Draw a grid of diamonds around the pumpkin with a marker, then cut out every other diamond.
The lit result looks like a harlequin lantern from a Halloween party catalog. Keep the diamonds chunky, at least two inches tall. Small diamonds are harder to cut and more likely to tear.
9. Radiate a Starburst From One Center Circle
Cut one clean circle in the middle of the pumpkin face, then carve straight tapered rays shooting outward from it, alternating long and short.
This sunburst pattern looks bold and modern, nothing like the usual jack face, and straight lines are the easiest cuts to make. It photographs beautifully at night, which matters if your porch is your social media backdrop.
10. Sponge-Paint a Galaxy and Light It With an LED
Some of the most impressive pumpkins never meet a knife. Dab navy, purple, and black craft paint onto the pumpkin with a sponge, then flick white paint off a toothbrush for stars.
Nestle a battery LED string inside a hollowed pumpkin or just set the painted pumpkin over a light, and the galaxy seems to glow from within. Need it done tonight? These last-minute pumpkin-carving ideas are built for exactly that kind of evening.
11. Add Glow-in-the-Dark Details That Charge by Day
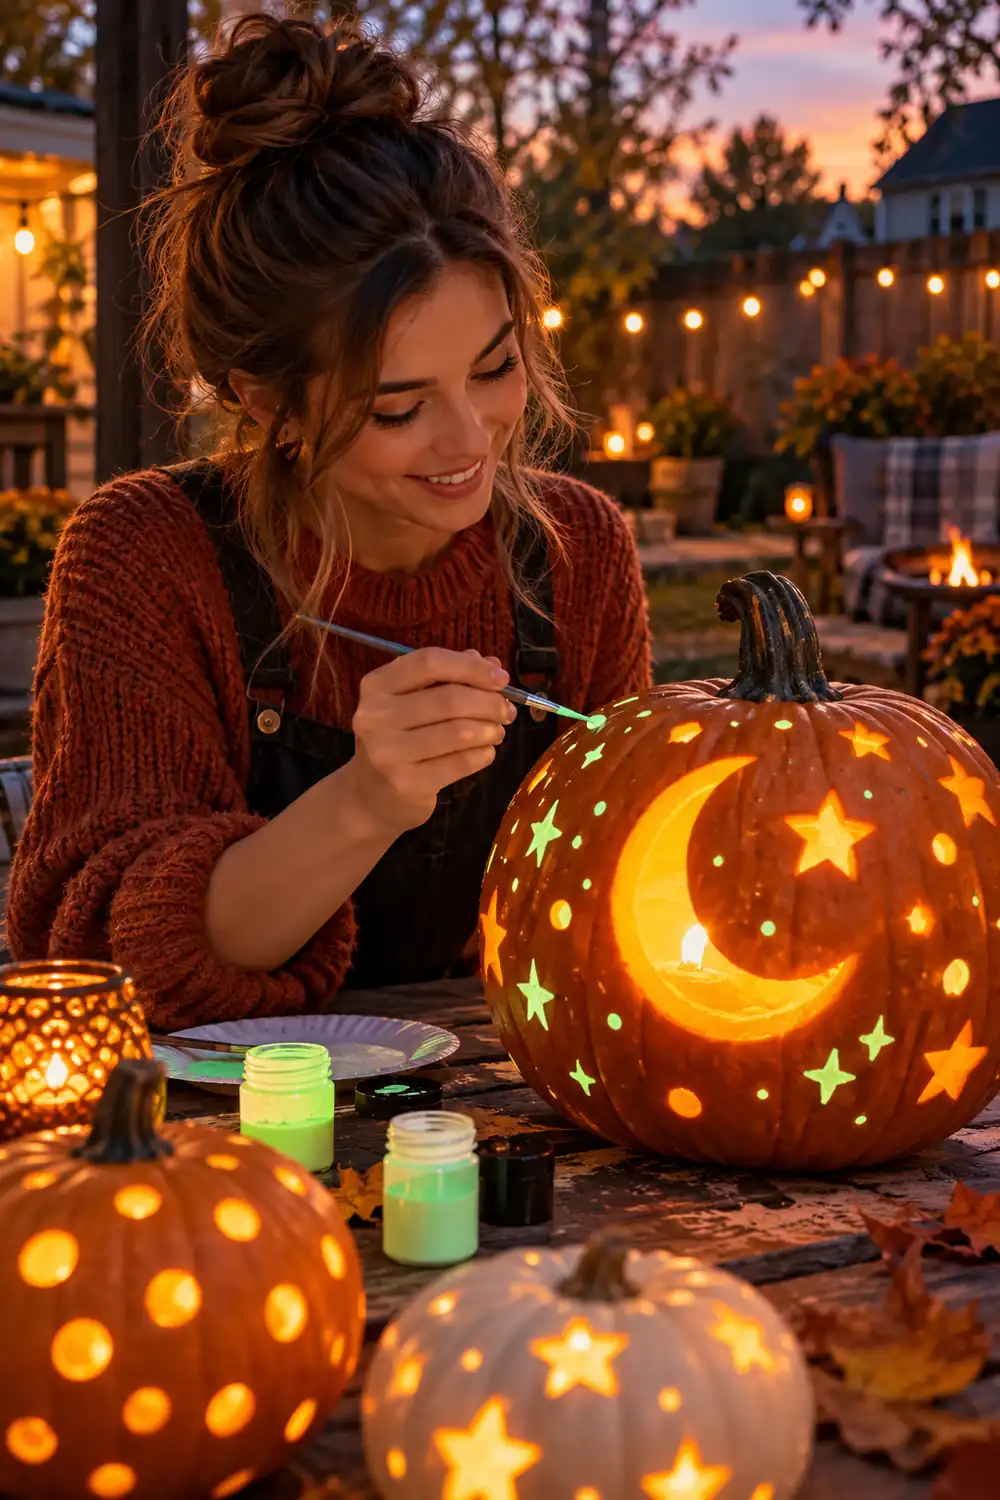
Here is a two for one trick. Carve your design as usual, then paint glow-in-the-dark accents around the carved areas: dots, outlines, little stars on the uncarved skin.
By day the pumpkin looks like a painted art piece. By night the carved parts glow from the candle and the painted parts glow on their own. Charge the paint under a bright lamp for an hour before sunset for the strongest effect.
Apply two thin coats of glow paint instead of one thick coat.
Charge the pumpkin in direct daylight or under a bright lamp.
Painting over the carved edges, where heat can bubble the paint.
Expecting a glow after only a few minutes in dim indoor light.
12. Scrape a Trailing Vine With Leaves Into the Skin
Cutting all the way through is not the only way to carve. Use a linoleum cutter or a sharp spoon to scrape away just the outer skin in a winding vine pattern, leaving the pale flesh underneath exposed.
The scraped vine glows softly when lit, like a backlit drawing, and the uncut wall keeps the pumpkin rock solid for weeks. This elegant look surprises people because it does not read as beginner work at all.
13. Poke Holes and Stuff Fairy Lights Through Them
Drill or poke a scattered pattern of small holes across the pumpkin, then thread a battery fairy light string through them so the tiny bulbs sit right at the surface.
The effect is a pumpkin studded with stars, far brighter and more even than a single candle. Tuck the battery pack inside through the lid hole. This is also the safest option if little kids will be handling the pumpkin.
14. Turn Your Pumpkin Into a Snow Globe
Cut a large round window in the front, then build a scene on a small cardboard circle that fits through the opening: bottle-brush trees, a tiny house, a pinch of fake snow.
Slide the scene in, add a short LED string for sparkle, and the pumpkin becomes a glowing globe. It looks like a store-bought decoration that costs forty dollars, and the whole build takes about half an hour.
15. Scatter a Swarm of Simple Bats Across the Rind
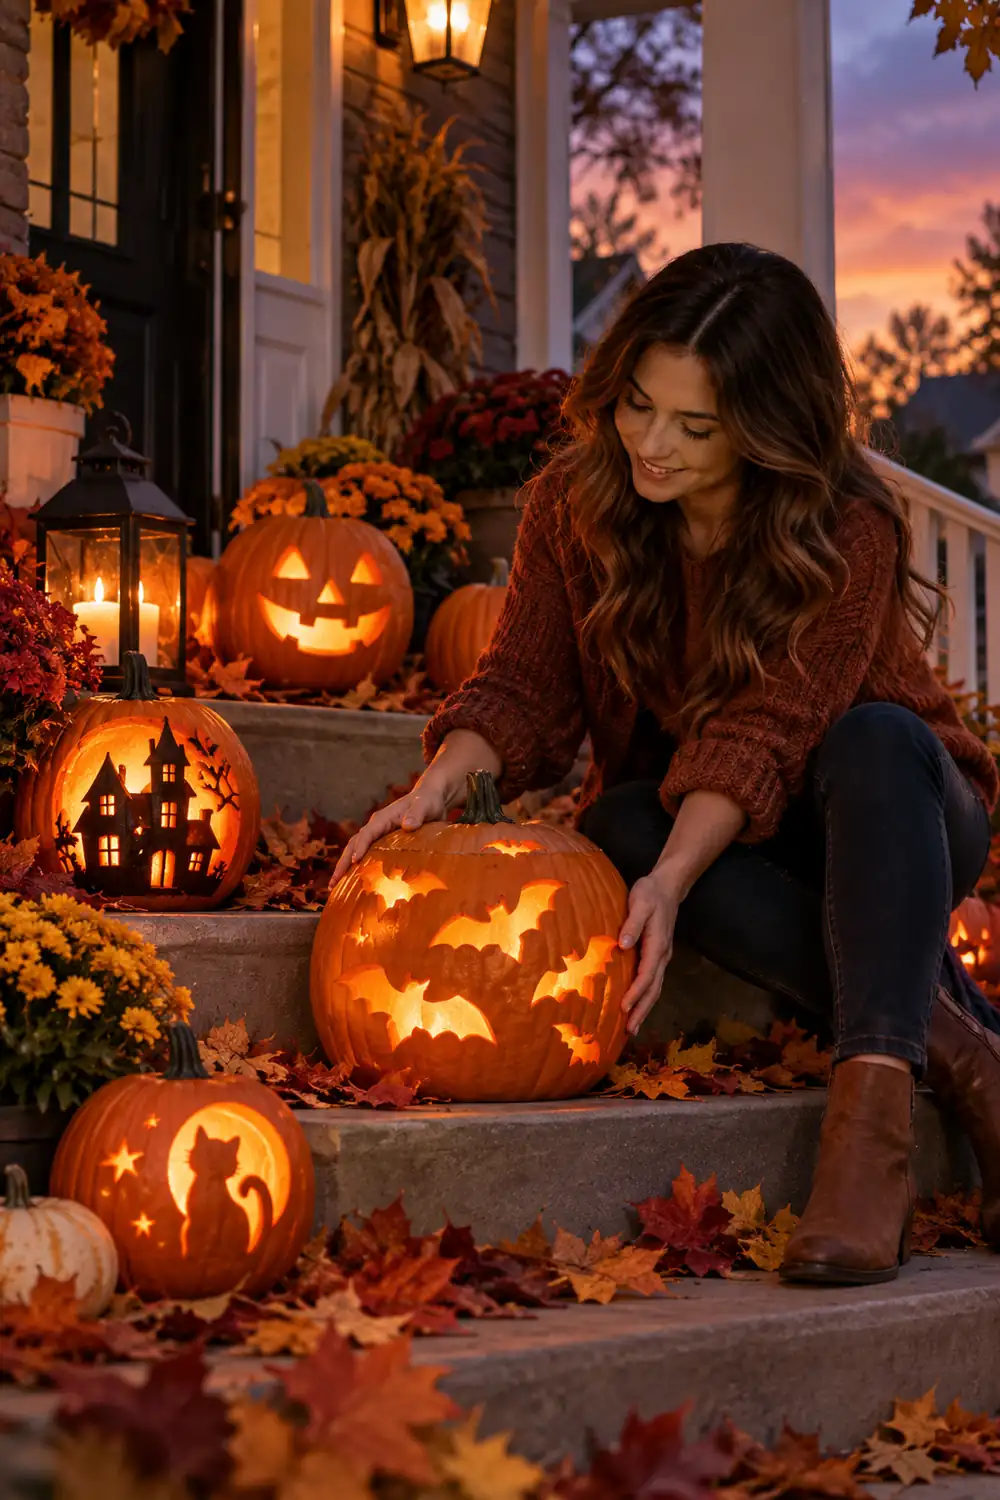
One bat is a doodle. Fifteen bats is a design. Draw simple bat shapes, just two humps with wing curves, in different sizes all over the pumpkin and cut them out.
The repetition does the visual work for you. Cluster them dense near the top and scatter them sparse toward the bottom so they look like they are flying away. Crooked wings only make them look more alive.
16. Carve the Top Wide and Use It as a Flower Vase
Not every impressive pumpkin needs a face. Cut the top off wide, scoop it clean, drop in a jar of water, and fill it with fall flowers, wheat stems, and eucalyptus.
It reads as a floral centerpiece that happens to be a pumpkin, which instantly looks more grown up than a row of grinning jacks. If you are still building basic knife skills, review these pumpkin-carving ideas before you start cutting.
17. Paint a Chalkboard Band for a Message You Can Change
Paint a wide band of chalkboard paint around the middle of the pumpkin and let it cure overnight. Then write your message in chalk: the family name, a countdown to Halloween, a silly greeting.
The fun part is that it never gets stale. Rewrite it every few days through October. Keep a piece of chalk in a little bucket beside the pumpkin so visitors can leave their own notes.
18. Carve One Bold Word in Big Block Letters
Letters are just straight lines and curves, and big ones are forgiving. Sketch the word BOO in tall block letters across the front of the pumpkin and carve each letter out fully.
From the sidewalk it reads instantly, which is more than most detailed carvings manage. Light it brightly, because glowing letters need a strong light source to read clearly at a distance.
19. Cluster Small Pumpkins as Glowing Candle Holders
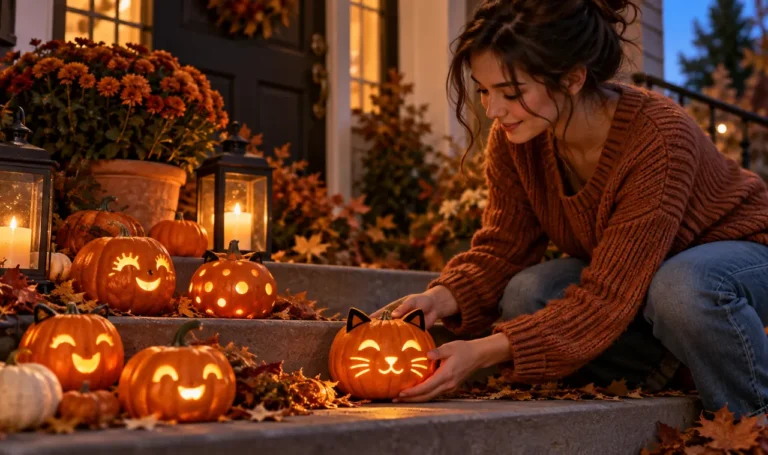
Buy a bag of mini pumpkins and carve a simple shape into each one: a star, a moon, a heart, a dot pattern. Line them along your steps or windowsill with a tea light inside each.
A whole row of tiny glowing pumpkins looks incredibly intentional, like a styled photo shoot, even though each individual carve took five minutes. This is the highest impact per minute of anything on this list.
Repetition beats complexity. Five simple pumpkins in a row always outshine one fussy carving.
20. Style the Display: Odd Numbers, Varied Heights, a Bed of Leaves
The final secret has nothing to do with carving. Group your pumpkins in odd numbers, set them at different heights using crates or stacked books, and spread autumn leaves and a few gourds around their bases.
This is the same styling trick florists and photographers use, and it makes even simple carvings look deliberate. Step back, squint at your porch, and adjust until the whole scene reads as one composition.
That is the whole playbook. Pick the design that fits your patience level, keep your shapes bold, and let light do the rest. Pumpkin Carving for Beginners is really about working smarter, not harder, and your porch is about to prove it. Save this list for next October, when you will want these ideas again.

2 Responses