It is 4 p.m. on Halloween and your pumpkin is still sitting on the porch, whole and uncarved. The kids keep asking when the jack-o’-lantern will be ready, and every tutorial you find wants three hours plus a sculpting kit you do not own.
Here is the honest truth. A great pumpkin does not need hours. It needs one sharp idea and the right shortcut. These 15 last-minute pumpkin-carving ideas are built for tonight. Most take under 30 minutes, several take under 10, and a few need no carving tools at all.
So grab a pumpkin, a kitchen knife, and whatever is hiding in your junk drawer. Work fast, keep it simple, and trust the candlelight to do half the styling for you. By dark, your porch will glow like you planned it for weeks.
1. Carve the Five-Minute Classic Face
When the clock is winning, go back to the original.
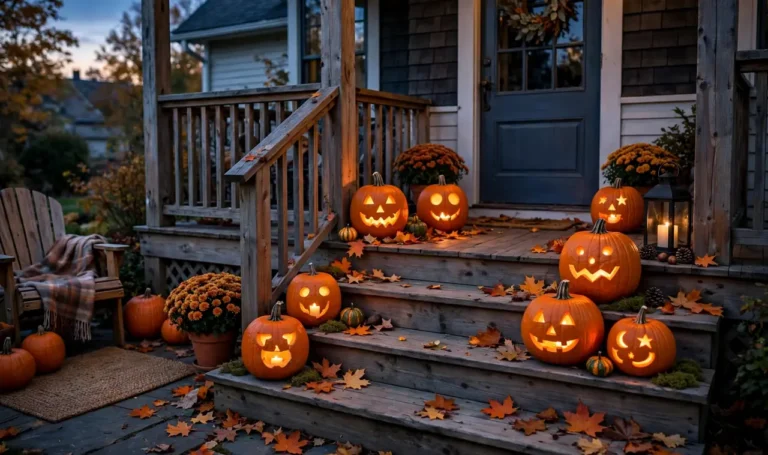
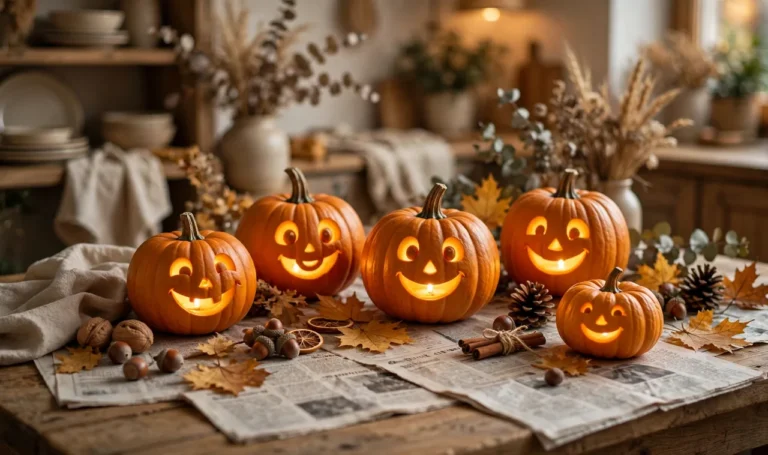
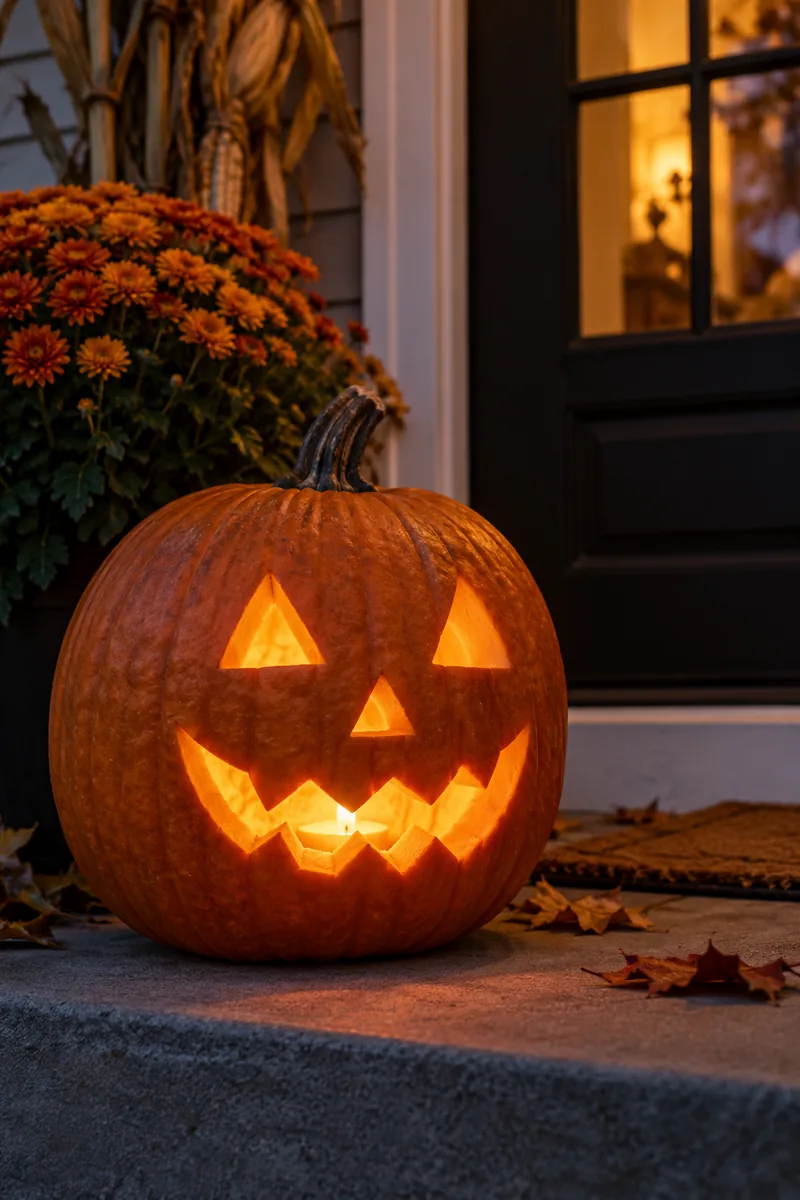
The triangle eyes and jagged grin became a classic because they are fast, not because they are fancy. Draw the face with a dry-erase marker first so you can wipe it off and retry without a trace. Cut the lid at an angle so it sits like a stopper instead of falling into the pumpkin. Keep the walls about an inch thick so the candle glow looks warm instead of harsh. Scoop the guts with an ice cream scoop rather than a spoon. It cuts your cleaning time in half and keeps your wrist happy. A real tea light gives the best flicker, and this face reads clearly from the sidewalk, which is the whole point on Halloween night.
2. Punch Star Constellations With a Power Drill
Freehand stars come out lopsided when you are rushing, and lopsided stars look like mistakes. A drill does the drawing for you.
Tape a simple star or moon shape to the pumpkin as a loose guide, then drill holes along it with different bit sizes. Small bits make pinprick stars, big bits make bold dots. The light shining through turns the whole pumpkin into a planetarium. Work from the top down so the pumpkin stays steady, and keep a firm grip because the drill can walk on the curved skin.
What to grab first
3. Hammer Cookie Cutters Straight Through the Wall
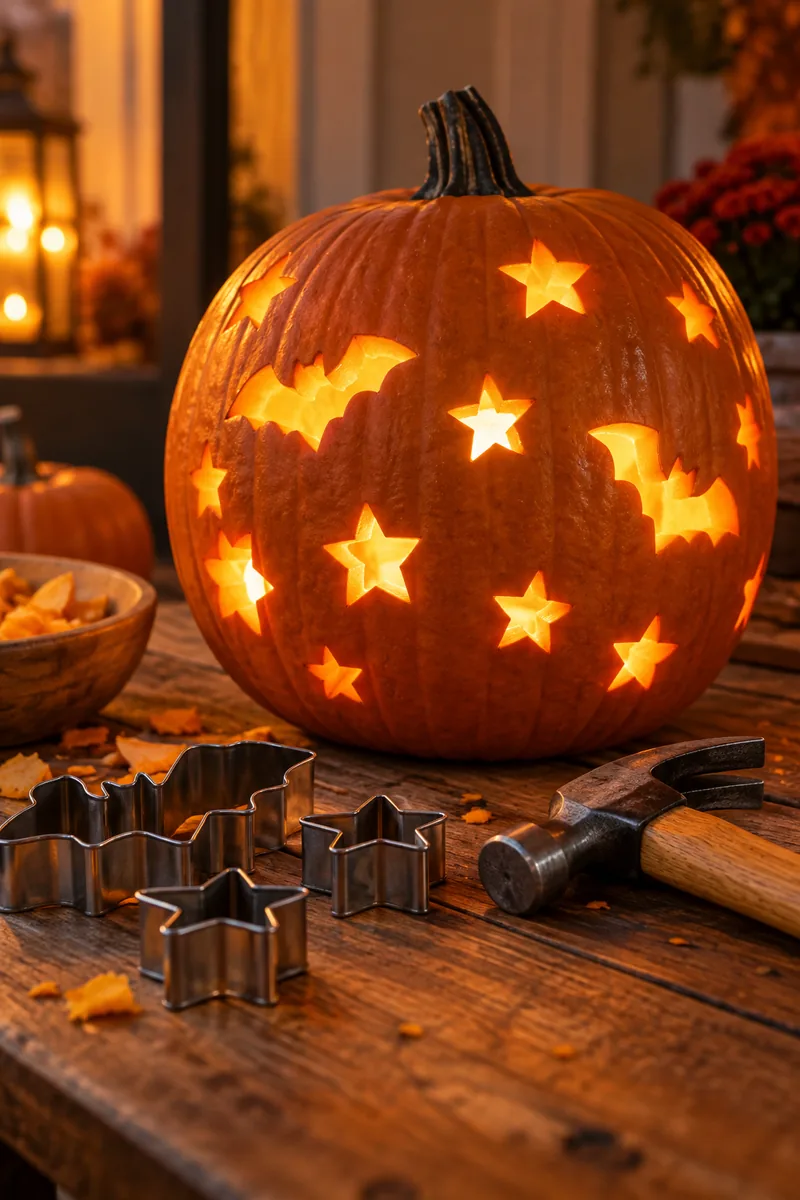
Press a metal cookie cutter against the pumpkin and tap it with a hammer. The shape punches clean through in one move.
Stars, hearts, bats, and simple ghosts all work. Stick to metal cutters with plain outlines, since plastic ones bend and detailed ones tear the flesh. Hold the cutter flat against the curve, give it three or four firm taps, then push the cut piece inward with your thumb. Line up five or six shapes around the pumpkin and the candlelight will throw patterned shadows across your porch. It looks far more skilled than it is.
4. Drop a Glow Stick Inside Instead of a Candle
No flame, no relighting in the wind, no burnt fingers while you lower the lid.
Crack two or three glow sticks, drop them in, and close the pumpkin up. Green reads classic, orange looks like fire, and purple gives a haunted feel. They last all evening, they are safe around small kids and pets, and they work inside pumpkins you display indoors where open flames are a bad idea. Tape one to the inside of the lid too, so the top of the design glows instead of going dark.
5. Print a Stencil and Tape It On
Your printer is the fastest carving tool you own.
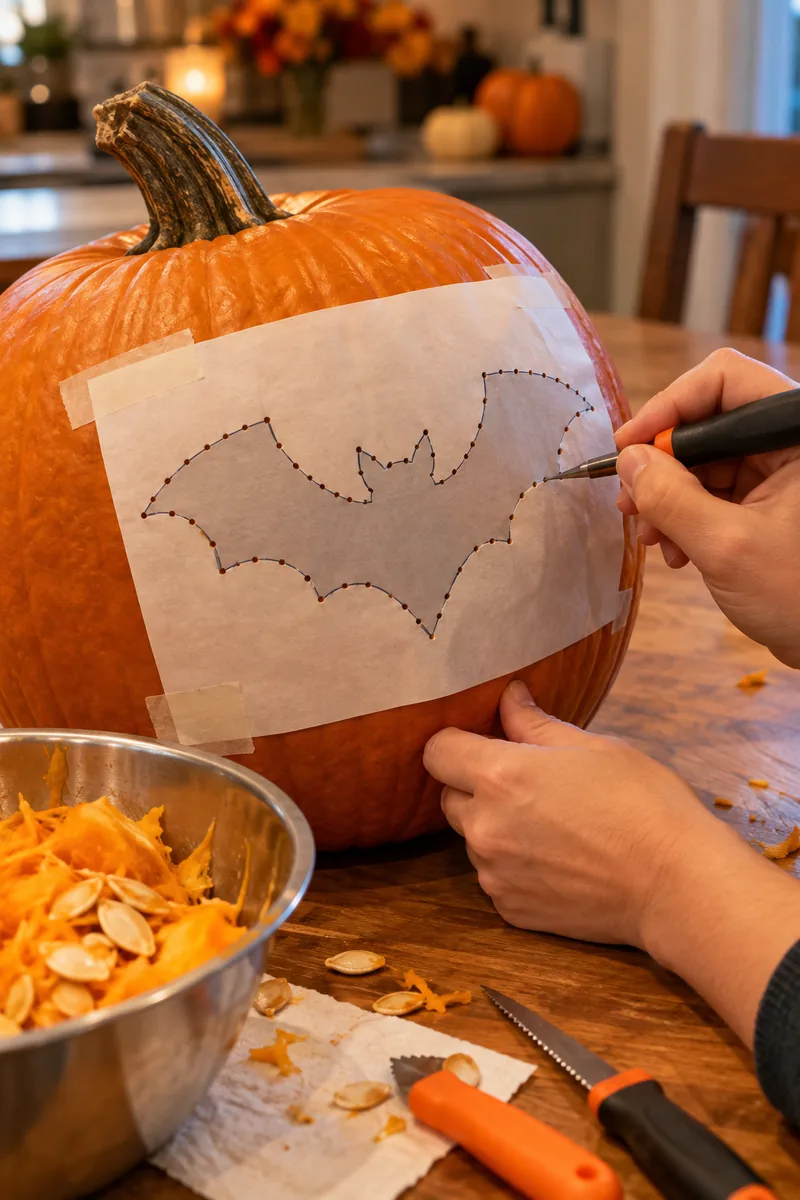
Search for a simple one-page silhouette, a bat, a witch hat, a haunted house, and print it at full size. Tape it flat against the pumpkin, then poke along the outline with a pushpin, spacing the holes close together. Pull the paper away and connect the dots with your knife. The holes guide the blade, so even shaky hands get clean lines. This is the method to use when someone asks for a specific character and you have twenty minutes.
💡 Quick Tip
Poke the holes closer than you think you need to, about a quarter inch apart. Wide spacing makes the knife wander and the curves turn wobbly.
6. Skip the Knife and Paint the Face
Carving is not required for a jack-o’-lantern look, no matter what the purists say.
Acrylic paint pens draw bold black features straight onto the skin, and a little white highlight makes the eyes pop. The whole thing dries in minutes, it lasts for days instead of rotting by the weekend, and small kids can do every step without touching a blade. Painted pumpkins also survive rain that would drown a candle. If the design smudges, wipe it with a damp cloth and redraw. You cannot do that with a knife cut.
7. Scoop Polka Dots With a Melon Baller
If the tool is round, the pattern takes care of itself.
A melon baller or an apple corer scoops perfect circles out of the pumpkin wall in one twist. Scatter the dots randomly for a playful look, or ring them in neat rows for something more graphic. Vary the sizes by pressing deeper in some spots and shallow in others. When the candle is lit, the pumpkin throws dotted light across the porch like a lantern. Few designs photograph better, and the whole job takes about fifteen minutes.
Scatter the dots randomly for a playful look that is fast and forgiving, ring them in neat rows for something sharper and more modern, or run one big circle of dots around the middle for a bold graphic band that reads from the street.
8. Cut Big Windows and Let the Candle Do the Work
Most people carve tiny details that disappear completely once it gets dark.
Cut three or four big window shapes instead, triangles, arches, or simple squares, and let the candle become the design. From the sidewalk, all anyone sees is the glow, and big openings throw far more light than fussy details. This is also the safest bet in wind, since a wide opening keeps the flame fed with air instead of snuffing it. Pair it with a few extra candles around the base and the whole corner of your porch lights up. For more ways to layer that glow, browse these Halloween lighting ideas once the pumpkins are done.
Mark 3 or 4 large shapes with a marker, keeping them evenly spaced.
Cut straight through on the lines and push each piece inward.
Drop in a chunky pillar candle and step back to check the glow.
9. Carve Leaf and Vine Silhouettes
A maple leaf glowing from the inside beats any scary face for sheer prettiness.
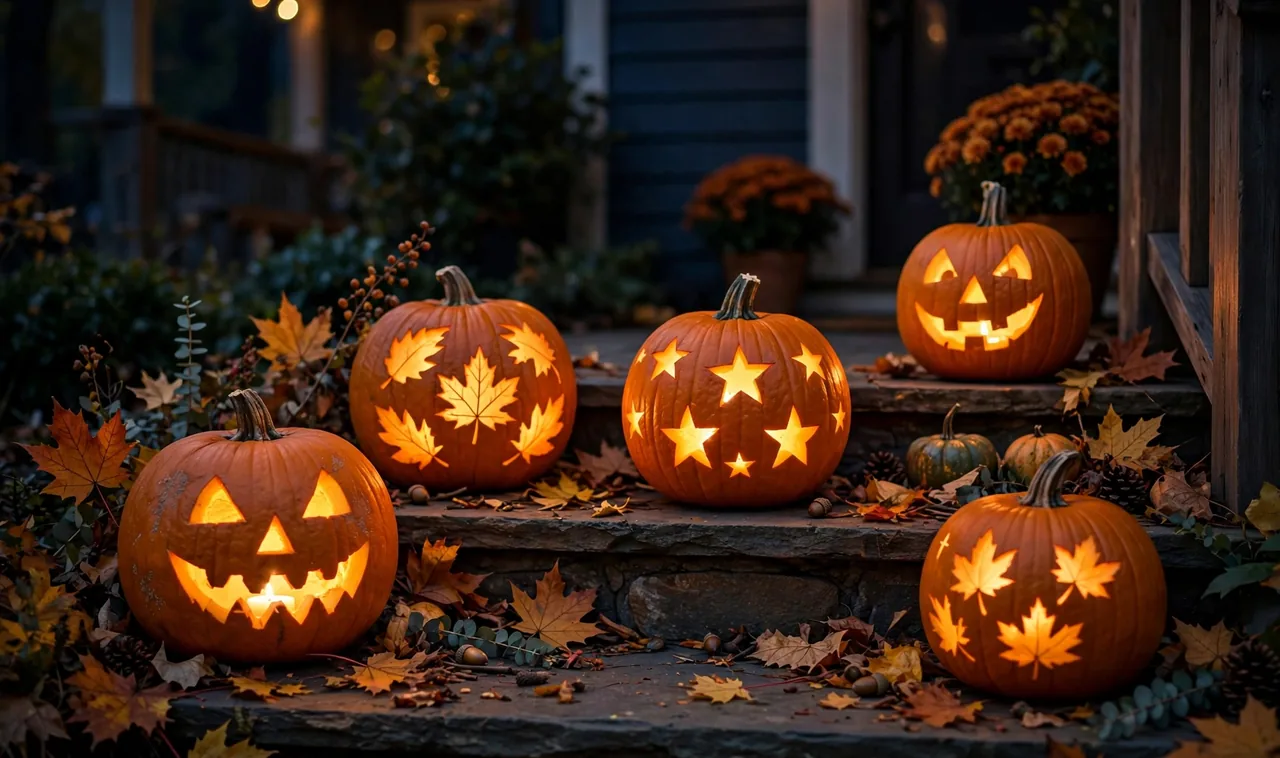
Press a real leaf flat against the pumpkin and trace around it, then cut just inside the line. Add a curling vine by carving one wavy stem with two or three small leaves branching off it. This style suits the season better than monsters do, and it looks right on orange, white, and green pumpkins alike. Set one by a window so the silhouette shows from indoors too. If you are dressing up the glass as well, these Halloween window decoration ideas pair nicely with a glowing leaf pumpkin on the sill.
10. Carve Only the Mouth and Skip the Rest
A full face takes twenty minutes. A mouth takes five, and it might look scarier.
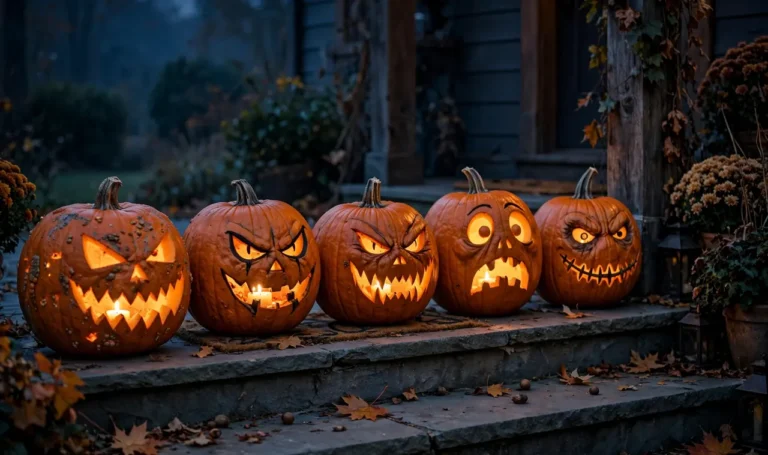
One huge jagged grin or one wide scream-shaped oval carries the whole pumpkin. Without eyes, the viewer fills in the menace themselves, which is why minimal designs read so well from the street. Keep the mouth oversized, at least a third of the pumpkin’s height, or it will look like a mistake instead of a choice. This is the move when you have ten pumpkins to finish and one hour to do it.
A rushed full face with wobbly eyes and a crooked nose that looks sad instead of scary.
One bold oversized mouth, cleanly cut, glowing from a block away.
11. Carve Your Family Initial Into the Side
The pumpkins neighbors remember are the ones with a name on them.
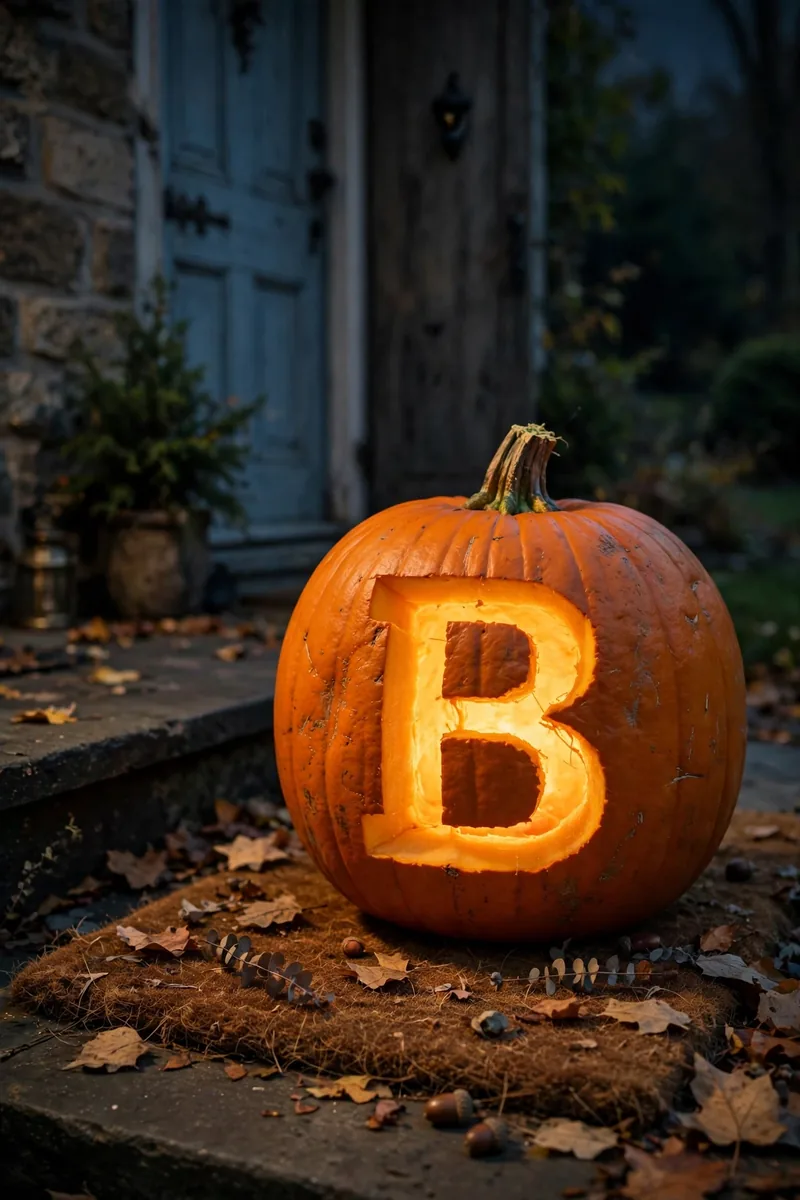
Block letters are the easiest shapes to carve well under pressure, all straight lines and no curves to wobble. Cut your family initial large across the front, or carve your house number for a personal touch the whole street will notice. Sketch the letter with a marker first and keep the strokes thick, since thin lines close up and vanish in the glow. Backlight it with a bright LED so the letter reads like a sign.
12. Etch a Spider Web Without Cutting Through
Shallow cuts catch the light differently than deep ones, and that difference is the whole trick here.
Draw a web with a marker, then trace it with just the skin-deep tip of a linoleum cutter, a vegetable peeler, or even a fork tine. You are only removing the outer skin, not cutting through the wall. The etched lines glow softly instead of blazing, which looks eerie next to a bright jack-o’-lantern. Work lightly and let the tool do the scraping. Pressing hard gouges the flesh and ruins the effect.
13. Make the Simple Black Cat Face
Two ears, two eyes, a nose. Done.
Cut two triangles into the top edge so they read as ears, then carve two almond eyes and a small triangle nose below. Poke whisker dots with a drill or a skewer on each cheek. The cat sits beautifully next to a classic jack-o’-lantern, and kids recognize it instantly from the sidewalk. Keep the features large and spaced wide. Small crowded features blur together once the candle is lit.
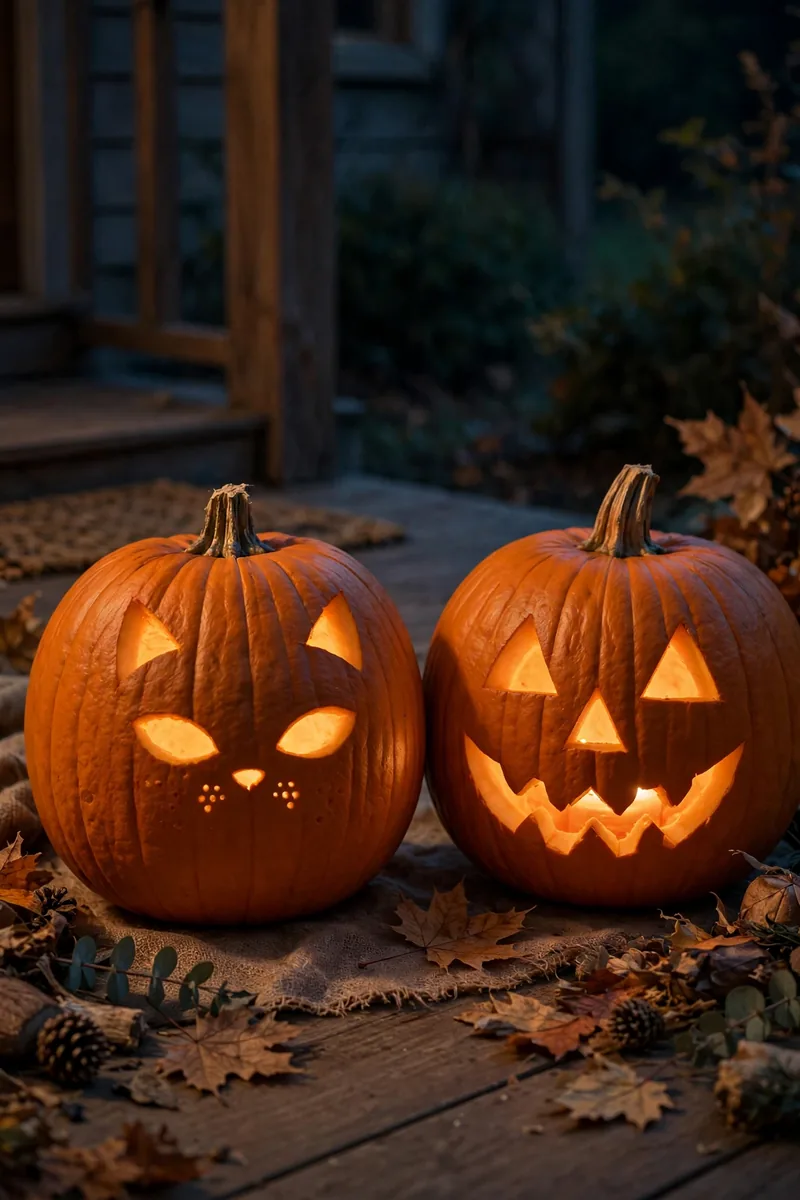
14. Wrap It Like a Mummy and Skip Carving Entirely
No tools, no time, no problem. This one needs a roll of gauze and ten minutes.
Wrap white gauze or crepe paper loosely around the pumpkin, leaving a gap across the front for the face. Dab a little glue to hold the layers, then stick on two big googly eyes or black felt circles. The wrapping hides every lump and bruise on a late-season pumpkin, which is a quiet bonus. Line up three mummies in different sizes and you have a display that took less time than ordering takeout.
Leave the face gap uncovered and keep the wrap loose. Tight wrapping flattens the pumpkin and the eyes end up sliding off by midnight.
15. Cluster Mini Pumpkins With Tea Lights
One big pumpkin is a project. Five small ones are a display.
Grab a bag of mini pumpkins, give each one a dead-simple face or a few drilled dots, and nestle battery tea lights between them. Group them on the porch steps, along the mantel, or down the middle of the dinner table. Minis carve in minutes because there is so little surface, and a cluster always looks intentional even when every face is different. If you are styling the entryway around them, these Halloween staircase decorating ideas show how a pumpkin cluster anchors the whole scene.
That is the full list. Fifteen designs, none of them asking for your whole evening. Pick the one that matches the tools you already own, carve it while something good plays in the background, and get it outside before the first trick-or-treaters arrive. These last-minute pumpkin-carving ideas prove that speed and style are not opposites. A bold shape, a strong glow, and a little confidence beat a fussy masterpiece every single time. Save this list for next October, because the 4 p.m. panic happens to all of us.