The kitchen table is covered in newspaper, there is a bowl of pumpkin guts slowly filling up, and your six-year-old is already asking if she can hold the big knife. If that scene sounds familiar, you know the truth about carving pumpkins with kids. The classic scary faces are fun, but little ones usually want something sillier, sweeter, and a lot less spooky.
That is exactly where these cute pumpkin-carving ideas for families come in. Every idea below keeps the carving simple enough for small hands to help with, and every design leans friendly instead of frightening. You will find grinning faces, sleepy owls, polka dots you make with a drill, and a few tricks that let toddlers join in without touching a blade at all.
Grab a few pumpkins in different sizes, keep the candy bowl nearby for motivation, and work through the list together. By the end of the afternoon your porch will look like the happiest house on the street.
1. Start With the Classic Friendly Grin
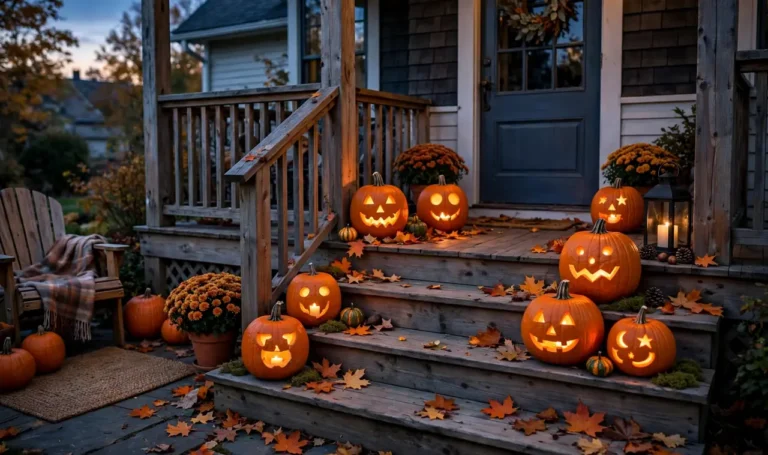
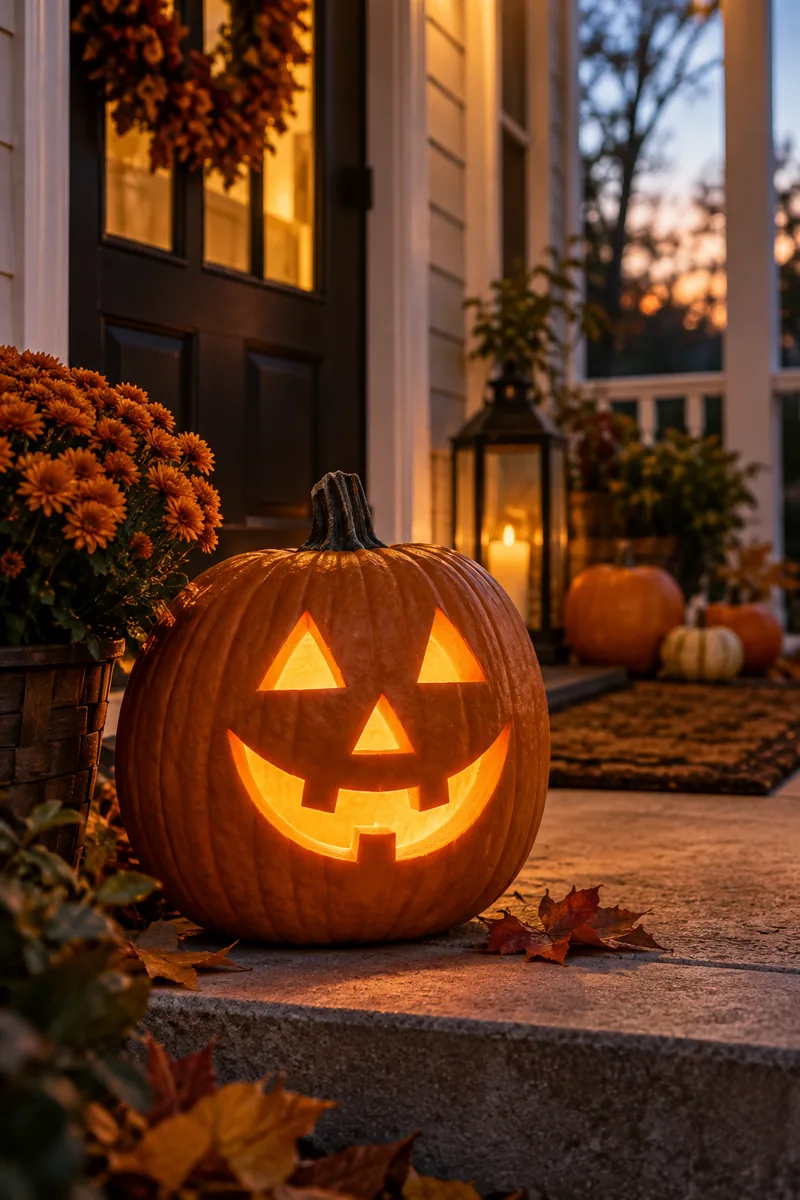
Every family needs one traditional jack-o’-lantern, and the friendliest version is also the easiest. Draw two triangle eyes, a round nose, and a wide smile with big gaps between the teeth. Kids love coloring in the shapes with a marker before any cutting starts. Let an adult handle the carving while the kids scoop, and when the candle goes in, that simple grin throws the warmest light on the porch.
2. Give Your Pumpkin Big Googly Cartoon Eyes
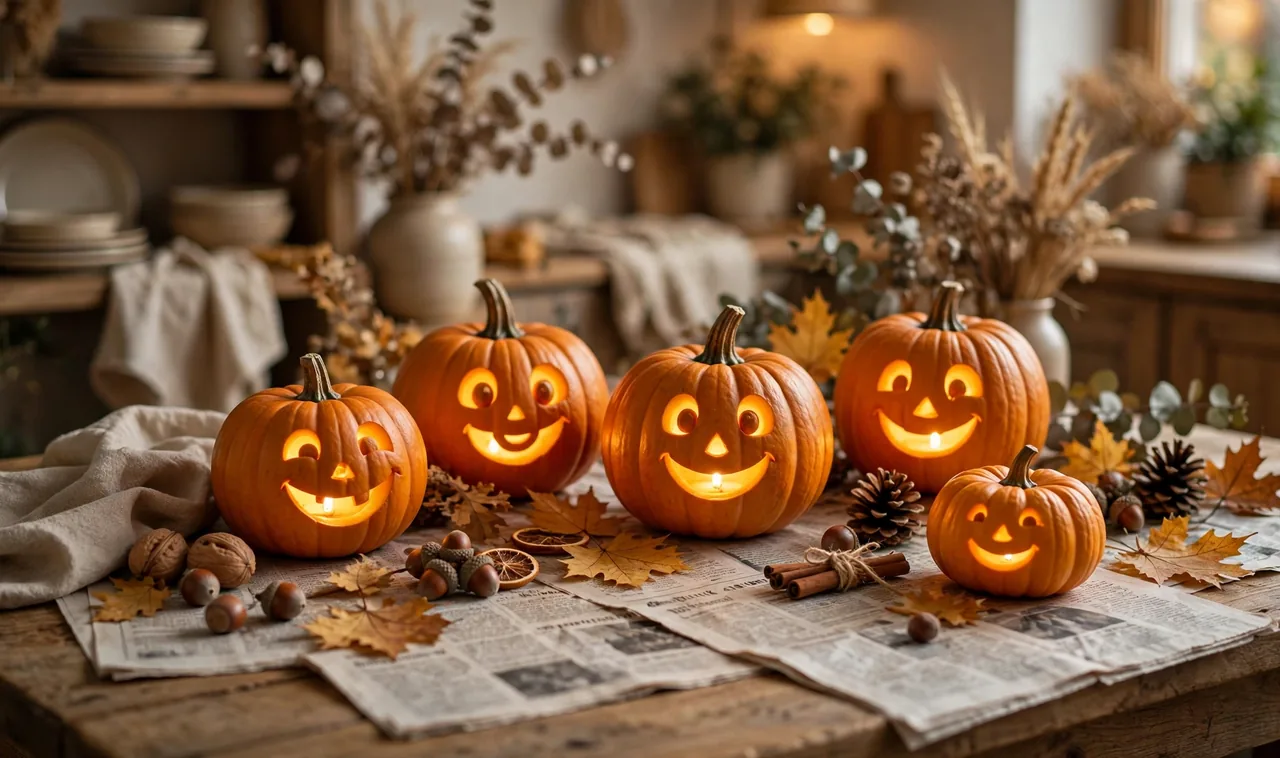
Nothing makes a pumpkin cuter faster than oversized eyes. Carve two big circles for eyes instead of the usual triangles, and suddenly your pumpkin looks like a cartoon character that wandered off a Saturday morning show.
The trick is proportion. Make each eye at least twice as big as you think it should be, and keep the mouth small. A tiny smile under huge eyes reads as pure sweetness. Stick-on craft eyes work for very small kids, but the carved version glows so much better at night.
💡 Quick Tip
Trace the eyes with a drinking glass for two matching circles. It saves a lot of erasing.
3. Carve a Curious Cat Silhouette
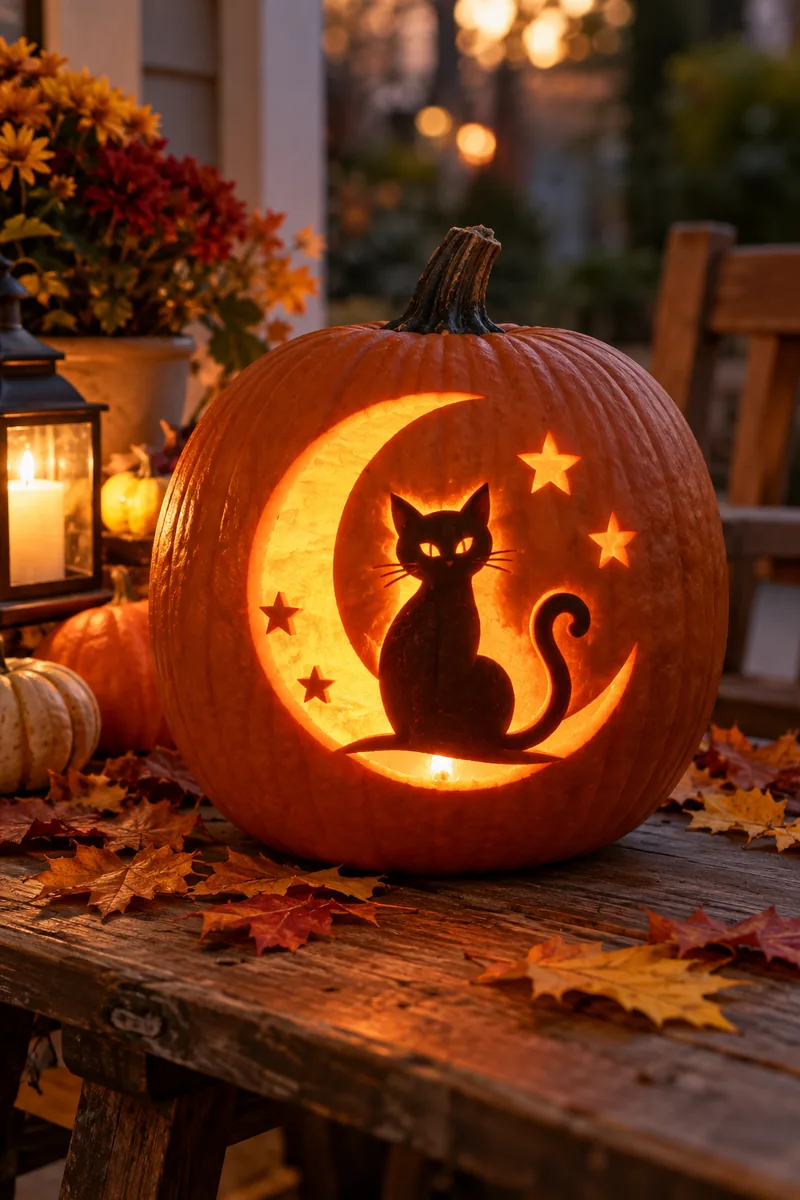
Cat lovers, this one is yours. A simple sitting-cat silhouette with a curved tail reads clearly even when carved by shaky hands, because the shape is mostly smooth lines. Add two triangle ears and a few whisker cuts. Print a cat outline from any free stencil site, tape it on, and poke along the outline with a pin. Kids can do the poking while an adult connects the dots with the saw, then set it near the walkway so the cat seems to watch visitors arrive.
4. Drill a Polka-Dot Pumpkin
Here is the secret weapon for families with toddlers. Skip the knives entirely and hand the grown-ups a power drill. Different sized bits make perfect round holes, and the finished pumpkin looks like it is wearing a dotted sweater. Plan the pattern with sticker dots so kids design it themselves, then an adult drills while the kids call out which size goes where. Push fairy lights inside instead of a candle, and every hole becomes a tiny glowing star.
5. Carve a Sleepy Owl Face
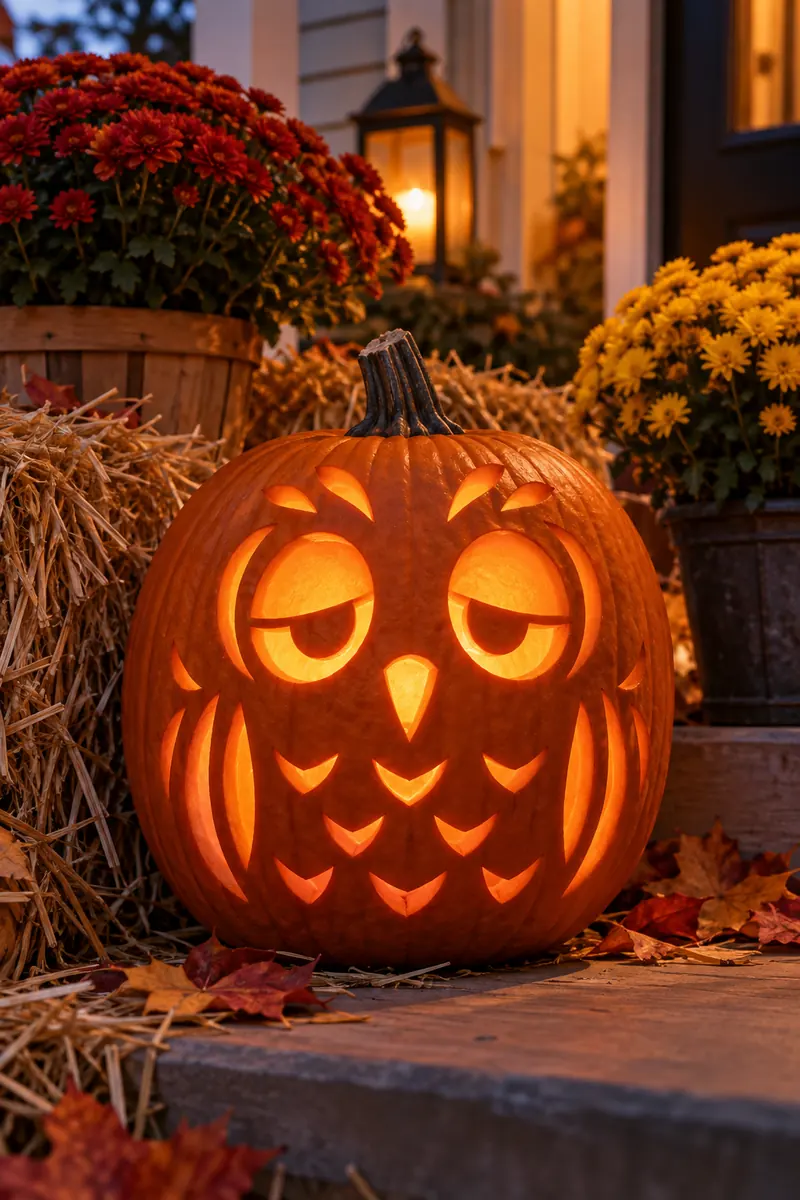
Owls are a natural fit for pumpkins because both are round. Two big circle eyes, two small half-moon eyelids drooping over them, a tiny triangle beak, and you have a bird that looks ready for bed. The droopy eyelids are the whole joke, so carve the eyes first, then add a curved lid line across the top third of each eye, leaving it attached at the top. A short, wide pumpkin works better than a tall one here because the face has room to spread out.
What to grab for the owl
6. Use Cookie Cutters for Perfect Shapes
Most families already own the easiest pumpkin-carving tool in the house. Metal cookie cutters in stars, hearts, and moons tap straight through pumpkin flesh with a rubber mallet, and the shapes come out crisp every single time.
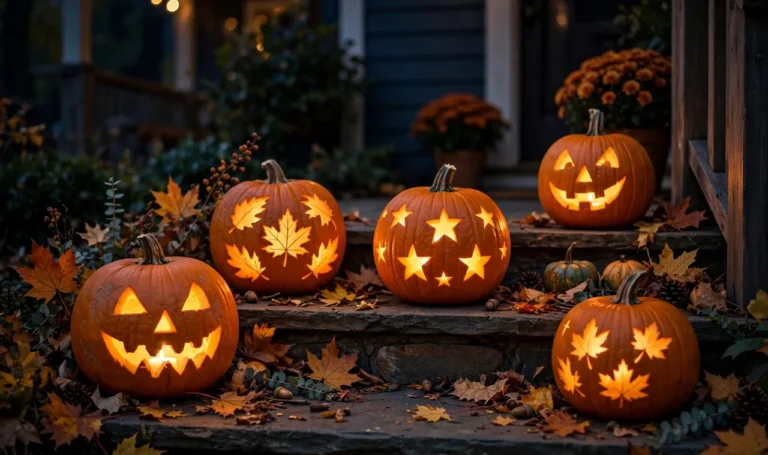
Pick thin-walled areas of the pumpkin so the cutter goes through in a few taps. Kids choose the shapes and hold the cutter steady while an adult does the tapping. Stars scattered across the whole pumpkin look wonderful with lights inside, and a big heart on the front makes a sweet statement for the whole street to see.
7. Top Your Pumpkin With a Real Witch Hat
Sometimes the cutest move is barely carving at all. Carve a simple happy face, then perch a small witch hat on top of the pumpkin instead of its stem. The hat does all the talking.
Party supply stores sell mini witch hats for a dollar or two, or you can fold one from black construction paper in about five minutes. Tilt it sideways for extra personality. This trick rescues pumpkins with ugly stems too, since the hat covers whatever is going on up there. Kids love choosing the hat and placing it just right.
8. Hand Little Kids Their Own Mini Pumpkins
The fastest way to keep toddlers happy during carving night is to give them pumpkins their own size. Mini pumpkins are cheap, they fit in small hands, and nobody expects a masterpiece from a pumpkin the size of an apple.
Skip the carving for the littlest ones and set up a decorating station instead. Washable paint, stickers, and stick-on foam shapes turn a mini pumpkin into a character in minutes. Older kids can carve their minis with a pumpkin saw while the babies paint beside them, and everyone finishes at roughly the same time.
Wash and dry the minis so paint and stickers stick.
Lay out supplies where little arms can reach.
Let each child decorate freely, then line them on the windowsill.
9. Carve a Whole Pumpkin Family Row
One pumpkin is cute. A row of them in descending sizes, each with a different face, is a whole story. Assign each family member a pumpkin that matches their height, then let everyone design their own face. Line them up on the porch steps from biggest to smallest, and the photos of everyone holding their pumpkin are keepers.
10. Trace First, Carve Second: The Marker Method
The number one reason carved pumpkins look lopsided is that someone started cutting before drawing. A dry-erase marker changes everything. Sketch the whole face, step back, look at it from the sidewalk, and wipe off whatever looks wrong.
Kids are surprisingly good art directors at this stage. Let them veto eyes that are too close together or a mouth that tilts the wrong way. Only pick up the saw when everyone agrees the drawing looks right. You will carve half as much and love the result twice as much.
11. Carve Goofy Teeth and Crooked Smiles
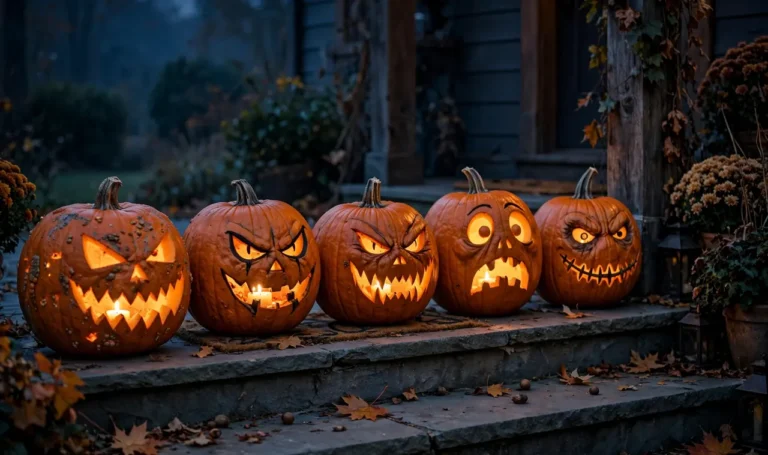
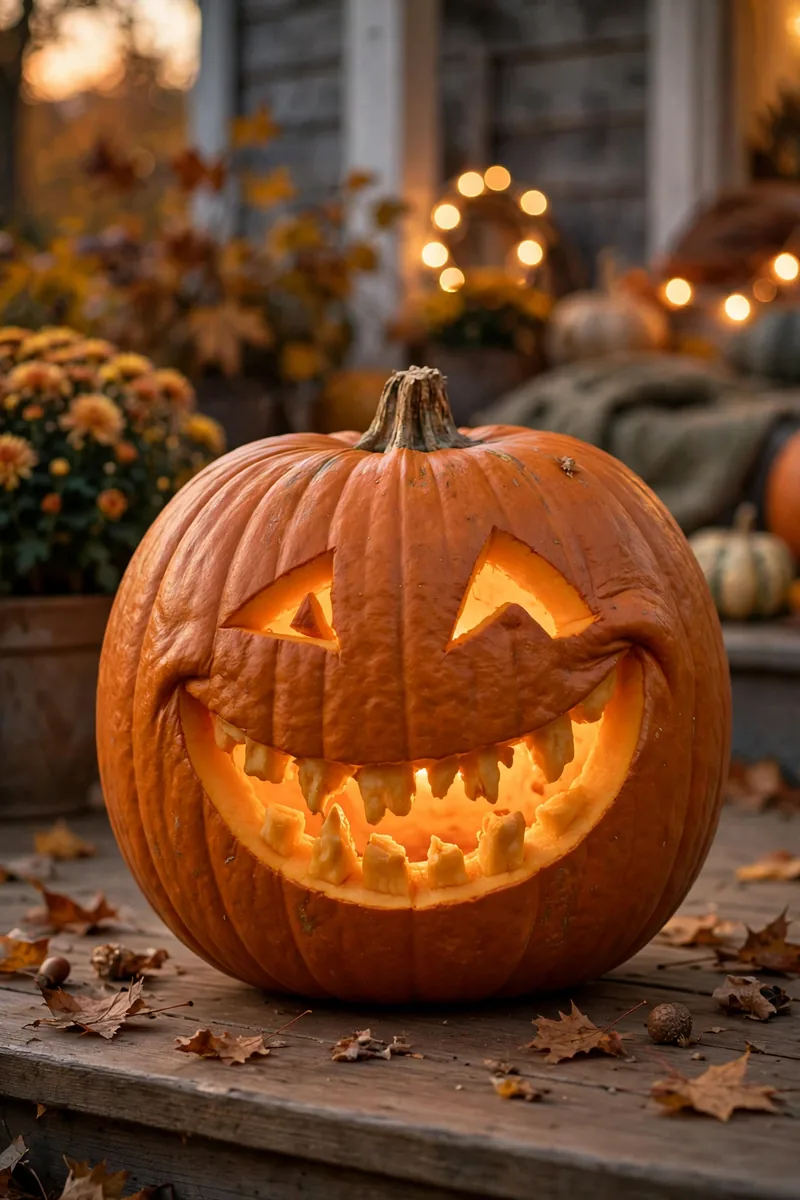
Perfect teeth belong in toothpaste ads, not on pumpkins. The funniest faces come from one big tooth, a gap in the middle, or a smile that slides sideways like the pumpkin is telling a joke. Carve the mouth as one wide shape first, then leave little bridges of pumpkin where you want teeth to stay. One tooth slightly longer than the rest gets the biggest laughs, and there is no wrong answer here, only funnier ones.
Leave teeth chunky so they survive the week.
Make one tooth longer for instant comedy.
Tiny thin teeth that snap off by night two.
Cutting the mouth so wide the pumpkin sags.
12. Make Heart-Eyed Love Pumpkins
Valentine’s Day does not own the heart eyes. Two heart shapes for eyes turn any pumpkin into a lovestruck character, and kids absolutely adore drawing them. The shape is forgiving too, since slightly wobbly hearts still read as hearts.
Draw the hearts with the pointy ends facing down and outward. Carve them a little larger than feels right, because small details disappear once the candle is lit. A simple small smile underneath finishes the look. These make sweet gifts too. Set one on a neighbor’s step with a little note.
13. Carve a Friendly Ghost Rising From the Top
Most ghosts on pumpkins are flat faces, but a ghost that looks like it is floating out of the top is far cuter. Carve the pumpkin open at the top as usual, then cut a simple ghost shape from the lid itself so it stands up like a little spirit escaping. Keep it chunky with a rounded head, a wavy bottom edge, and two small dot eyes. When the light shines up from inside, the ghost casts a soft glow on the porch ceiling, and kids will insist on naming it.
14. Mix Paint and Carving for Two-Tone Cuteness
Paint the pumpkin white or pastel pink first, let it dry completely, then carve a simple face. The carved lines reveal bright orange underneath, and the contrast looks like it came from a boutique. This method hides mistakes beautifully too. A wobbly cut that would show on a plain pumpkin disappears against the painted background, and kids can pick the color while an adult handles the carving.
A plain orange pumpkin with a carved face. Fine, but it looks like everyone else’s.
The same face on a painted pumpkin, with glowing orange lines cutting through. Instant standout.
15. Carve the Classic Pumpkin Eating Its Own Guts
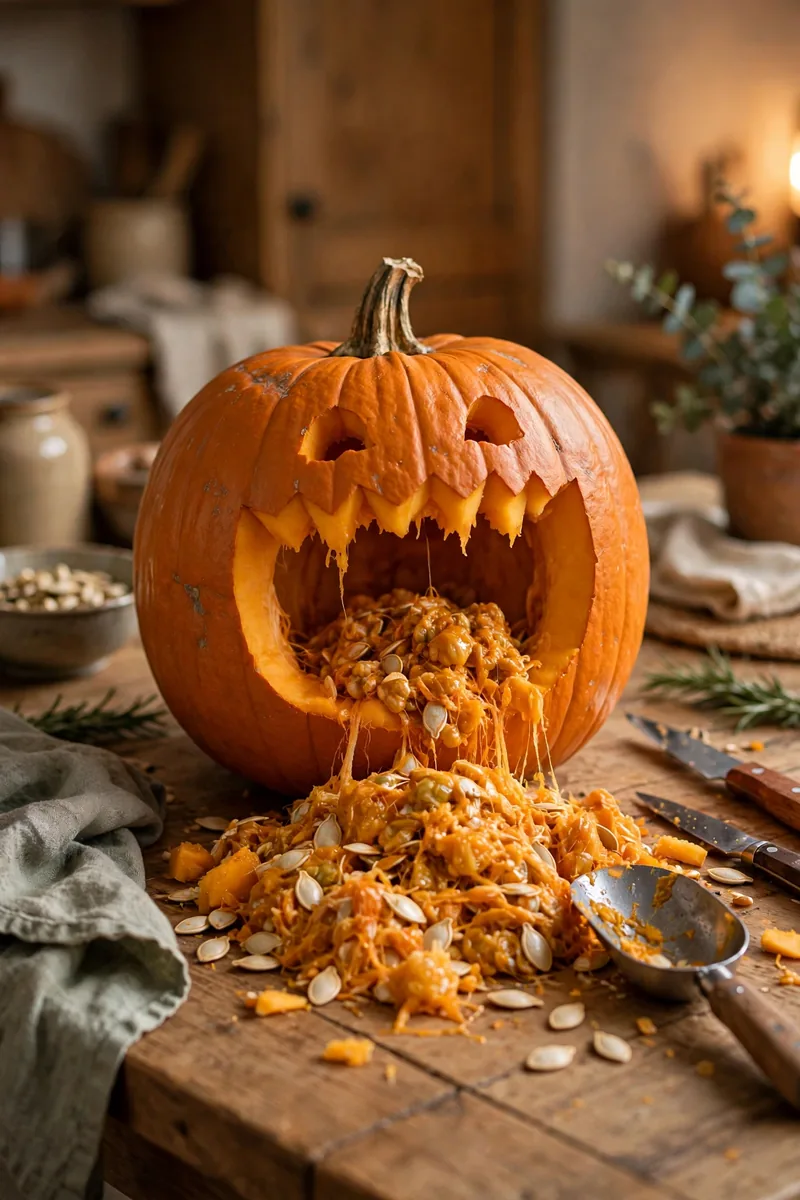
Every family eventually tries this one, and it never stops being funny. Carve a wide-open mouth, then pile the scooped-out guts in front of it so the pumpkin looks like it is snacking on its own insides. Set it on a tray because the guts will slide, push a few strands right up to the mouth so the joke reads from the sidewalk, and add two worried eyes above. This is the pumpkin your kids will talk about for years.
16. Poke a Starry Night Sky With Tiny Holes
When little arms get tired of sawing, switch to poking. A nail or a corn holder pushed through the pumpkin makes tiny holes, and a whole sky of them turns the pumpkin into a planetarium. Draw the pattern with dots first so kids can plan their sky, then an adult pushes each hole through while the kids count. Use a bright LED light inside for strong beams from every hole. If you want more ideas for making those lights look their best, these Halloween lighting ideas pair perfectly with a glowing pumpkin display.
17. Carve a Welcoming Message for the Porch
End the night with a pumpkin that talks. Carve a short word like HELLO, HI, or BOO in big block letters across the front. Letters are just straight lines, which makes them one of the easiest carves on this whole list.
Keep the letters tall and leave thick bridges between them so the face of the pumpkin stays strong. Stencils help, but freehand block letters have a homemade charm that stencils cannot match. Set it right by the front door where every visitor reads it. Pair it with a simple, uncluttered porch, and you get the same calm effect as these minimalist Halloween decorating ideas without any extra work.
Seventeen ideas, one messy table, and a porch full of happy faces. The best part of carving cute pumpkins as a family is that nobody is chasing perfection. The lopsided grin your seven-year-old designed will get more smiles than any store-bought decoration, because it has a story behind it. Save a few of these cute pumpkin-carving ideas for families for next year too, and for the rest of your fall decorating, these vintage Halloween decorating ideas bring the same warm, nostalgic feeling indoors.
📌 Save this list on Pinterest so it is waiting for you next October, when the pumpkins hit the porch and the carving tools come back out.