Your mantel is the first thing people notice when they walk into your living room in October. A bare mantel in the middle of spooky season feels like a missed chance, but most Halloween decor advice skips the mantel completely or tells you to buy a whole new set of decorations.
You do not need a big budget or a craft room full of supplies. With a few pumpkins, some candles, and things you probably already own, you can build a mantel that looks styled without looking overdone.
These Halloween mantel decor ideas start simple and get spookier as you go, so you can stop wherever your comfort level ends. Begin with a garland and a few pumpkins, or keep going all the way to glowing eyes and potion bottles. Each idea works on its own, and most of them mix well together.
Pick one idea to start with this weekend. Your mantel will thank you, and your guests will notice.
A Two Color Garland: The Simplest of These Halloween Mantel Decor Ideas
Grab a garland in black and orange and drape it across the mantel in a loose wave. This one move covers the whole mantel and sets the color story for everything else.
- Drape it so the middle dips lower than the ends.
- Let a few strands hang down on each side for a relaxed look.
- Tuck the ends behind a pumpkin so no hooks show.
It takes about ten minutes and costs less than a pizza. Start here, then build on it.
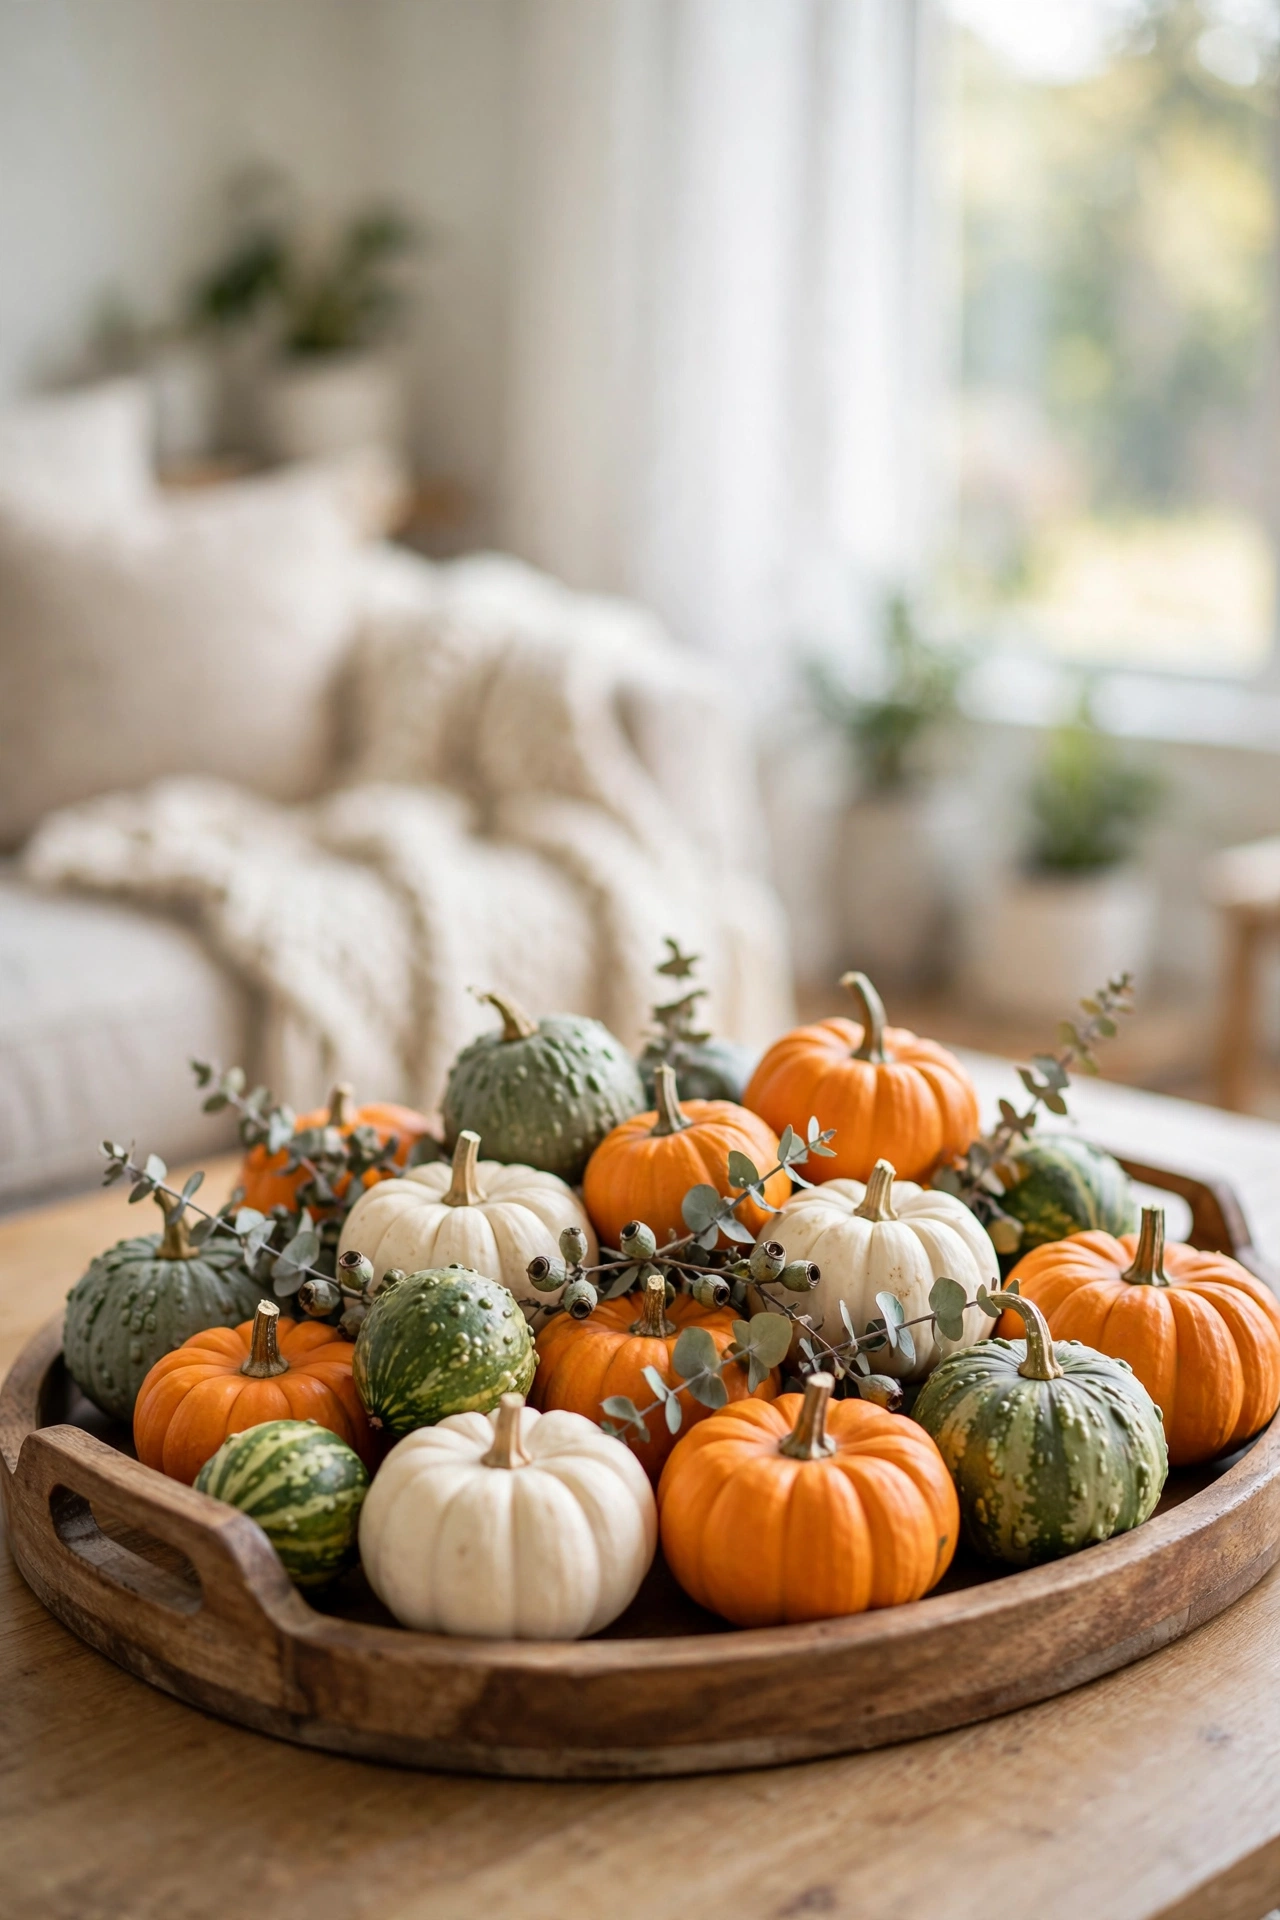
Line Up Mini Pumpkins in Mixed Heights
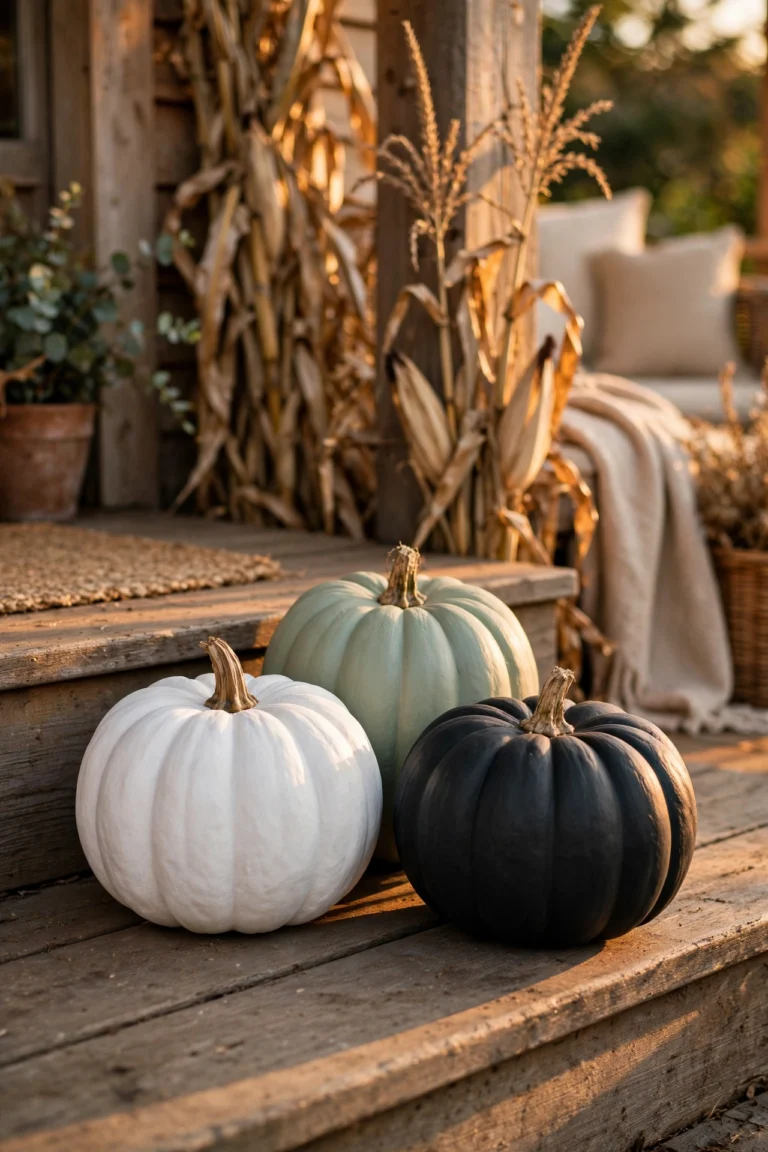
Last October my neighbor set three tiny pumpkins on her mantel and somehow it looked styled. The trick was the heights. One sat flat, one sat on a stack of books, and one perched on a small wooden box.
- Use real mini pumpkins or faux ones, both work.
- Mix orange, white, and green for interest.
- Keep them in a loose row, not a straight line.
Odd numbers look best, so try three, five, or seven.
What to grab
Stack Old Books Under a Single Candle
The rule is simple: stack three books, then top them with one candle. Hardcover books with dark or worn covers work best, and the stack adds instant height to a flat mantel.
- Pull books you already own, no need to buy new ones.
- Turn the spines inward if the titles clash with your decor.
- Choose a candle in black, cream, or deep orange.
A battery candle keeps it safe if you have curious pets or kids around.
Tape Up a Printable Boo Banner
For under five dollars you get the biggest visual payoff on this list. A simple letter banner fills the empty wall above the mantel and pulls the whole display together.
- Print letters on cardstock or buy a ready made banner.
- String them on twine with small clothespins.
- Hang with painter’s tape so the paint stays safe.
Center it above the mantel and let the ends curl a little for a handmade feel.
Hang it straight the first time
Find the center of the mantel with a tape measure and mark it lightly in pencil.
Tape the two ends first, then adjust the middle dip.
Step back to the doorway to check it looks centered.
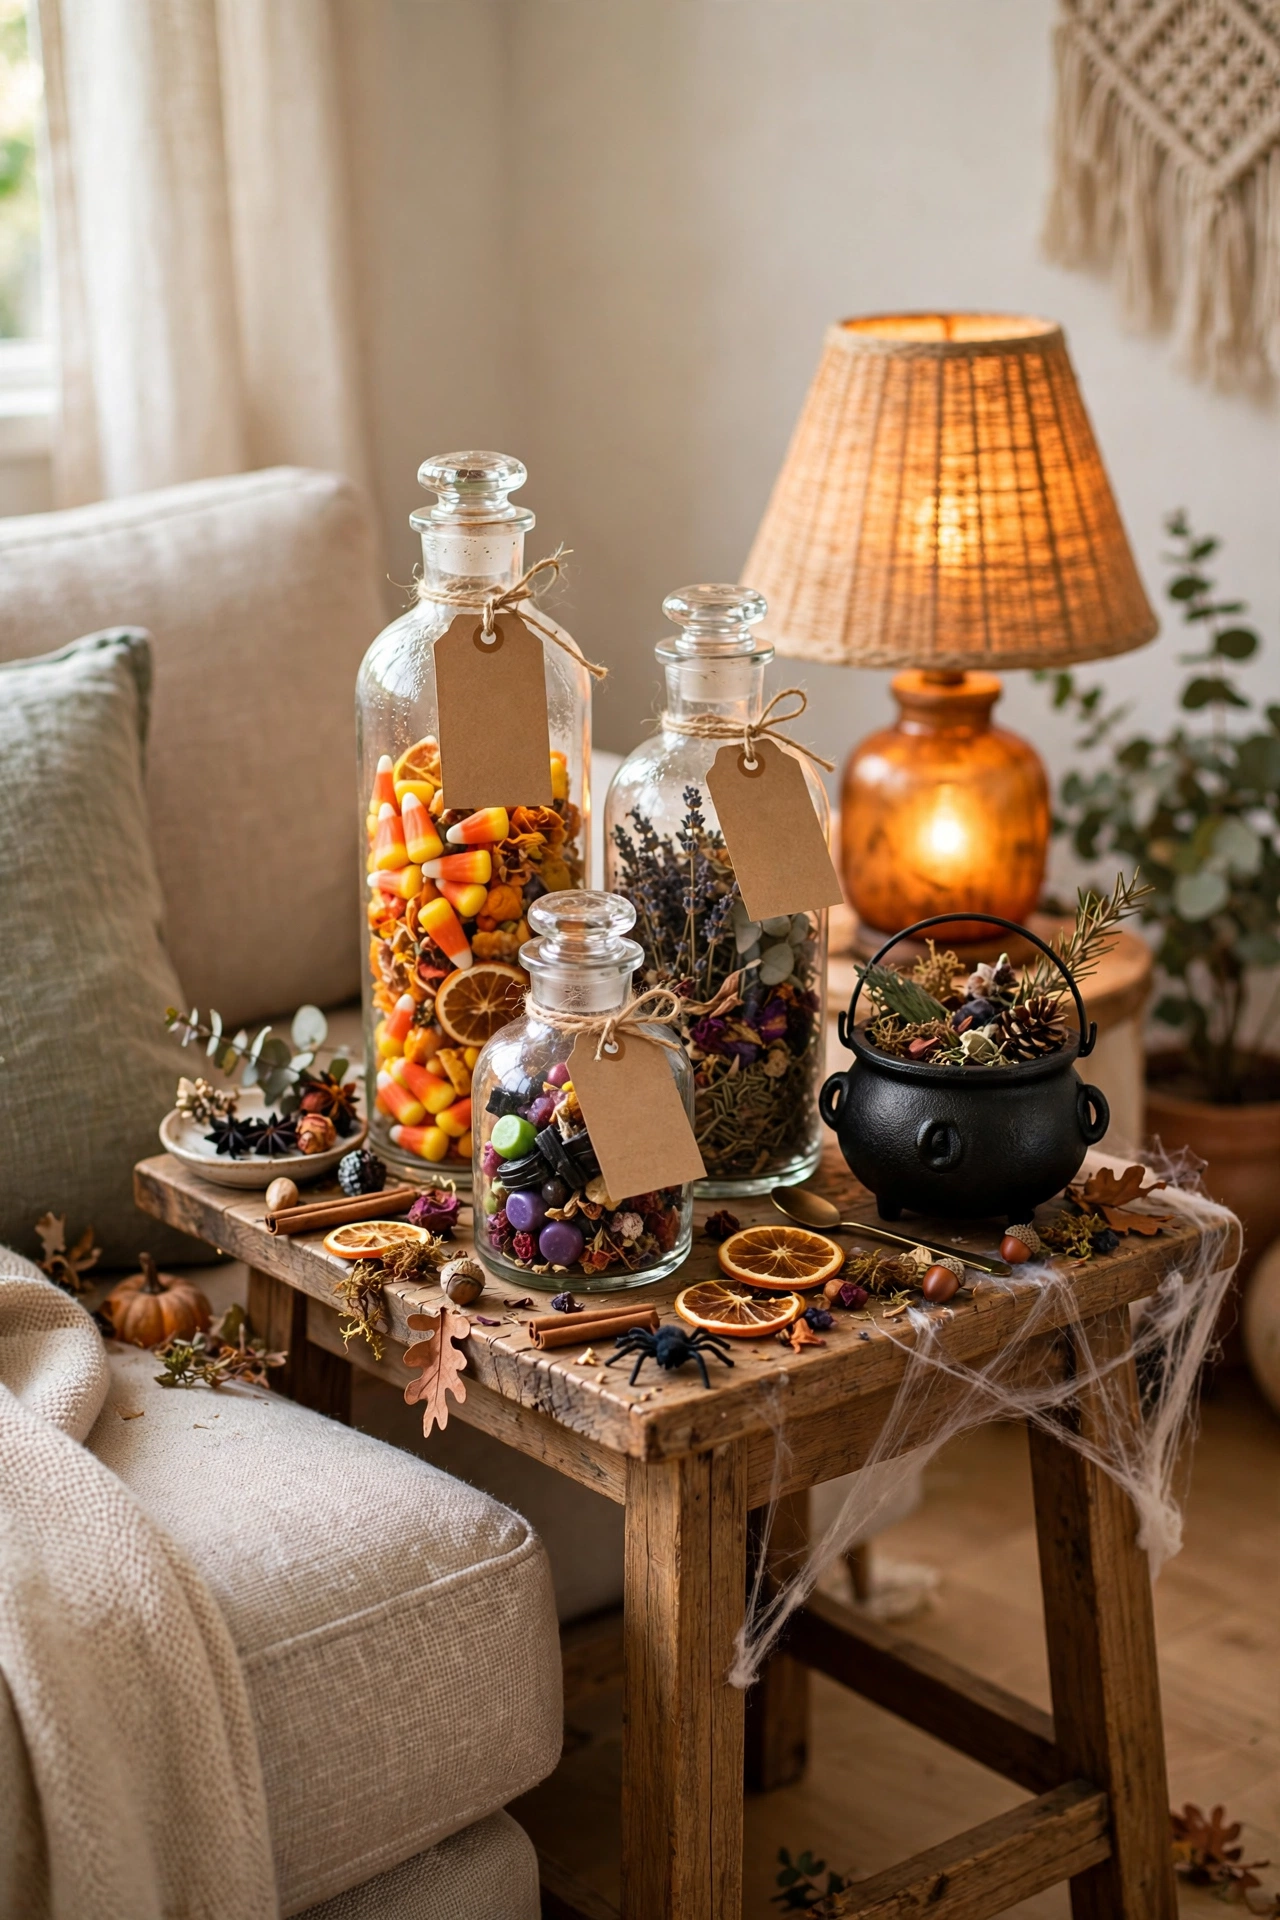
Layer Candy Corn in Glass Jars
Plain glass jars on a mantel can look unfinished, like you forgot to fill them. Candy corn fixes that in about two minutes. The orange, yellow, and white layers read as Halloween from across the room.
- Use jars of different heights for variety.
- Pour each color in slowly so the layers stay clean.
- Top with a small lid or a square of burlap.
Set them near the middle of the mantel where the light catches the glass.
Pour each color slowly for clean stripes.
Mix jar heights for rhythm.
Dumping the colors in together.
Leaving store labels stuck on the jars.
Set Out a Row of White Pillar Candles
Five white pillar candles in a row, tallest in the middle, shortest on the ends. Against dark Halloween colors, the white pops and keeps the mantel from looking too heavy.
- Vary the heights by at least two inches between each candle.
- Use unscented pillars so the smell does not fight your fall candles elsewhere.
- A tray underneath catches wax and keeps things tidy.
Light them only when you are home to enjoy the glow.
💡 Quick Tip
Battery pillars with built in timers give the same warm glow with zero worry. Set the timer for dusk and forget about them all October.
Hang a Wreath Dotted With Tiny Bats
A plain fall wreath says autumn. The same wreath with a dozen tiny bats says Halloween. You do not need a new wreath, just a pack of bat cutouts and a glue gun.
- Glue bats along the outer edge so they look like they are flying outward.
- Mix bat sizes for a more natural scatter.
- Hang the wreath centered above the mantel, not on it.
This bridges the gap if your house is more fall than fright.
A plain grapevine wreath that reads as everyday fall decor.
The same wreath edged with tiny bats, now clearly Halloween, done in minutes.
Edge the Mantel With Striped Ribbon
I have seen mantels that looked fine but unfinished, and the fix was always the same. A strip of black and white ribbon along the front edge gives the whole display a finished border, like a frame around a picture.
- Choose ribbon at least two inches wide so it reads from far away.
- Drape it in a gentle scallop instead of pulling it straight.
- Secure the ends with small nails or removable hooks.
This works best on mantels with a flat front edge you can see from the couch.
| Width | Best for |
|---|---|
| 1 inch | Thin mantels, a quiet look. |
| 2 to 3 inches | Most mantels, reads across the room. |
| 4 inches and up | Deep mantels, a bold border. |
Flank Both Ends With Pumpkin Topiaries
The mistake is piling everything in the middle and leaving the ends bare. Two pumpkin topiaries, one on each end, anchor the whole mantel and make the middle feel styled by comparison.
- Stack three faux pumpkins, largest on the bottom.
- Run a wooden dowel through the center to hold the stack steady.
- Top with a small stem or a sprig of faux leaves.
Symmetry like this calms down a busy mantel fast.
Anchor the ends first, then style the middle. A mantel with weighted edges always looks more finished.
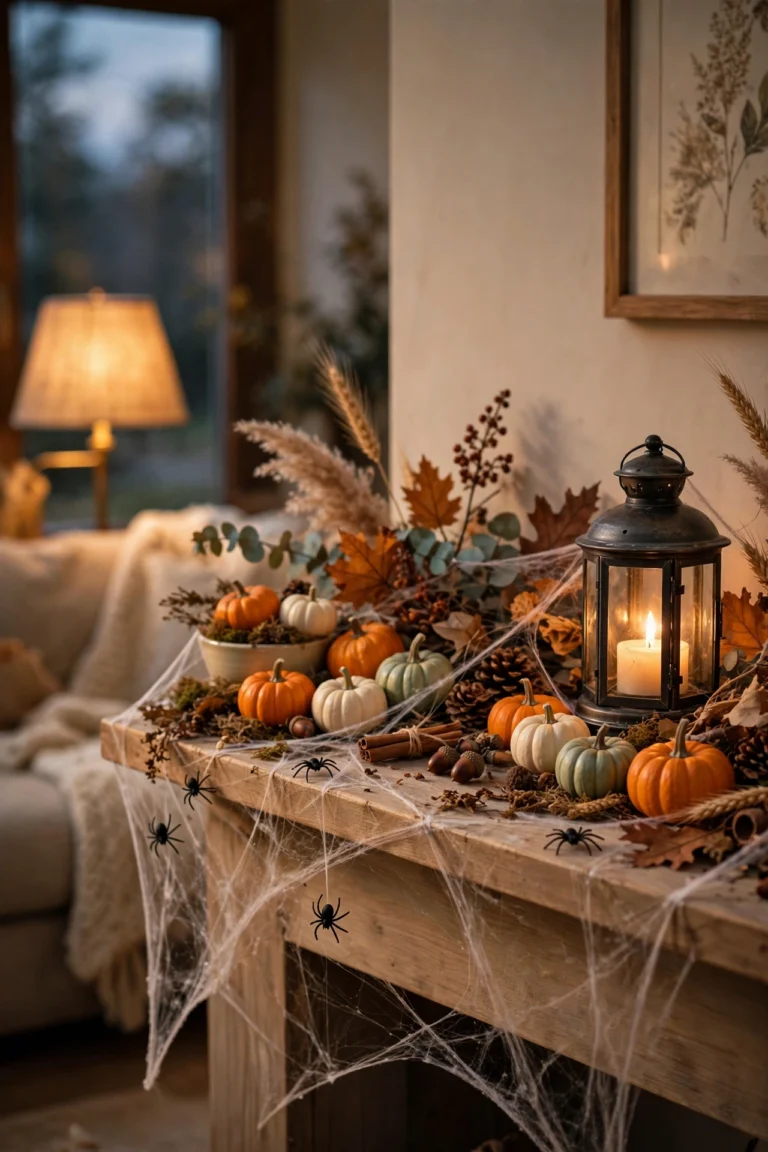
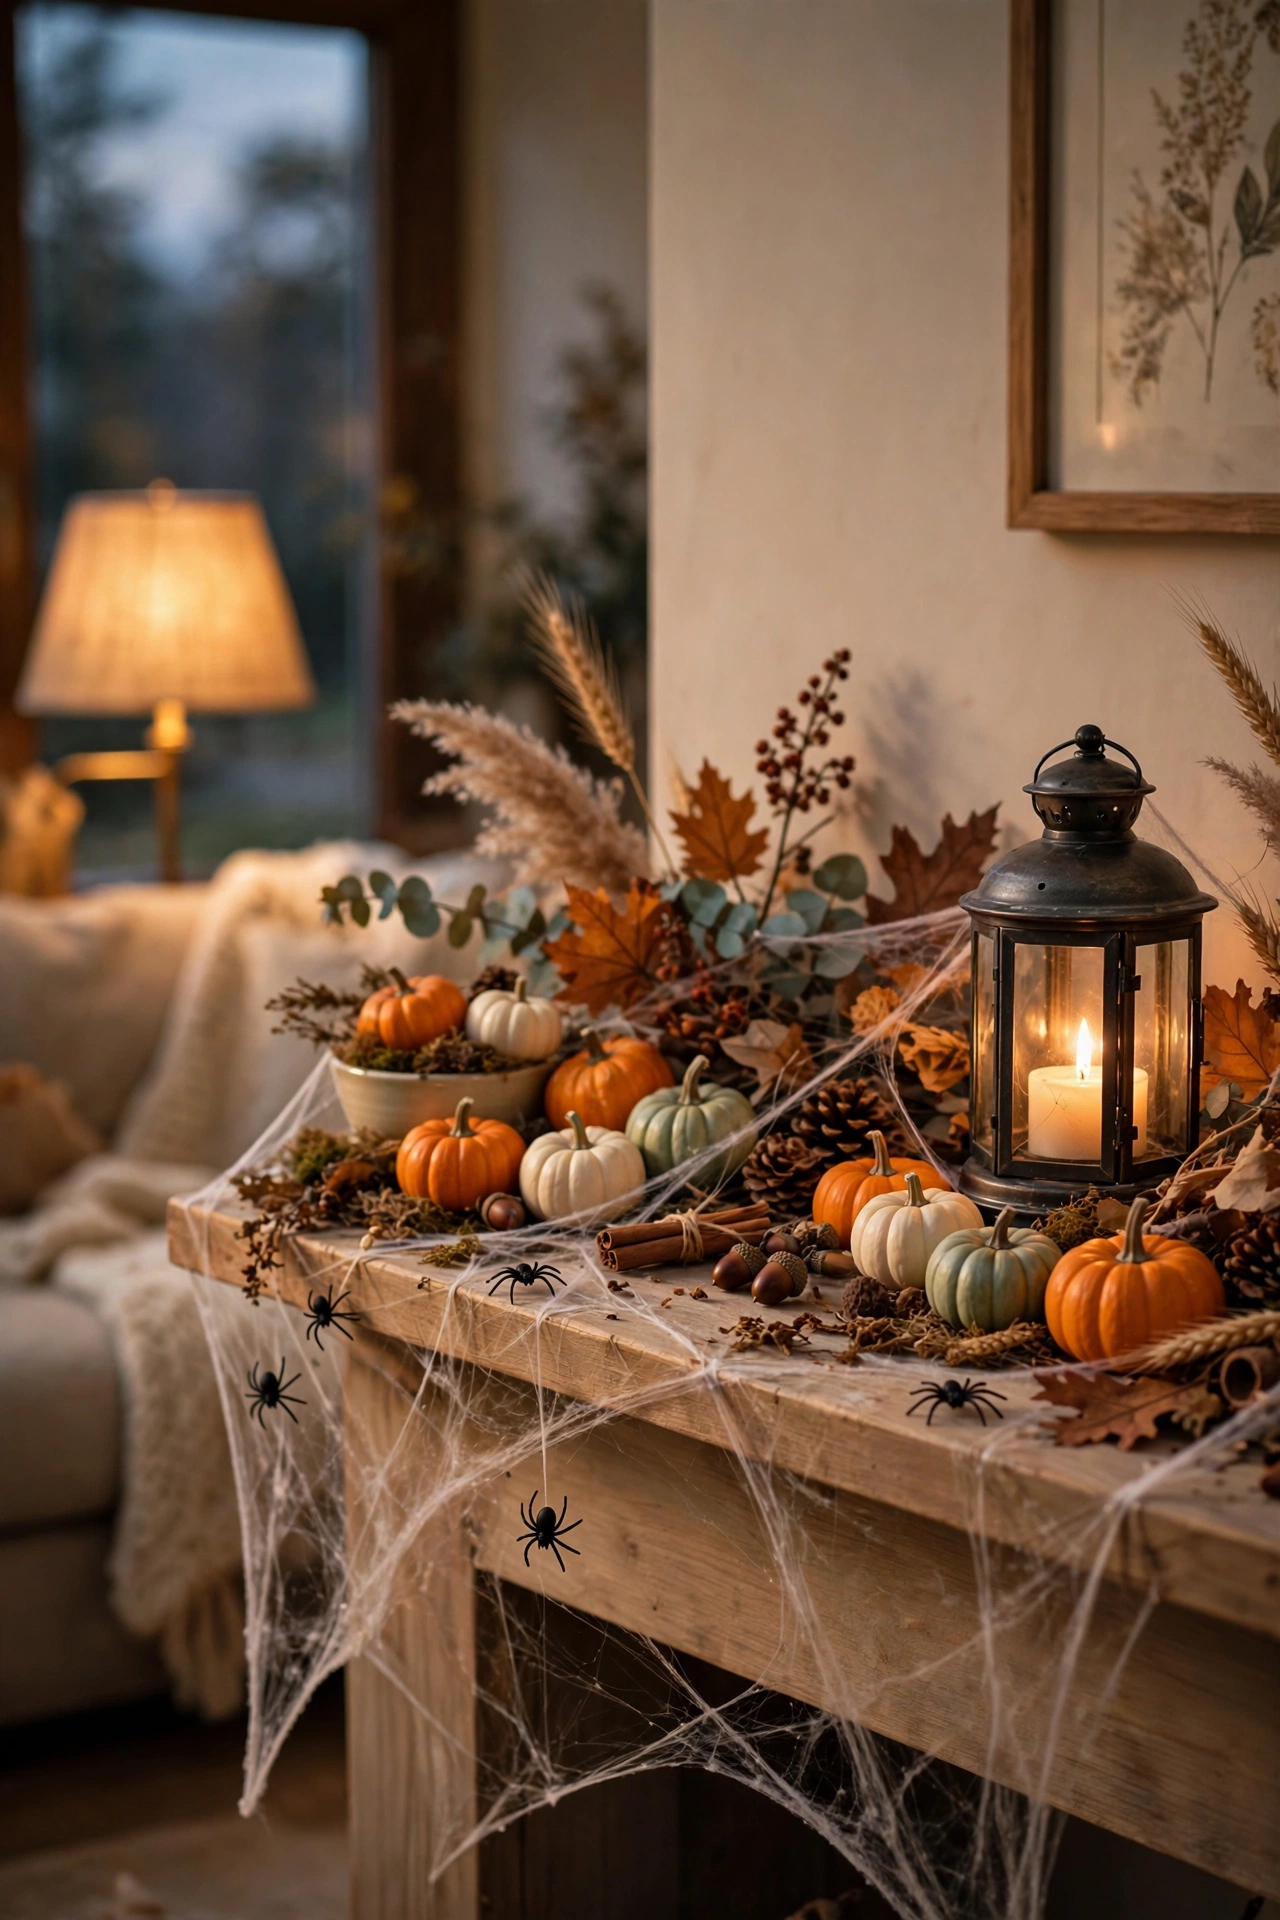
Drape Faux Webs and Add Plastic Spiders
Some people think faux webs always look cheap. The truth is they look cheap when the web stays in a clump. Stretch it wide and thin until you can almost see through it, and it reads as the real thing.
- Pull the web in all directions, thinner than you think.
- Press a few plastic spiders into the web, not on top of it.
- Drape webs over corners and let strands hang loose.
Less web looks more real than a thick blanket of it.
Where webs look best
- ▸Across the top corners of the mantel.
- ▸Trailing down one side like a curtain.
- ▸Behind candles so the light catches the strands.
Cluster Orange Tapers in Black Holders
Group five to seven orange taper candles in black holders and cluster them tight on one side of the mantel. The color contrast does all the work.
- Pick holders of different heights, matte black if you can find them.
- Keep the cluster to one side instead of spreading candles out.
- Trim wicks to a quarter inch so they burn clean.
Unlit tapers still look great in daylight, so this works around the clock.
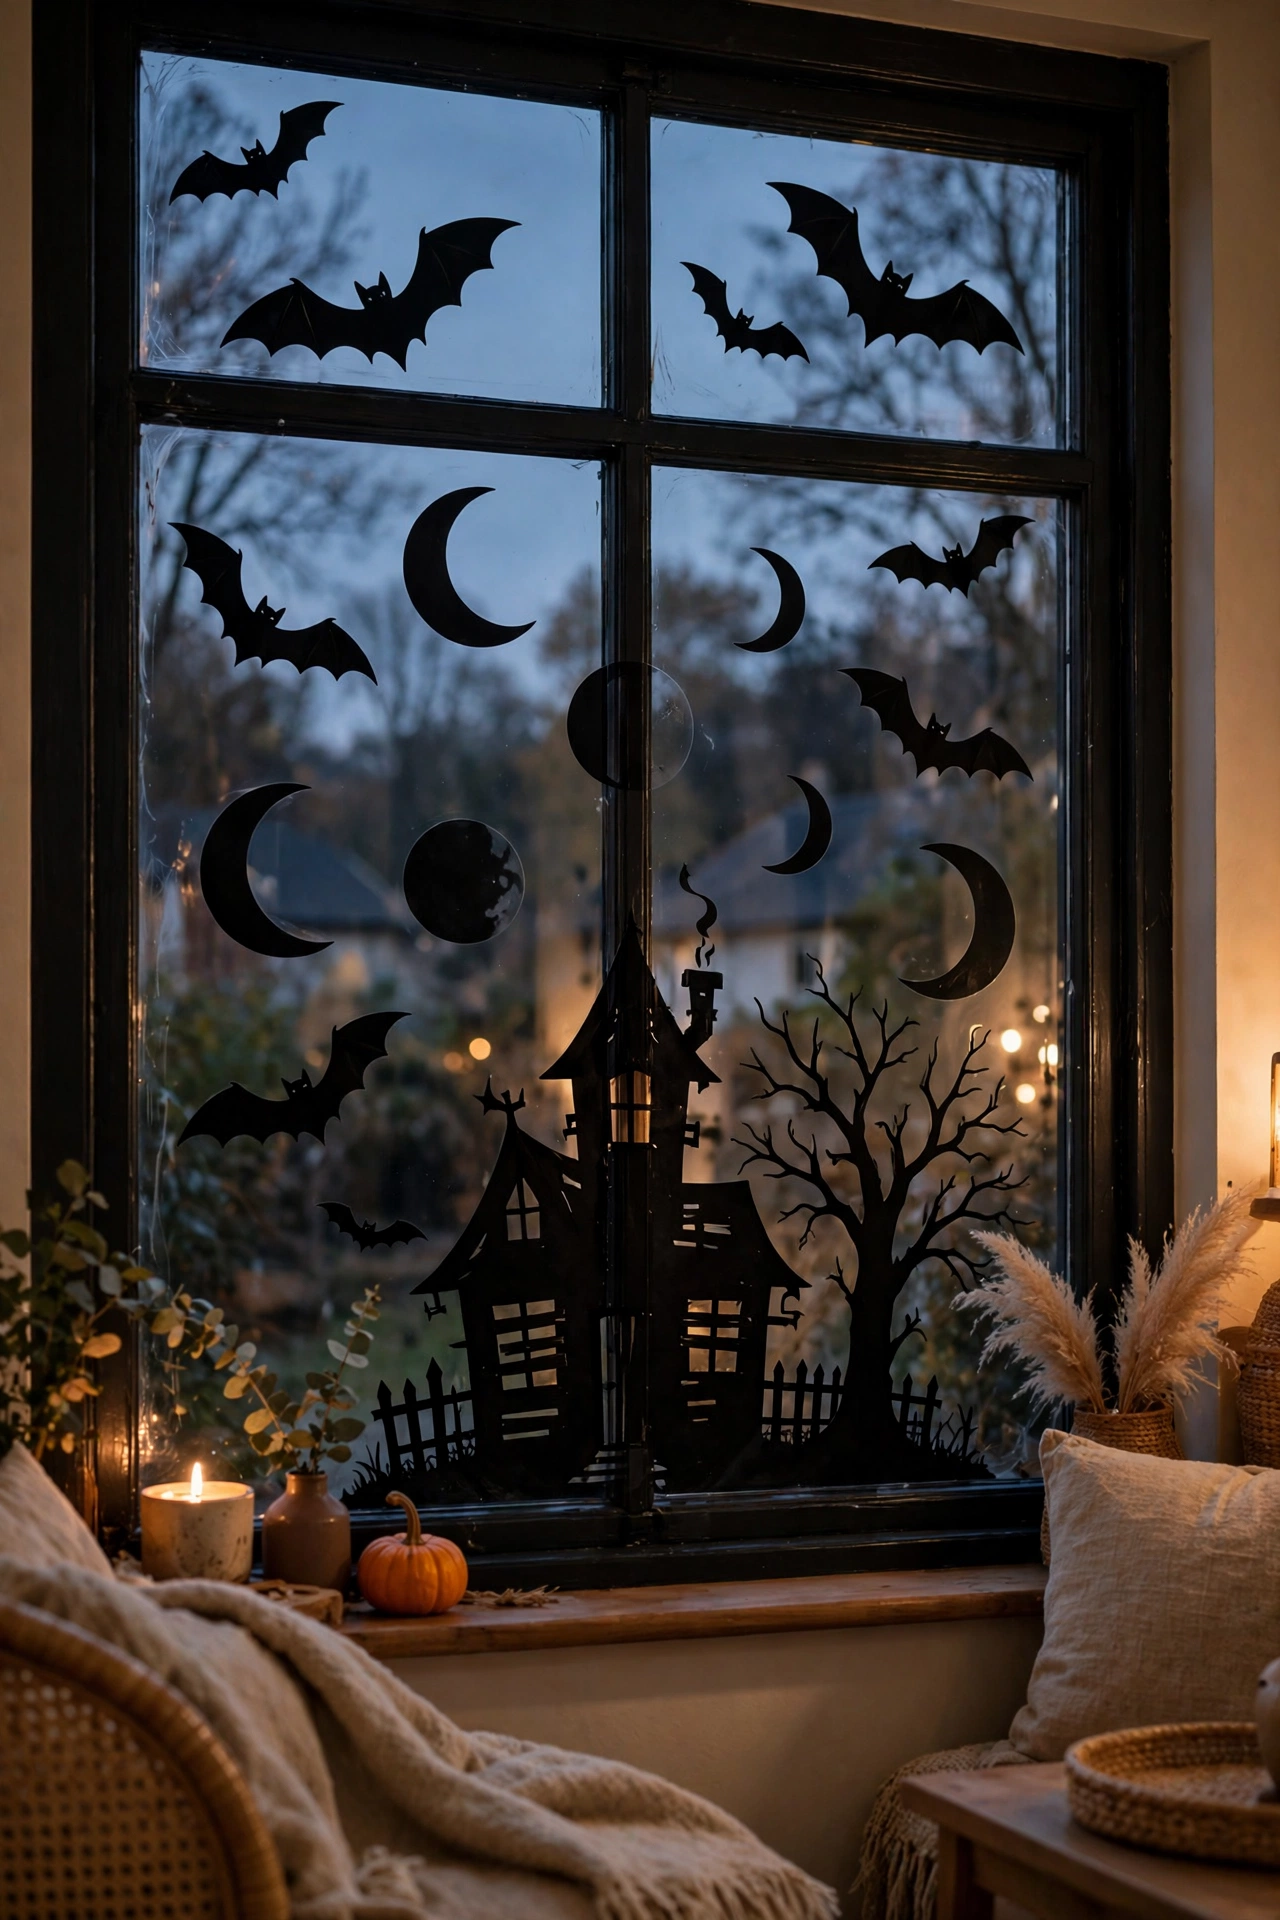
Prop Up a Haunted House Silhouette
At a friend’s Halloween party last year, the mantel had a simple black cardboard haunted house propped against the wall, lit from behind by a tea light. The whole room went quiet when people noticed the glowing windows.
- Cut the silhouette from black poster board or buy a precut one.
- Place a battery tea light behind it for the glow.
- Lean it against the wall so it stands on its own.
Flat decor like this adds depth without taking up mantel space.
What to grab
Let Skeleton Hands Rise From a Moss Bowl
This is the fastest way to make guests do a double take. A shallow bowl of dark moss with skeleton hands poking up looks like something is climbing out of the mantel.
- Fill a wide, low bowl with preserved moss.
- Push three to five skeleton hands in at different angles.
- Nestle the bowl slightly off center so it feels unplanned.
Keep it away from the edge if little hands like to grab things.
Hide Glowing Eyes Behind the Garland
Rule: if you can see the whole decoration, it is not spooky. Tuck a pair of glowing craft eyes deep behind your garland so only the eyes show in a dark hallway.
- Buy adhesive glowing eyes or paint ping pong balls.
- Place them in pairs, about two inches apart.
- Test at night with the lights low before the party.
Guests will spot them halfway through the evening and love it.
Test the eyes at night
Wait until evening and turn the mantel lights low.
Place each pair about two inches apart behind the garland.
Walk to the hallway and check that only the eyes peek through.
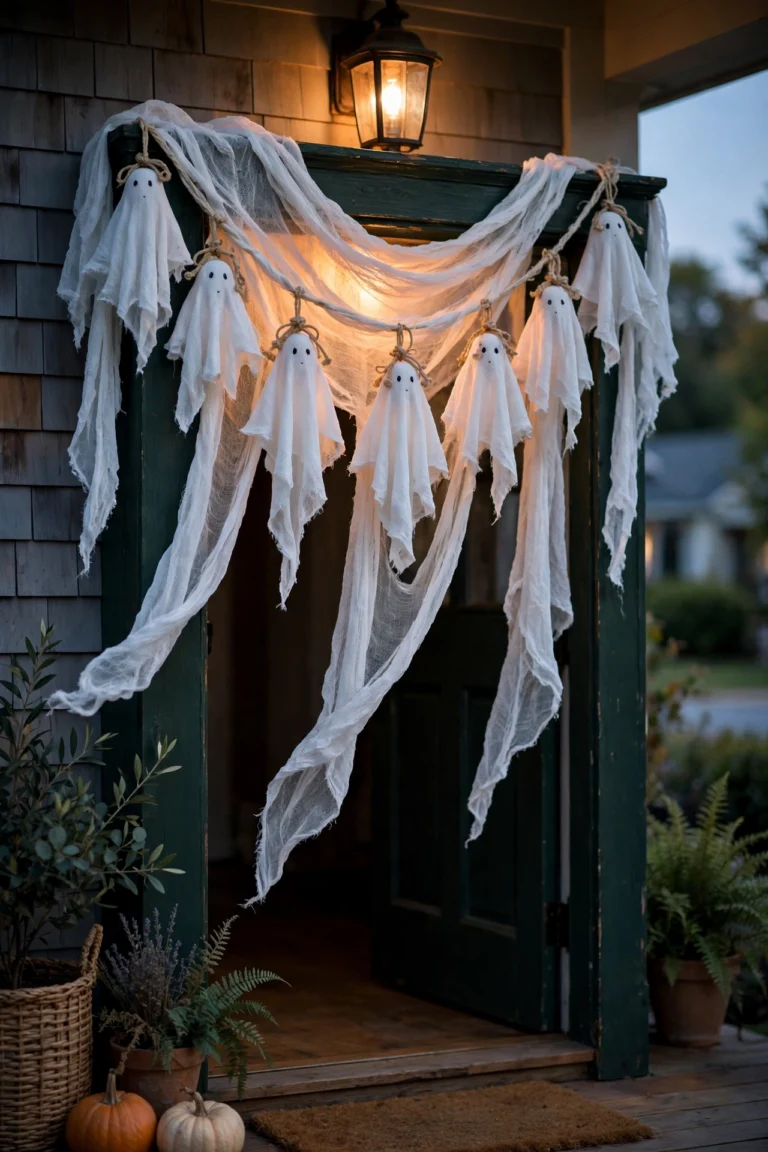
String a Cheesecloth Ghost Garland
Store bought ghost garlands often look flat and printed. Cheesecloth ghosts have real texture, and they move a little when the furnace kicks on, which makes them feel alive.
- Cut cheesecloth into twelve inch squares.
- Drape each square over a small foam ball and tie with twine.
- Draw simple faces with a black marker, two eyes and an oval mouth.
Hang the strand in a swag across the front of the mantel.
Keep faces to two dots and an oval mouth.
Use foam balls so the heads stay round.
Detailed cartoon faces.
Heavy fabric that drags the strand down.
Set a Mini Cauldron With Faux Mist
A small black cauldron with thin mist curling over its rim looks like a potion mid brew. Faux mist from a tiny humidifier gives the effect with no heat and no mess.
- Choose a cauldron no taller than eight inches so it fits the mantel scale.
- Hide a mini humidifier inside, cord tucked behind.
- Add a few plastic eyeballs floating on top for fun.
Run it only when guests are around to keep the water lasting.
⚠️ Watch Out
Skip real dry ice on a mantel. It can burn skin and fog the room too fast. A mini humidifier gives the same curl of mist with no risk.
Line Up Potion Bottles With Handwritten Labels
Amber bottles look like a real apothecary shelf. Clear bottles look like water with food coloring. If you want the spooky lab feel, go amber and thank me later.
- Collect small bottles in different shapes, thrift stores are full of them.
- Write labels by hand: things like bat wings, spider venom, and moon dust.
- Group them tight in threes so they read as a collection.
Aging the labels with a little tea stain makes them look decades old.
Matching clear bottles in a row that look like recycling.
Mixed amber bottles with tea stained labels that read as an old potion shelf.
Perch Crows on Dark Twigs
Crows are the most underused Halloween animal. Everyone buys owls and bats, but a black crow on a bare branch has a quiet creepiness that plastic spiders cannot match.
- Stick tall twigs in a heavy vase so they stand upright.
- Perch one crow high and one low for a natural look.
- Spray the twigs matte black if they look too brown.
Place the vase at one end of the mantel to balance a busier middle.
| Placement | Effect |
|---|---|
| One crow, high | Watchful and classic. |
| Two crows, high and low | Looks like a real pair. |
| Crow facing the room | Greets guests with a stare. |
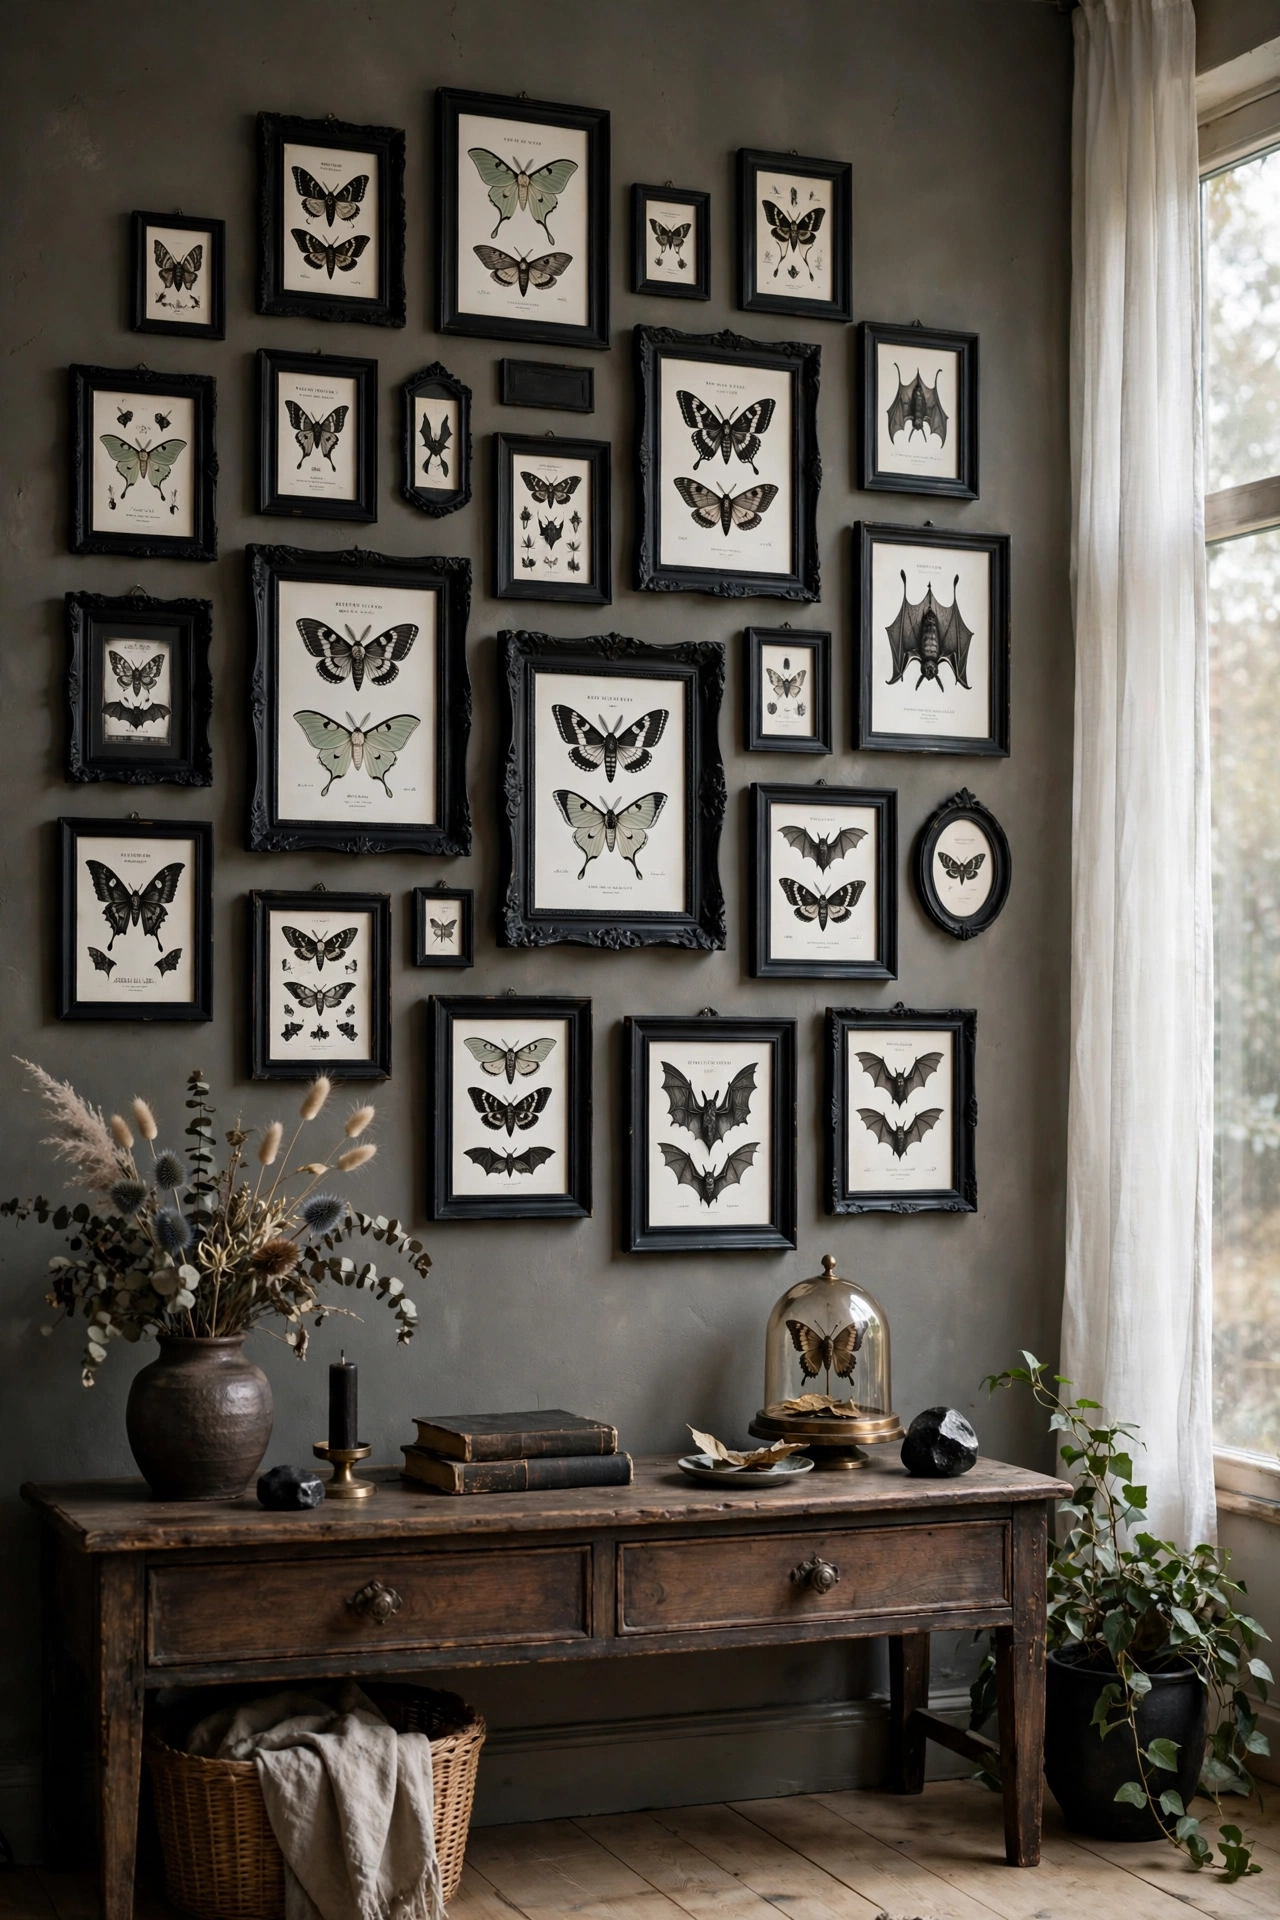
Build a Mini Haunted Portrait Gallery
The mistake is hanging frames that are all the same size in a straight row. A haunted gallery should feel collected over time, so mix frame sizes and let the arrangement feel a little crooked on purpose.
- Print spooky portraits or paint over thrift store art with ghosts.
- Mix gold, black, and wood frames for an aged look.
- Lean the largest frame in back and layer smaller ones in front.
Three to five frames is plenty. More than that gets busy.
Crooked on purpose beats straight and boring. Let frames lean and overlap like a real old house.
Go Full Haunted With Skulls, Black Candles, and Fog
People think a scary mantel needs every decoration they own. The opposite is true. A few strong pieces, skulls, black candles, and low fog, grouped in odd numbers, look scarier than a crowded shelf.
- Group items in threes and fives, never in pairs.
- Keep one color story: black, bone white, and deep purple work well.
- Add fog last, low and slow, so it pools instead of hiding everything.
Step back across the room to check the full effect before guests arrive.
Final layering checklist
- ▸Tallest pieces in back, shortest in front.
- ▸Light the black candles last, right before guests arrive.
- ▸Keep fog low so the mantel stays visible.
You do not need to use all twenty ideas. Most mantels look best with three to five pieces that share a color story, so pick the ones that fit your style and your budget. Start simple this year and add one spookier layer each October, and your Halloween mantel decor ideas will grow with you.
The best part is that almost everything here comes apart in minutes when November arrives. Save this list to your Halloween board so you have it ready next fall, and pin the idea you try first so you remember what worked.