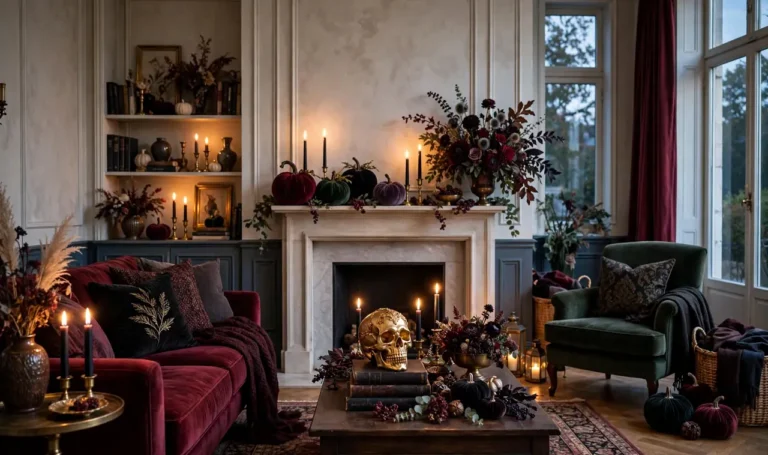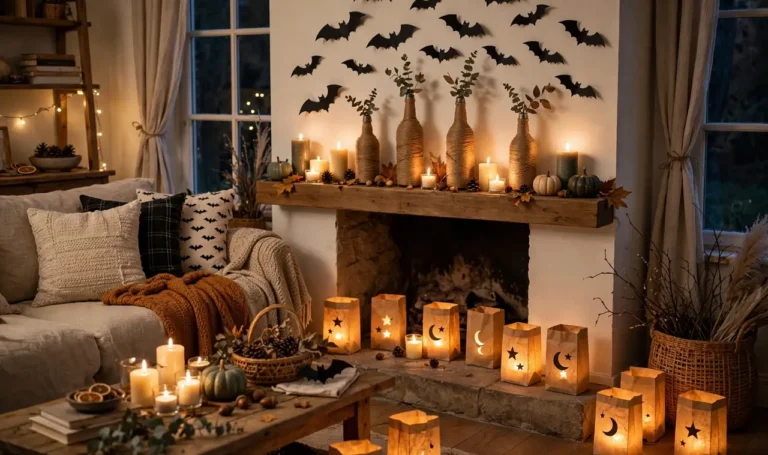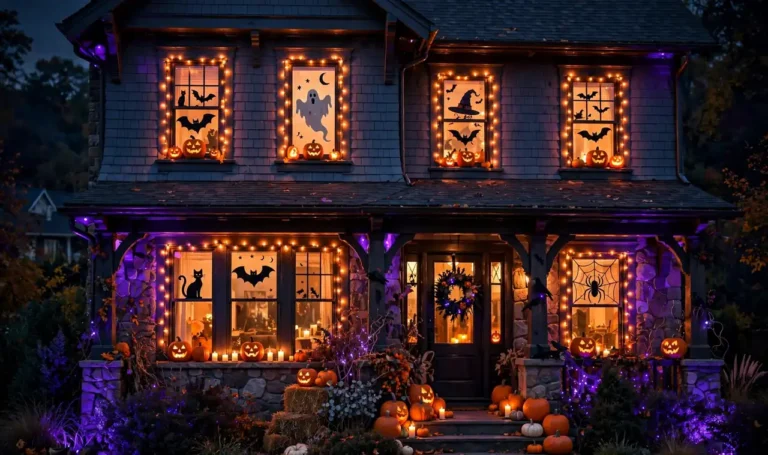
Store bought Halloween decor has a tell. The plastic shines too much, the colors are too bright, and it all came from the same aisle.
The fix is not a bigger budget. It is a can of spray paint, a thrift store run, and an afternoon. These DIY Halloween decorations use cheap base materials and simple techniques to make pieces that look like they came from a boutique. Matte black paint hides a multitude of sins. Metallic wax turns plastic into something that reads as bronze. Velvet fabric makes a three dollar foam pumpkin look like a market find.
Every project costs under twenty dollars in supplies, and most use things you already own. Pick the one for the spot you see most and start there. Guests will ask where you bought it, and you get to say you made it.
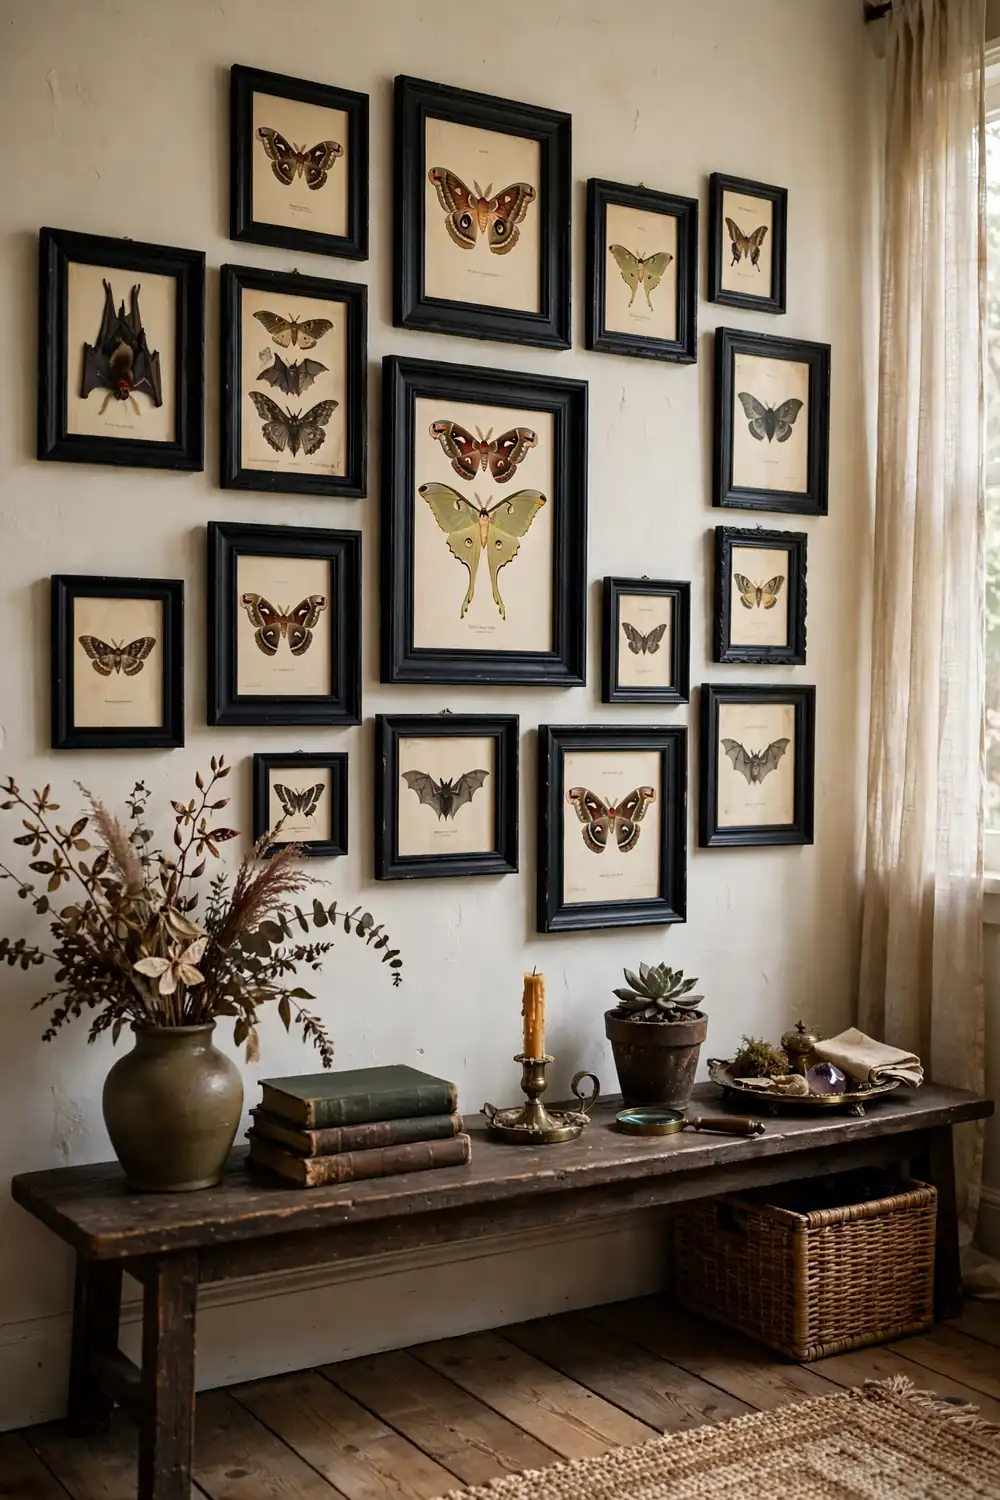
Spray Paint Thrift Store Frames Matte Black: The Easiest of These DIY Halloween Decorations
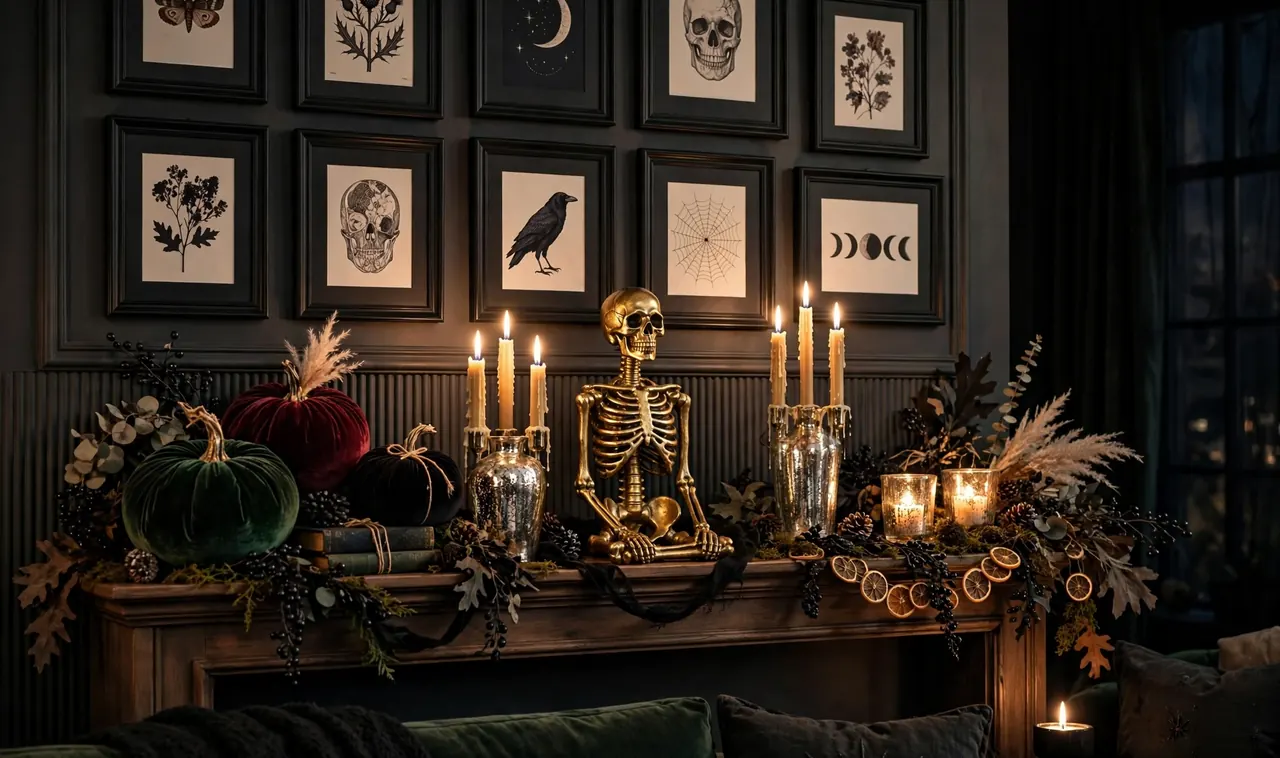
Start at the thrift store frame wall. Grab every wood frame under three dollars and pull out the old prints. Spray the frames with two light coats of matte black paint, letting each coat dry fully. Print free vintage bat or moth illustrations on cream paper and hang the frames in a tight group above a console table or mantel.
- Matte, not gloss. Gloss reads cheap, matte reads gallery
- One finish on every frame makes mismatched shapes look intentional
- Hang them close together. Tight groupings look planned, wide spacing looks sparse
Turn Dollar Store Candles Into Stone Pillars With Baking Soda Paint
Plain white pillar candles look like what they are: a dollar. Stone pillars look like a set piece.
Mix baking soda into matte beige or grey craft paint until thick and gritty. Brush it on in uneven strokes for texture, two coats, then dry brush a darker shade into the crevices. From two feet away they read as carved stone.
💡 Quick Tip
Use LED pillars for this project. The paint mixture is not made for real flame heat, and the flicker mode looks better in photos anyway.
Cluster them in threes on the mantel with a velvet pumpkin for a styled vignette.
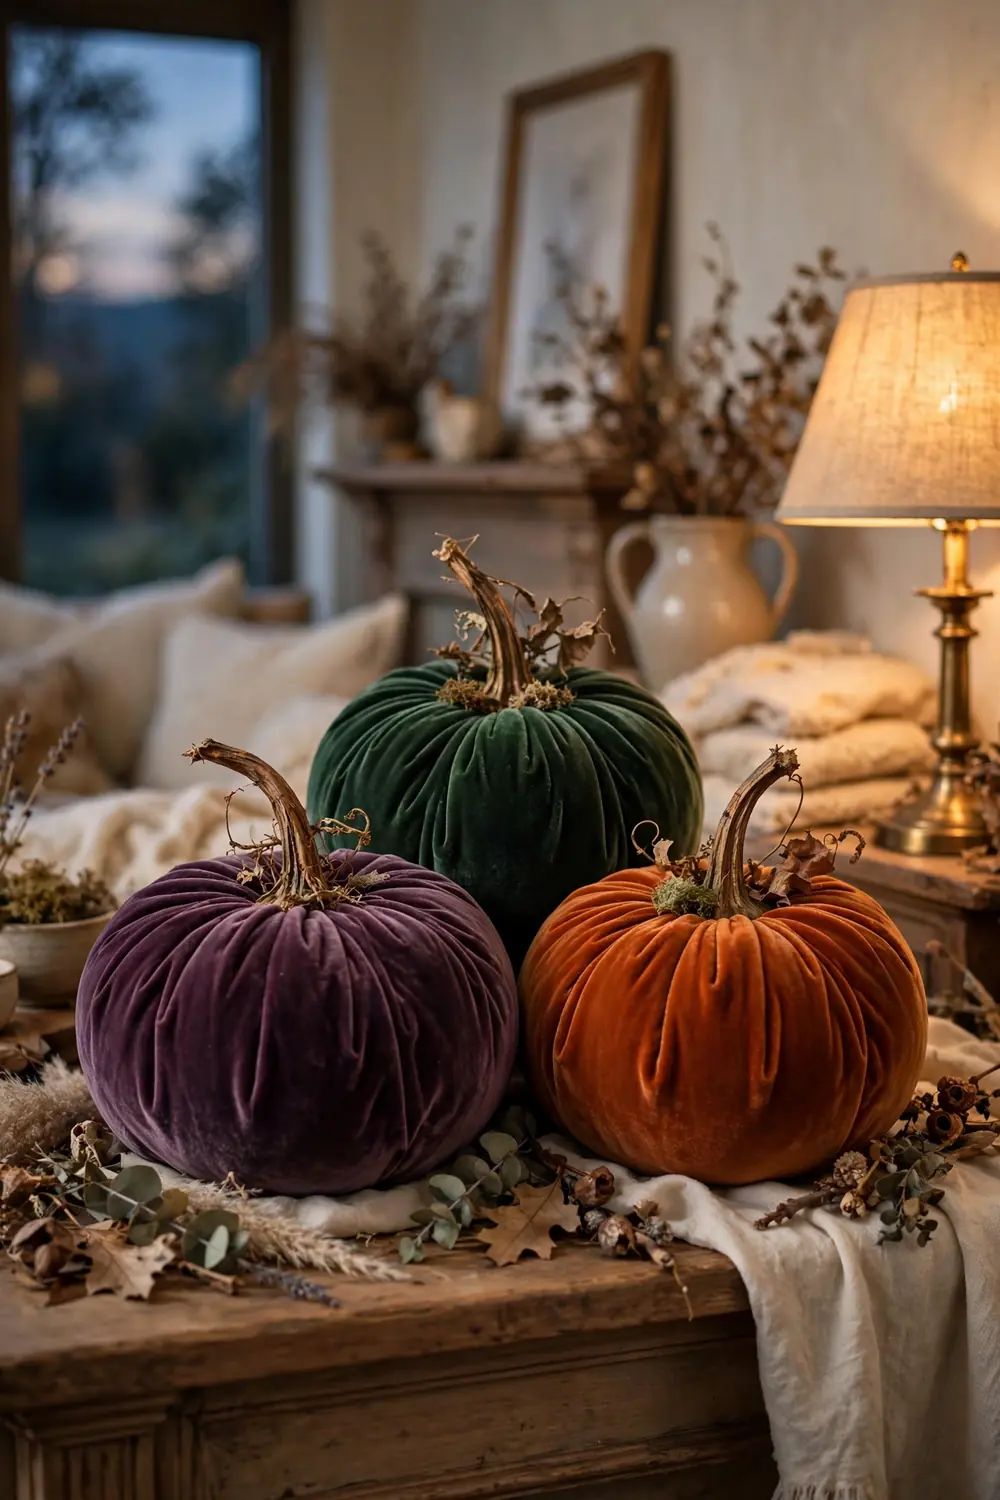
Wrap Foam Pumpkins in Velvet for a High End Look
Foam pumpkins have one giveaway: that shiny orange skin. Velvet erases it completely.
Cut a velvet circle twice as wide as the pumpkin. Set the pumpkin in the center, gather the fabric up, and tuck the raw edges into the top. Hot glue a real dried stem or cinnamon stick bundle into the center.
Deep plum, forest green, and burnt orange look richest. Group three sizes and nobody will guess they cost three dollars.
Build Apothecary Jars From Thrifted Glassware and Wood Finials
Real apothecary jars cost a fortune at antique stores. The thrift store version costs pocket change.
Find glass canisters, vases, or candy dishes with lids, and glue a wood finial or knob to the center of each lid. Spray the lids matte black and leave the glass clear. Fill with candy corn, dried beans dyed black, or faux potion ingredients.
What to grab first
Line three sizes on a sideboard with a candle behind them for backlight through the glass.
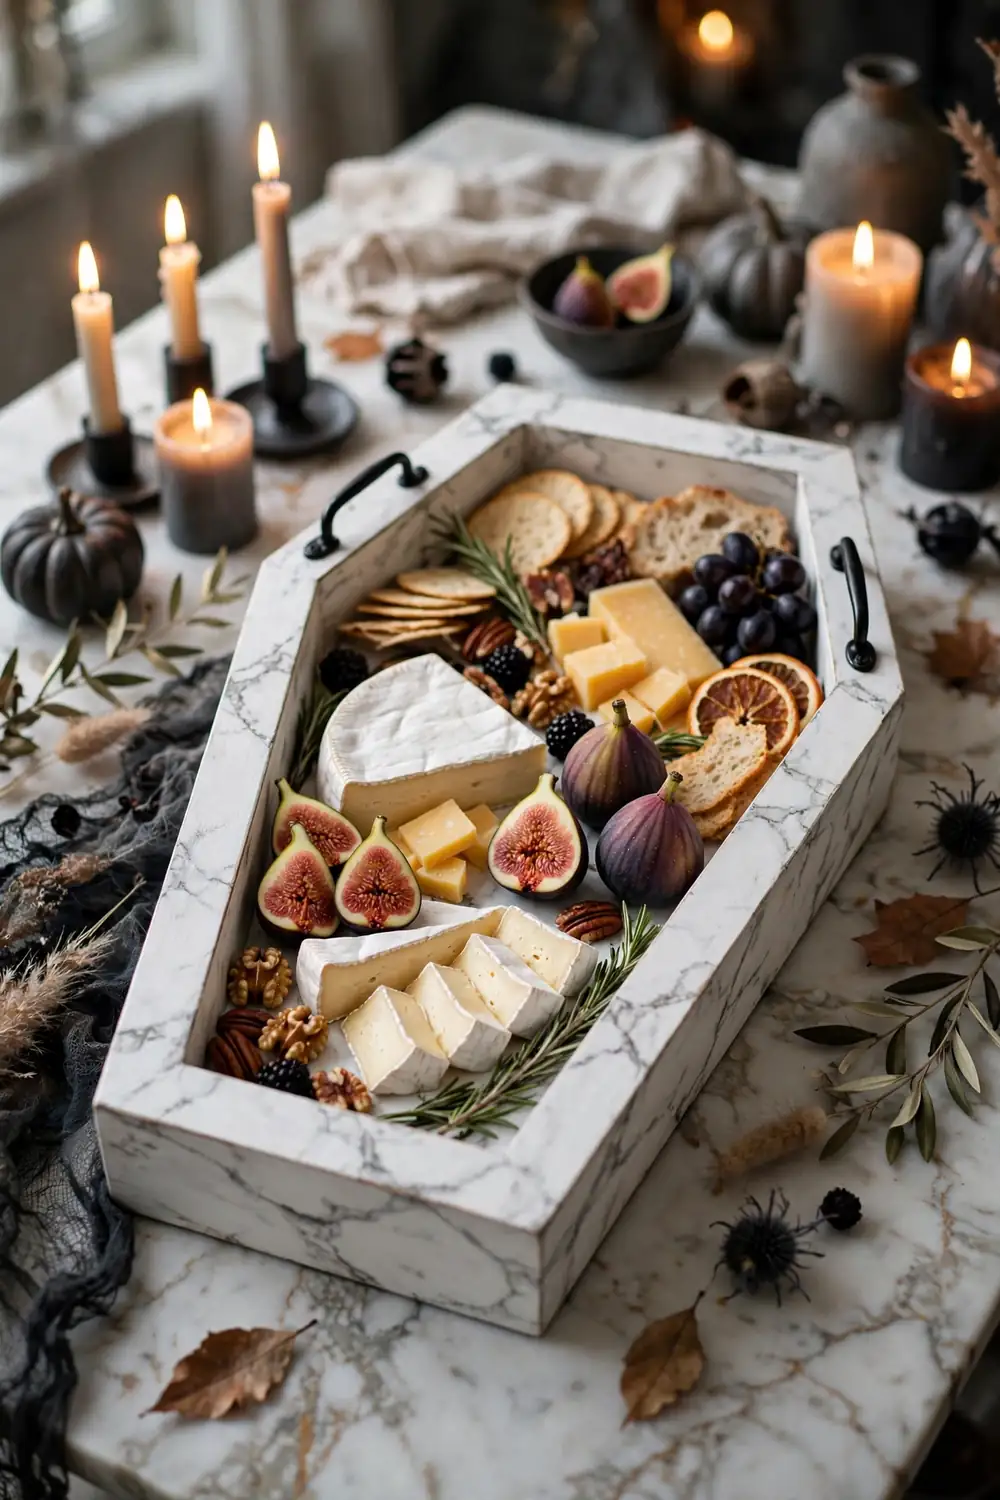
Stencil a Faux Marble Serving Tray in a Coffin Shape
A plain wood tray says craft fair. A marbled coffin tray says you have taste and a dark sense of humor.
Cut a coffin shape from thin plywood, or buy one unfinished. Paint it white, then drag a feather through grey paint in thin veins for a marble effect. Seal with matte polyurethane and add small black handles.
A raw plywood tray that looks like a school project, flat and unfinished.
A veined marble-look serving tray guests assume came from a home store.
Load it with cheese and figs. The tray gets more comments than the food.
Dip Pinecones in Metallic Paint for a Gilded Garland
Last November my neighbor threw out a bag of pinecones. This October they are the prettiest thing on my mantel.
Dip just the tips of dry pinecones into gold or copper craft paint. Dry on wax paper, then string on twine, alternating with dried orange slices. The metallic tips catch candlelight and the whole garland glows.
Bake pinecones at low heat for an hour to kill bugs and open the scales.
Dip only the scale tips in metallic paint and dry on wax paper.
String on twine with dried orange slices between every third cone.
Drape it across the mantel with uneven ends. Free materials and one bottle of paint.
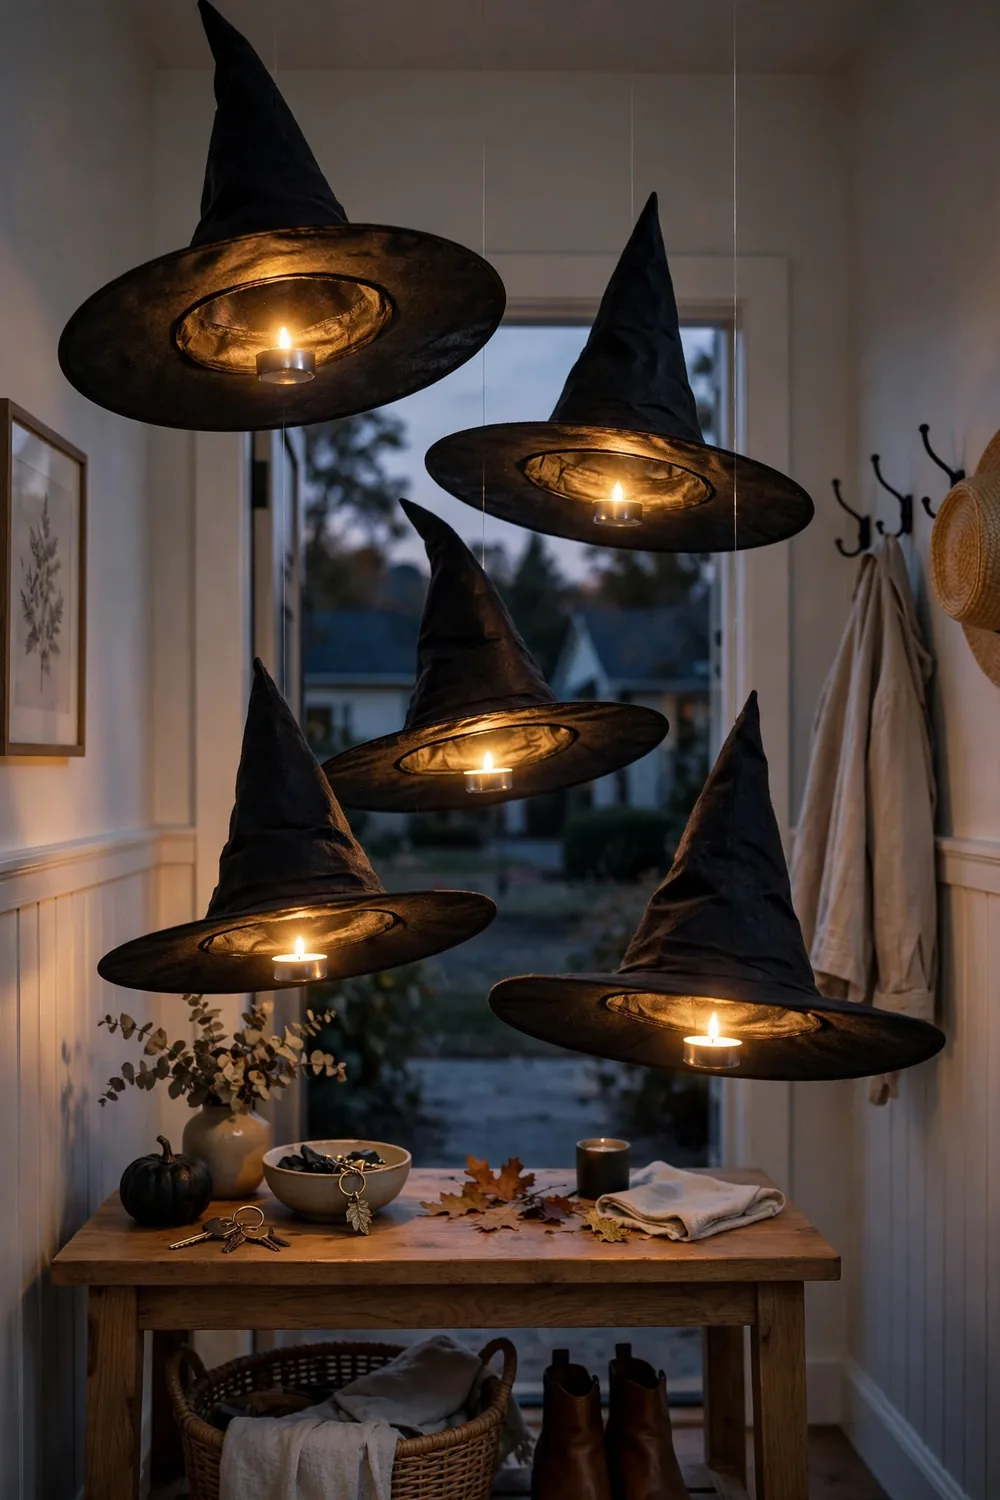
Hang Floating Witch Hats With Fishing Line and Tea Lights
The mistake is hanging witch hats flat against the ceiling where they look like bats stuck in a corner. Floating hats need air under them.
Stiffen cheap witch hat brims with a wire ring hot glued inside. Tie fishing line to each hat tip and hang them at different heights over the entry table or stairwell. Drop a battery tea light inside each one so they glow from within.
Stagger heights by at least eight inches so they read as floating, not lined up.
Use battery tea lights only, never real flames in fabric hats.
Hanging them all at the same height like a mobile.
Skipping the wire ring, limp brims ruin the silhouette.
Guests walk under them and look up, which makes the whole thing feel magical.
Whitewash Terra Cotta Pots Into Vintage Stone Urns
Orange terra cotta screams garden center. Aged stone whispers old estate.
Brush white craft paint over the pots, then wipe most off with a rag while wet. The paint settles into the texture and leaves the high spots showing through. Add a second pass of grey on the rims for depth. Fill with dried branches, black pampas grass, or a cluster of mini pumpkins.
| Finish | Best for |
|---|---|
| Heavy whitewash | Aged limestone look for entryways |
| Light dry brush | Subtle patina for tabletop pots |
| Grey over white | Weathered concrete for modern porches |
Flank the front door with a matched pair. Symmetry always looks expensive.
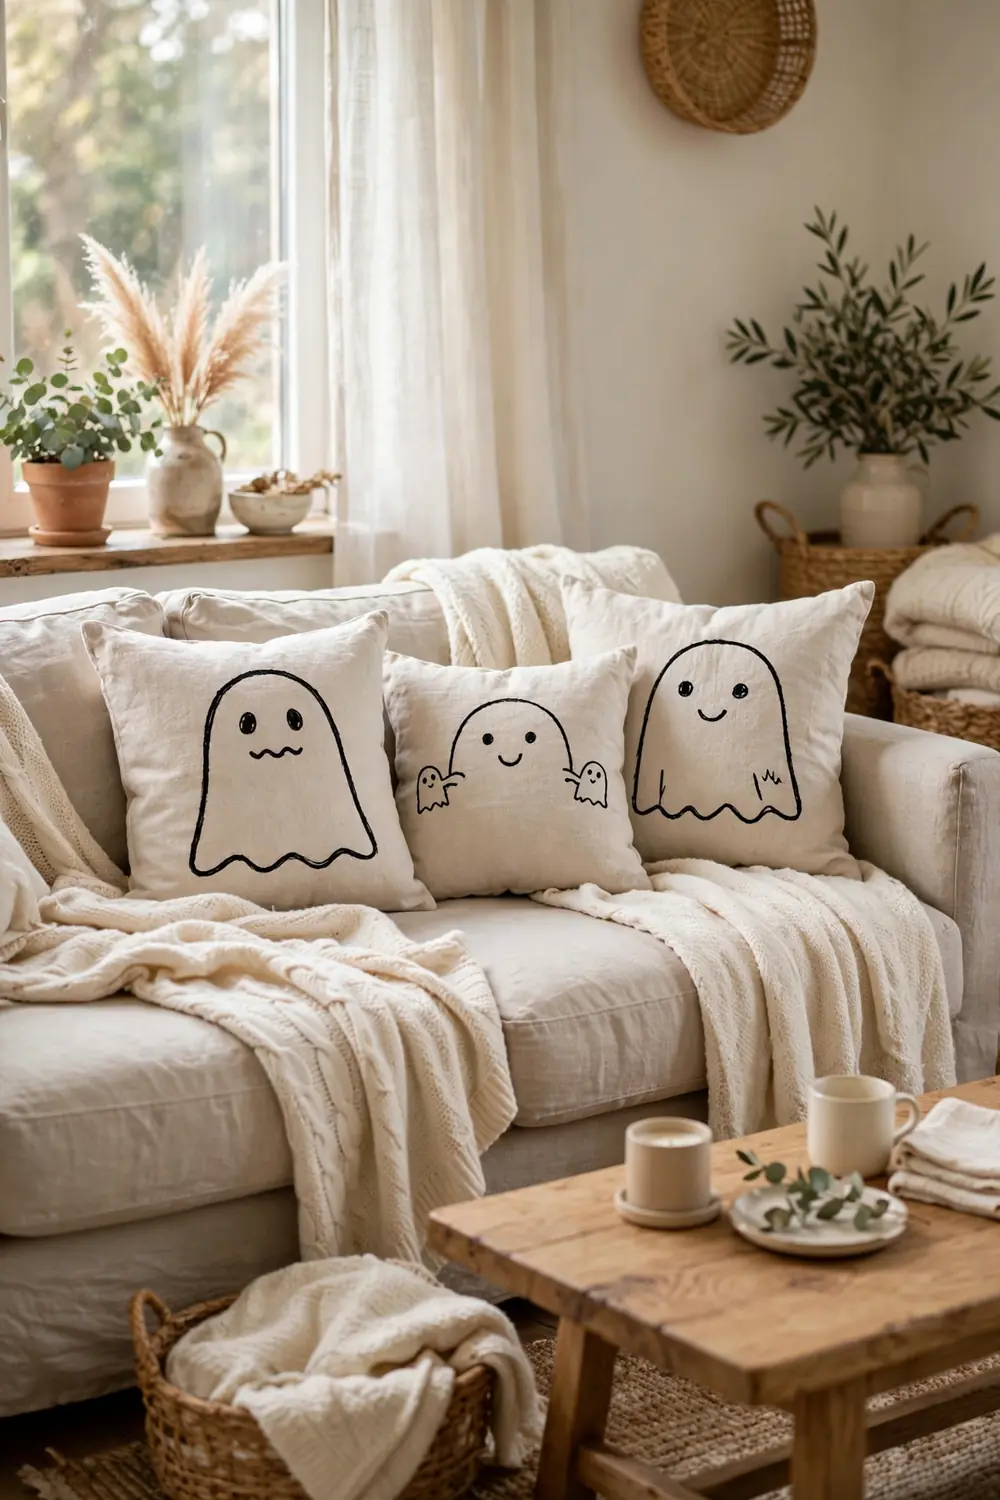
Sew No-Sew Linen Ghost Pillows From Painter’s Drop Cloths
Drop cloths are not just for floors. The canvas ones are basically cheap linen waiting for a second job.
Cut two squares from a washed canvas drop cloth and stitch three sides, or use iron on hem tape for a true no sew version. Turn right side out, stuff with pillow fill, and close the last edge. Draw a simple ghost face with a fabric marker: two oval eyes and an open oval mouth, off center so it looks hand drawn.
Wash the drop cloth first. The sizing makes it stiff, and one wash turns it soft and linen like.
One drop cloth makes four pillow covers at the price of one boutique pillow.
Stack Faux Vintage Books From Wrapped Cardboard Boxes
I keep a box of small shipping boxes in the garage for exactly this. They become the base of every styled shelf in October.
Wrap each box in kraft paper or damaged book pages. Glue on a black cardstock spine label with a gold paint pen title like “Spells” or “Potions.” Stack three or four with the largest on the bottom, slightly rotated so the corners do not line up.
- ▸Damaged books from the thrift store give the most authentic pages
- ▸Rotate each box a few degrees so the stack looks settled, not stacked
- ▸Top the stack with a small skull or a candle for height
Set the stack on a shelf with a candle beside it. From across the room it reads as real occult volumes.
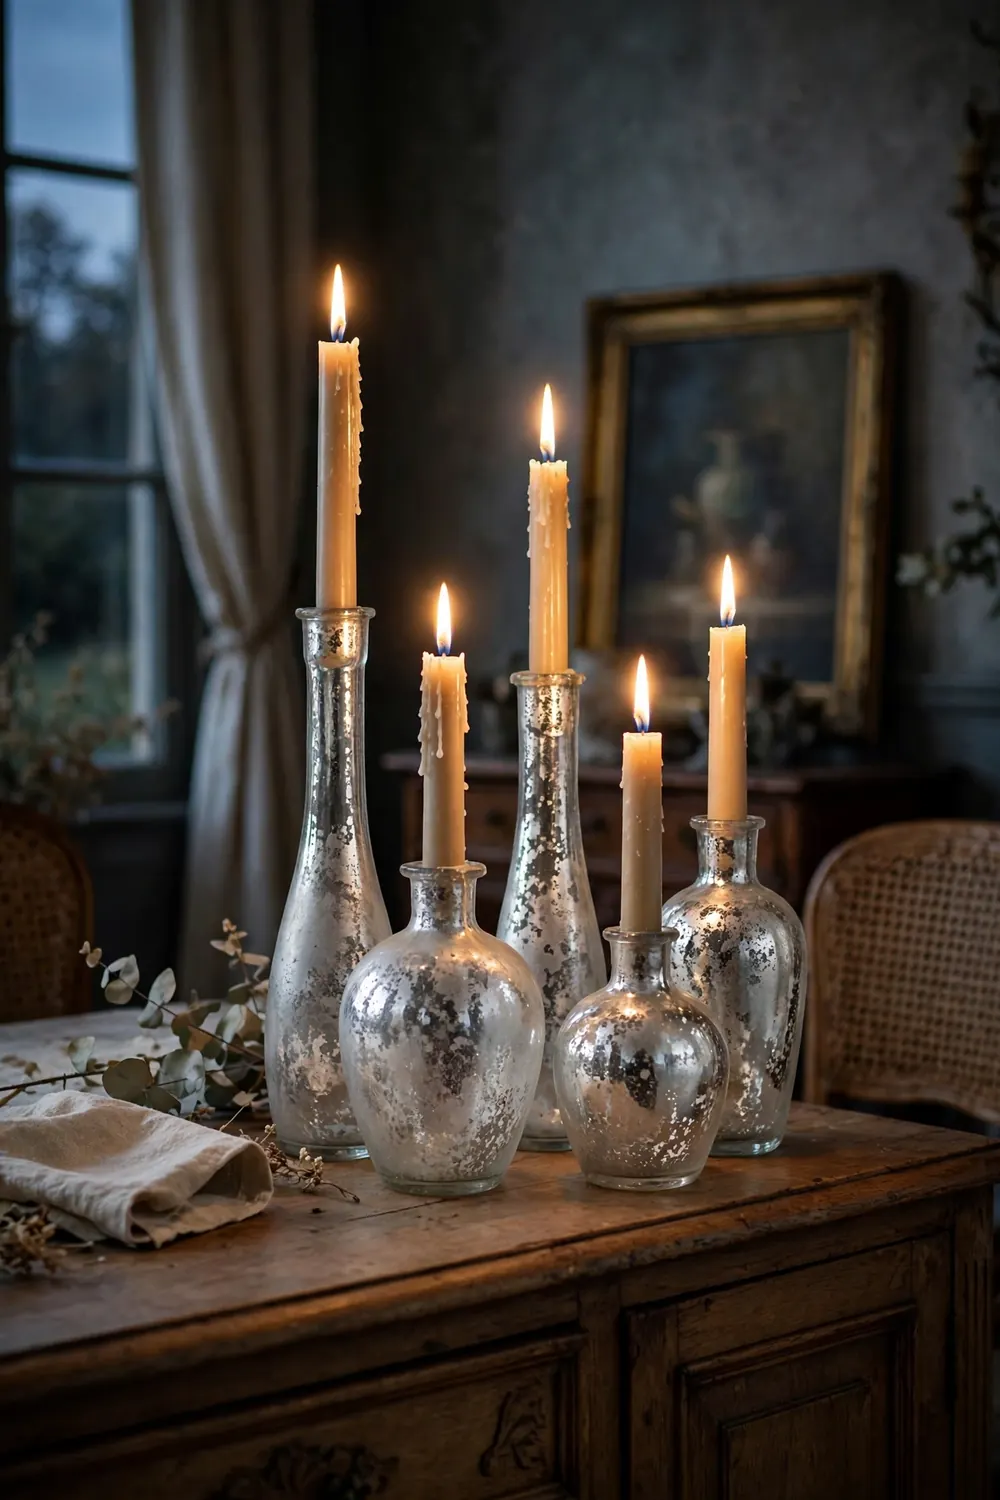
Frost Plain Glass Vases for an Antique Mercury Glass Glow
Mercury glass vases cost real money at home stores. Frosted spray paint gets you ninety percent of the look for the price of a latte.
Spray the inside of a clear vase with frosted glass spray in light, uneven coats. While tacky, mist water droplets on the surface, then spray one more light coat. When it dries and you wipe the water away, the vase has the mottled silvered look of antique mercury glass.
Fill with dried branches or a black taper. The mottled surface throws candlelight beautifully.
Weave a Giant Yarn Spiderweb for One Dramatic Corner
Here is the rule: one big web beats ten small ones, and yarn beats the bagged stretchy stuff every time.
Pick one corner of the room, ideally over the mantel or a large window. Stretch black yarn outward from the corner like spokes, tape each end, and weave circles around them. Hang one oversized spider in the center with its legs spread wide.
⚠️ Watch Out
Skip the bagged stretchy webbing for big webs. It sags within a day and collects dust like a magnet. Yarn holds its shape all season.
Scale makes it look expensive. A four foot web reads as an installation, not a party favor.
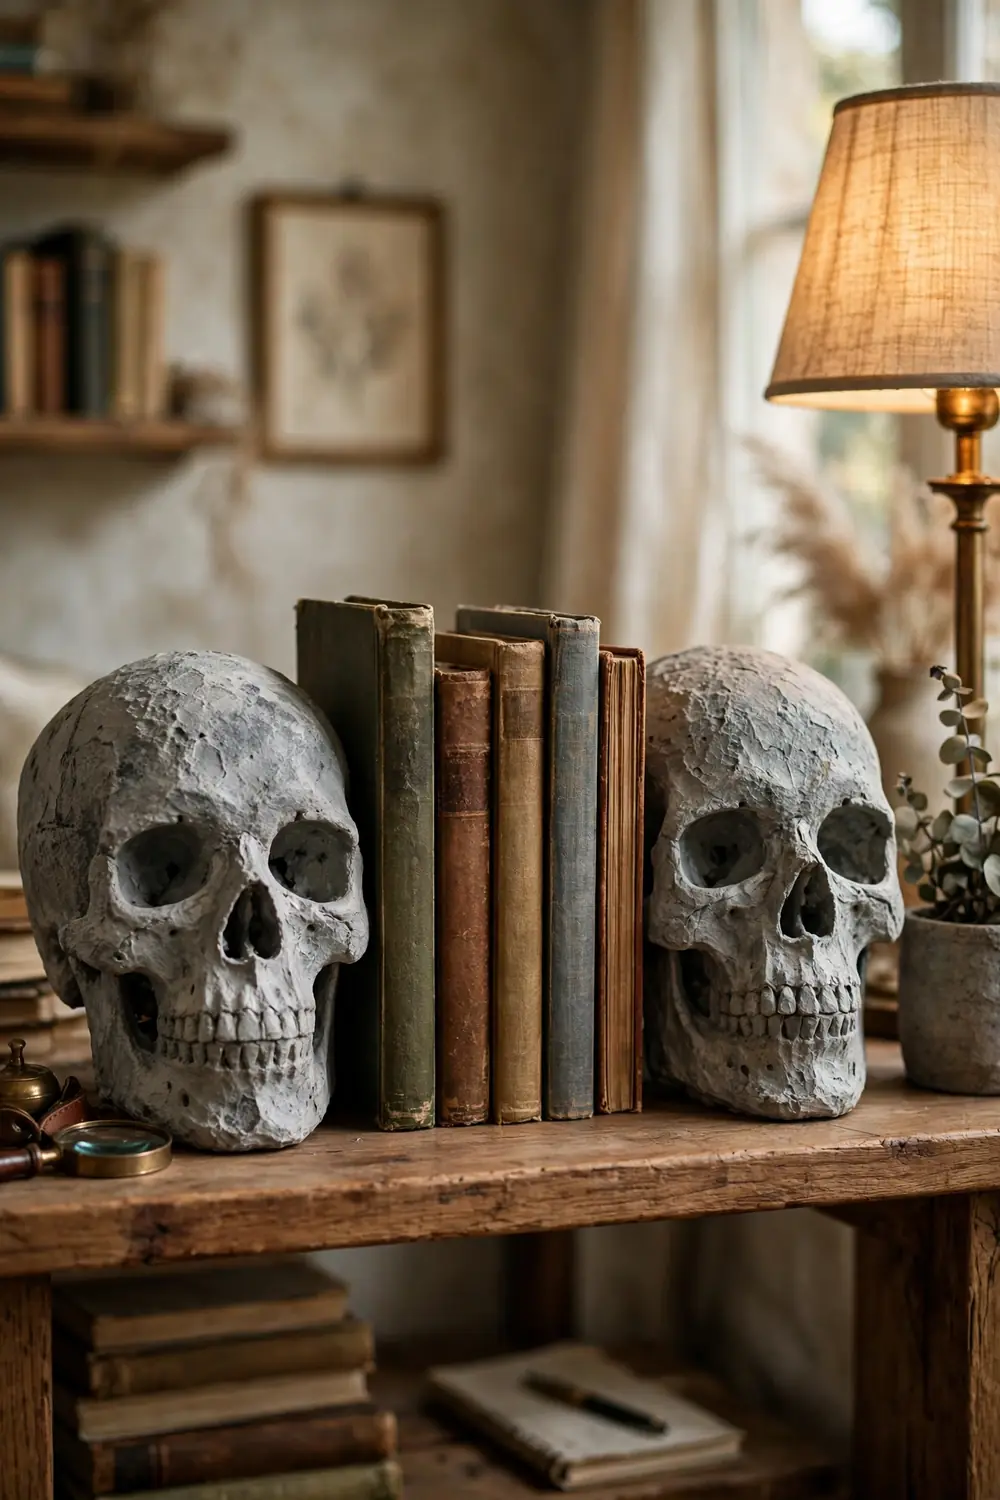
Cast Paper Mache Skulls That Pass for Carved Stone
Craft store skulls are bright white and shiny. Real carved stone is matte, grey, and heavy looking. Paper mache bridges the gap.
Layer newspaper strips over a plastic skull with paste until the shell is thick. Let it dry fully, then paint with grey craft paint mixed with baking soda for texture. Dry brush the high points with a lighter grey and wash the crevices with dark brown.
A shiny white plastic skull that looks like a party favor from the dollar aisle.
A weighty, textured skull that reads as carved stone on a bookshelf.
Use them as bookends or plant a succulent in one. Stone texture turns decoration into object.
Make a Moss Wreath With Black Roses for the Front Door
A plain grapevine wreath looks unfinished. A moss wreath with black roses looks like it belongs on a manor door.
Hot glue sheet moss over a foam wreath form until covered. Cluster faux black roses on one side with dried lotus pods and dark berries, and tie a black velvet bow at the top. Hang it with a long ribbon so it floats at eye level on the door.
Cover the foam form completely with sheet moss, no gaps showing.
Cluster the roses off center, odd numbers only, with pods and berries tucked in.
Hang from a long velvet ribbon so the wreath sits at eye level.
The front door sets the tone. This one says you take October seriously.
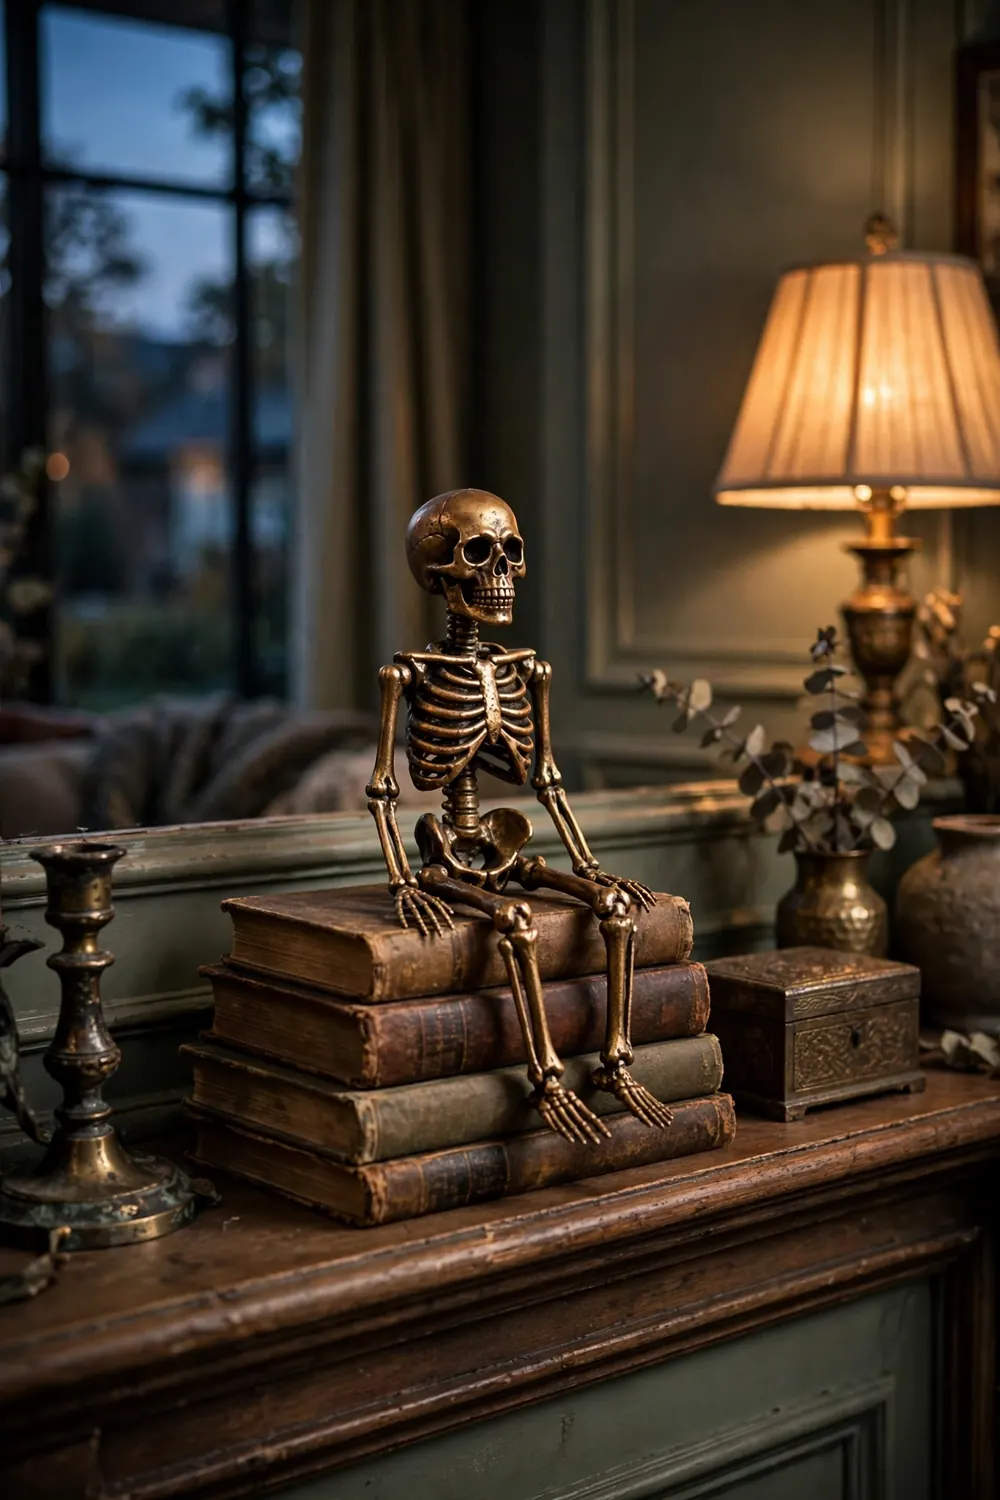
Gild a Plastic Skeleton With Metallic Wax for a Mantel Statue
A white plastic skeleton looks like a science classroom. A gilded one looks like a museum piece.
Rub metallic furniture wax over the whole skeleton with a soft cloth. Work it into every crevice, then buff the high points lightly. The wax settles dark in the recesses and shines on the ridges, which is exactly how aged bronze looks. Pose it seated on a stack of books on the mantel.
Work the wax into crevices first, then buff only the high points.
Let it cure overnight before handling so the finish sets.
Spray painting it gold. Spray reads flat, wax reads like aged metal.
Buffing too hard, which removes the dark depth in the recesses.
One tin of wax covers several skeletons, and the mantel one gets asked about every year.
Tie Real Stems Onto Fabric Pumpkins for a Market Find Look
Fabric pumpkins fail at one detail: the fake stem. A twist of brown felt fools nobody.
Make or buy simple linen or burlap pumpkins. Snap real dried stems off old gourds or buy a bag from a craft supplier. Hot glue one stem into the top of each pumpkin and wrap the base with a little twine to hide the join. The real stem is what the eye checks first, and it passes.
Stem checklist
Bowl them on the dining table as a centerpiece. Guests will pick one up to check.
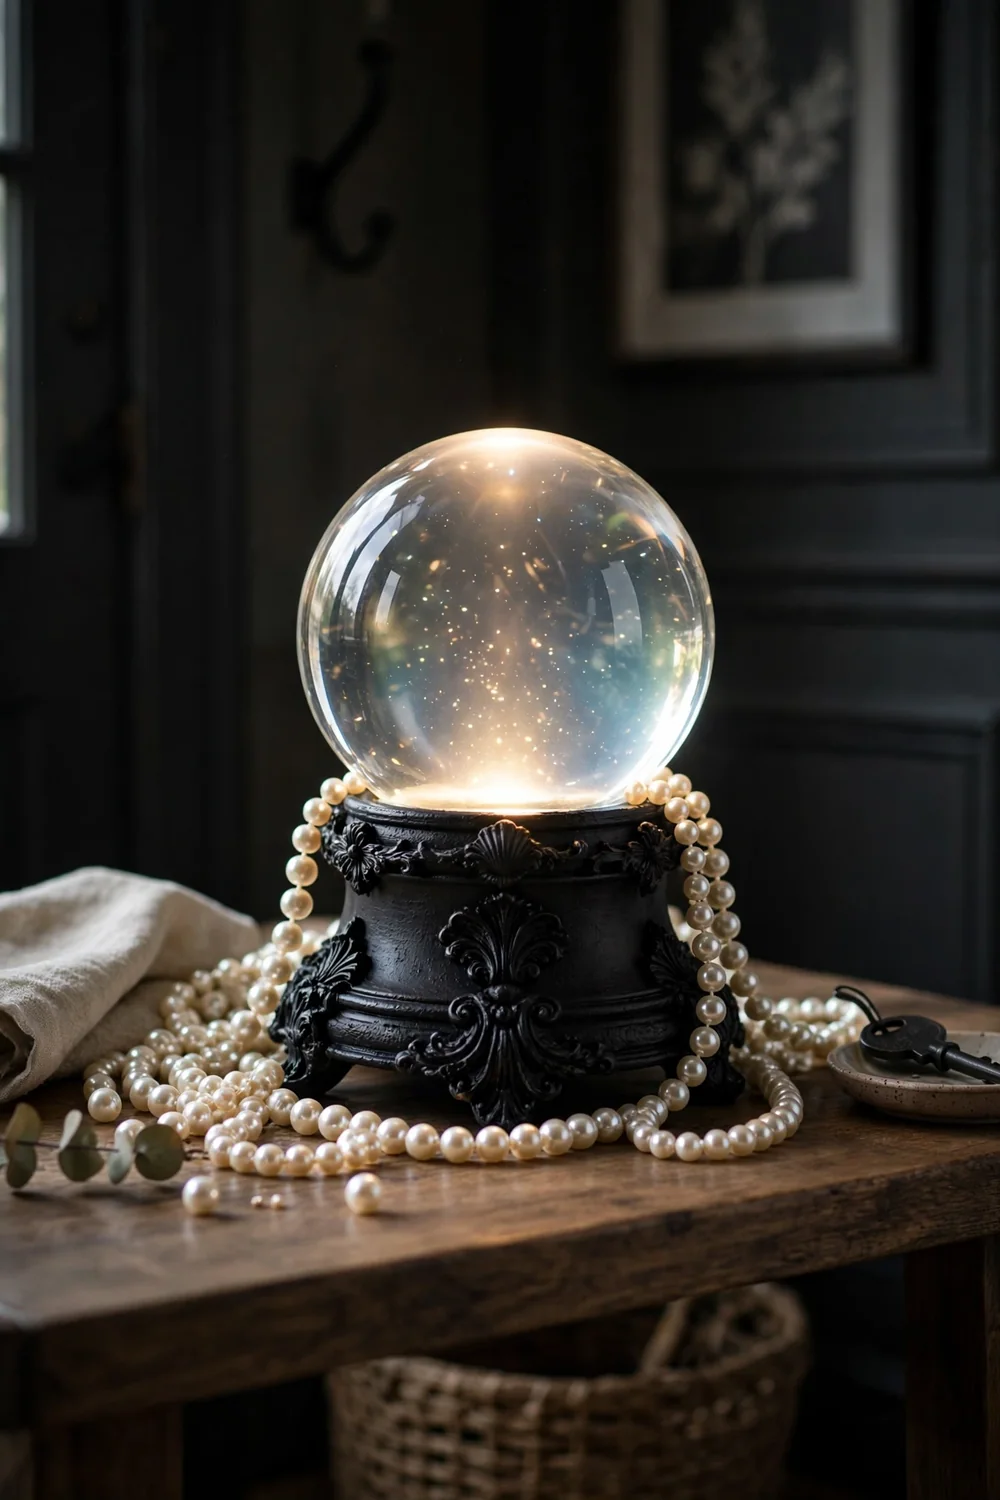
Build a Crystal Ball Display From a Snow Globe Base
Every Halloween display needs one object that stops people mid step. This is that object.
Find a thrifted snow globe with a nice base, or buy a clear glass garden globe. Spray the base matte black and add small feet or a finial ring for height. Set the globe on top with a battery tea light inside the base so it glows. Drape faux pearls over the base for a fortune teller feel.
Set it on the entry table where light hits first. It photographs like a film prop.
Seventeen projects, and not one needed a big budget. Matte paint, metallic wax, velvet, and a thrift store run are the whole formula. The expensive look comes from finish and restraint, not from spending.
These DIY Halloween decorations work because they borrow the tricks of high end styling: one consistent finish, natural materials, and nothing shiny or plastic showing. Start with the project for the spot you see most, then add one more each weekend until October feels finished.
Save this list to your Halloween board so the ideas are waiting when the thrift store run happens next fall.