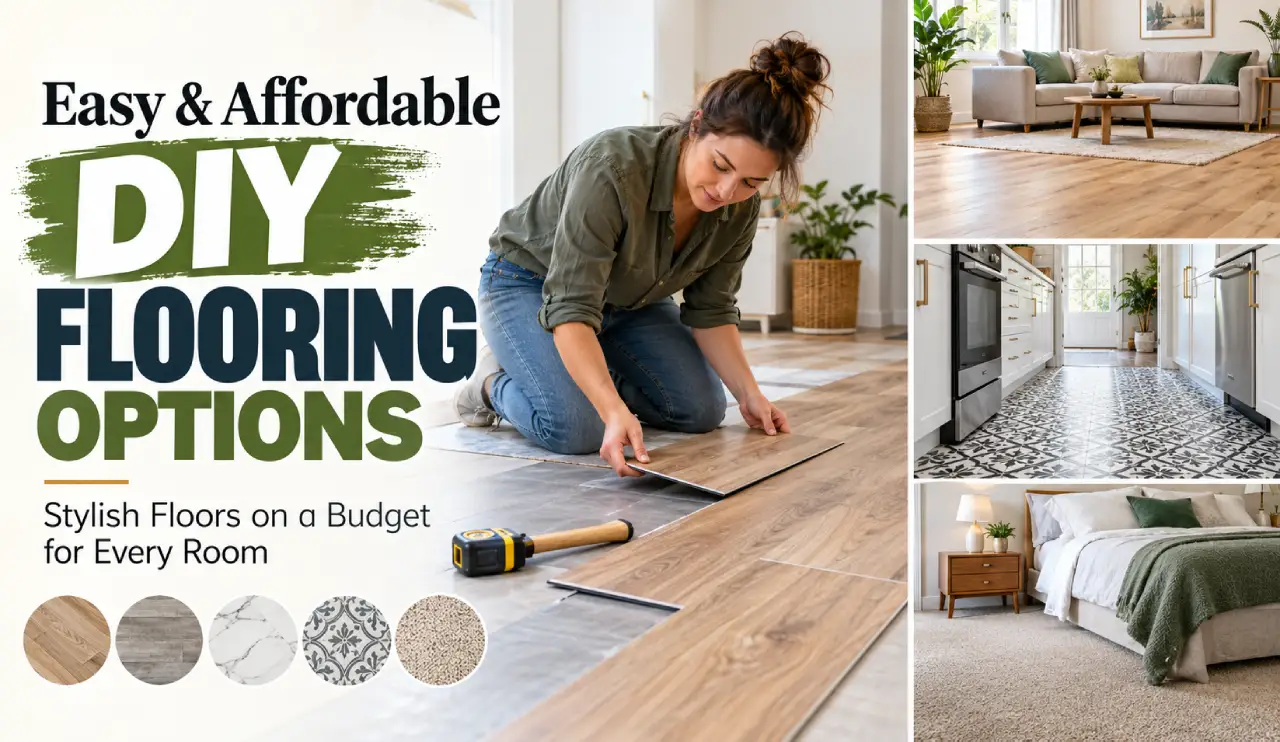
Updating your floors doesn’t have to mean spending thousands on professional installation. With the right materials, some basic tools, and careful preparation, you can give your home a beautiful new look without exceeding your budget.
In 2026, affordable DIY flooring options include realistic wood-look vinyl planks, easy-to-install laminate, peel-and-stick tiles, modular carpet tiles, and creative painted floor finishes. Whether you want to refresh a small bathroom, transform a bedroom, or upgrade your living room, there is a flooring solution for different budgets and skill levels.
This guide explores 10 easy DIY flooring ideas, their estimated costs, suitable rooms, installation tips, and common mistakes to avoid.
Quick Comparison: Affordable DIY Flooring Costs in 2026
Before choosing your flooring, compare the approximate material costs and installation difficulty.
| Flooring option | Estimated material cost per sq. ft. | DIY difficulty |
|---|---|---|
| Peel-and-stick vinyl tiles | $0.50–$2.50 | Easy |
| Click-lock vinyl planks | $2–$7 | Easy–moderate |
| Laminate flooring | $1–$5 | Easy–moderate |
| Sheet vinyl | $1–$3 | Moderate |
| Carpet tiles | $2–$5 | Easy |
| Painted concrete floors | $0.30–$1.50 | Easy–moderate |
| Stenciled floors | $0.50–$2.50 | Moderate |
| Cork flooring | $3–$8 | Moderate |
| Plywood plank flooring | $1–$3 | Moderate–advanced |
| Painted wood floors | $0.50–$2 | Moderate |
These are approximate U.S. material-only planning ranges for 2026, not guaranteed retail prices. Surface preparation, primer, underlayment, tools, delivery, and finishing materials may increase your total cost.
1. Peel-and-Stick Vinyl Tiles for a Quick Budget Makeover
Best for: Small bedrooms, home offices, laundry spaces, and low-traffic areas.
Peel-and-stick vinyl tiles are among the easiest flooring upgrades for beginners. They come with adhesive backing, allowing you to place them on a properly prepared surface without traditional flooring glue.
Modern styles include marble-look patterns, natural wood effects, terrazzo, and geometric designs. These finishes can give an outdated room a fresh appearance without the expense of natural stone or hardwood.
How to Install
- Remove loose debris and clean the existing floor.
- Check that the surface is smooth, dry, stable, and compatible with the adhesive.
- Plan the tile layout from a reference line.
- Peel off the backing and press the tiles firmly into position.
- Trim edge pieces using an appropriate utility knife.
- Roll and finish the flooring as instructed by the manufacturer.
Budget tip: Try a light oak or warm stone pattern to create a more expensive-looking finish.
Important: Peel-and-stick tiles aren’t ideal for every damp location. Excess moisture can weaken the adhesive, so check the product’s moisture requirements.
2. Click-Lock Vinyl Plank Flooring for a Modern Wood Look
Best for: Living rooms, bedrooms, hallways, and suitable kitchens.
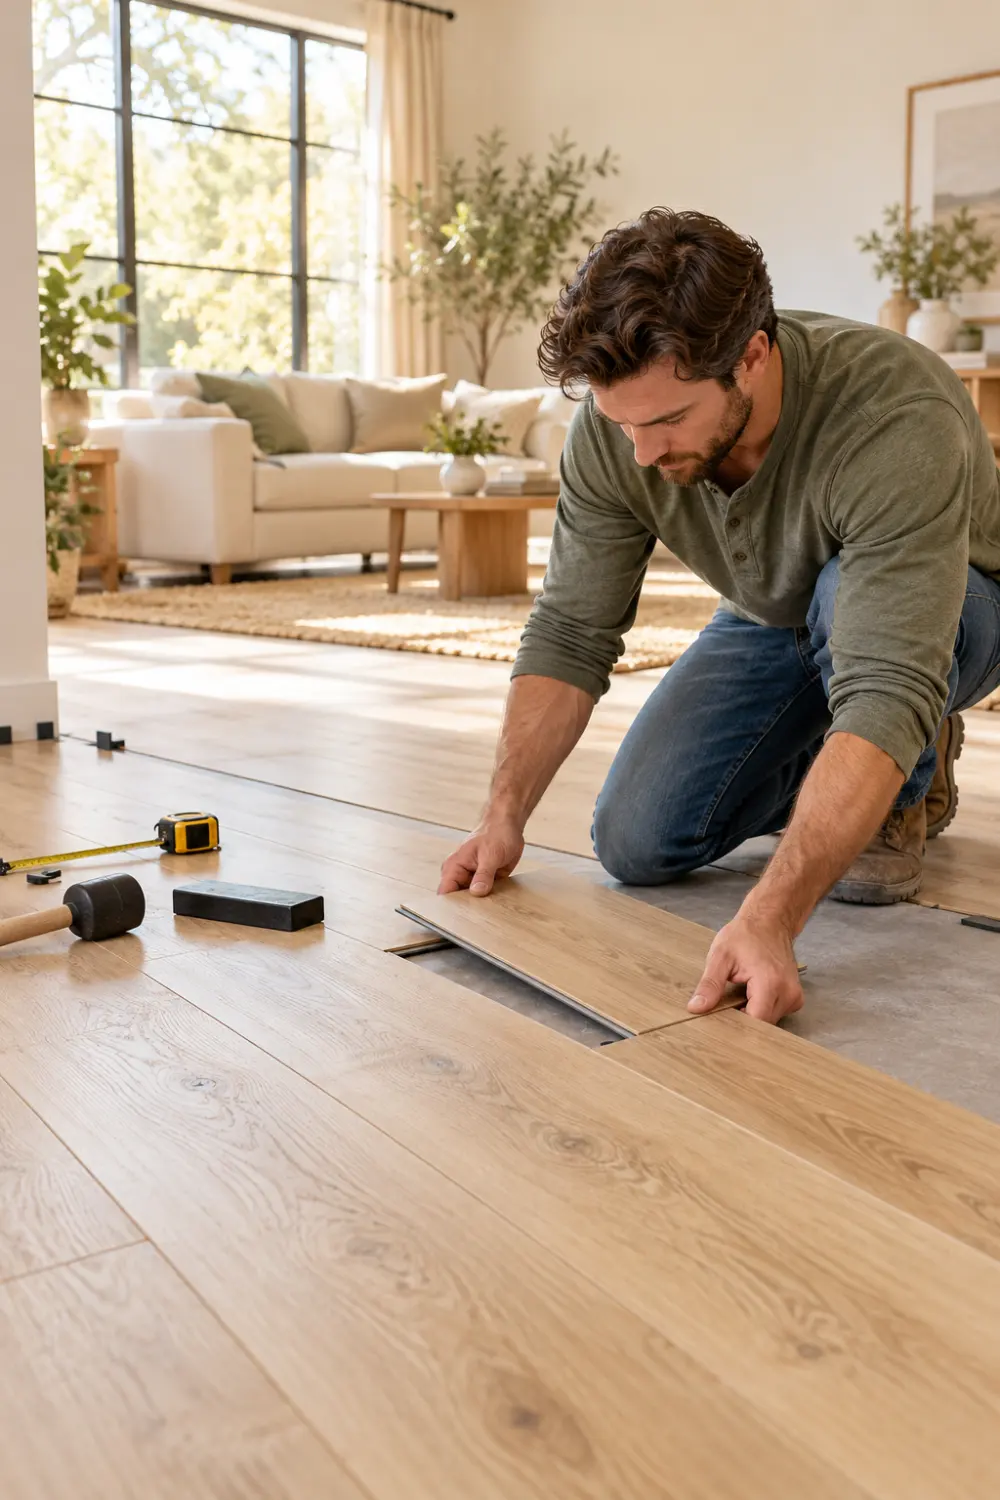
Luxury vinyl plank flooring, commonly called LVP, offers the visual appeal of hardwood with relatively simple maintenance.
Many products feature a click-lock system, allowing the planks to connect without glue or nails. Wood-look designs in natural oak, honey brown, and muted walnut can create a stylish finish in contemporary homes.
How to Install
- Inspect the subfloor for moisture, movement, and uneven areas.
- Check whether the flooring requires a separate underlayment or already includes an attached pad.
- Plan the layout to avoid very narrow planks along the final wall.
- Install planks in the manufacturer’s recommended direction and locking sequence.
- Maintain the specified expansion gap around walls and fixed objects.
- Add compatible transition strips and reinstall the baseboard trim.
Budget tip: Choose a practical mid-range wear layer and compare total cost per carton, not just price per plank.
Water-resistant or waterproof vinyl products can be useful in kitchens, but waterproof planks do not protect a subfloor from leaks or trapped moisture.
3. Laminate Flooring for Affordable Elegance
Best for: Bedrooms, living rooms, and other generally dry indoor spaces.
Laminate flooring remains a popular DIY option because of its realistic wood appearance and floating installation methods.
Modern laminate flooring can reproduce oak grain, light ash, rustic timber, and wider plank designs. For homeowners who want an elegant floor at a lower price than solid hardwood, laminate is worth considering.
How to Install
- Ensure the subfloor meets the manufacturer’s flatness and moisture limits.
- Install the approved underlayment where required.
- Position spacers to maintain perimeter expansion gaps.
- Connect the first row of boards according to the locking system.
- Continue laying staggered rows without forcing or damaging the joints.
- Install transition profiles and trim after completing the floor.
Budget tip: Light natural oak laminate works especially well in smaller living rooms and bedrooms.
Standard laminate isn’t suitable for standing water. For moisture-prone locations, select a product specifically approved for that environment.
4. Sheet Vinyl Flooring for Kitchens and Utility Areas
Best for: Laundry rooms, compact kitchens, and suitable bathrooms.
Sheet vinyl comes in large rolls, reducing the number of seams across the floor. It can create the look of ceramic tiles, stone, or wood while remaining relatively affordable.
The main advantage is its continuous surface, particularly in smaller rooms. However, cutting sheet vinyl around doorways, corners, and fixtures requires careful planning.
How to Install
- Prepare a smooth, clean, dry subfloor.
- Measure the entire room, including recesses and doorways.
- Create a paper template for complicated room shapes.
- Position the sheet and trim carefully.
- Use the installation method and adhesive specified for the product.
- Finish seams and perimeter details according to product instructions.
Budget tip: A simple stone-look sheet vinyl design can refresh a dated utility room without expensive tile installation.
For larger spaces or intricate layouts, professional installation may be more practical.
5. Carpet Tiles for Cozy Bedrooms and Home Offices
Best for: Bedrooms, home offices, playrooms, and hobby spaces.
Carpet tiles are modular flooring squares that can make installation and maintenance easier than traditional wall-to-wall carpeting.
Instead of replacing an entire carpet after localized damage, you may be able to replace individual tiles, provided matching pieces are available.
How to Install
- Clean and prepare the subfloor.
- Measure the room and establish layout lines.
- Dry-lay several tiles to check the pattern.
- Install tiles using the manufacturer’s approved adhesive or backing system.
- Keep the pile direction consistent unless creating a deliberate pattern.
- Trim edge tiles for a neat finish.
Budget tip: Neutral beige, warm gray, and subtle patterned carpet tiles can give a home office a comfortable, polished appearance.
6. Painted Concrete Floors for a Minimalist Makeover
Best for: Dry basements, hobby rooms, workshops, and appropriate indoor concrete surfaces.
If your home already has concrete flooring, painting it may be more affordable than installing an entirely new floor.
Concrete floor coatings are available in neutral gray, soft beige, earthy tones, and contemporary finishes.
How to Paint Concrete Floors
- Inspect the slab for moisture, cracks, and existing coatings.
- Clean thoroughly and repair suitable surface imperfections.
- Prepare the concrete using the coating manufacturer’s recommended method.
- Apply a compatible primer when required.
- Apply the floor coating in thin, even coats.
- Allow the full curing period before returning furniture.
Budget tip: Warm light gray or taupe works well for simple modern interiors.
Never paint over a concrete slab with unresolved moisture problems or active water intrusion.
7. Stenciled Floor Designs for a Decorative Transformation
Best for: Entryways, suitable kitchens, enclosed porches, and decorative floor areas.
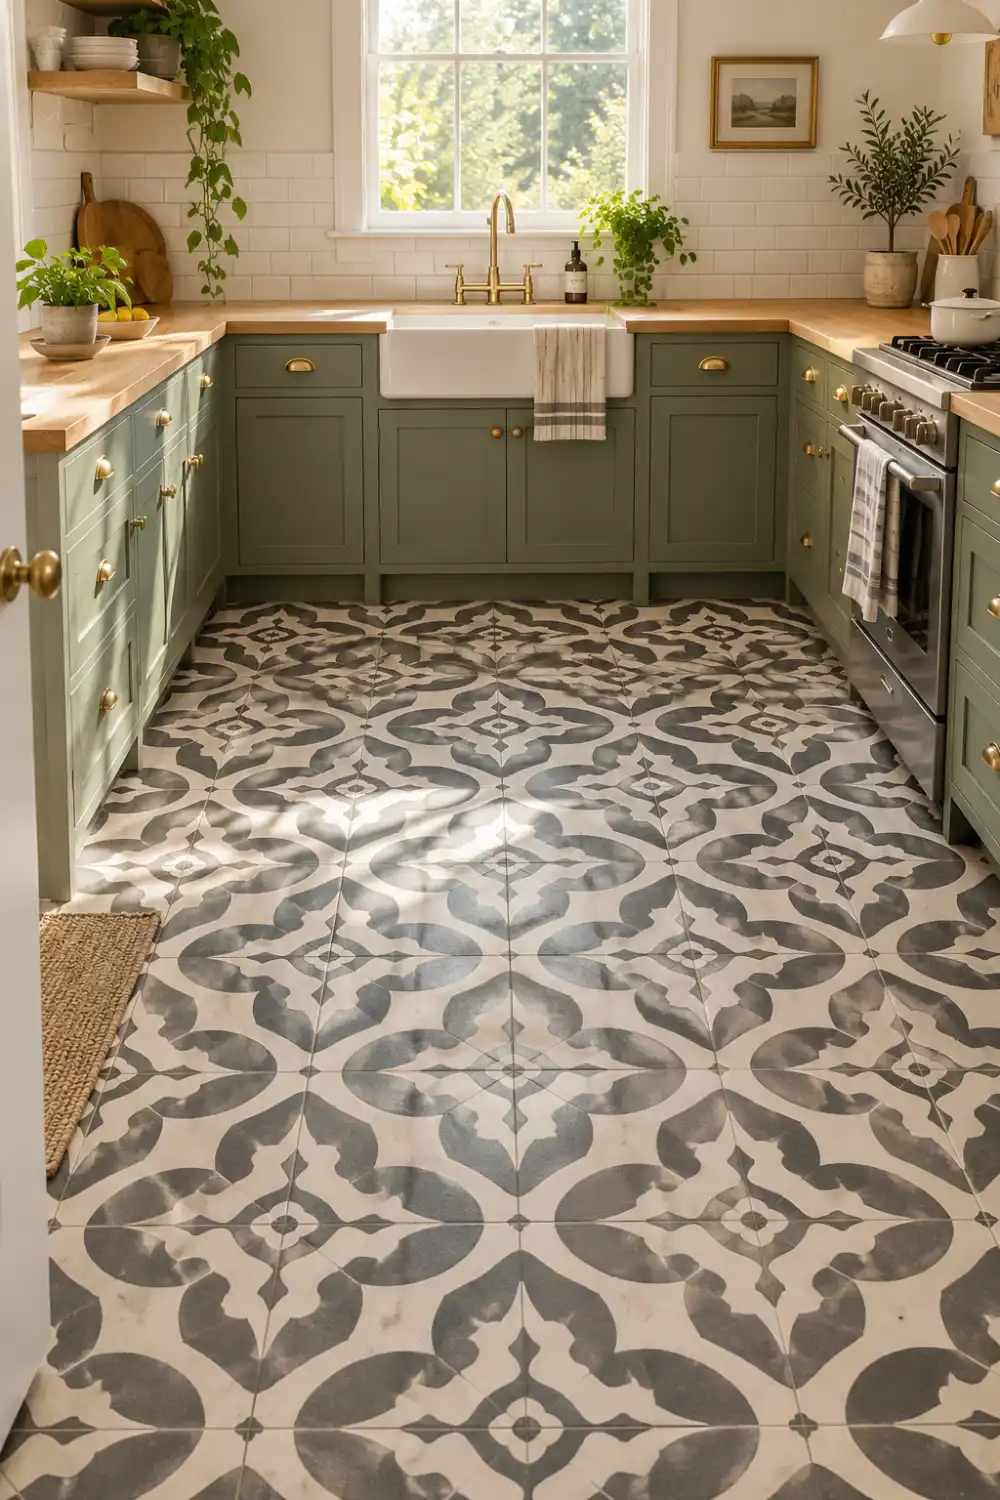
Stenciled floors can create the appearance of decorative patterned tiles without replacing the entire floor.
Geometric motifs, vintage-inspired patterns, and Mediterranean-style designs are attractive options for homeowners who want a statement floor.
How to Create a Stenciled Floor
- Confirm the existing floor can accept the selected coating.
- Clean, repair, and prime the surface where required.
- Mark your pattern’s center and alignment.
- Secure the stencil and apply thin coats of floor paint.
- Allow each section to dry before repositioning the stencil.
- Apply a compatible protective topcoat if recommended.
Budget tip: Choose a simple two-color design rather than a complicated multicolor pattern.
8. Cork Flooring for a Warm and Comfortable Surface
Best for: Bedrooms, reading rooms, and suitable home offices.
Cork flooring offers a softer feeling underfoot than many hard surfaces. It can also contribute to a quieter interior.
Some cork floors are available in floating click-lock planks, making installation more accessible to experienced DIY homeowners.
How to Install
- Confirm the room meets the cork product’s temperature and humidity requirements.
- Prepare a flat and dry subfloor.
- Install the required moisture barrier or underlayment.
- Connect the cork planks according to the locking instructions.
- Maintain the recommended expansion gaps.
- Add finishing trim and protect furniture contact points.
Budget tip: Consider cork in smaller, dry rooms rather than throughout the house.
Cork may be sensitive to moisture, sunlight, and scratches depending on its finish.
9. Plywood Plank Flooring for a Rustic Budget Style
Best for: Creative DIY projects and dry rooms where a rustic finish is desired.
Plywood plank flooring is a more hands-on project that uses properly selected plywood cut into strips to create a wood-plank appearance.
Its main attraction is the flexibility to customize plank dimensions, stain colors, and finishing techniques.
How to Install
- Check the structural suitability of the existing floor.
- Select plywood appropriate for the intended use and installation method.
- Cut, smooth, and prepare planks safely.
- Plan a staggered layout.
- Fasten the planks using an appropriate system for the subfloor.
- Apply suitable wood finishes and allow them to cure fully.
Budget tip: A natural matte finish can create a casual farmhouse look.
This is not a beginner-friendly replacement for a properly engineered flooring system. Thin decorative plywood and inappropriate fastening can result in movement, splinters, and premature wear.
10. Painted Wood Floors for a Creative Low-Cost Refresh
Best for: Existing wood floors that are structurally sound but cosmetically worn.
If your floors are still in reasonable condition, a fresh coating may be more economical than replacing them.
Painted wood floors can work particularly well in cottage-inspired bedrooms, creative spaces, and informal living areas.
How to Paint Wood Floors
- Inspect the wood for loose boards, rot, or moisture damage.
- Repair suitable defects before starting.
- Prepare the finish according to the coating instructions.
- Apply compatible floor primer.
- Apply durable paint designed for floor traffic.
- Allow the recommended curing time before normal use.
Budget tip: Soft white, dusty sage, or warm greige can create a timeless interior.
Avoid using ordinary wall paint on flooring, as it is not designed for regular foot traffic.
Which DIY Flooring Is Best for Each Room?
Different rooms require different levels of durability, moisture resistance, and comfort.
| Room | Recommended DIY option |
|---|---|
| Living room | Click-lock vinyl or laminate |
| Bedroom | Laminate, carpet tiles, or cork |
| Kitchen | Manufacturer-approved vinyl plank or sheet vinyl |
| Bathroom | Bathroom-rated vinyl products |
| Home office | Carpet tiles, laminate, or cork |
| Laundry room | Suitable sheet vinyl or vinyl plank |
| Dry basement | Moisture-tested concrete coating or suitable vinyl |
The best flooring isn’t always the cheapest product. Long-term performance depends on traffic, subfloor condition, moisture exposure, and correct installation.
How to Install DIY Flooring Successfully: 7 Essential Steps
Step 1: Measure the Room
Measure the floor’s length and width to determine the area. For simple rectangular spaces:
Floor area = Length × Width
For most straightforward plank layouts, allow approximately 5–10% extra material. Complex layouts may require additional waste allowance.
Step 2: Set a Realistic Budget
Include the cost of the flooring, delivery, underlayment, trim, adhesive, cutting tools, and any required subfloor repairs.
Step 3: Inspect the Existing Subfloor
A floor should be structurally sound, adequately flat, and dry enough for the selected system.
Step 4: Select the Right Installation Method
Choose a product suitable for your skill level. Click-lock products, modular carpet tiles, and some self-adhesive tiles are generally more approachable than sheet-floor seam work or glue-down installations.
Step 5: Follow Product Instructions
Check acclimation requirements, compatible underlayments, expansion gaps, temperature limits, and moisture specifications.
Step 6: Install Carefully
Start with a properly planned layout and inspect connections, alignment, and cut pieces as you work.
Step 7: Finish and Maintain the Floor
Install trim, protect furniture legs, and follow the product’s cleaning recommendations.
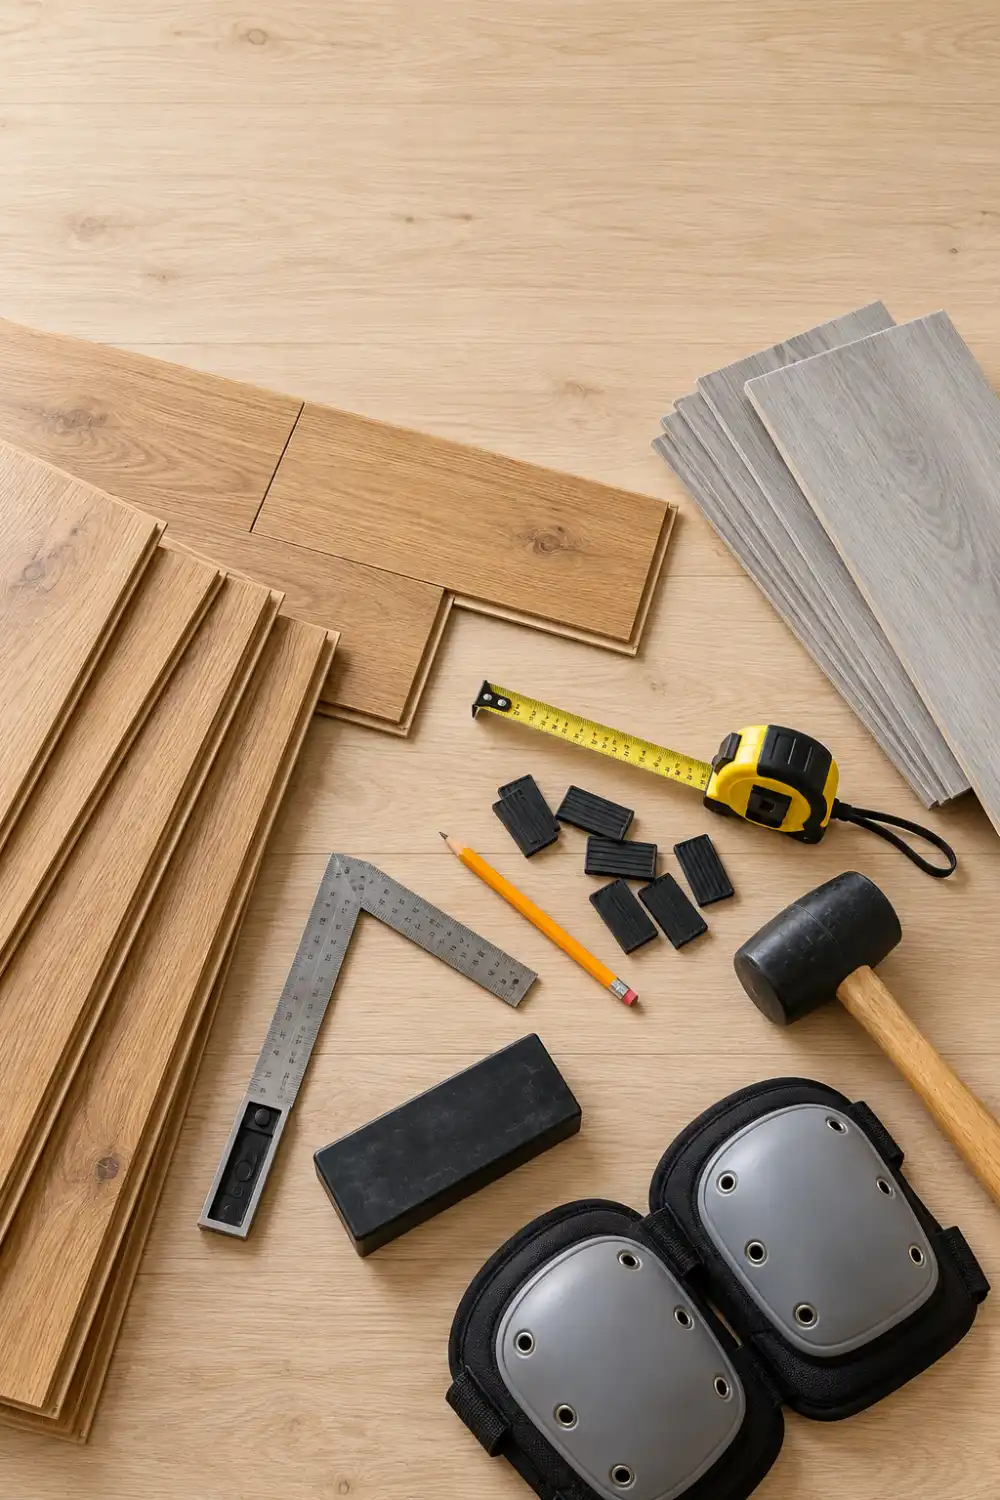
How Much Does a DIY Floor Makeover Cost?
Consider a hypothetical 150-square-foot bedroom using laminate flooring at $2.50 per square foot.
| Expense | Estimated cost |
|---|---|
| Laminate flooring, 165 sq. ft. including 10% extra | $412.50 |
| Underlayment | $60 |
| Transition strips and trim | $50 |
| Tools and additional supplies | $45 |
| Estimated DIY total | $567.50 |
This example assumes a suitable existing subfloor and excludes taxes, delivery, old flooring removal, and major repairs. Actual costs will vary.
2026 DIY Flooring Design Ideas Worth Considering
Affordable flooring doesn’t have to look basic. A few design decisions can make a room appear more polished.
Natural wood-look finishes: Light oak, honey-toned wood, and subtle walnut designs work with many interior styles.
Warm neutral flooring: Beige stone, greige, and muted earth tones coordinate with contemporary furniture.
Wide-plank appearances: Wider wood-look planks can help create a clean, less visually busy floor design.
Subtle geometric patterns: Restrained stenciling or patterned vinyl can add interest in an entryway or small room.
Consistent flooring between rooms: Using a coordinated finish can improve visual continuity where the chosen material is suitable for each space.
These are styling directions, not guarantees of resale value or long-term product performance.
7 Common DIY Flooring Mistakes to Avoid
- Skipping subfloor preparation: Uneven or damp surfaces can cause lifting, gaps, or damaged joints.
- Ignoring expansion gaps: Floating floors need room for natural dimensional movement.
- Using the wrong underlayment: Additional padding may damage certain click-lock systems or invalidate product warranties.
- Choosing by price alone: Wear resistance, moisture limits, and warranty terms matter.
- Buying too little material: Additional boxes purchased later may have different manufacturing batches.
- Ignoring door clearance: New flooring can interfere with doors and transitions.
- Rushing before the floor is ready: Adhesives, paints, and finishes have different curing requirements.
Safety note: Older vinyl flooring and adhesives may contain asbestos. Do not sand, grind, scrape, or disturb materials suspected of containing asbestos. Arrange an appropriate assessment before renovation.
Frequently Asked Questions About DIY Flooring
What is the cheapest DIY flooring option?
Peel-and-stick vinyl tiles and painting a suitable existing floor are often among the lowest-cost options. The cheapest choice depends on surface preparation and how long the finished floor is expected to last.
Is vinyl plank flooring easy to install yourself?
Many click-lock vinyl plank systems are suitable for careful DIY installation, provided the subfloor meets the manufacturer’s requirements.
Can I install new flooring over old flooring?
Sometimes. The old flooring must be structurally stable, appropriately flat, and approved as a substrate by the new flooring manufacturer.
Which DIY flooring works best for a bathroom?
Bathroom-rated vinyl flooring is a practical option. Always follow the manufacturer’s installation and waterproofing requirements.
How long does DIY flooring installation take?
A simple room may be completed over a weekend, but preparation, layout complexity, product conditioning, adhesive curing, and finishing can extend the project.
Is laminate or vinyl plank better?
Laminate offers attractive wood-look designs and can perform well in dry living spaces. Vinyl plank is often more practical in rooms where occasional moisture exposure is a concern, provided it is properly installed.
Final Thoughts
Refreshing your floors doesn’t have to be an expensive renovation. From peel-and-stick tiles and luxury vinyl planks to painted floors and modular carpet tiles, there are DIY flooring ideas for many budgets and room styles.
For a beginner-friendly upgrade, start by comparing click-lock vinyl, laminate, and peel-and-stick products. If the existing surface is suitable for coating, painting may offer an even more affordable transformation.
The key is to match the flooring to your room, prepare the surface properly, and follow the manufacturer’s installation guidelines. With thoughtful planning, an affordable DIY flooring project can deliver a beautiful, practical result.
Save this guide to your Pinterest flooring ideas board so you can revisit the options before your next home makeover.