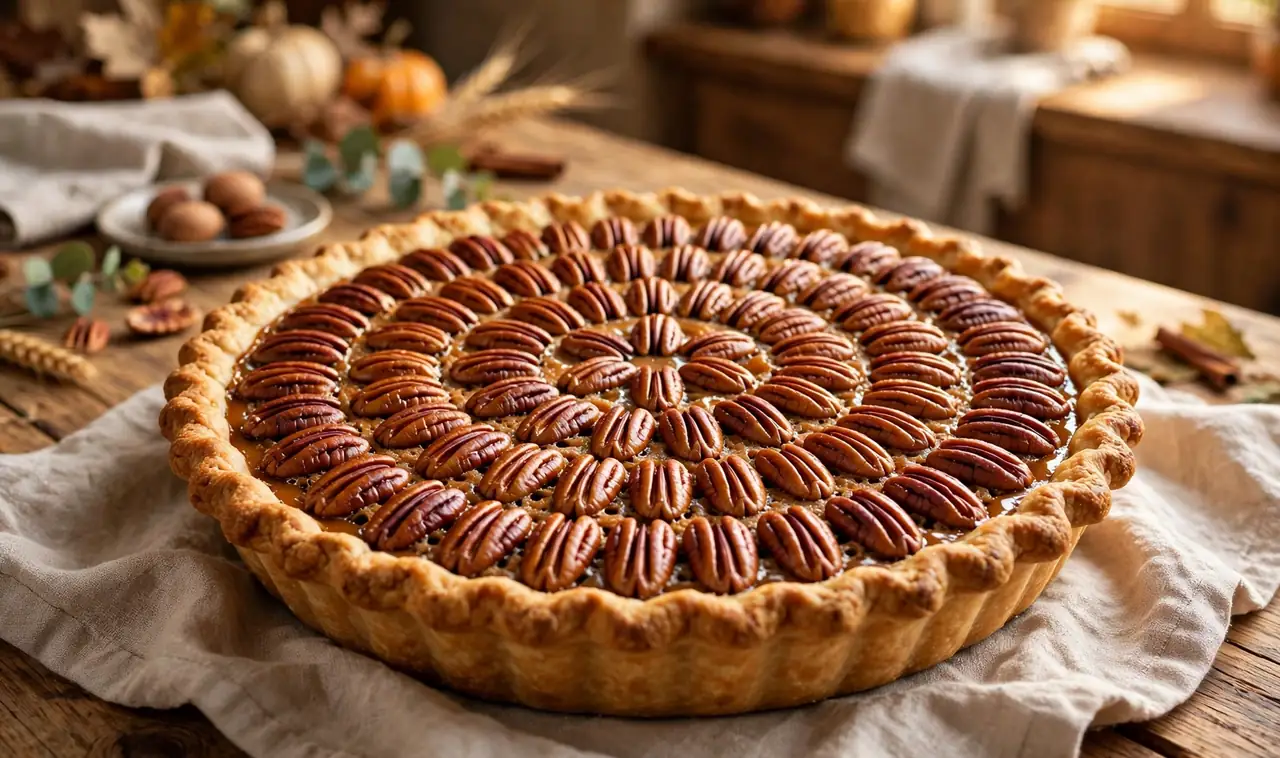
A homemade pecan pie is one of those desserts that looks like it took all day, even though the hands-on work fits into a single afternoon hour. The filling turns sweet and buttery in the oven, the pecans toast on top, and the crust bakes crisp underneath it all. If store-bought pies have let you down with fillings that taste flat or crusts that turn soft, this recipe fixes both problems with a few small choices that cost nothing extra.
This guide walks you through the whole bake, from rolling the dough to knowing the exact moment to pull the pie from the oven. You need one 9-inch pie plate, a bowl, and a whisk. No candy thermometer and no special equipment is required. The work and baking take about 1 hour and 15 minutes, plus 2 hours of cooling. Cooling matters more than most people expect, so plan for it. By the end, you will have a pie that slices cleanly and tastes like it came from a bakery that only makes pie.
Time and Difficulty: Prep 20 minutes | Bake 50 to 60 minutes | Cooling 2 hours | Difficulty: Beginner | Serves 8 slices
What You Need
For the crust: 1 unbaked 9-inch pie crust, homemade or store-bought.
For the filling: 3 large eggs, 1 cup light corn syrup, 1 cup granulated sugar, 2 tablespoons melted butter, 1 teaspoon vanilla extract, 1/4 teaspoon salt, 1 1/2 cups pecan halves.
Tools: 9-inch pie plate, rolling pin, large mixing bowl, whisk, rubber spatula, foil strips, wire rack, sharp knife.
At a Glance
- Heat the oven to 350°F and set the rack low.
- Roll the pie dough into a 12-inch round.
- Fit the dough into the pie plate.
- Crimp the edge and chill the crust.
- Whisk the eggs, corn syrup, and sugar.
- Stir in the butter and vanilla.
- Fold in the pecan halves.
- Pour the filling into the cold crust.
- Shield the crust edge with foil.
- Bake the pecan pie until the center trembles.
- Cool the pie on a rack for 2 hours.
- Slice with a warm, dry knife.
1. Heat the oven to 350°F and set the rack low
Move the oven rack to the lowest third of the oven before you turn the heat on. The bottom of the pie sits closer to the lower heating element there, which helps the bottom crust brown instead of staying pale. Set the oven to 350°F and let it heat fully while you work on the crust. An oven that is still climbing will throw off the bake time. If your oven runs hot, an oven thermometer is worth the few dollars it costs.
2. Roll the pie dough into a 12-inch round
Dust the counter and the rolling pin with a light coat of flour, then roll from the center outward, turning the dough a quarter turn after every few passes. This keeps the round even and stops it from sticking. Aim for a 12-inch circle, about 1/8 inch thick. If the edge cracks, press it back together with your fingertips. A few small cracks are normal and will disappear once the dough is in the plate.

3. Fit the dough into the pie plate
Fold the round loosely in half, lift it into the 9-inch plate, and unfold it over the dish. Press the dough into the bottom and sides with your fingertips, letting it settle into the corners on its own. Do not stretch it to make it fit. Stretched dough pulls back in the oven and leaves a shrunken, thick edge. Trim the overhang to about 1 inch past the rim.
4. Crimp the edge and chill the crust
Fold the overhang under itself so it forms a thick rim on the edge of the plate, then pinch it into a fluted pattern with your thumb and forefinger. Place the whole plate in the refrigerator for 20 minutes. Cold dough holds its shape in the oven, which gives you a crisp, flaky crust instead of a slumped one. Mix the filling while the crust chills so no time is lost.
5. Whisk the eggs, corn syrup, and sugar
Crack 3 large eggs into a large bowl and whisk them until the yolks and whites are fully mixed. Add 1 cup light corn syrup, 1 cup granulated sugar, and 1/4 teaspoon salt. Whisk again until the mixture looks smooth and the sugar has mostly dissolved. Stop once it looks even. Whipping in extra air makes the filling puff up in the oven and then sink as it cools.

6. Stir in the butter and vanilla
Pour in 2 tablespoons of melted butter and 1 teaspoon of vanilla extract, then stir with a spatula until the butter disappears into the mixture. Let the butter cool for a few minutes after melting. Butter that is still hot can start to cook the eggs on contact, and cooked bits of egg will show up as streaks in the finished filling.
7. Fold in the pecan halves
Add 1 1/2 cups of pecan halves to the bowl and fold them in gently with the spatula until every piece is coated. Keep a small handful aside before you stir. Those reserved pecans go on top of the pie in the next steps, arranged in circles, and they give the finished pie its classic look. Taste one pecan first. Stale nuts will ruin the pie no matter how good the filling is.
8. Pour the filling into the cold crust
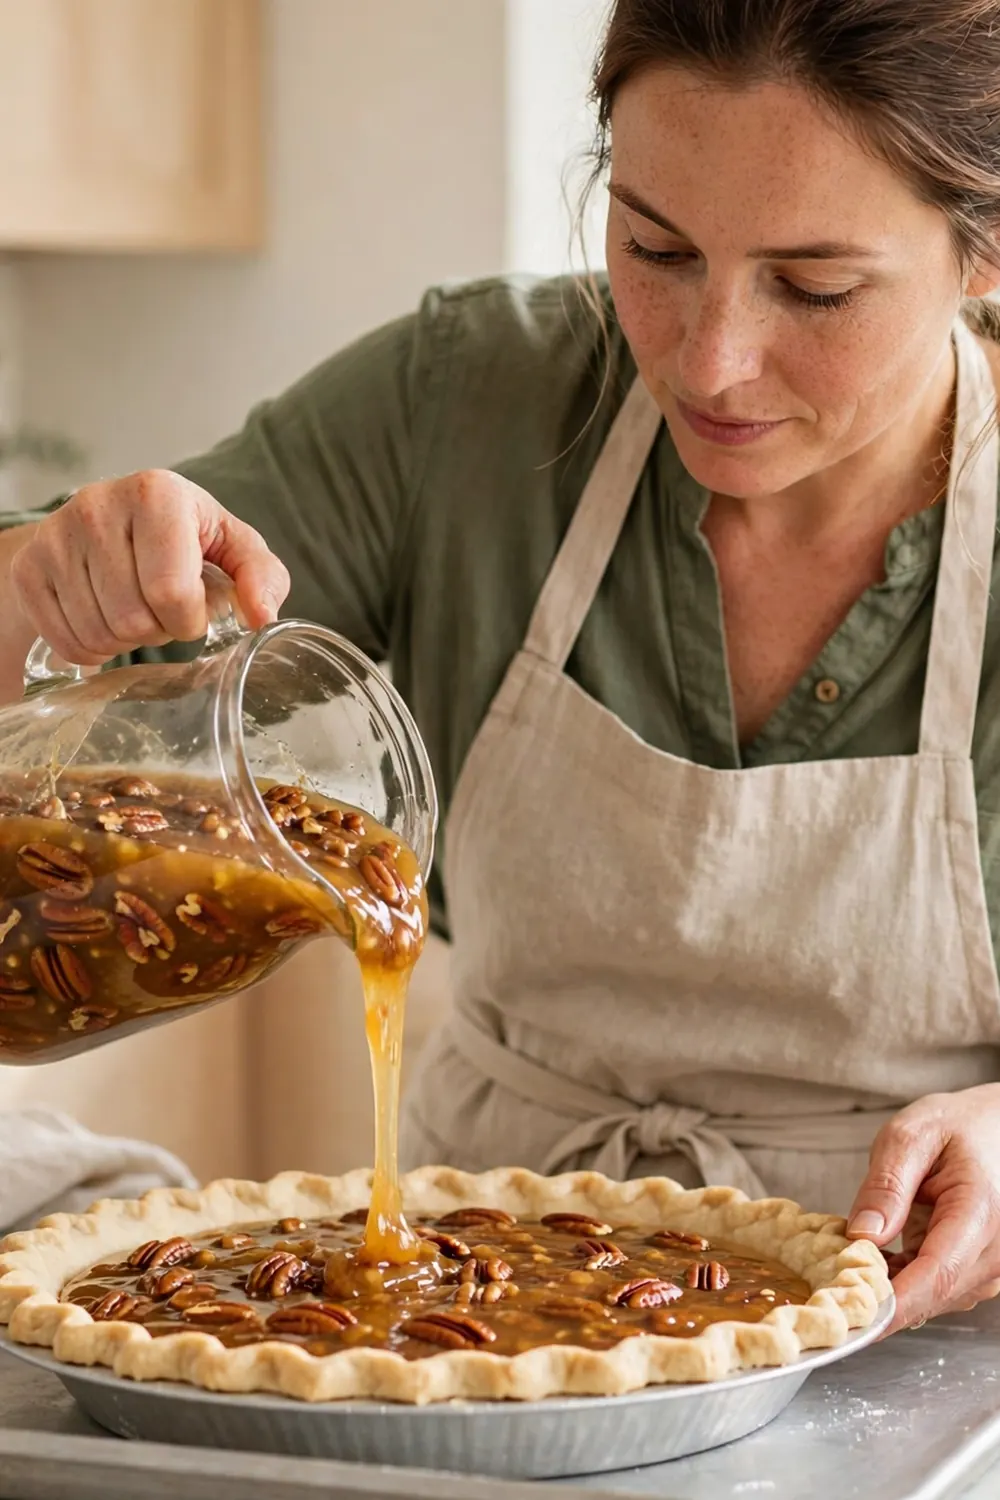
Take the chilled crust out of the refrigerator and set the plate on a baking sheet. The sheet catches any drips and makes the pie safer to move in and out of the oven. Pour the filling in slowly so the pecans settle in an even layer. Place the reserved pecans on top in neat circles, starting at the edge and working inward. Fill to slightly below the rim so nothing bubbles over.
9. Shield the crust edge with foil
Tear off strips of foil and fold them loosely over the crimped edge, leaving the center of the pie open. The thin edge browns much faster than the filling bakes, and foil keeps it from turning dark before the pie is done. Take the foil off for the last 15 minutes so the edge can finish to a golden color.
Pro Tip: Check the pie at 25 minutes. If the exposed edge is already deep brown, add the foil shield right away rather than waiting. Ovens vary, and a dark edge cannot be undone once it happens.
10. Bake the pecan pie until the center trembles
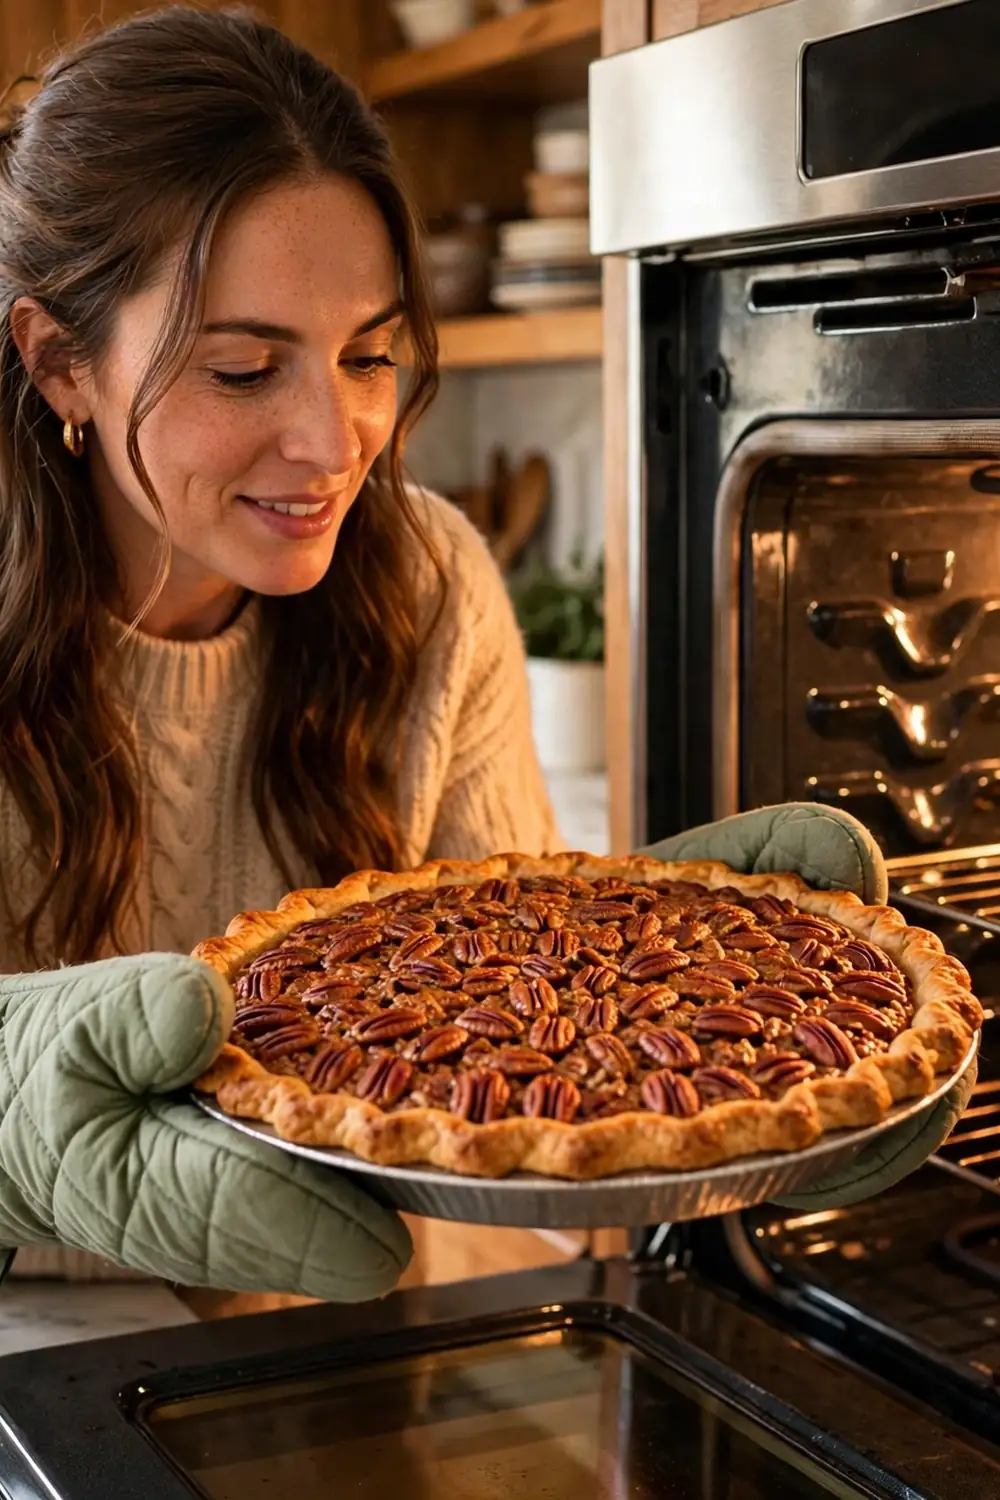
Bake for 50 to 60 minutes. The pie is done when the edges look set and puffed but the center still trembles slightly when you nudge the plate, like set gelatin. A thermometer in the center should read 200°F. Do not wait for the center to look firm. The filling keeps cooking from the heat of the plate after it leaves the oven, and a pie baked until firm will turn dry and cracked.
11. Cool the pie on a rack for 2 hours
Move the pie, still on its baking sheet, to a wire rack and leave it alone for 2 hours. This cooling time is when the filling firms up enough to slice. Cutting into a warm pie gives you a runny filling that pools on the plate, even if the pie was baked correctly. If the pecans on top darken while the pie cools, tent a loose sheet of foil over the top without pressing it down.
12. Slice with a warm, dry knife
Run a sharp knife under hot water, wipe it dry, and cut the first slice with one smooth motion. Dip and wipe the knife between slices. A warm blade cuts through the sticky filling without dragging pecans out of place. Serve each slice with whipped cream or a scoop of vanilla ice cream. Both balance the sweetness of the filling, and a little goes a long way.

Variations Worth Trying
Once you have the classic version down, a few changes keep the recipe fresh without changing the method. Stir in 1/2 cup of chocolate chips with the pecans for a chocolate pecan pie. Replace 2 tablespoons of the corn syrup with bourbon for a deeper, warmer flavor. Swap half the corn syrup for pure maple syrup for a less sweet, woodsy note. Sprinkle a pinch of flaky salt over the top before baking for a salted finish. For mini pies, press dough into a muffin tin, fill each cup three quarters full, and bake for 20 to 25 minutes. If you want more pie ideas for the holiday table, browse our best Thanksgiving pie recipes for flavors that pair well with this one.
Serving and Storage Notes
Serve the pie at room temperature for the cleanest slices and the fullest flavor. Cover leftovers loosely with foil or plastic wrap once the pie is fully cool. It keeps at room temperature for 1 day and in the refrigerator for up to 4 days. To freeze it, wrap the cooled pie tightly in two layers of foil and freeze for up to 3 months, then thaw it overnight in the refrigerator. Warm a single slice in a 300°F oven for 10 minutes if you like it slightly warm. For the rest of the holiday spread, our easy Thanksgiving desserts roundup has options that sit well next to this pie, and our Thanksgiving table setting ideas can help you plan a table that shows it off.
Frequently Asked Questions
Can I use a store-bought crust? Yes. A refrigerated rolled crust works well with this filling. Unroll it into the plate, crimp the edge, and chill it for 20 minutes the same way. Watch the edge closely, since thinner store-bought crusts brown faster.
Why did my pie turn out runny? The most common cause is slicing before the pie cooled for the full 2 hours. The second cause is pulling the pie out before the center reached 200°F. If the center still sloshes like liquid rather than trembling like gelatin, give it another 10 minutes in the oven.
Can I make this pie ahead of time? Yes. Bake it the day before, let it cool fully, cover it, and refrigerate it. Bring it back to room temperature for about 1 hour before serving so the filling softens to the right texture.
Should I use light or dark corn syrup? Light corn syrup gives the classic sweet, buttery flavor most people expect from a pecan pie. Dark corn syrup adds a deeper, molasses-like note and a darker color. Both bake the same way, so pick the flavor you prefer.
You have now baked a real homemade pecan pie from crust to cooling rack, with a filling that sets cleanly and a top covered in toasted pecans. Save this recipe on Pinterest for Thanksgiving weekend so it is ready when you need it, and try one variation next time to make it your own. The hardest part is waiting those two hours while the whole kitchen smells like the holidays.