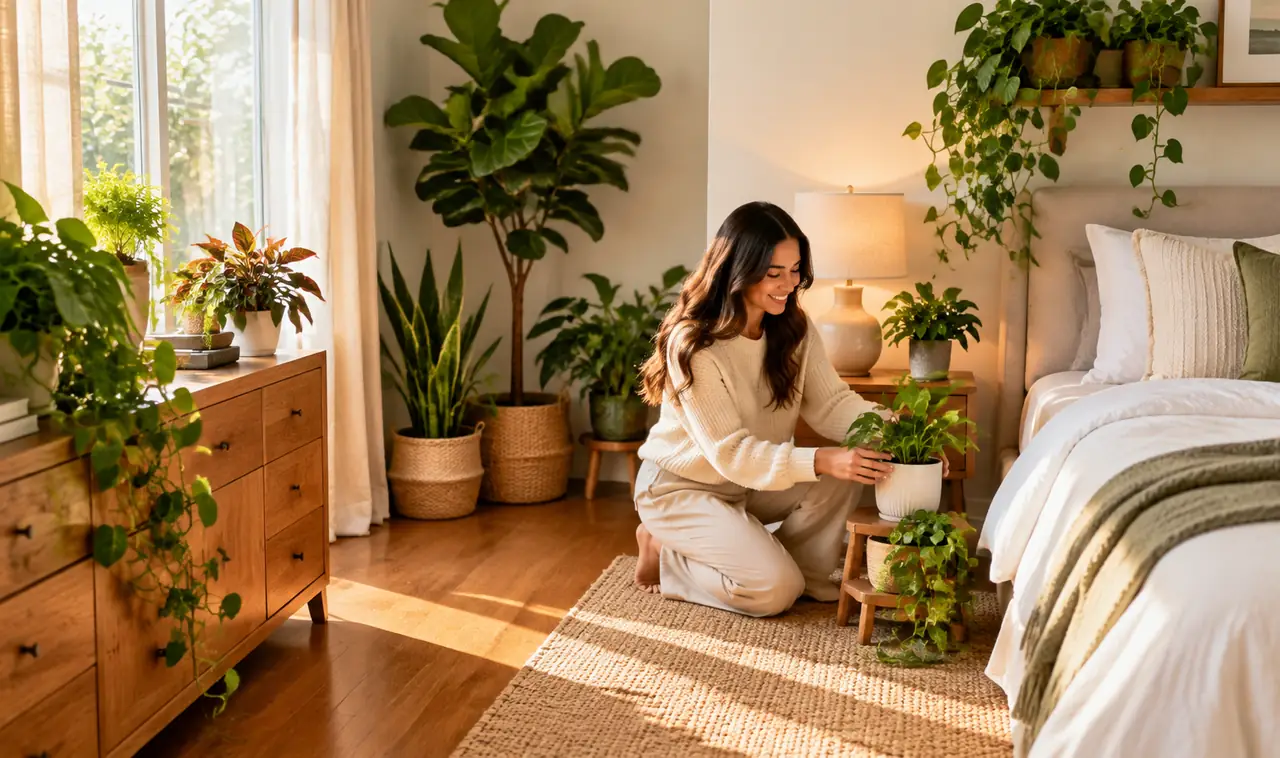
A leafy bedroom sounds calm until every pot starts competing for the same nightstand, dresser, and patch of floor. You water one plant, shift two others, and still trip over a trailing stem on the way to bed. The fix is not buying more storage or giving away half the collection. It is giving each plant a job, a zone, and enough empty space around it to be noticed.
This guide shows How to Arrange Plants in a Bedroom by working in a set order: count what you own, choose zones, sort by light, then place the largest pieces first. The method keeps daily paths open and puts most plants where they can actually grow. Plan on 1 to 2 hours for a room with 10 to 20 plants; a larger collection may take an afternoon.
You will finish with one main display, smaller supporting groups, and clear space beside the bed. Nothing needs to match perfectly, but the pots and heights will follow a pattern your eye can read at once. Start with the room exactly as it is.
1 to 2 hours
1 to 2 hours
Beginner
What You Need
Gather these items before moving a pot. Having everything nearby keeps wet leaves and soil off the bedding while you work.
- Tape measure
- Notebook and pencil
- Painter’s tape
- One or two plant stands
- Sturdy low stool or crate
- Waterproof trays and saucers
- Cachepots or baskets in two finishes
- Felt pads
- Narrow-spout watering can
- Microfiber cloth
- Small bag for dead leaves
The Whole Job at a Glance
- Count the collection
- Pick three zones
- Measure clear paths
- Sort by light
- Limit pot finishes
- Build the main cluster
- Use three heights
- Arrange the windowsill
- Set the nightstand
- Anchor the corner
- Edit crowded surfaces
- Check from the doorway
Know What Better Looks Like
Before: Single pots may sit wherever they fit: one beside the alarm clock, two on the dresser, and a tall plant squeezing the closet door. Each plant is healthy, yet the room feels busy because your eye has nowhere to rest. Watering also takes longer because you move small items to reach every pot.
After: The same plants sit in three zones with space between groups. The main cluster gets the best light, the nightstand stays useful, and the corner plant has room to spread. You can cross the room without stepping around pots, and each group looks deliberate from the doorway. The collection did not shrink much; the empty space is doing the organizing.
Count Every Plant Before You Move a Pot
Set a notebook on the bed and write down every plant, including the one hiding behind the curtain. Record the pot width and the place it sits now. This count stops the common problem of styling around the plants you see, then finding three more after the floor is already full. Keep thirsty plants marked with a star so they stay within reach of your watering route.
Decide How to Arrange Plants in a Bedroom by Zones
Choose no more than three zones for the whole room: one near the best window, one by the bed, and one quiet corner. Mark each zone with painter’s tape before moving anything. Zones give your eye a few full stops instead of a trail of single pots. If a proposed zone blocks a drawer, closet door, or laundry basket, cross it out now and pick another spot.
Measure the Floor, Bed, and Door Clearances
Pull the tape measure along the route from the door to the bed and around both sides of the bed. Aim for 36 inches of open floor on the main route and 18 inches beside the bed where space allows. Note any place a pot would stop a drawer from opening. A plant can sit close to furniture, but it should never make you turn sideways in your own room.
Heads up: Measure with drawers and doors fully open, not closed. A path can look wide enough at rest and still fail the moment you pull out a drawer or swing the closet door.
Sort Plants by the Light They Need
Carry each plant to the bed and make three groups: bright light, medium light, and low light. Use the care tag or the spot where the plant has grown best as your guide. Put leggy plants in the bright group even if they came from a dim corner; stretched stems are often asking for more sun. Keep the groups separate on the bed so the next choices stay clear. A plant that drops leaves after every move belongs in the group matching its current spot until it settles.
Limit Pots to Two Finishes
Pick two pot finishes that already appear in the room, such as matte white and woven seagrass. Slip mismatched pots into those cachepots or baskets, and set extras in the closet for rotation. Repeating only two finishes makes different plant shapes look related. Add felt pads under heavy pots now, before they reach wood floors or painted shelves.
Pro tip: Photograph the pots together in daylight before choosing the two finishes. Colors that look close under a warm lamp may clash by a bright window, and the photo shows the mismatch faster.
Build the Main Cluster Near the Best Light
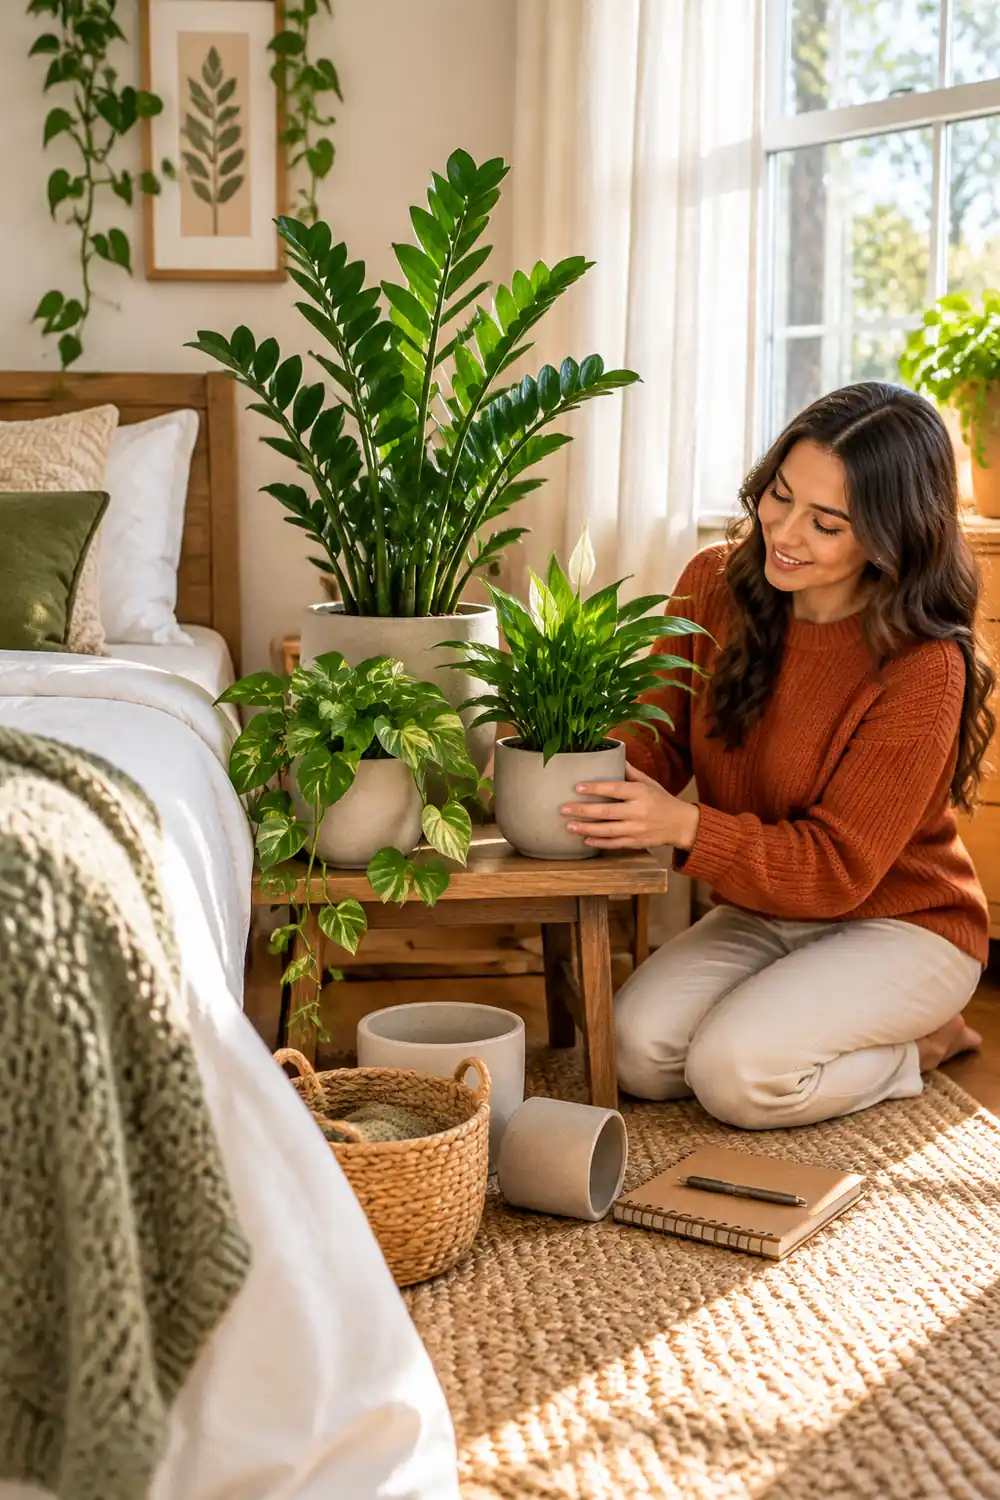
Place the largest bright-light plant at the back of the main zone, then add two medium plants in front. Leave 2 to 4 inches between pots so leaves do not press into one damp mass. This is the room’s main display, so give it the best light and the clearest view from the bed. If the cluster needs a fourth plant, choose one with a different leaf shape rather than another plant of the same size.
Raise Plants to Three Heights
Set one plant on the floor, one on a low stool, and one on a stand or shelf so the cluster reads as steps. Keep the tallest leaves below the top of the window light, or they will shade the plants behind them. A sturdy plant stand can lift a plain pot into the display without taking another patch of floor; these bedroom plant stand ideas show useful shapes for tight rooms. Check that the stand does not wobble when you brush past it.
Arrange the Windowsill From Tall to Small
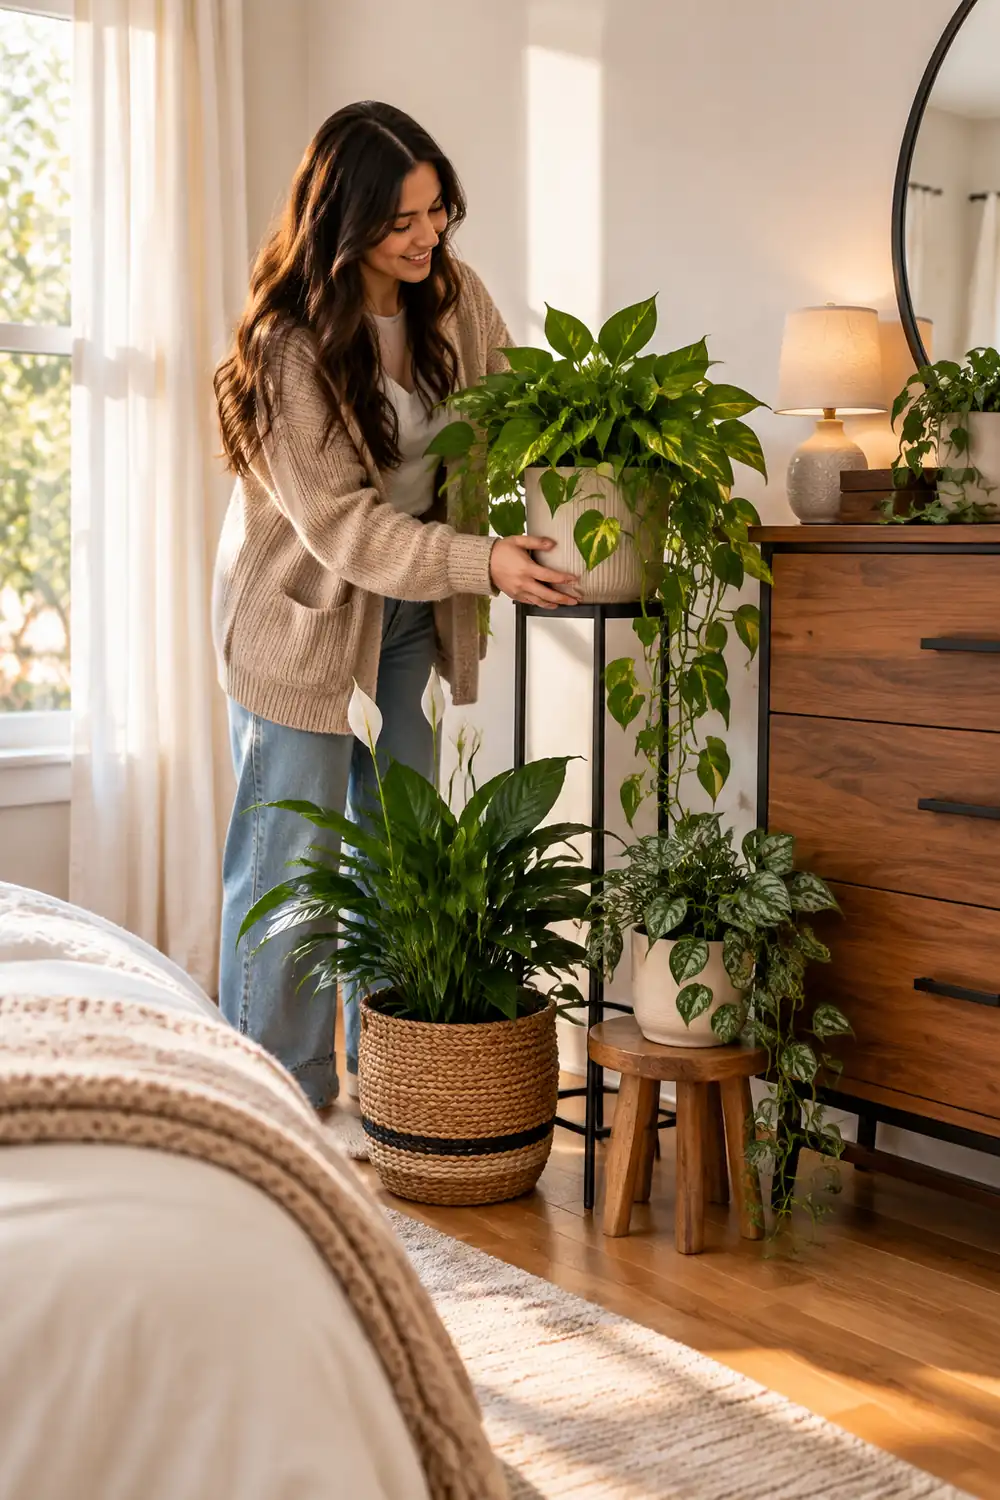
Put the tallest narrow plant at one end of the sill, medium plants in the middle, and the smallest pot at the other end. Leave 1 inch between each pot and the glass so wet leaves do not sit against condensation. Turn each pot a quarter turn. That small rotation helps all sides reach the light and keeps growth from leaning in one direction. Do not cover more than half the window; the room still needs the view and the air flow.
Keep One Small Plant on the Nightstand
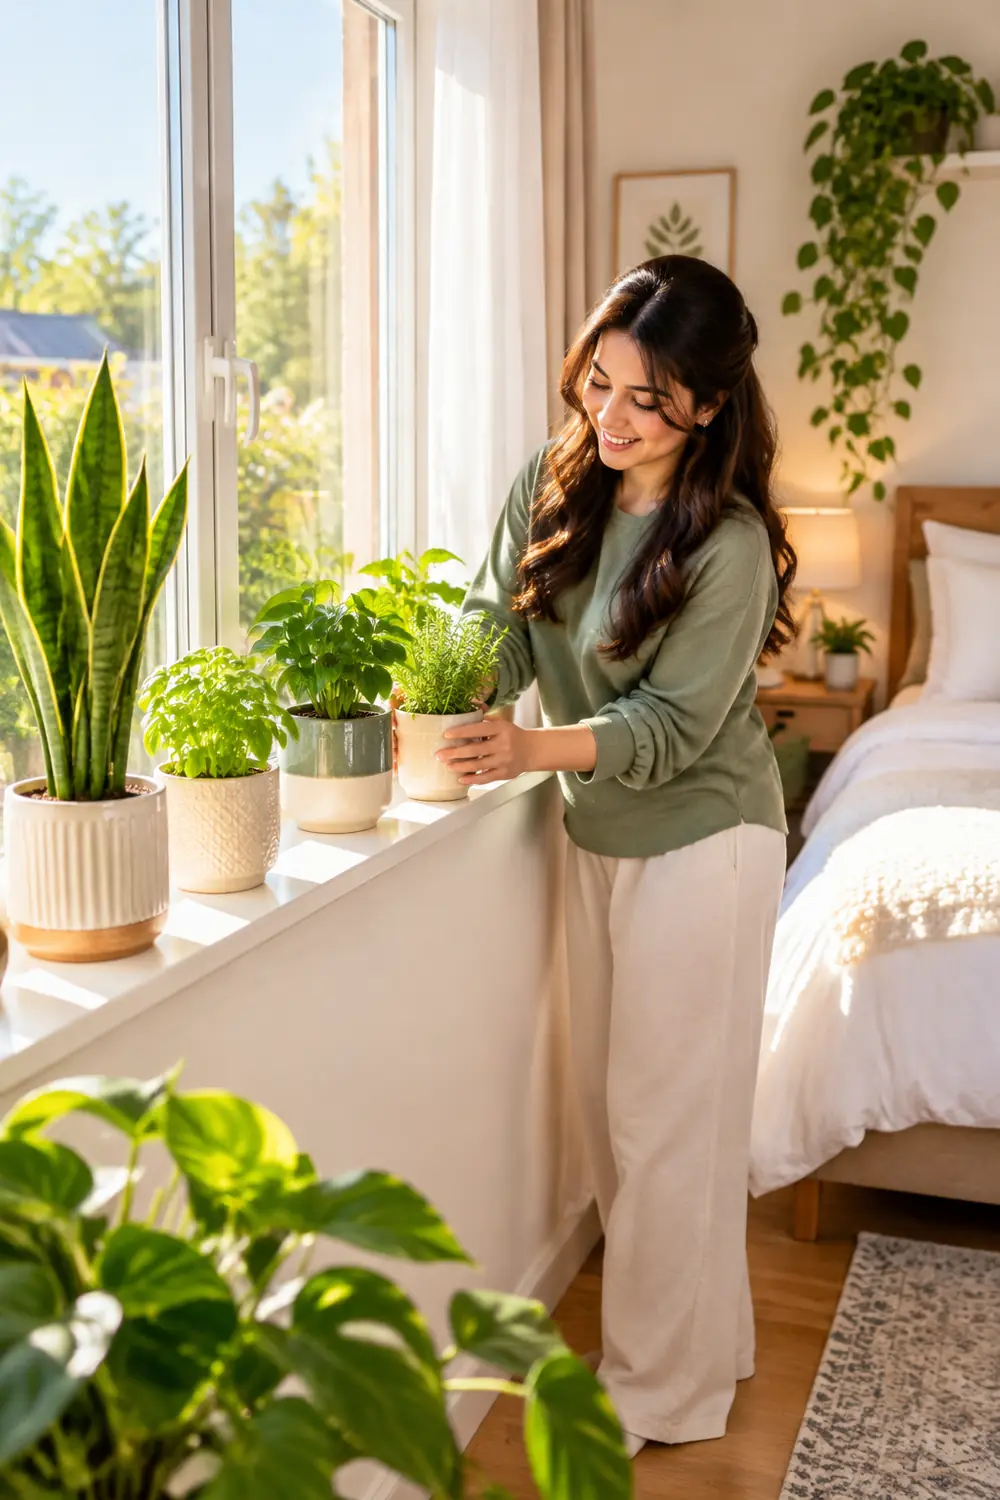
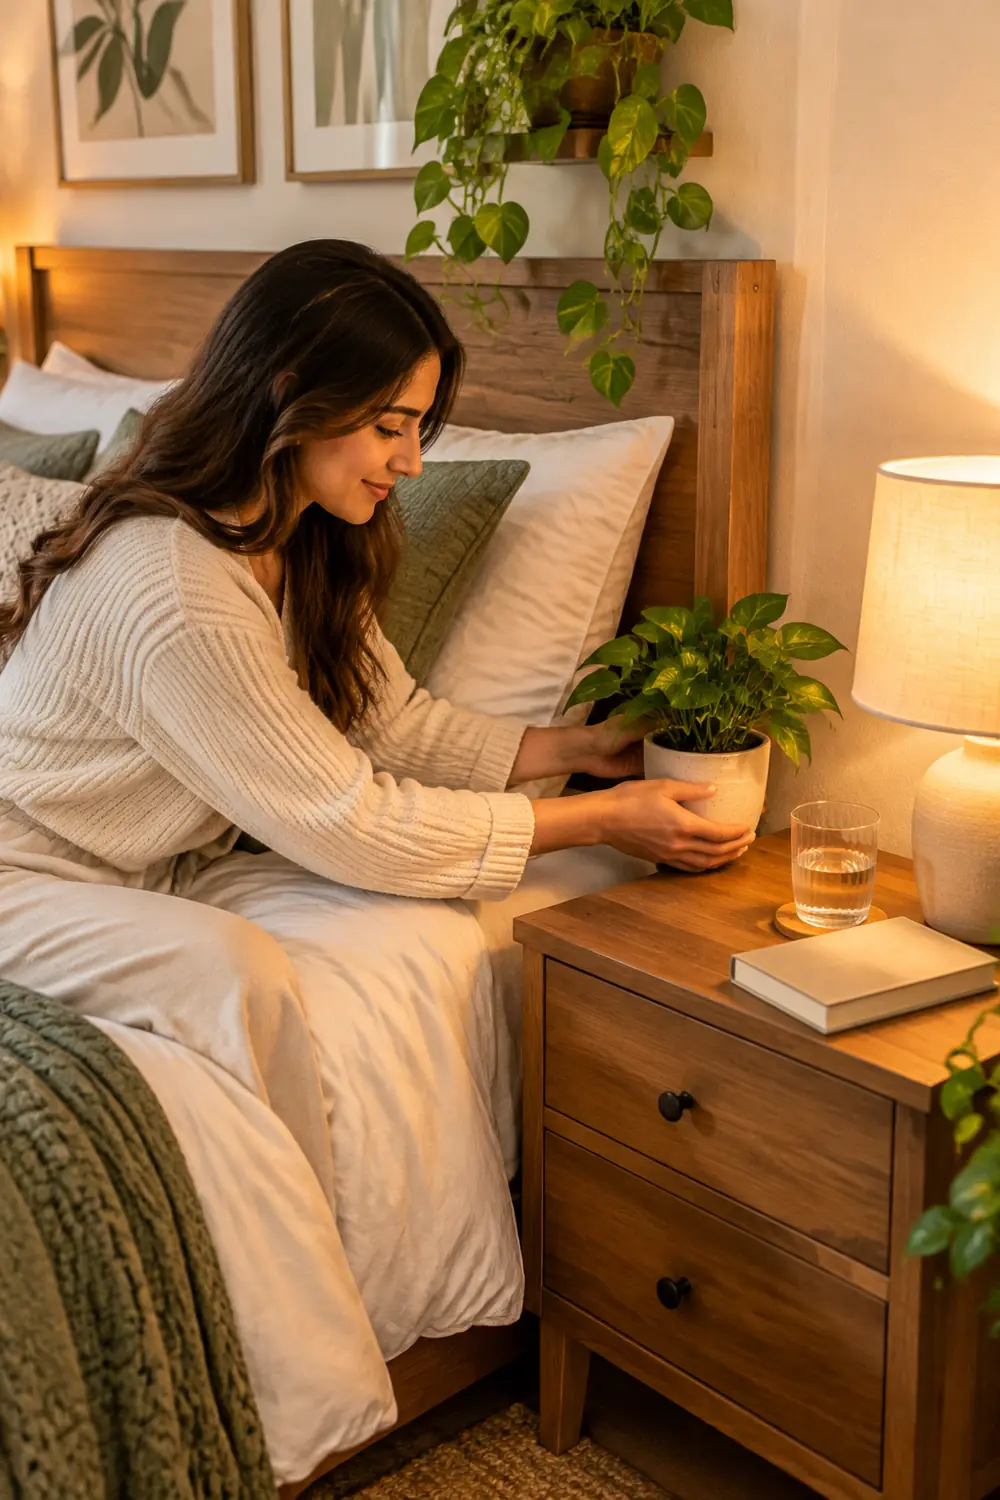
Choose one compact plant in a pot no wider than 6 inches for the nightstand you use most. Set it toward the back corner, with its saucer under it, and leave the front half of the surface open for a book, water, and your phone. Two matching nightstand plants can work in a wide room, but one is the safer choice when the table is under 24 inches wide.
Anchor the Quiet Corner With the Largest Plant
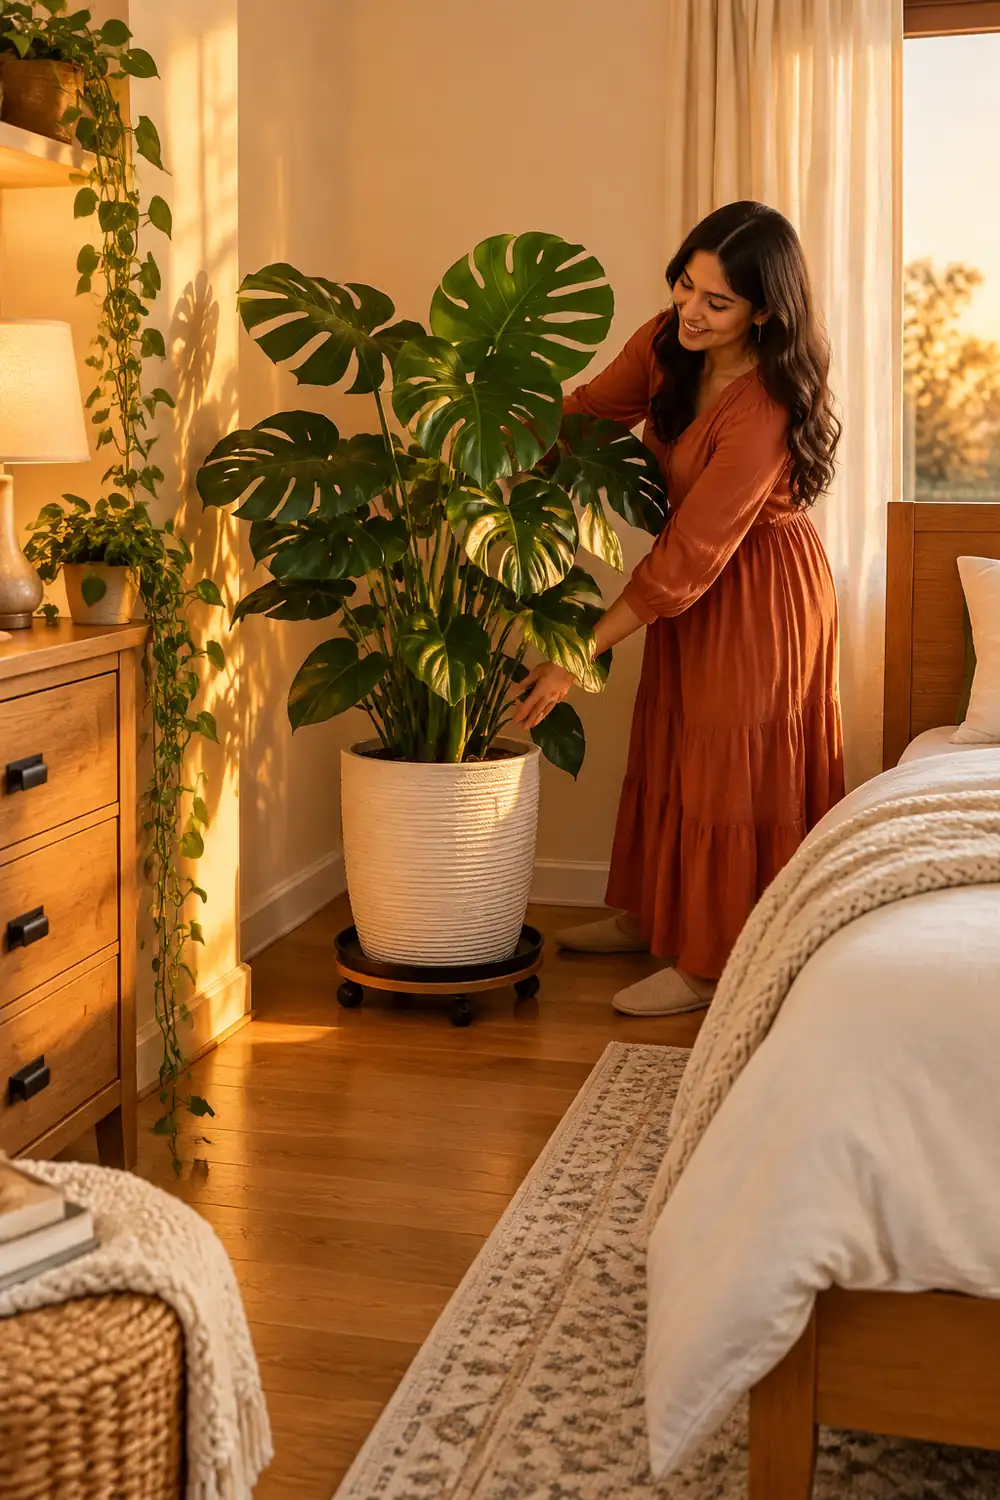
Move the biggest low- or medium-light plant into the marked corner and pull it 6 to 8 inches away from both walls. A large plant needs air around its leaves and room for you to reach the pot. Set it on a waterproof tray or rolling caddy. From the bed, the plant should fill the empty corner without leaning over the walkway or hiding the whole baseboard. These bedroom corner plant ideas can help if the corner also holds a chair or lamp.
Remove One Plant From Every Crowded Surface
Look at each dresser, shelf, and table. If your hand cannot land flat on an open patch, take one plant away. Move it to a zone with space, store it for seasonal rotation, or pass it to a friend. Editing is part of arranging, not a failure. The calm effect behind minimalist bedroom plant ideas comes from this kind of breathing room. The plants that remain get more light, more air, and more attention from across the room.
Check the Room From the Doorway
Stand in the doorway for one full minute and look at the bed, the main cluster, and the floor. You should see three plant zones, not a green item on every surface. Sit on the bed and repeat the check from where you read or wake up. If one pot pulls your eye, move that pot only. Stop when the paths are clear and the groups look settled.
Troubleshooting
Use the first matching row before you buy another shelf or pot.
| If This Happens | Try This |
|---|---|
| Plants still look scattered | Move every single pot back into one of the three zones. |
| Leaves rest on bedding | Shift the pot 12 inches away or choose a narrower plant. |
| Water marks appear on wood | Put a waterproof tray under the pot and wipe spills the same day. |
| The floor route feels tight | Remove the floor plant nearest the bed and reopen 36 inches of path. |
| One cluster looks flat | Raise the back plant by 6 to 10 inches and leave the front plants low. |
Questions Beginners Ask
How many plants are too many for a bedroom?
There is no fixed number. A room is overfilled when plants block drawers, cover most surfaces, or force you to move pots for daily tasks. Count zones and clear space before you count pots. Twelve plants in three groups can feel calmer than five plants spread across five surfaces.
Can I put plants on both nightstands?
Yes, if each table still keeps its front half open and the lamps do not crowd the leaves. Use the same pot finish on both sides. In a narrow room, keep one nightstand plant and move the second plant to the main cluster. Symmetry matters less than being able to set down a glass of water at night.
What can I use if I do not own a plant stand?
Use a sturdy stool, a low wooden crate turned on its side, or a stack of large hardcover books inside a spare room corner only if it cannot tip. Test the substitute with the empty pot first. If it rocks, do not use it for a watered plant. A floor plant is safer than a high plant on a weak base.
How do I keep the layout from drifting back into clutter?
Give every new plant a zone before it enters the room. When a plant outgrows its pot, move the smallest plant out of that zone instead of squeezing both onto the same surface. Take a phone photo after watering once a month. The photo makes slow crowding obvious before it becomes part of the room.
Quick Reference Card
Supplies: tape measure, notebook, painter’s tape, stands, trays, two pot finishes, felt pads, watering can, cloth.
- Count plants
- Pick three zones
- Measure clear paths
- Sort by light
- Limit pot finishes
- Build main cluster
- Use three heights
- Arrange windowsill
- Set nightstand
- Anchor corner
- Edit crowded surfaces
- Check doorway view
Remember: three zones, clear paths, and open space on every surface.
Your Room Is Ready
You now have a method for How to Arrange Plants in a Bedroom without turning every surface into a shelf: count first, place by zone, and protect the empty space. The plants can keep growing, but the pattern stays in charge.
Save a photo of the finished room for your next plant purchase. When a new pot comes home, compare it with the photo and choose its zone before you set it down. That one habit keeps the layout from sliding back.
Pin this guide for the next time a plant sale tests your willpower.