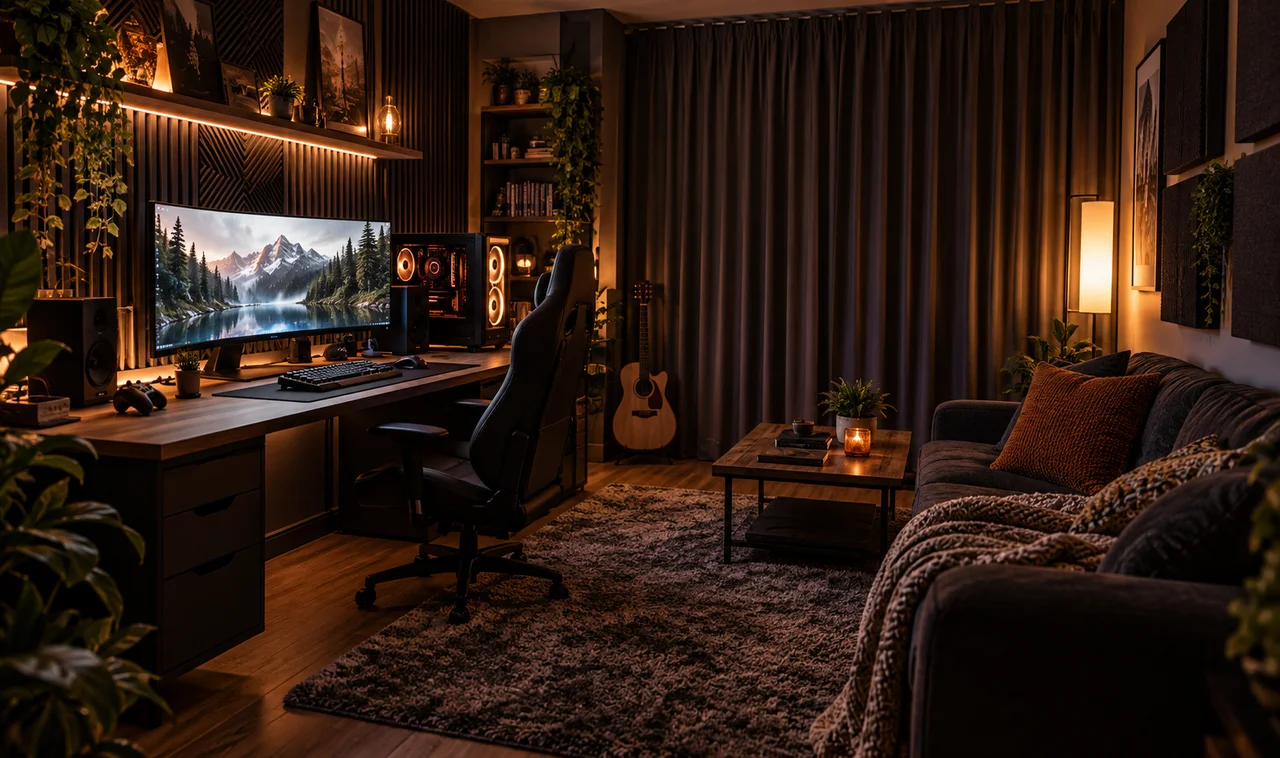
Your teammates hear your game. Your family hears your teammates. If late-night sessions keep getting interrupted by complaints about noise, or your mic keeps picking up the TV from the next room, it is time to soundproof your gaming room. But ripping out drywall or building a room-within-a-room is overkill for most of us.
This guide shows you how to soundproof a gaming room without major renovation: no drilling into studs, no contractors, nothing your landlord will hate you for. In one weekend, for less than the cost of two new game releases, you can seal the worst leaks, soften the hard surfaces, and add real mass where sound escapes. You will not build a recording studio, but you will play loud at midnight without a single knock on the door. Let’s find where your sound is leaking. The whole project needs nothing you cannot buy in one hardware store trip, and every step comes off cleanly if you ever move.
- Self-adhesive foam weatherstripping (17 feet roll)
- Adhesive door sweep for the bottom gap
- Heavy blackout curtains, wider than the window by 6 inches each side
- Tension rod or removable curtain hooks
- Thick area rug plus a dense rug pad
- Acoustic foam panels (12-pack, 12×12 inches)
- Removable mounting strips
- A bookshelf you already own, filled with books
- Walk the room and find the sound leaks
- Seal the door frame with weatherstripping
- Block the gap under the door
- Hang heavy curtains over the windows
- Soften the floor with a thick rug
- Load a bookshelf against the shared wall
- Hang acoustic panels to soundproof the shared wall
- Test with your loudest game and adjust
1. Walk the room and find the sound leaks
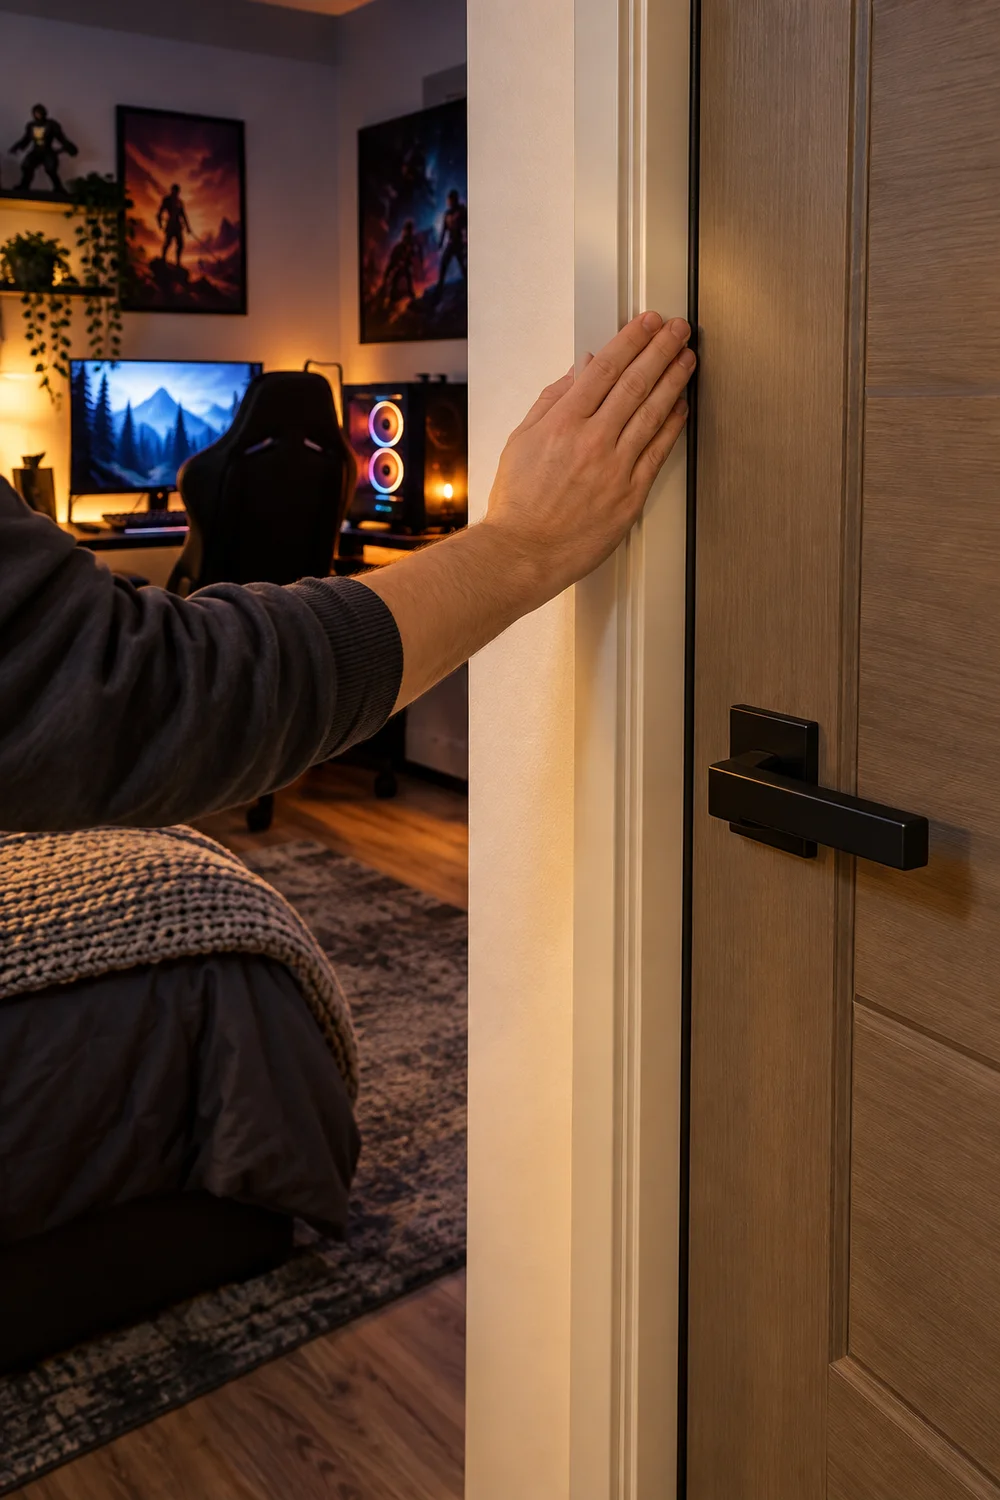
Sound behaves like water: it pours through the gaps, not the walls. Close the door, turn off the game, and slowly walk the edges of the room with your hand near the door frame, windows, and vents. Feel for moving air. Anywhere air slips through, sound slips through louder. Mark each leak with a small piece of painter’s tape. Most rooms have three to five, and the door alone usually accounts for half the problem.
2. Seal the door frame with weatherstripping
Start with the biggest leak. Press self-adhesive foam weatherstripping into the door frame where the door meets it on all three sides. Cut it with scissors so the ends meet cleanly at the corners, with no overlaps or gaps. Close the door and check: you should feel slight resistance, like the door is hugging the frame. If it slams easily, the foam is too thin; if it will not latch, trim a layer back.
3. Block the gap under the door
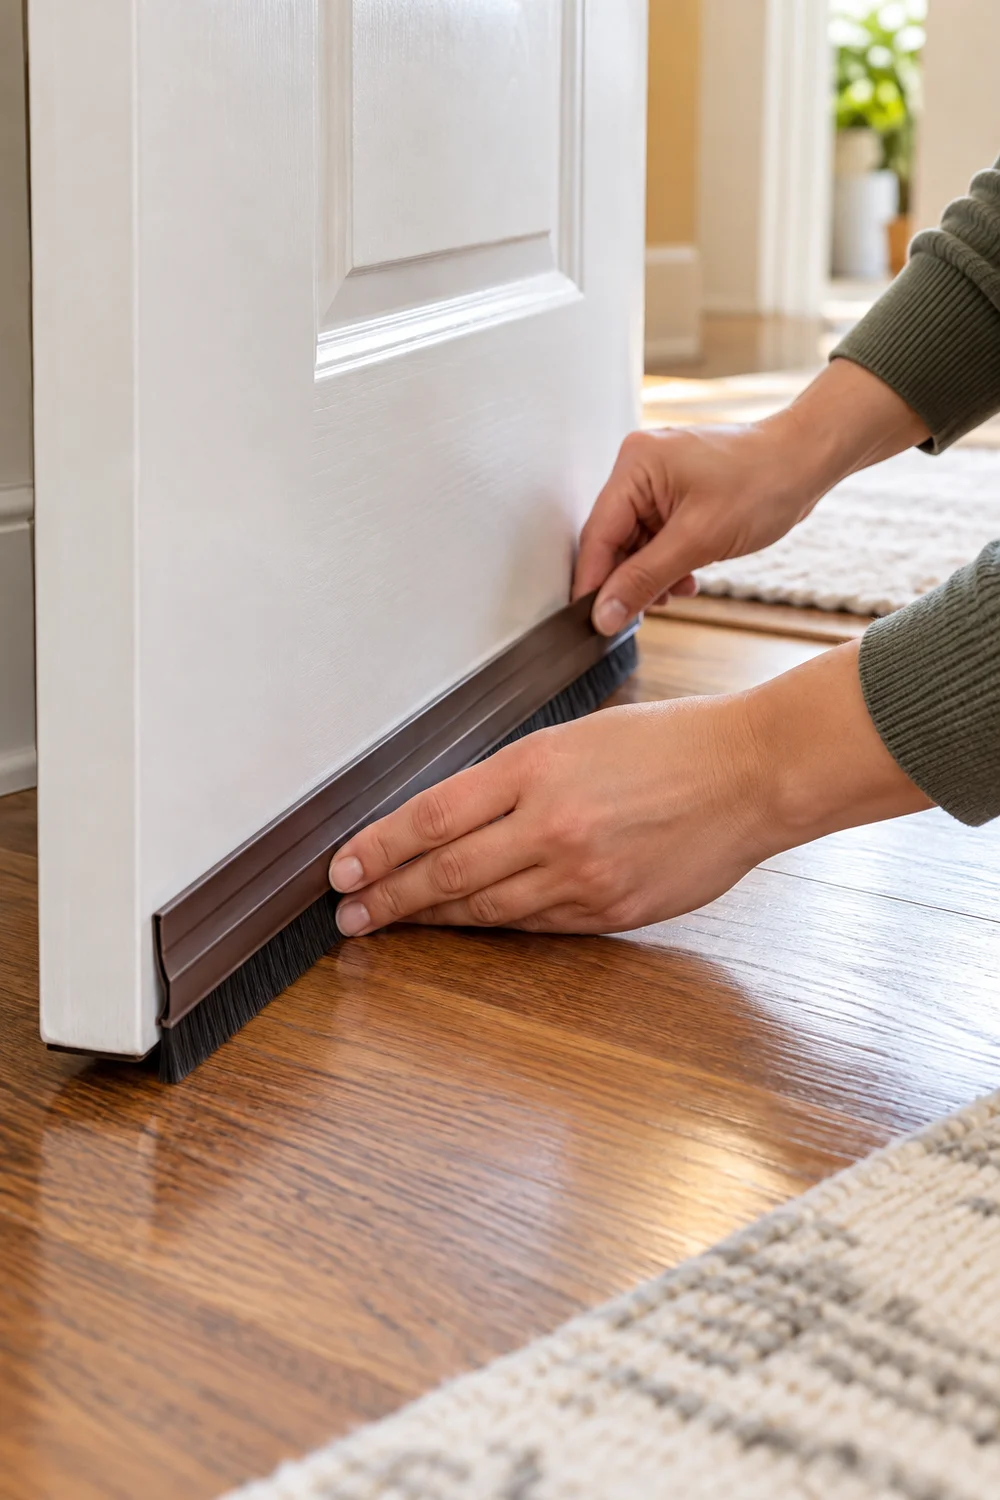
That 1-inch slit under the door is a highway for sound. Stick an adhesive door sweep to the bottom of the door so its bristles or rubber fin barely brush the floor when closed. No screws needed, and it peels off cleanly when you move out. Slide a draft stopper under the door at night for the final seal. This single step often makes the biggest audible difference in the whole project.
4. Hang heavy curtains over the windows
Glass is the second-worst offender after the door. Hang the heaviest blackout curtains you can find on a tension rod, choosing panels 6 inches wider than the window on each side so they overlap the wall. Let them puddle slightly on the floor rather than hovering above it. Thick fabric absorbs reflections inside the room and blocks a surprising amount of outside noise, and as a bonus your screen glare drops too during the day.
5. Soften the floor with a thick rug
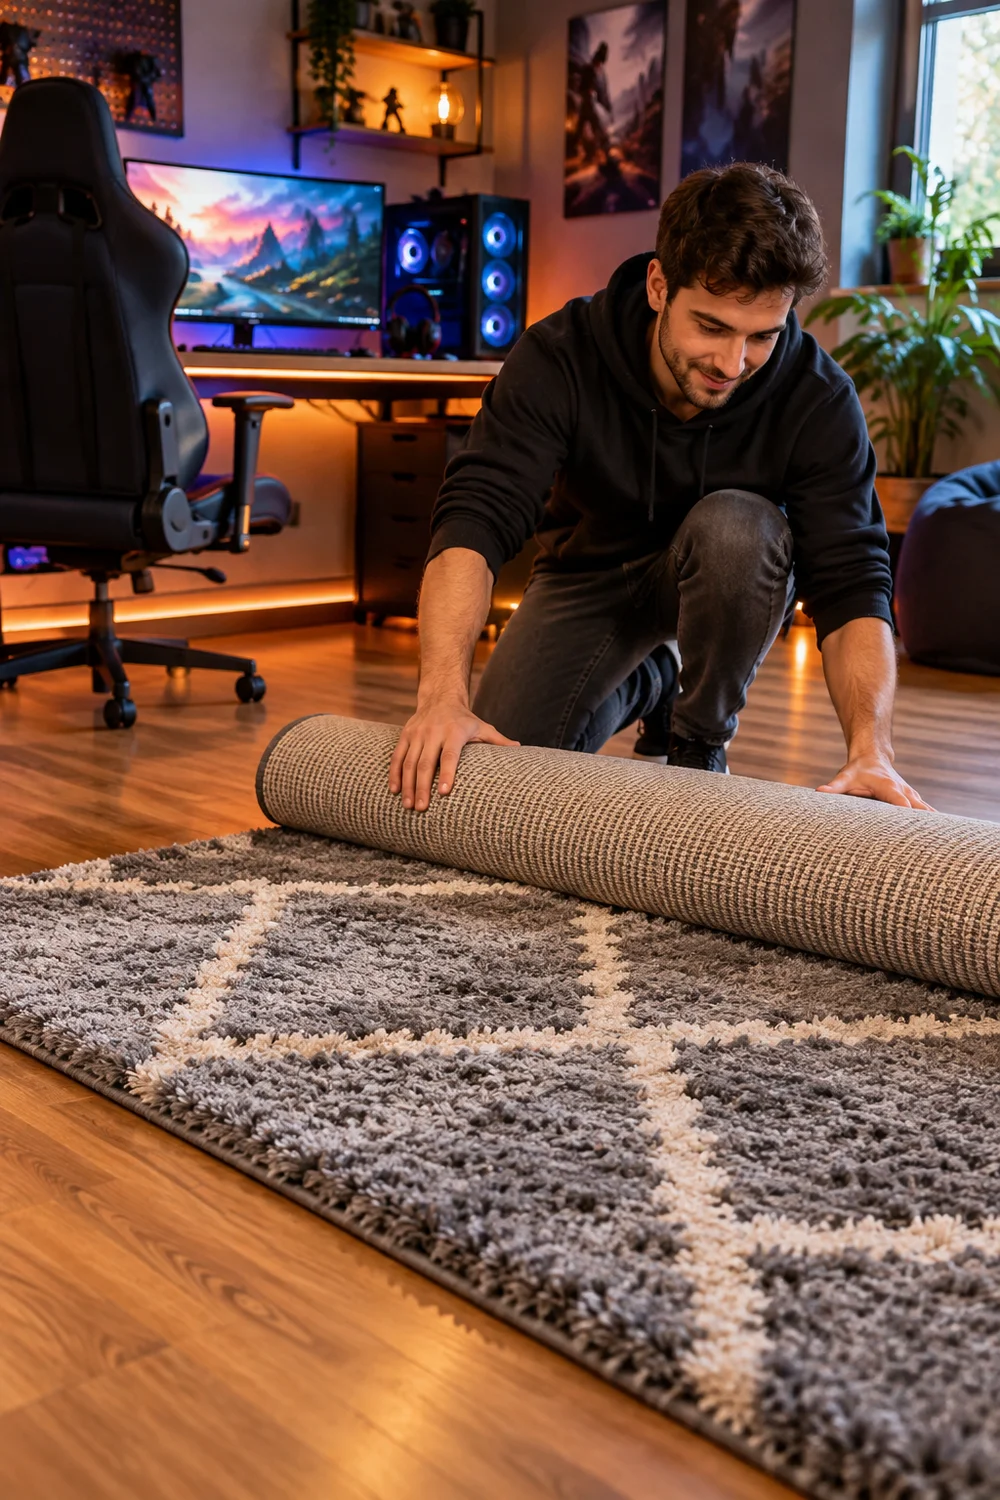
Bare floors bounce every sound twice: once off the floor, once off the ceiling. Roll out the thickest rug that fits the gaming area, with a dense rug pad underneath for extra mass. Cover the floor between you and the door first, since that is the path sound travels to escape. A rug will not block bass from a subwoofer, but it kills the harsh reflections that make a room sound loud and echoey on voice chat.
6. Load a bookshelf against the shared wall
Mass stops sound, and nothing adds cheap mass like a full bookshelf. Push a tall shelf flat against the wall you share with a bedroom or neighbor, then fill every shelf tightly with books, games, and boxes. Leave no empty cubbies. A loaded shelf adds an effective extra layer to the wall, and unlike foam panels, it works on low voices and bass too. Arrange the heaviest items at ear height, where most sound hits.
7. Hang acoustic panels to soundproof the shared wall
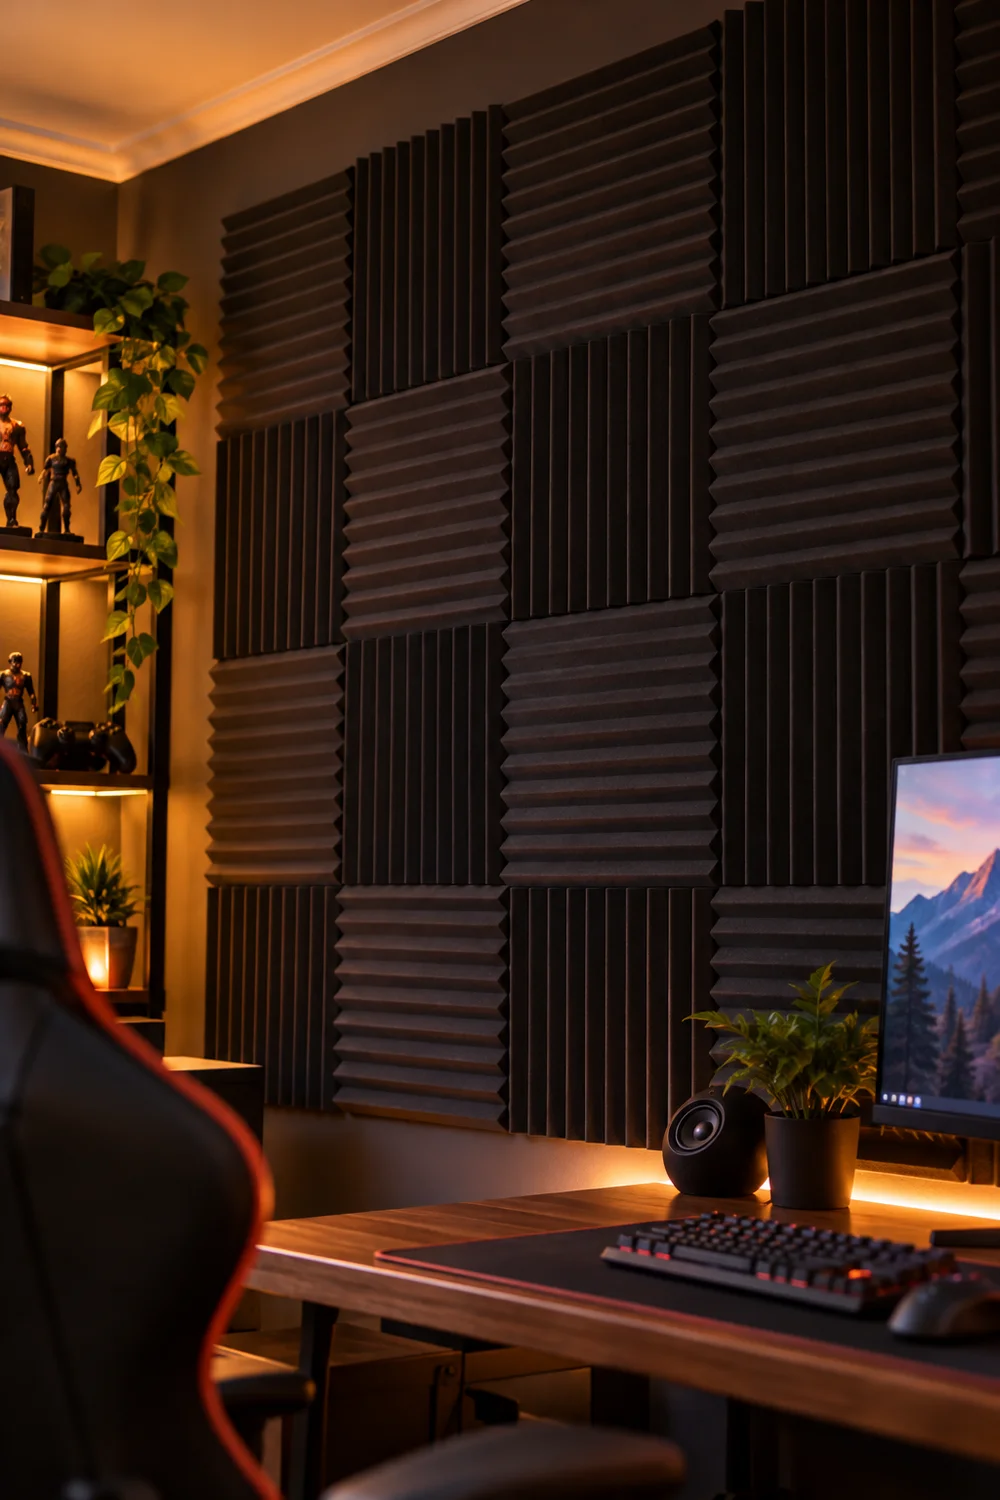
Foam panels do not block sound from leaving, but they stop it bouncing around inside, which makes the room dramatically quieter to everyone nearby. Stick 12 panels on the shared wall with removable mounting strips, spacing them like a checkerboard at ear height rather than clustering them in one spot. Cover about 30 percent of the wall surface. More than that gives diminishing returns for the money.
8. Test with your loudest game and adjust
Time for the fun part. Load the loudest, most explosive game you own and play for 10 minutes at your normal volume. Then walk to the next room and listen at the door. If you still hear clear voices or effects, revisit your tape marks from step 1: one leak usually remains, often a window latch or an uncovered vent. Fix it, test again. When the next room hears only a dull murmur, you are done.
| If This Happens | Try This |
| Bass still thumps through the wall | Turn the subwoofer down and lift it off the floor onto a dense foam pad. Bass travels through structure, not air. |
| The door will not latch after weatherstripping | The foam is too thick. Replace it with a thinner profile on the latch side only. |
| Adhesive strips damage the paint | Warm the strip with a hair dryer for 30 seconds before pulling slowly along the wall, never outward. |
| The room sounds dead and dull now | You over-treated it. Remove a few panels until voices sound natural again. |
Frequently Asked Questions
Can I really soundproof without construction?
You can cut perceived noise roughly in half, which is enough for gaming. True silence needs construction, but half the noise means no more complaints.
Will this help my microphone sound better?
Yes. Soft surfaces kill the echo your mic picks up, so teammates hear you clearer even before you touch any settings.
What is the cheapest step with the biggest effect?
Sealing the door. Weatherstripping plus a door sweep costs little and fixes the single largest leak in most rooms.
Do I need to cover every wall with foam?
No. About 30 percent coverage on the shared wall is the sweet spot. Full coverage wastes money.
You need: weatherstripping, door sweep, blackout curtains, thick rug + pad, 12 acoustic panels, removable strips, a full bookshelf.
- Find the leaks with the hand test
- Seal the door frame
- Block the gap under the door
- Hang heavy curtains
- Lay a thick rug with pad
- Load a bookshelf on the shared wall
- Mount panels in a checkerboard
- Test loud and adjust
Wrapping Up
You made your room dramatically quieter without touching a single stud. Now that you know how to soundproof a gaming room without major renovation, midnight sessions are back on the menu.
Start with the door this weekend; it is the fastest win. Pin this guide for the curtain and panel steps, and enjoy gaming at full volume again.