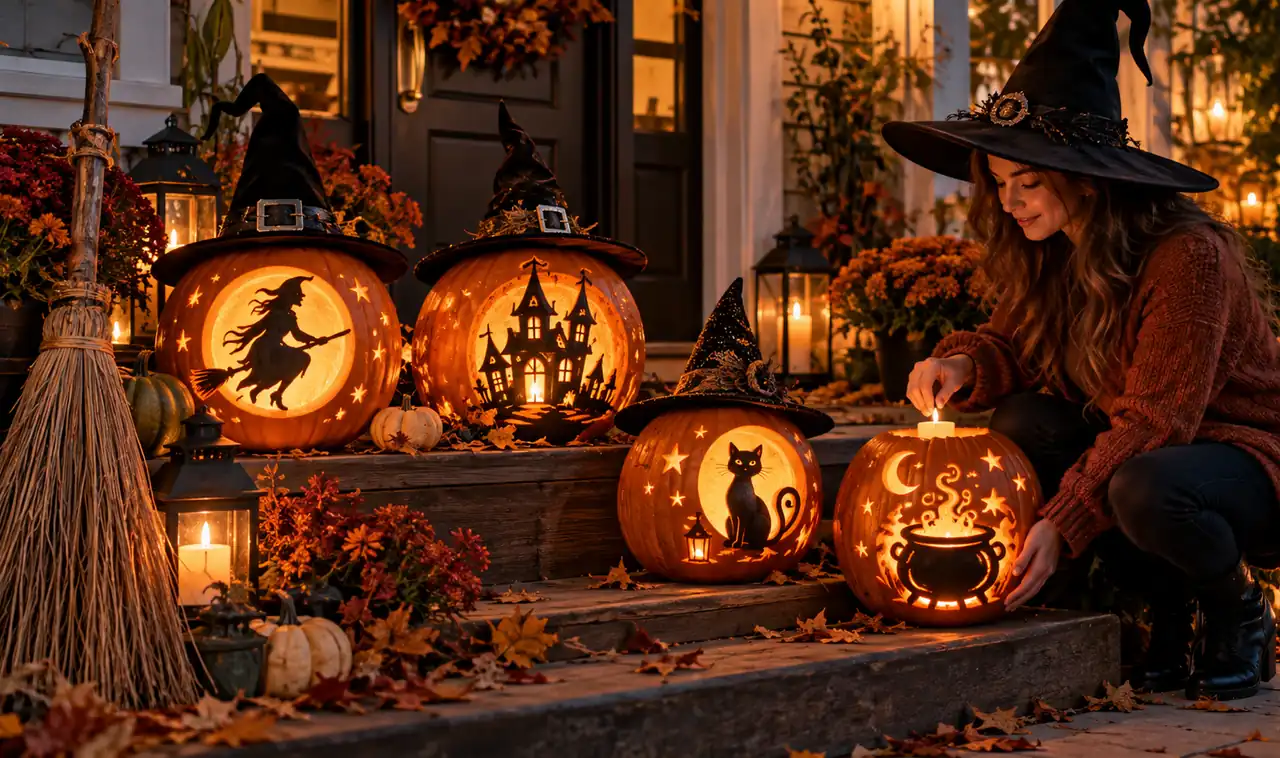
Most witch pumpkins look exactly the same. A triangle hat, a crooked nose, done. You have seen that pumpkin on every porch on the block, and it is fine, but it never makes anyone stop and stare.
Here is the thing. Witch carving gives you more to work with than almost any other Halloween theme. Hats, brooms, cauldrons, cats, moons, spellbooks. Each one is a shape you already know how to draw, which means even a shaky hand can pull it off.
This list of Witch Pumpkin-Carving Ideas walks through 15 designs from friendly to frightening. Some need only a kitchen knife and a spoon. Others use paint, drill bits, or a second pumpkin for a full scene. Every idea names the cuts that matter and the small details that sell the magic.
Pick the one that fits your skill and your porch. By the time the candle goes in, your pumpkin will look like it flew straight out of a storybook.
1. Carve the Classic Pointy Witch Hat First
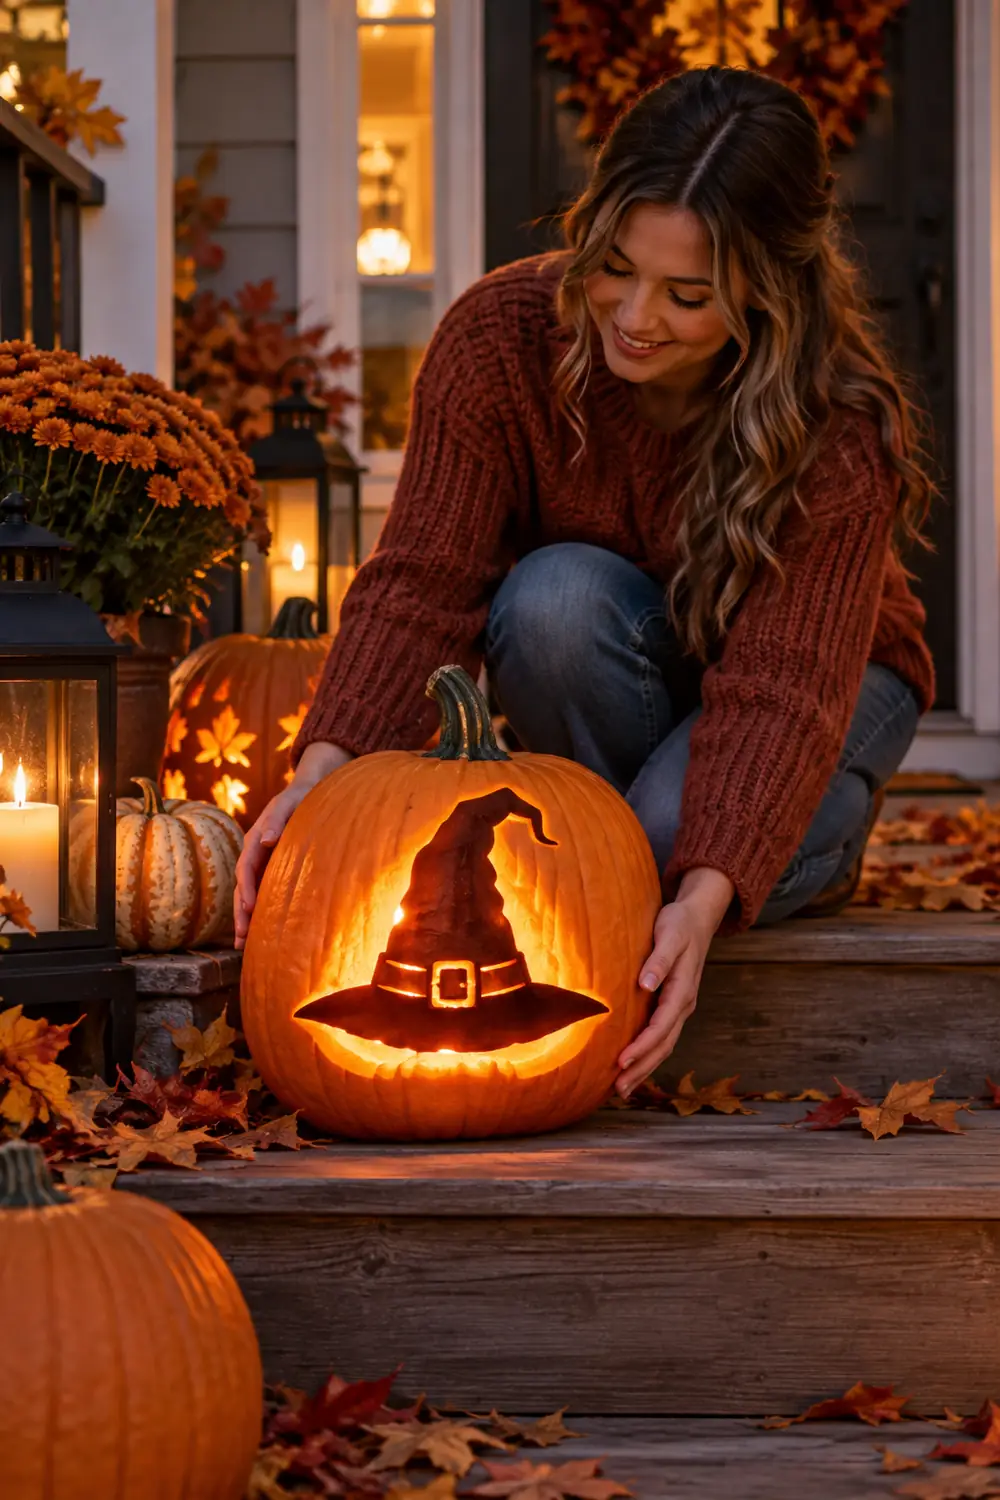
Start with the silhouette everyone recognizes. A tall triangle with a bent tip reads as “witch” from across the street, which is exactly what a porch pumpkin needs to do.
Draw the hat large, covering most of the pumpkin’s face. Cut it out completely so light pours through. Then add a thin band across the base of the hat and a small square buckle. Two extra cuts, and the hat suddenly looks finished instead of plain.
Keep the rest of the pumpkin simple. A plain glowing hat on an otherwise whole pumpkin looks bold and clean. Save the fussy details for the ideas further down this list.
2. A Witch Flying Across a Harvest Moon
This is the scene people photograph. A big round moon takes up the middle of the pumpkin, and a small witch on a broom cuts across it in silhouette.
Carve the moon as a large circle cut all the way through, then carve the witch shape out of the moon’s glow by leaving it uncut. That sounds backward, but it works. The bright circle becomes the moon, and the dark witch shape floats inside it.
Keep the witch simple: a triangle dress, a stick broom, a pointed hat. Small shapes read better at night than fussy ones.
💡 Quick Tip
Draw the moon first with a bowl as a stencil, then sketch the witch inside it. Cutting the big shape before the small one keeps the pumpkin strong while you work.
3. Witch Boots With Big Buckles
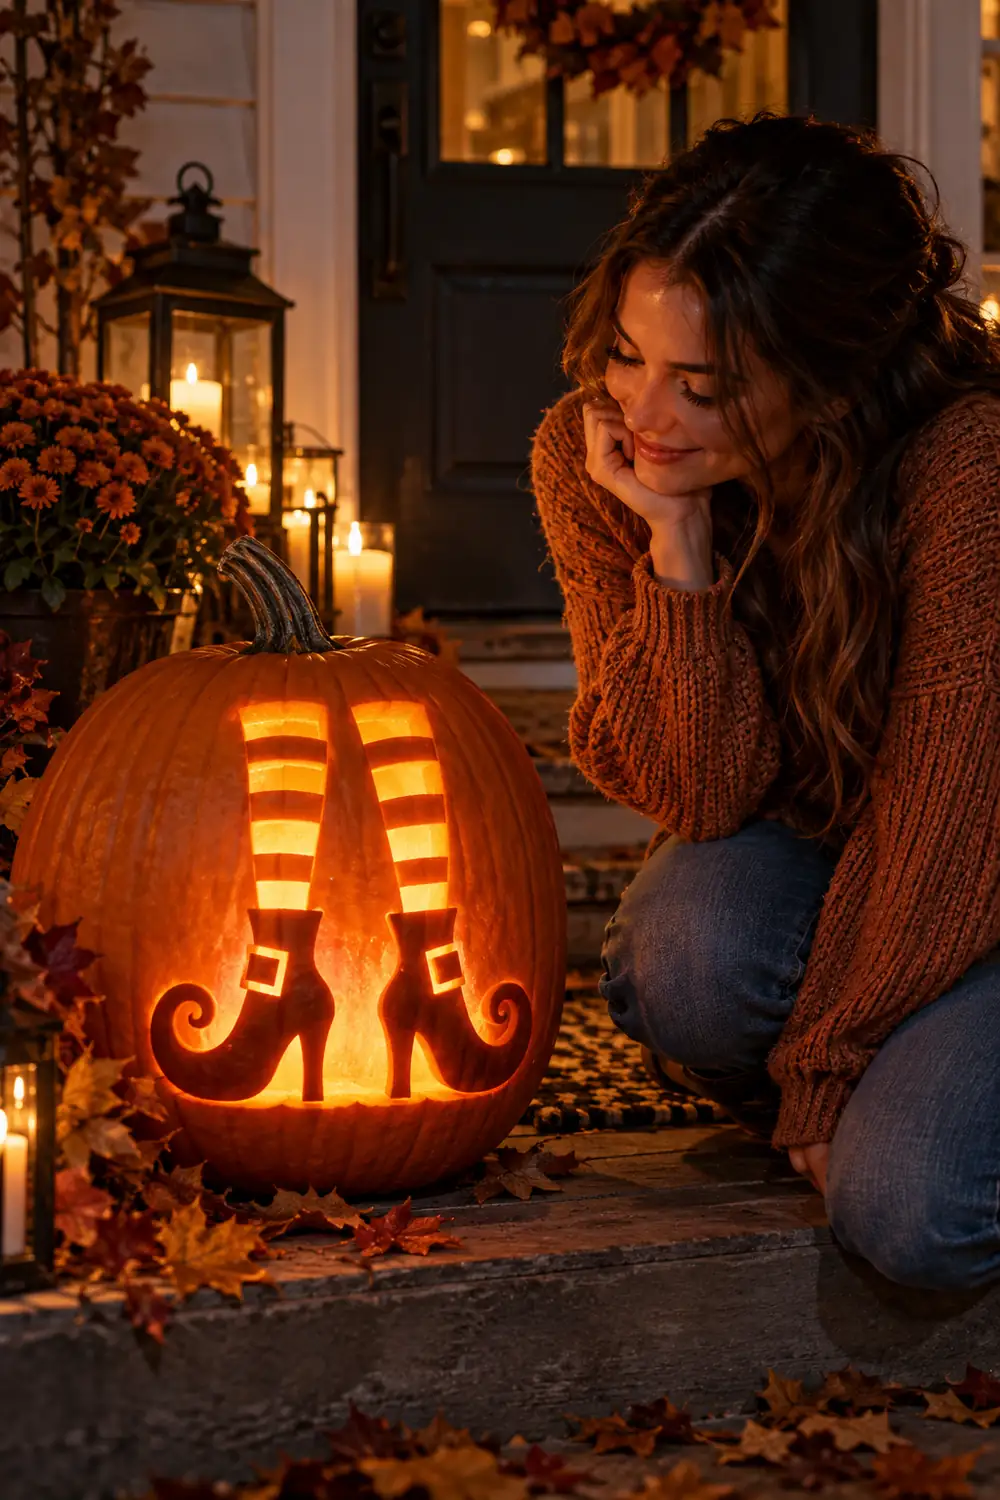
Boots are an underused witch symbol, and they carve beautifully. Two tall boot shapes side by side fill a pumpkin nicely, and the curled toes give the whole thing a storybook feel.
Cut the boots as solid silhouettes, then carve a strap across each ankle and a square buckle in the middle of the strap. The buckle is the detail that makes strangers ask how you did it. It is just a square with a smaller square inside, but it reads as fancy metalwork when lit.
Point the toes in opposite directions for a playful look, or curl both toes the same way for a classic storybook witch.
4. The Bubbling Cauldron Scene
A cauldron gives you texture to play with. The pot itself is a simple rounded shape, but the bubbles rising above it let you vary your cuts in a way flat designs never do.
Carve the cauldron as a wide bowl shape low on the pumpkin. Above it, cut circles in different sizes for bubbles, and add a few wavy steam lines with shallow surface cuts that glow softly instead of blazing. The mix of deep cuts and shallow scratches creates depth.
Stick two crossed sticks under the pot for legs. If you want company on the porch, pair it with a few spooky pumpkin faces so the cauldron looks like it is brewing something for the whole crew.
5. A Witch Face in Profile, Wart and All
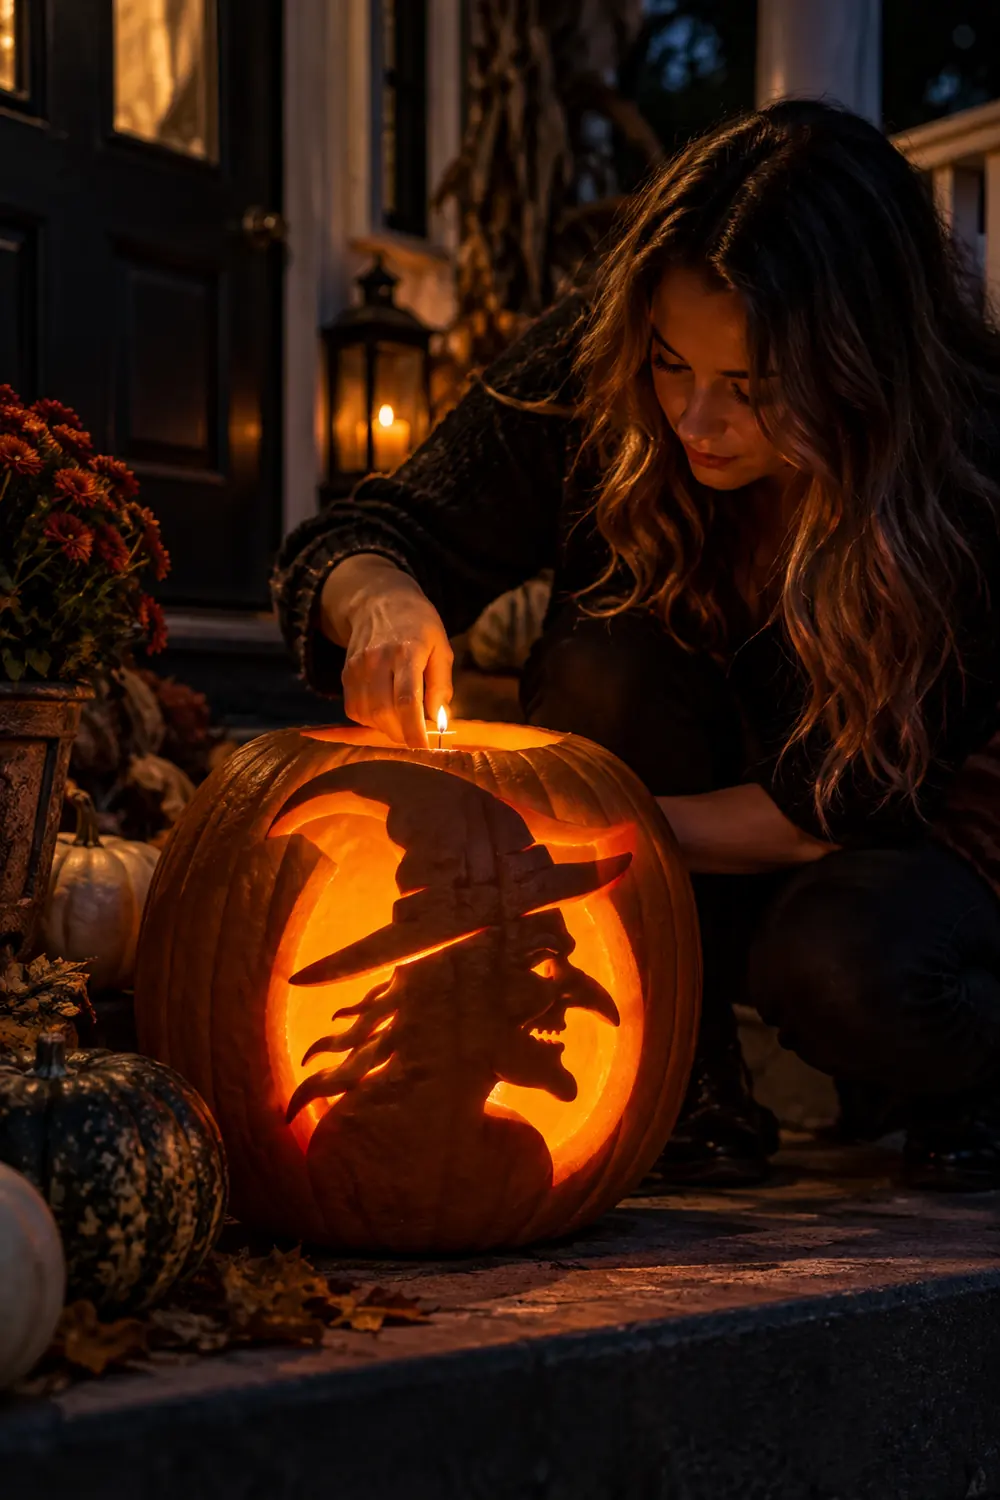
Front-facing witch faces can look flat. A profile view, all nose and chin and hat brim, has far more character and is honestly easier to draw.
Sketch a side view: forehead, long nose with a bump for the wart, pursed lips, sharp chin. The hat brim becomes a strong horizontal line across the top, which grounds the whole design. Cut the outline through, then use shallow cuts for wrinkles and the wart so they catch the light.
Profiles forgive wobbly lines better than symmetrical faces. If your hand shakes, the witch just looks more weathered.
What to grab first
6. Turn a Pumpkin Into an Open Spellbook
This one stops traffic. Carve the pumpkin so it looks like an open book, with two page shapes and lines of “text” made from shallow cuts.
Cut a wide rectangle across the front, then carve a center line down the middle for the book’s spine. Inside each page, scratch short horizontal lines in rows. When lit, the rows glow like tiny lines of spells. Lean a small witch hat against the top and the story tells itself.
This idea works best on a tall pumpkin with a flat-ish face. Round pumpkins fight the book shape, so pick your pumpkin with the design in mind.
7. The Leaning Broomstick Trick
Here is a structural trick that looks like magic. Carve a broomstick design, then lean a real mini broom against the pumpkin so the carved broom and the real one line up.
Keep the carved part simple: a long diagonal stick with straw lines fanning at the bottom. Use shallow cuts for the straw so it glows softly. The real broom, which you can buy at any craft store, does the heavy visual lifting.
New to carving? This is a forgiving first project, and our pumpkin carving for beginners guide covers the basic cuts you will use here. The whole thing takes about half an hour once the pumpkin is cleaned.
8. Add a Black Cat Familiar
Every good witch needs a cat. A black cat silhouette with an arched back and a curled tail is one of the easiest shapes to carve well, because cats are basically curves.
Place the cat beside a witch hat or a moon so the scene has context. Cut the cat as a solid silhouette and let the background glow around it. Two triangle ears and a long tail do all the talking.
Draw the cat large. Small silhouettes get lost once the candle is inside.
Cut the outer shape first, then carve two thin slits for eyes so they glow.
Leave the tail uncut where it curls, so one glowing line traces its curve.
9. A Row of Glowing Potion Bottles
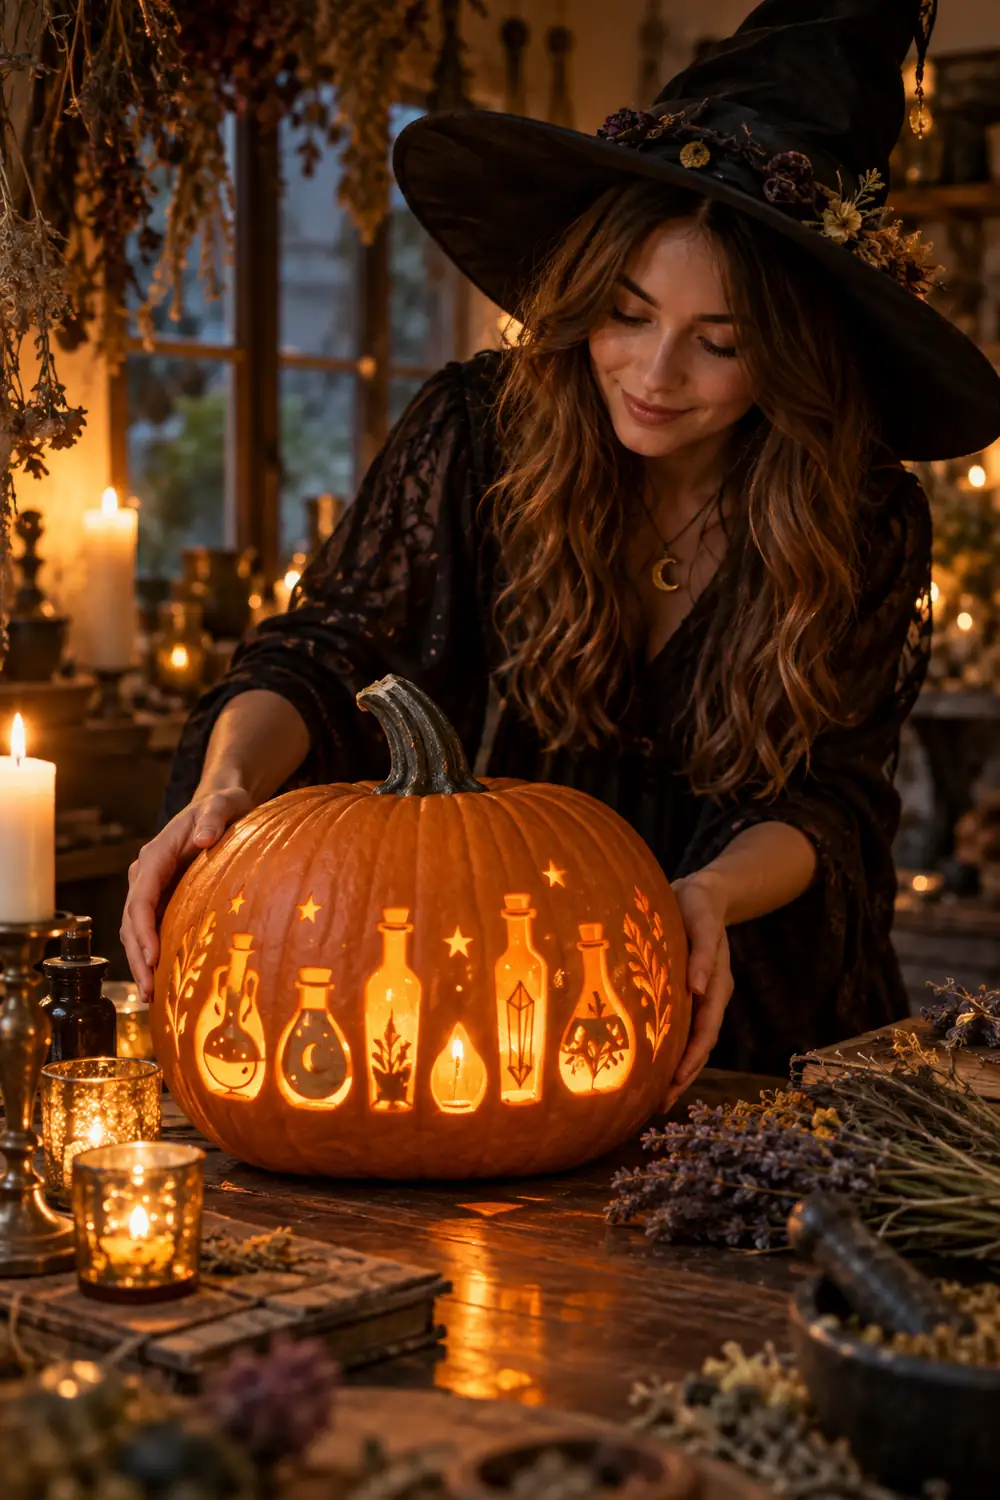
Potion bottles are just rectangles with corks, which makes them a great pick when your drawing skills feel shaky. Line up three or four across the pumpkin in different heights.
Cut each bottle as an outline and leave the “liquid” inside uncut so it glows solid. Then scratch a wavy fill line across each bottle at a different height. From the street, it looks like a shelf of glowing elixirs.
Add tiny labels with shallow cuts: a skull, a star, a moon. Keep them simple. At night, simple shapes win.
10. Make the Hat a Luminary
Instead of carving a hat shape into the pumpkin, build the hat on top of it. Cut the pumpkin’s lid into a tall cone, or stack a second small pumpkin carved into a hat above the first.
Here is why this works so well. Light from the main pumpkin shines up into the cone, so the whole hat glows from within. Cut stars and moons out of the cone and they sparkle like a night sky.
Secure the hat with two wooden skewers pushed down into the pumpkin. It will survive wind that would knock a loose lid straight onto the lawn.
11. Spiderweb Plus Witch Silhouette
A web alone is a fine carve. A web with a witch caught in the middle of it is a scene. The web gives you structure, and the witch gives it a reason to exist.
Carve the web with straight lines radiating from a center point, then connect them with shallow curved cuts. Place a small witch silhouette, hat and broom, hanging near the middle. The contrast between the geometric web and the organic witch shape is what makes it striking.
| Deep cuts (light pours out) | Shallow cuts (soft glow) |
|---|---|
| Web spokes and the witch outline | Curved web connectors |
| A hanging spider if you add one | Dewdrop dots along the threads |
12. Witch Hands Over a Crystal Ball
This design is all about the glow. Two hands cupped around a circle, and the circle burns brighter than everything else on the porch.
Carve the hands as simple mitten shapes curving up from the bottom of the pumpkin. Between them, cut a large circle completely through and leave it empty. Put your brightest light behind this one. A cheap LED puck light works better than a candle here because you want steady, strong light.
For more ways to make pumpkins shine after dark, browse these glowing pumpkin carving ideas. The crystal ball looks best when it is clearly the brightest thing in the yard.
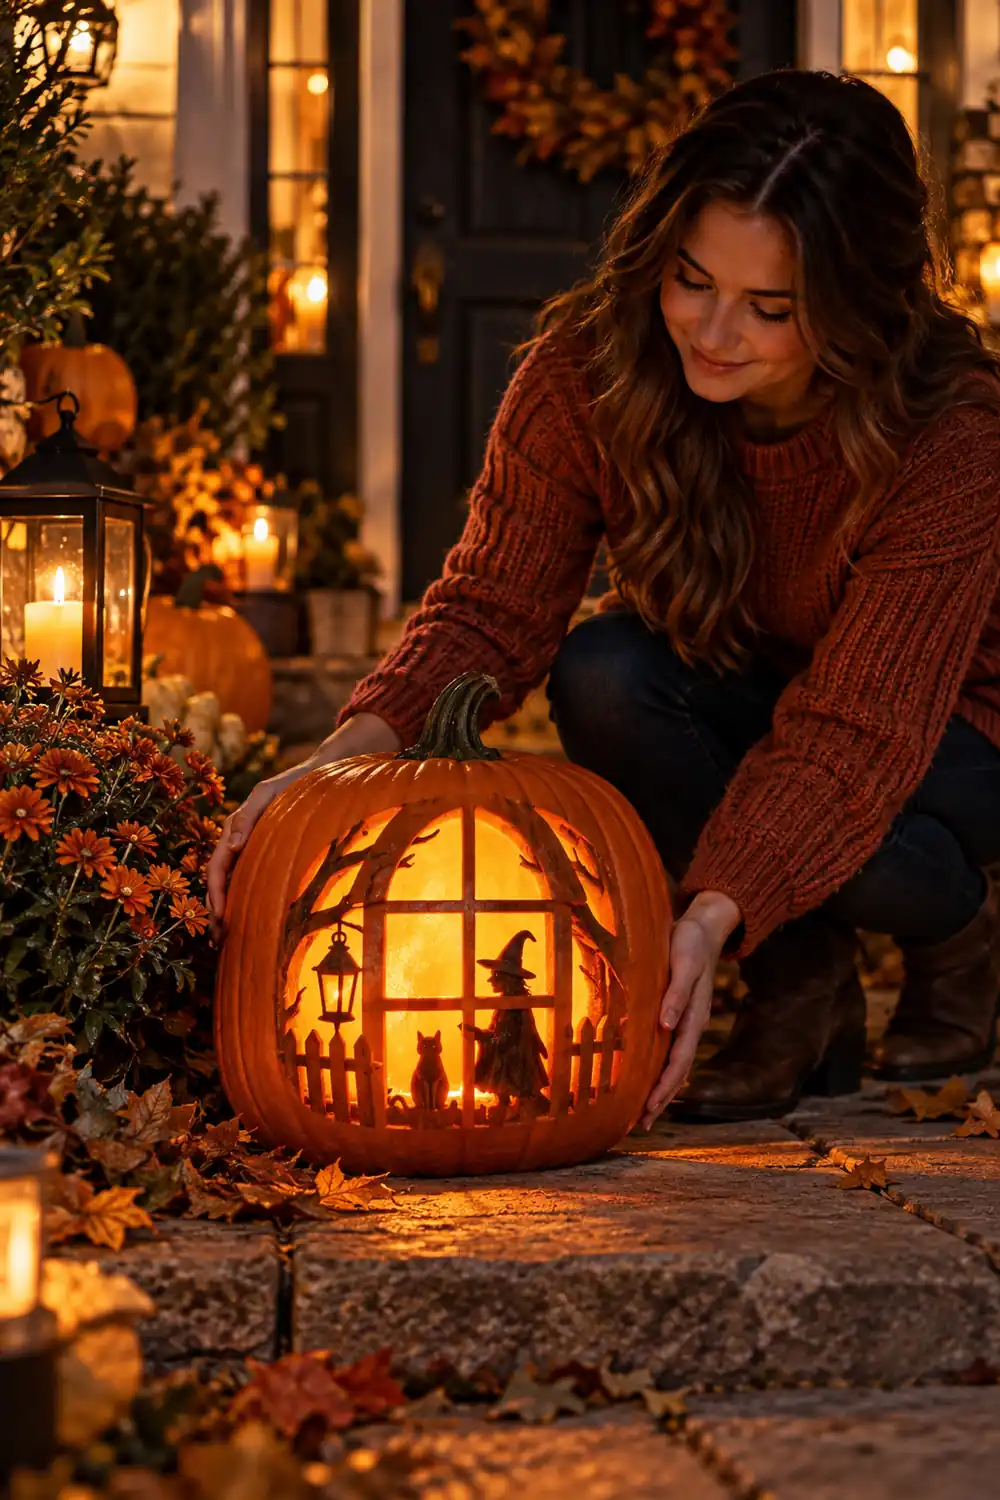
13. The Haunted Cottage Window
Carve a window frame into the pumpkin and put a witch silhouette inside it, as if she is looking out at trick-or-treaters. It is a small scene with a big payoff.
Cut a rectangle with crossbars for the window. Behind the bars, leave the witch as a dark shape: pointed hat, maybe a hand on the glass. The crossbars break the design into panels, which means less carving per area and a sturdier pumpkin.
Set this one close to the walkway. The window scene rewards viewers who come near, and kids love spotting the witch inside.
14. A Friendly Witch Hat With Stars and a Bow
Not every witch needs to be scary. A plump little hat with a floppy tip, a bow at the base, and stars scattered around it reads as charming rather than creepy.
Round every corner of your drawing. Sharp angles feel wicked, soft curves feel sweet. Cut the hat and bow as solid shapes, then drill small holes for the stars instead of carving them. Drilled dots glow like fairy lights and take seconds each.
This is the one to carve with kids. Nothing about it is frightening, and the drilling is safe enough for older children to try with help.
Round shapes feel friendly, sharp shapes feel scary. Decide the mood first, then let that choice guide every line you draw.
15. Paint It Wicked Green for Extra Magic
Sometimes the carving is only half the job. A coat of green paint turns any witch design up a notch, because green skin is the fastest shortcut to “witch” our brains know.
Paint first, carve second. Let the paint dry fully, then cut your design through the painted skin. The glowing cuts will shine warm orange against the green, and that color clash is pure Halloween.
Use acrylic craft paint, two thin coats. One thick coat cracks when the knife goes through. And keep paint away from the inside of the pumpkin if you plan to use a real candle.
Witch themes reward the carver who thinks in scenes instead of faces. A hat, a moon, a cat, a cauldron, each one is a small story, and this list of Witch Pumpkin-Carving Ideas gives you fifteen of them. Carve one this weekend while the idea is fresh, and save this page for next October when you want a new story to tell.