Big pumpkins get all the attention every October, but small ones have a charm of their own. A mini pumpkin fits in your palm, carves in minutes, and somehow looks cuter than anything twice its size. If you have ever walked past those little pumpkins at the store and wondered what to do with them, this list is for you. These small pumpkin-carving ideas prove that tiny canvases can hold the sweetest designs, from sleepy faces to glowing polka dots. Most of these take under fifteen minutes, need only basic tools, and work beautifully grouped on a windowsill or porch step. Mini pumpkins are also cheap, so you can try five designs for the price of one large pumpkin. Grab a few minis and let’s get carving.
Before you start, rinse your mini pumpkins and let them dry fully so markers and paint grip the skin. A small spoon or melon baller scoops the insides faster than your fingers can, and sketching the design with a washable marker first saves a lot of regret. Work over newspaper, keep a damp cloth nearby for wiping marker lines, and always cut away from your hands on these little round shapes.
1. Polka-Dot Mini Pumpkin
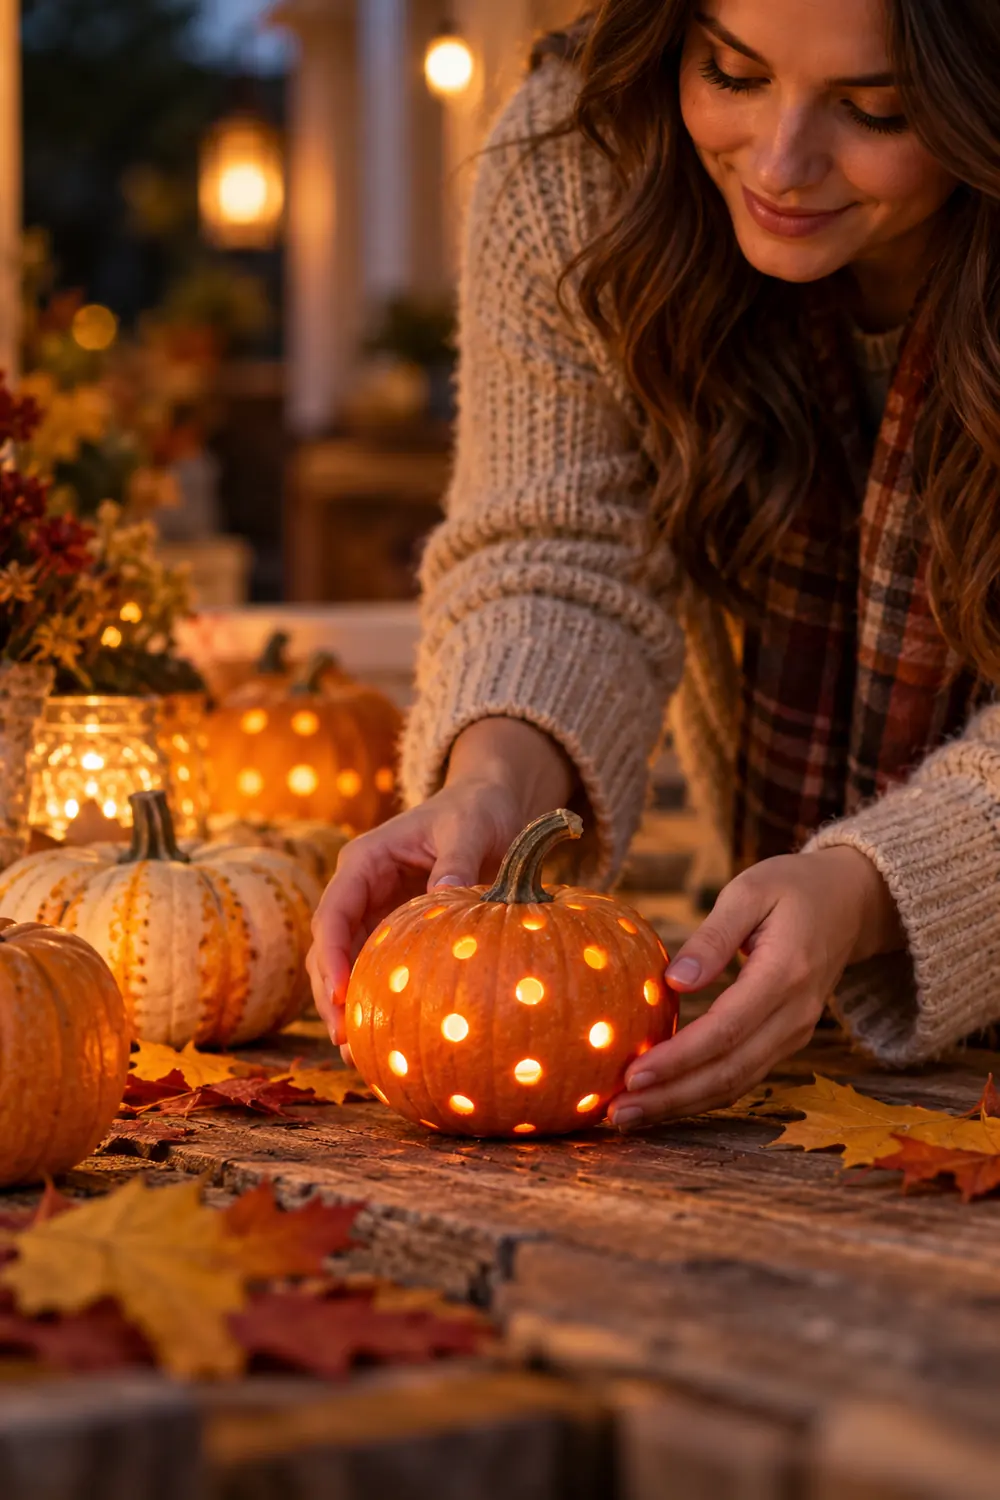
A drill turns a mini pumpkin into a glowing dotted lantern with almost no effort. Mark a loose scatter of dots with a marker, then drill straight through with a small bit. Keep the dots uneven for a playful look, or line them up in rows for something tidier. Drop in a tealight and the holes throw warm spots of light across the table. Try mixing dot sizes on one pumpkin, since the variety catches the eye and makes the pattern feel hand made rather than stamped. This is the easiest win on the list, and it looks far more impressive than the five minutes it takes.
2. Tiny Grinning Jack
The classic jack-o-lantern face shrinks down perfectly. Cut two triangle eyes, a small triangle nose, and a wide grin with jagged teeth. On a mini pumpkin the features sit close together, which makes the face look extra cheerful. Scoop the inside clean first so the walls are thin enough for a tealight to shine through. A melon baller works better than a spoon here, since it matches the curve of a mini pumpkin and gets the walls evenly thin.
Tip: a 1/8 inch drill bit makes clean round eyes on mini pumpkins when a knife feels too fiddly. Drill first, then connect the holes with tiny cuts if you want shaped eyes.
3. Sleepy-Eye Mini Pumpkin
Closed, curving eyes give a mini pumpkin a calm, drowsy expression that reads as sweet rather than spooky. Carve two downward arcs for eyes and a tiny curved line for a mouth, like a contented sigh. Kids love this one, and it pairs well with soft candlelight on a bedroom shelf. For more gentle faces in this spirit, browse these cute pumpkin-carving ideas that keep the mood friendly.

4. Bow-Top Mini Pumpkin
No carving required here. Tie a small satin or gingham bow around the stem of a mini pumpkin and set it on a stack of books or a cake stand. The bow does all the decorating work, and the pumpkin keeps for weeks since the skin stays intact. Cluster three of them in different sizes on a tray with some dried leaves for a centerpiece that took two minutes. This is a lovely option for a dining table where you want fall color without any mess.
5. Tiny Cat Face
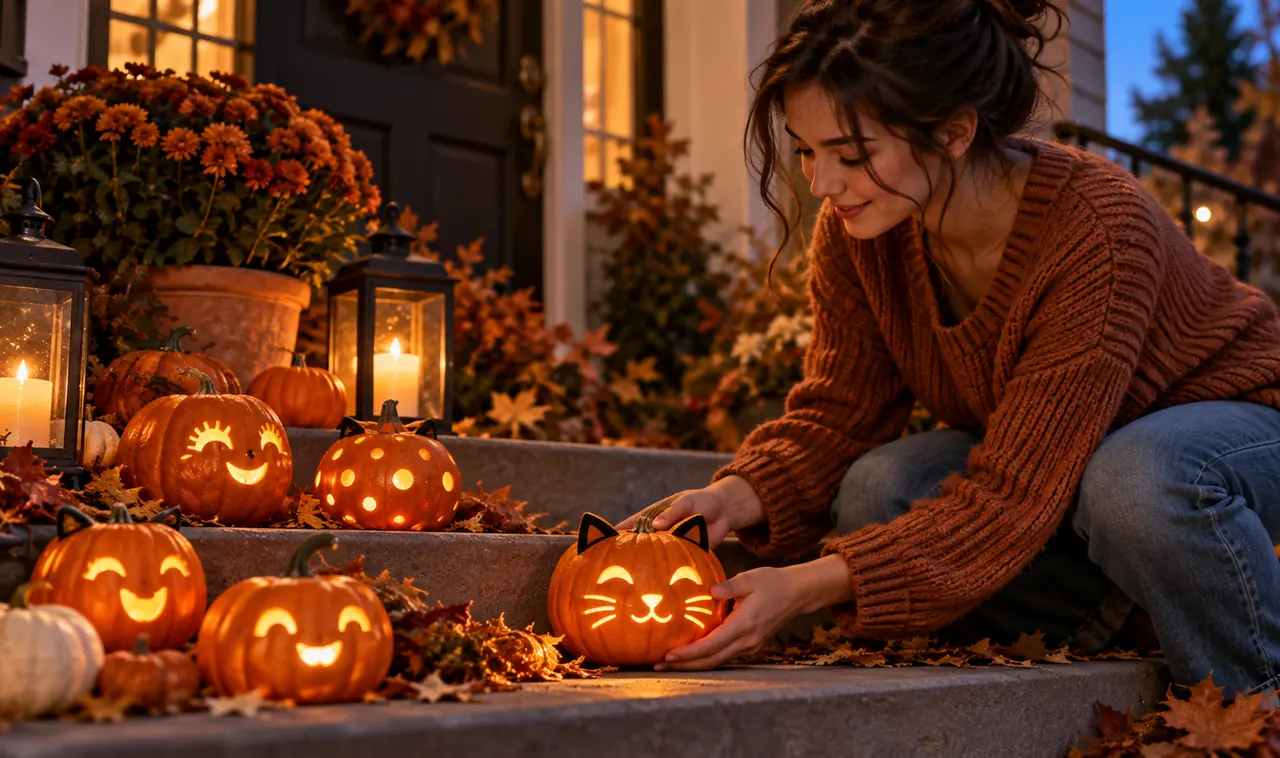
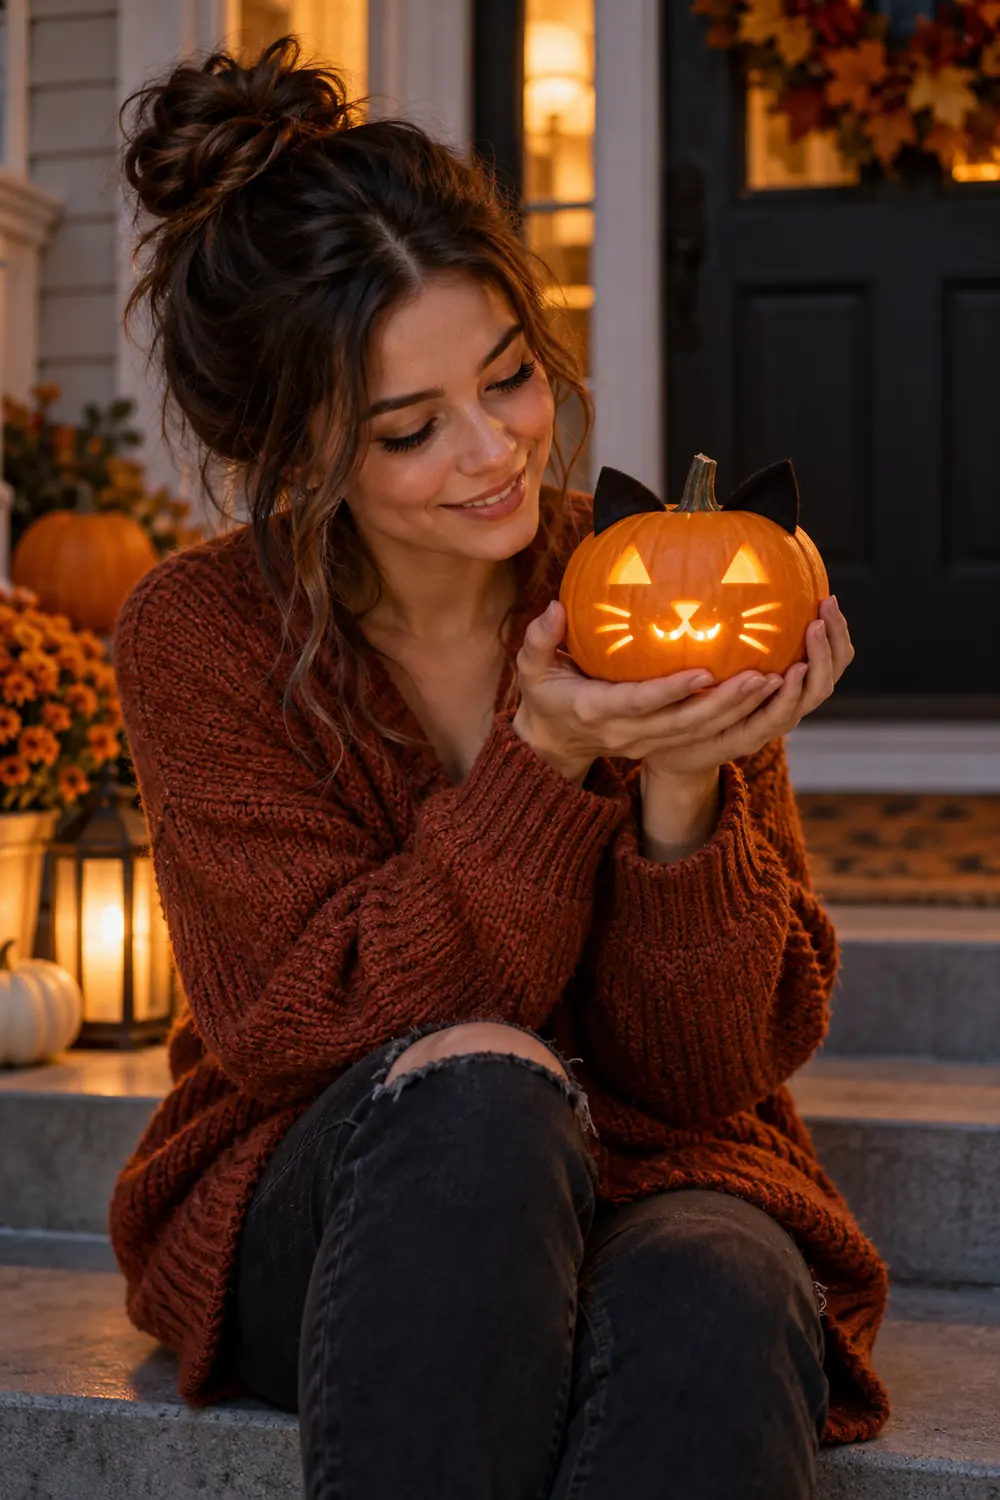
Mini pumpkins and cat faces are a natural match. Carve two triangle eyes, a tiny triangle nose, and a small w mouth, then add whisker dots with a marker or shallow pinpricks. Cut two small triangles from black craft foam and pin them on top as ears. The result is a pocket sized kitty that glows softly from inside. Draw the whiskers with a fine tip marker after carving, since ink sits cleanly on the skin and will not smudge once dry.
6. Freckle-Dot Pumpkin
Instead of big holes, poke dozens of tiny pinpricks across the pumpkin’s face with a pin or needle tool. From a distance the dots read as freckles, and with a light inside they shimmer like a starry sky. It takes a little patience, but the texture is unlike anything a knife can make. Work in a spiral from the top so the dots stay evenly spaced without you having to measure anything.
Mini carving toolkit
- A small paring knife or pumpkin saw for detail cuts
- A 1/8 and 1/4 inch drill bit for dots and round eyes
- A melon baller or small spoon for scooping minis
- Tealights, real or battery powered
- Markers for sketching the design first
7. Mini Owl Face
Two big round eyes make an owl that looks wise even at two inches tall. Drill or cut two circles close together near the top, add a small triangle beak below, and skip the mouth entirely. The wide eyed stare glows beautifully at night. If the circles come out wobbly, lean into it, since slightly uneven owl eyes look more handmade and charming. Place a pair of them flanking a doorway and they look like tiny guardians.
8. Heart Cutout Mini
Cut a single small heart from the front of a mini pumpkin and let the candlelight do the rest. The warm heart shaped glow is simple and romantic, which makes this one work past Halloween too. A second tiny heart on the back means the glow shows from every angle on a table. Use a small heart shaped cookie cutter as a stencil, trace it with a marker, then cut along the line with a detail knife. Push the cut piece inward gently rather than pulling it out, which keeps the heart edges smooth.
9. Stacked Mini Tower
Three mini pumpkins stacked largest to smallest make a totem that needs no carving at all. Carve a simple face on each one for a totem pole effect, or leave them plain and let the shapes speak. A wooden skewer through the centers keeps the stack steady on a breezy porch. Alternate orange and white minis in the stack for a striped totem that stands out from across the yard.
Stacking a steady tower
- Pick three minis that sit flat, testing each on the table first.
- Carve faces before stacking, while each pumpkin is easy to hold.
- Push a wooden skewer down through all three for stability.
- Top with a sprig of dried wheat or a small bow.
10. Tealight Mini Holder
Cut the top off a mini pumpkin, scoop it clean, and drop in a tealight for an instant candle holder. The orange walls tint the flame light a warm amber that no glass holder can match. These are wonderful scattered down a dinner table, and since each one takes about five minutes, they suit last-minute pumpkin-carving ideas when guests are nearly at the door.
11. Blush-Cheek Mini
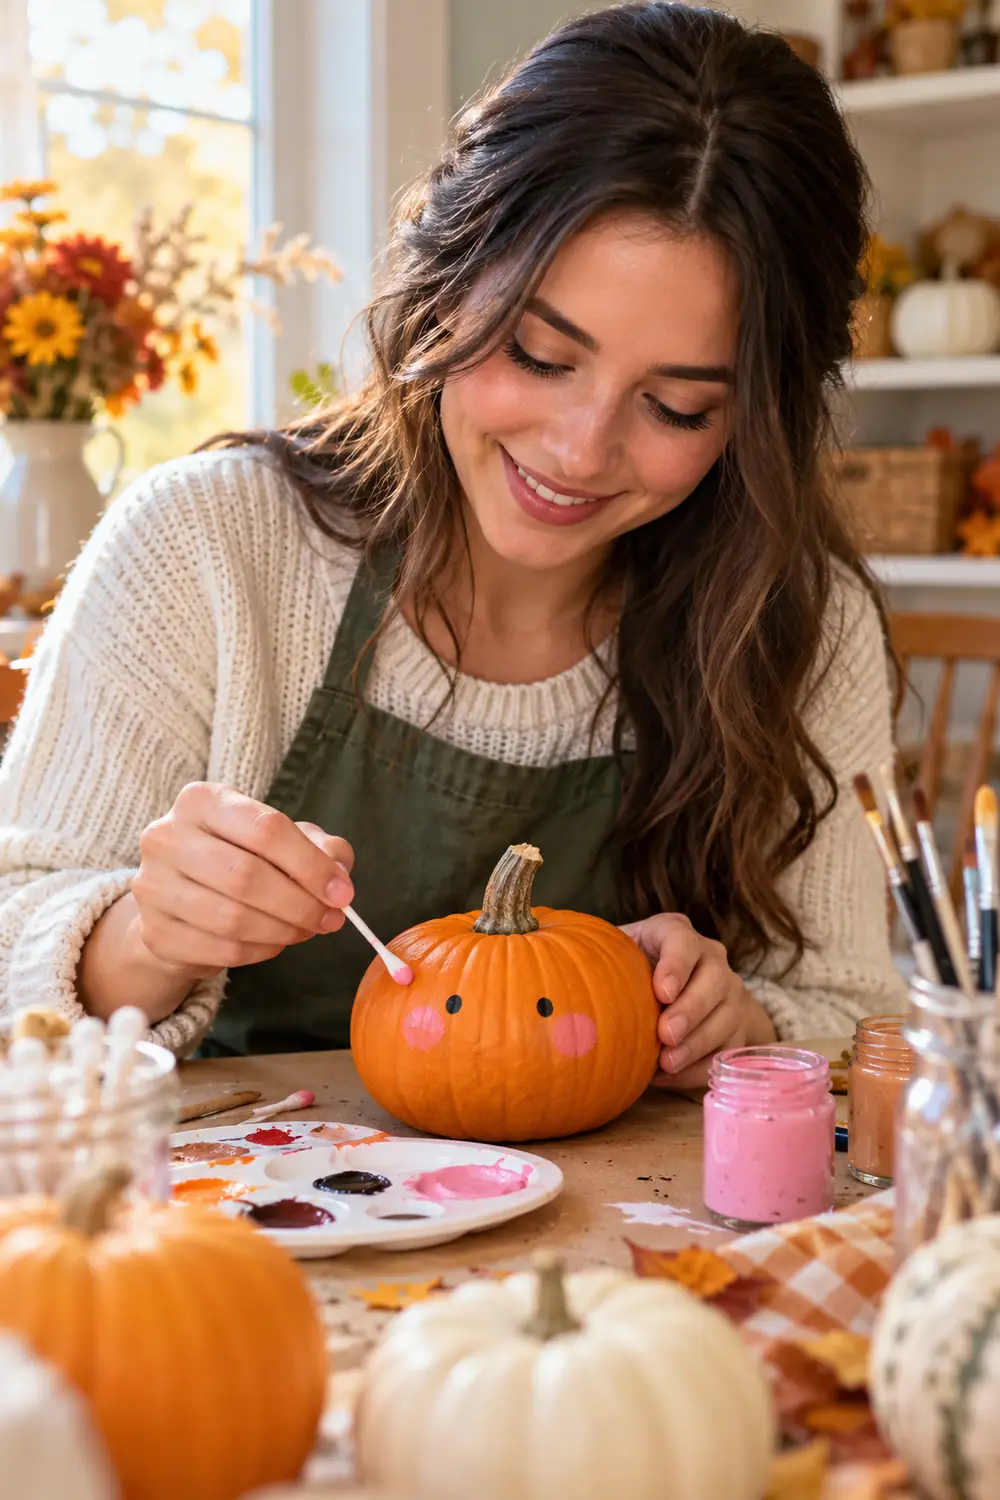
A dab of pink paint on each cheek turns a plain mini pumpkin into something adorable with zero carving. Use acrylic paint or even blush makeup with a cotton swab, and add two small dot eyes with a marker. This is the safest option for toddlers, since no tools are involved at all. For more gentle no-scare designs, see these cute pumpkin-carving ideas that aren’t too scary.
12. Bumblebee Mini
Paint horizontal black stripes around a mini pumpkin, add two white wings cut from paper, and finish with a smiling carved or drawn face. The round shape already looks like a bee’s body, so the illusion is instant. Pipe cleaner antennae poked into the top finish the costume in seconds. Kids go crazy for this one, and the whole project needs nothing sharper than a paintbrush.
13. Starry Night Mini
Drill a scattered constellation of tiny holes and one larger crescent moon, and your mini pumpkin becomes a night sky. The trick is varying the hole sizes so some stars glow brighter than others. Sketch the Big Dipper or your initial in dots first, since a real constellation makes guests lean in for a closer look. Set it in a dark corner and the wall behind it fills with pinpricks of light.
| Method | Best for minis? | Why |
|---|---|---|
| Drill | Yes | Clean round holes, no slipping on small curves |
| Knife | Okay | Fine for faces, tricky for tiny details |
| Paint only | Yes | Zero risk, great for kids |
14. Ghost-Face Mini
Paint a mini pumpkin white, then carve or paint two oval eyes and a wailing oval mouth. The white paint makes it read as a ghost even in daylight, and at night the carved version glows from within. A white mini pumpkin variety skips the painting step entirely if you can find one. Hang two or three from a branch with twine and they become floating ghosts for a porch display.
15. Flower-Vase Mini
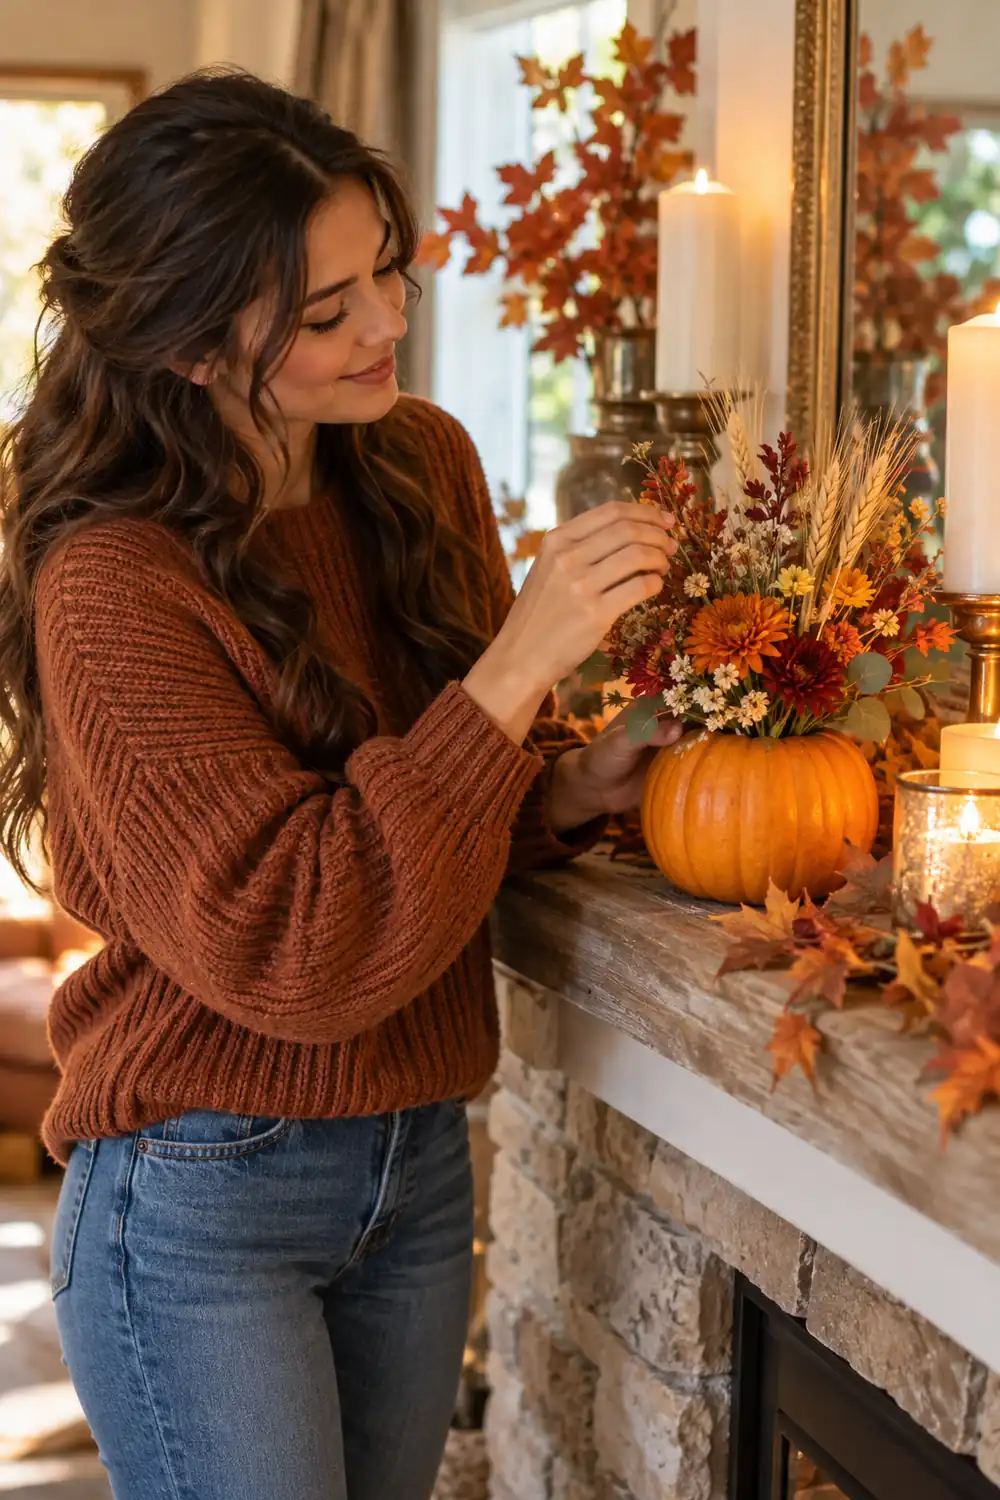
Hollow a mini pumpkin, tuck a small jar or plastic cup inside, and fill it with fresh fall flowers or dried wheat. The pumpkin becomes a vase with a built in autumn palette. Keep water in the inner cup and the arrangement lasts several days on a mantel. Mums, marigolds, and dried wheat all fit the scale, while anything taller will tip the little vase over.
16. Witch-Hat Mini
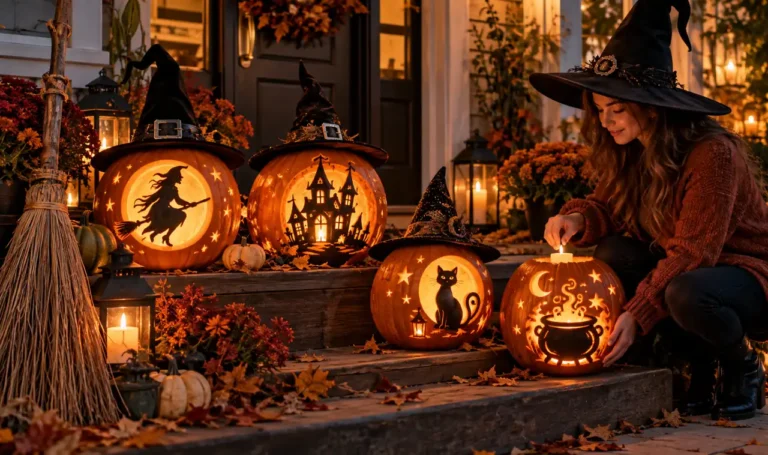
Top a mini pumpkin with a tiny witch hat from the craft store and carve a simple smiling face below it. The hat adds instant character, turning an ordinary jack into a little witch. Glue the hat on if the pumpkin will sit somewhere breezy. A tiny broom made from a twig and straw tucked beside it completes the scene.
17. Pie-Smile Mini
Carve an oversized cheerful grin that takes up half the pumpkin’s face, with two small triangle eyes above it. The huge smile on a tiny pumpkin is pure comedy, and trick or treaters always point at this one first. Carve the grin slightly off center for extra personality, since a lopsided smile reads as mischievous rather than mistaken. Keep the teeth simple, since small cuts are easier to control. One missing tooth in the grin somehow makes it even funnier.
The takeaway: small pumpkins reward simple designs. One bold shape, a few dots, or a single carved feature will always look cuter at mini scale than a fussy detailed scene.
18. Windowsill Lantern Row
Line up five or six carved minis along a windowsill, each with a battery tealight inside, mixing a few designs from this list. From the street the row reads as one long glowing garland, and from inside it frames the window with warm light. It is the easiest big impact display here, and it uses up every leftover mini pumpkin in the house. Use battery tealights here rather than real flames, since a row of real candles on a wooden sill needs more watching than anyone has time for.
Small pumpkin-carving ideas like these are proof that you do not need a giant canvas to make Halloween charming. Pick the three or four designs that made you smile, carve them in an afternoon, and group them where the light can do its work. Save this post to Pinterest so the ideas are waiting when pumpkin season rolls around again.