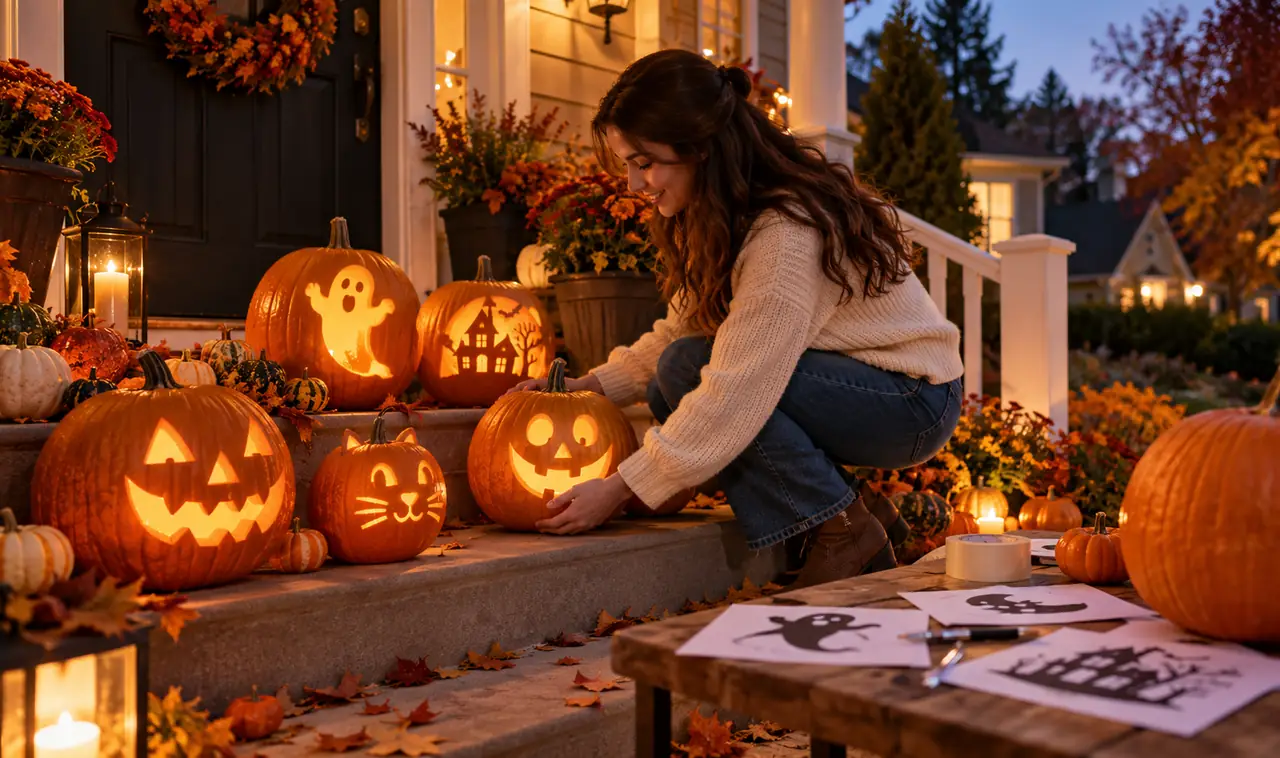
Carving a pumpkin freehand is the fastest way to end up with a lopsided grin and a sore wrist. A stencil takes that risk away. You tape a paper design on the pumpkin, trace the lines, and let the pattern do the thinking for you.
Free pumpkin-carving stencils are easy to find, and the best ones are built for first timers. Thick lines, simple shapes, and no tiny cuts that demand a steady hand. If you can trace a line with a pen, you already have the only skill a stencil asks for.
Below are 18 free pumpkin-carving stencils for beginners, each paired with the small technique that makes it work. You will learn when to poke dots instead of cutting, how to keep the paper from sliding, and which designs forgive mistakes. New to carving altogether? Start with our beginner pumpkin-carving guide, then pick a stencil and get to work.
1. Start With the Classic Jack Face Stencil
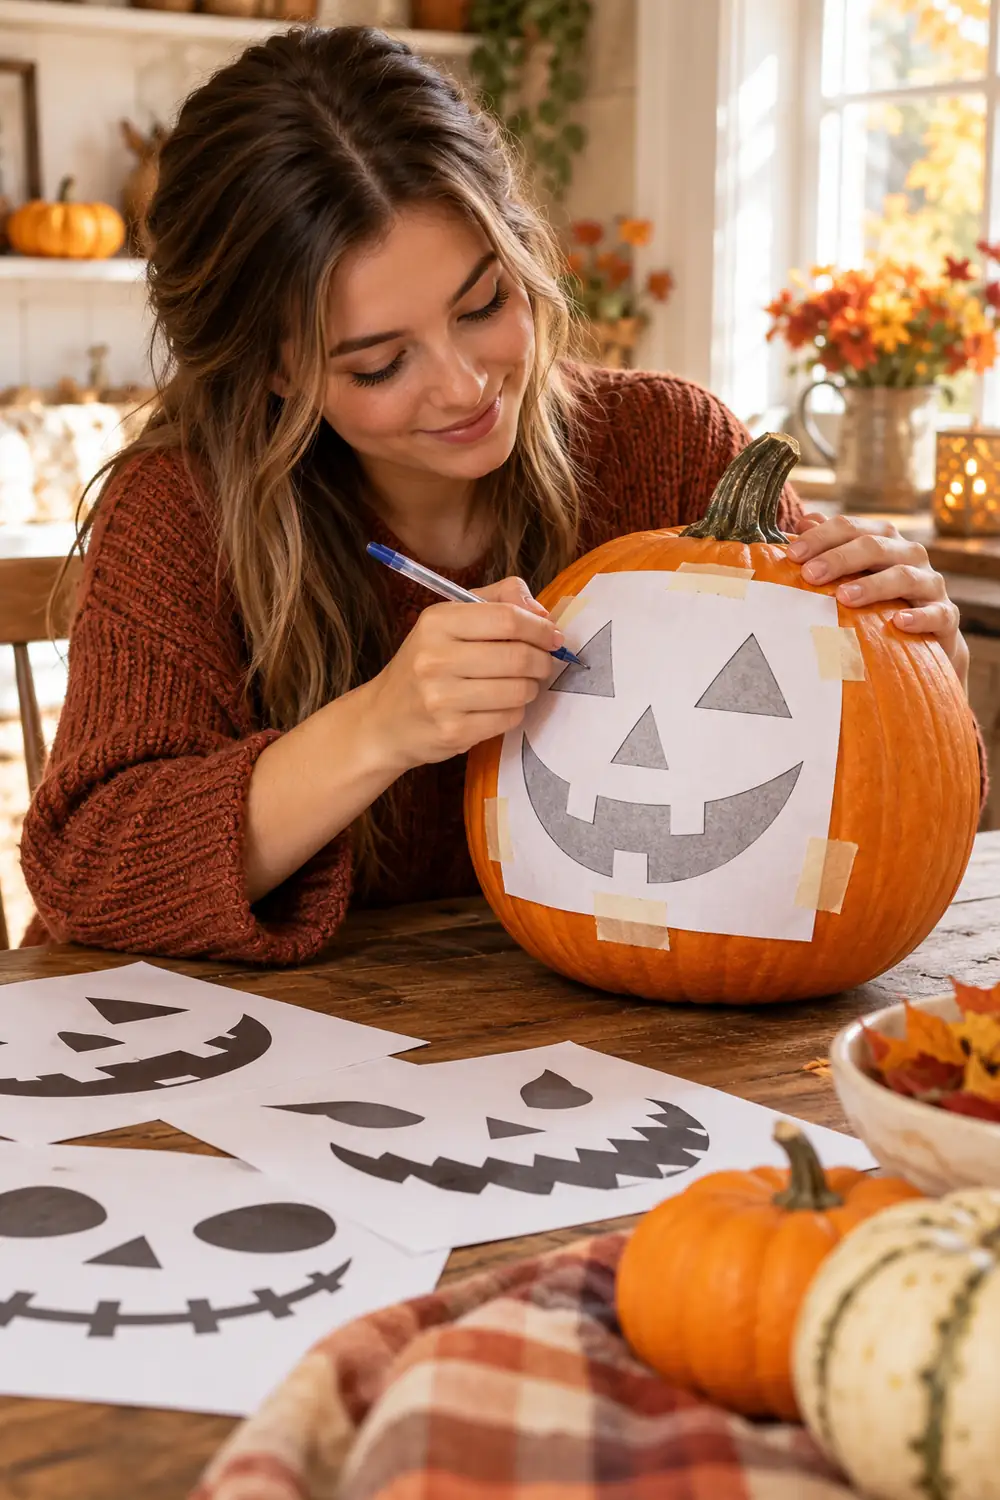
The classic face is the stencil every beginner should try first.
The triangle eyes, triangle nose, and jagged grin teach you the three moves every stencil needs: tracing, poking, and cutting along a line. Print the design big enough to fill most of the pumpkin’s face. Tape the top edge first, smooth the paper flat, and press a ballpoint pen along each line so a groove shows in the skin. Then poke the groove, pull the paper off, and connect the dots with short saw strokes, saving the mouth for last.
2. Trace a Crescent Moon for an Easy Win
A crescent moon is two curved lines and nothing else, which makes it one of the kindest first stencils. Print a simple crescent, tape it high on the pumpkin so it reads like a night sky, and trace it with a pen. Because the shape is all curves, small wobbles disappear into the design. Cut along the poked outline slowly, then lift the piece out in one go.
Quick Tip
Point the pumpkin’s stem at the top of the curve, so the moon looks like it is hanging in the sky.
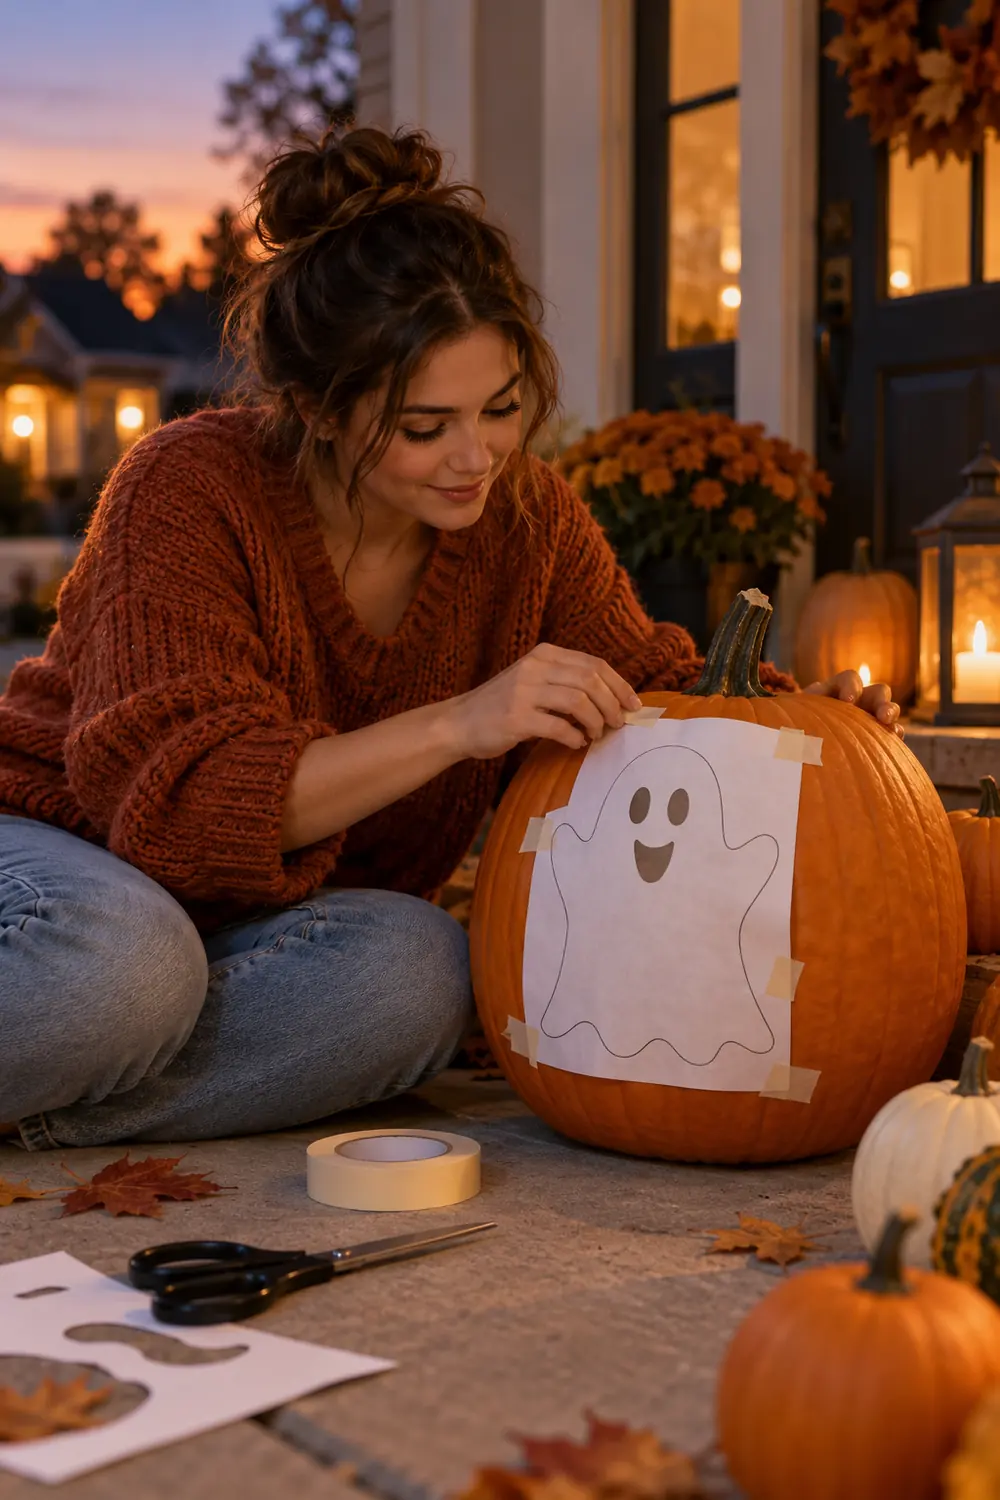
3. Try the Friendly Ghost Outline
A ghost is basically a rounded sheet with two oval eyes, and beginners love it because there are no sharp corners to mess up. Choose a stencil with a wavy bottom edge so the ghost looks like it is floating. Trace it, poke the outline, and cut with the saw held straight up and down. Keep the eyes big and round, since small eyes read as angry from across the porch.
- Print the ghost tall so the wavy hem has room to show.
- Leave a wide bridge of skin between the eyes and the edge.
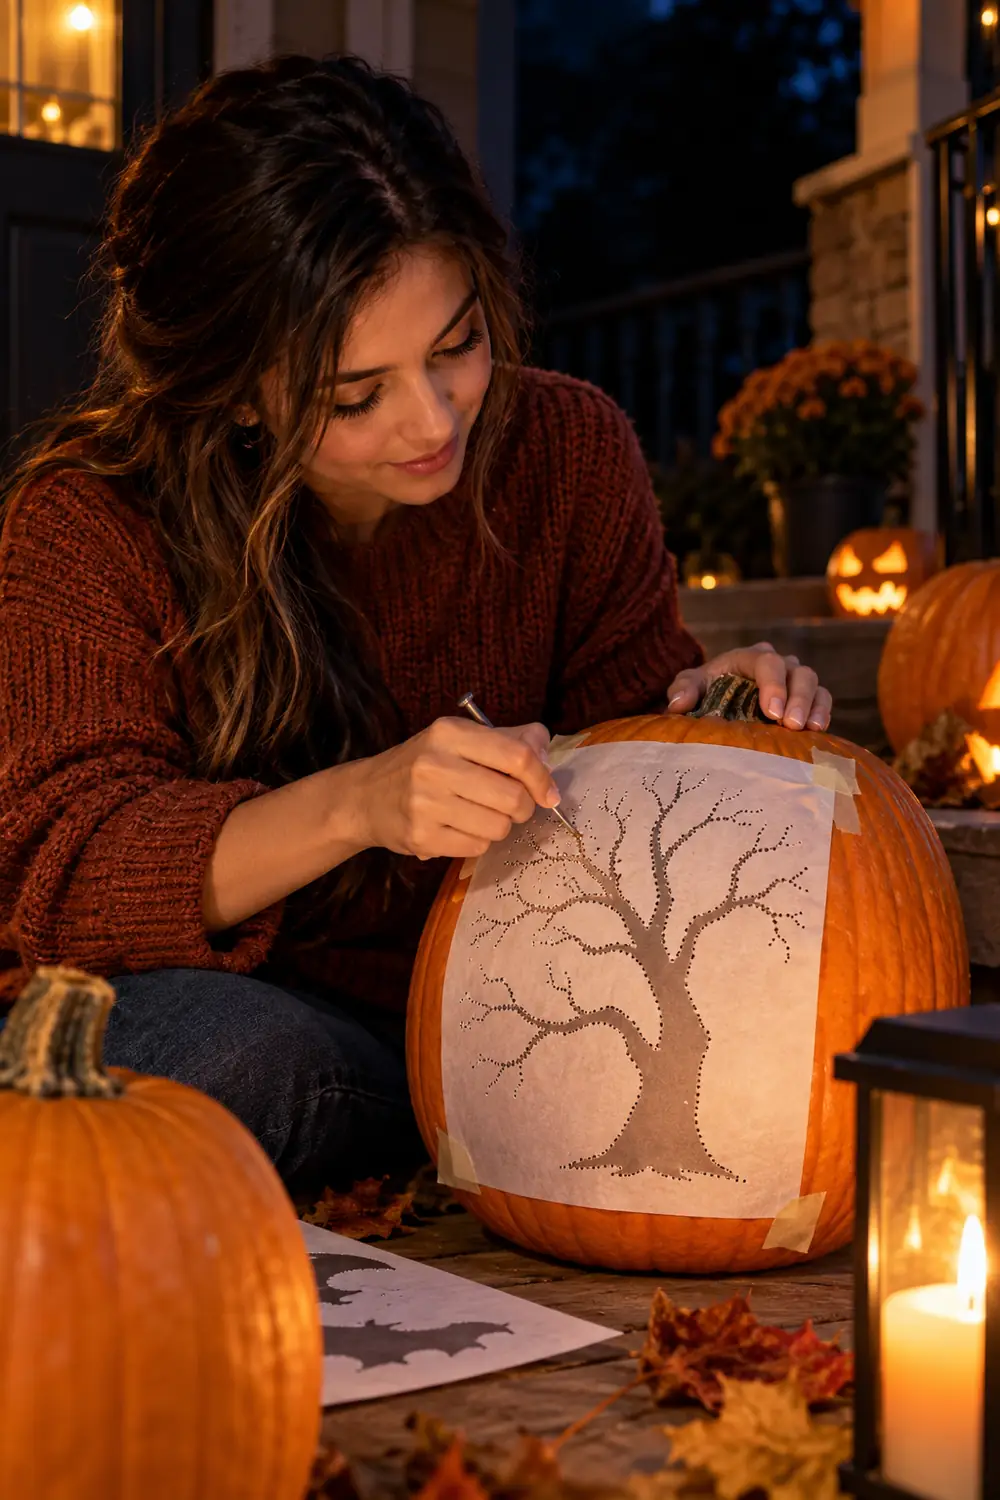
4. Poke Dots Instead of Cutting Lines
Here is the trick that changes everything for shaky hands. Instead of cutting along the stencil lines, poke a dot every few millimeters along the traced groove with a nail, corn holder, or wooden skewer. Pull the paper off and you have a dotted outline sitting right in the skin. Then just connect the dots with the saw. The dots act like a perforation, so the blade follows the path instead of wandering.
- Space the dots about the width of a grain of rice apart.
- Poke straight in, not at an angle, for clean holes.
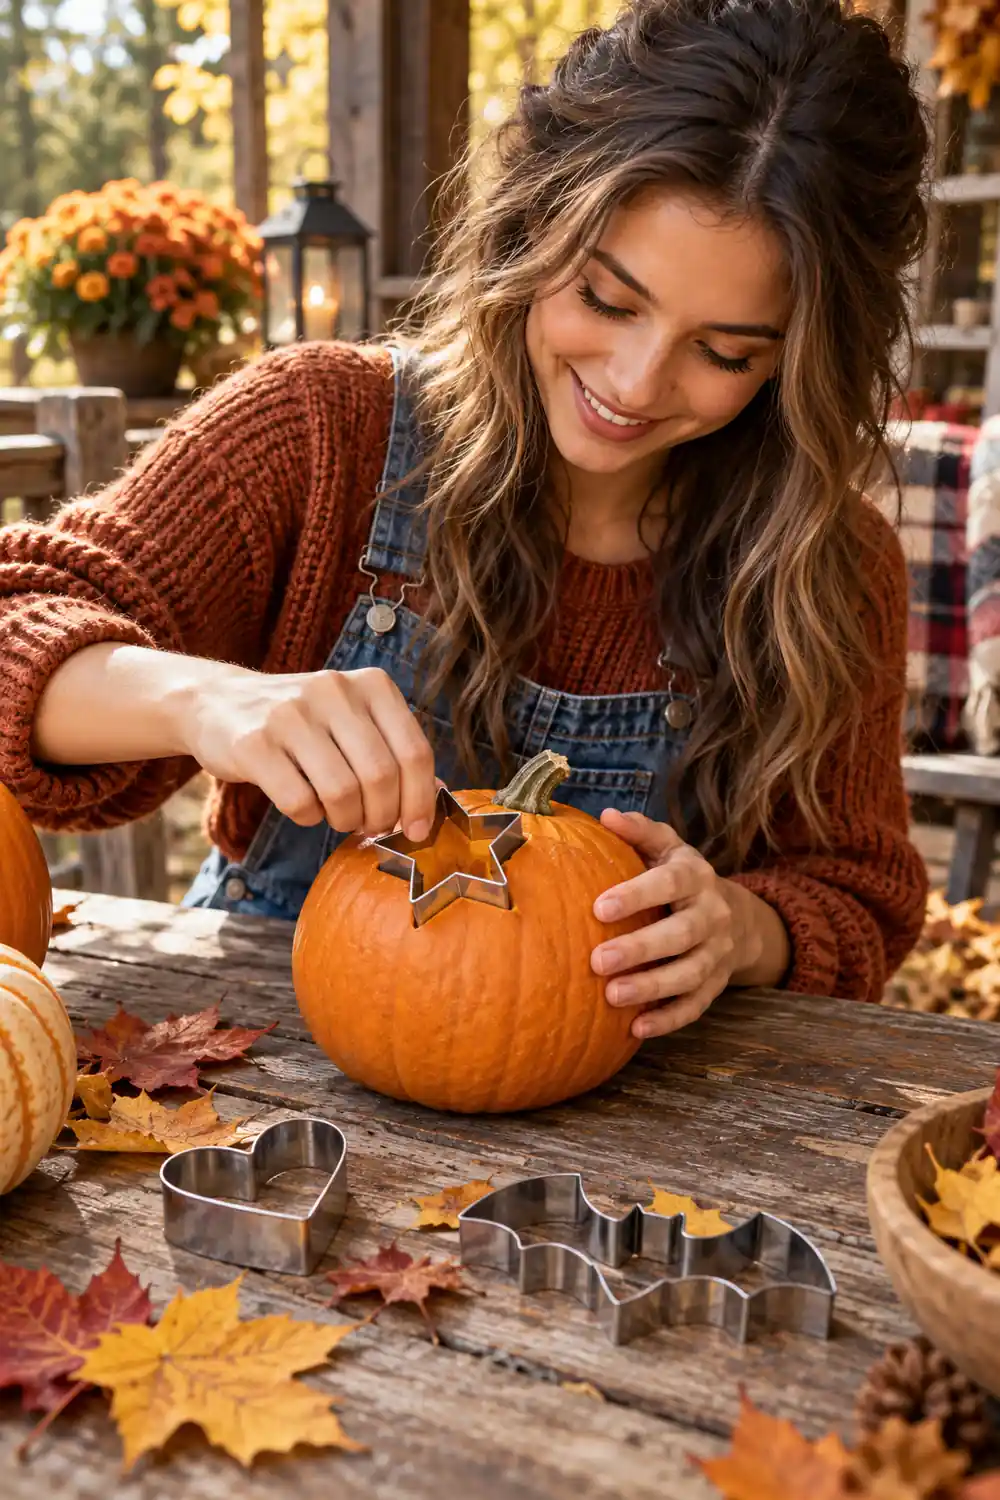
5. Use Cookie Cutters as Instant Stencils
Metal cookie cutters are stencils you already own. Press a star, heart, or bat cutter firmly into the pumpkin skin until it leaves a clear dent, then poke along the dent and cut. The shapes come out crisp because the cutter did the drawing for you. Wipe the cutter clean between presses so pulp does not blur the next outline.
- Choose simple cutters without tiny inner details.
- Tap the cutter gently with a rubber mallet on thick skin.
6. The Cat Silhouette That Always Works
A sitting cat silhouette looks impressive and carves like a dream because it is one solid shape. The stencil is a filled black cat, so you cut around the outside edge and pop the whole piece out. Print the cat in profile with an arched back and a curled tail. The tail is the only fiddly part, so cut it with extra care and leave it slightly thick.
- Place the cat low on the pumpkin so it looks grounded.
- Extend the head line into two triangle ears.
7. Print Bats in Three Different Sizes
One bat looks lonely. Three bats in small, medium, and large look like a flock crossing the moon, and the stencil work is barely more than doing one. Print the same bat shape at three sizes, arrange them in a loose diagonal, and trace each one. Cut the biggest bat first while your hand is fresh, then the smaller ones.
- Angle the wings differently so no two bats match.
- Keep at least a finger’s width of skin between bats.
8. Tape the Paper Down So It Does Not Slip
The number one stencil disaster is paper that slides halfway through tracing. The fix takes ten seconds. Tape the top edge of the stencil to the pumpkin, smooth the paper down with your palm, then tape the bottom edge and both sides. On round pumpkins, cut small slits in the paper’s edges so it hugs the curve. Work from the center outward so wrinkles push to the edges, not into your lines.
Tape it right checklist
9. Carve a Witch Hat in Profile
A witch hat in side profile is a triangle with a bent tip and a brim, and it carves fast. The bent tip is the charm, so do not straighten it when tracing. Poke the outline, then cut the brim first because it is the longest straight run. For the hat’s band, etch a shallow line instead of cutting through, so it glows softly without weakening the pumpkin. For more no-stress designs, browse our easy pumpkin-carving ideas next.
- Keep the brim slightly thick so it does not snap.
- Angle the hat as if it sits on an invisible head.
10. Etch, Do Not Cut, for Fine Detail
Some stencil details are too fine to cut out. Spider legs, hat bands, and facial wrinkles will snap if you saw through them. The answer is etching: scrape away just the outer skin along the stencil line with a linoleum cutter, clay loop, or even a spoon edge. The scraped area glows softly when lit, while the pumpkin stays strong.
| Method | Best for | Glow |
|---|---|---|
| Cut through | Bold shapes like eyes and mouths | Bright, needs thick bridges |
| Etch the skin | Fine lines like webs and wrinkles | Soft, keeps pumpkin strong |
11. The Spooky Tree Silhouette
A bare branched tree is a stencil that looks far harder than it is. The design is one filled shape, so you cut around it once and lift it out. Print the tree with thick branches and a wide trunk, since thin twigs snap. Place the tree off center and add a poked-dot moon behind it for a scene that looks planned.
- Cut the trunk first, then work outward along the branches.
- Leave the base of the trunk wide for strength.
12. Stencil a Haunted House Window
A haunted house sounds hard until you see the stencil. It is a rectangle with a peaked roof, a door, and two glowing windows. Cut the windows and door all the way through so they blaze, but only etch the roofline and walls so the house keeps its shape. Add a bat above the roof for the full scene.
- Make the windows big enough to read from the sidewalk.
- Etch the roof shingles instead of cutting them.
13. Drill Polka Dots for a Modern Look
Polka dots need no stencil at all, just a drill and a steady hand. Mark a loose grid of dots with a marker, then drill each one with a small bit. The dots glow like fairy lights when a candle goes inside. Vary the bit sizes for a playful pattern, or keep them uniform for a clean modern look.
Mark the dots with a washable marker in a loose grid.
Drill each dot with a small bit, pushing straight in.
Shake out the pulp plugs and drop in an LED candle.
14. The Owl Face for Night Owls
Two big circles for eyes, a small triangle beak, and two triangle ears make an owl that suits beginners. The stencil does the measuring for you, which matters because lopsided owl eyes look goofy instead of wise. Cut the eyes first, then the beak, then the ears last. Leave the ears slightly thick at the base. Set the owl near a window or door where its round eyes catch the light.
- Use a cup to trace extra-round eyes if the stencil slips.
- Keep the beak small so the eyes stay the star.
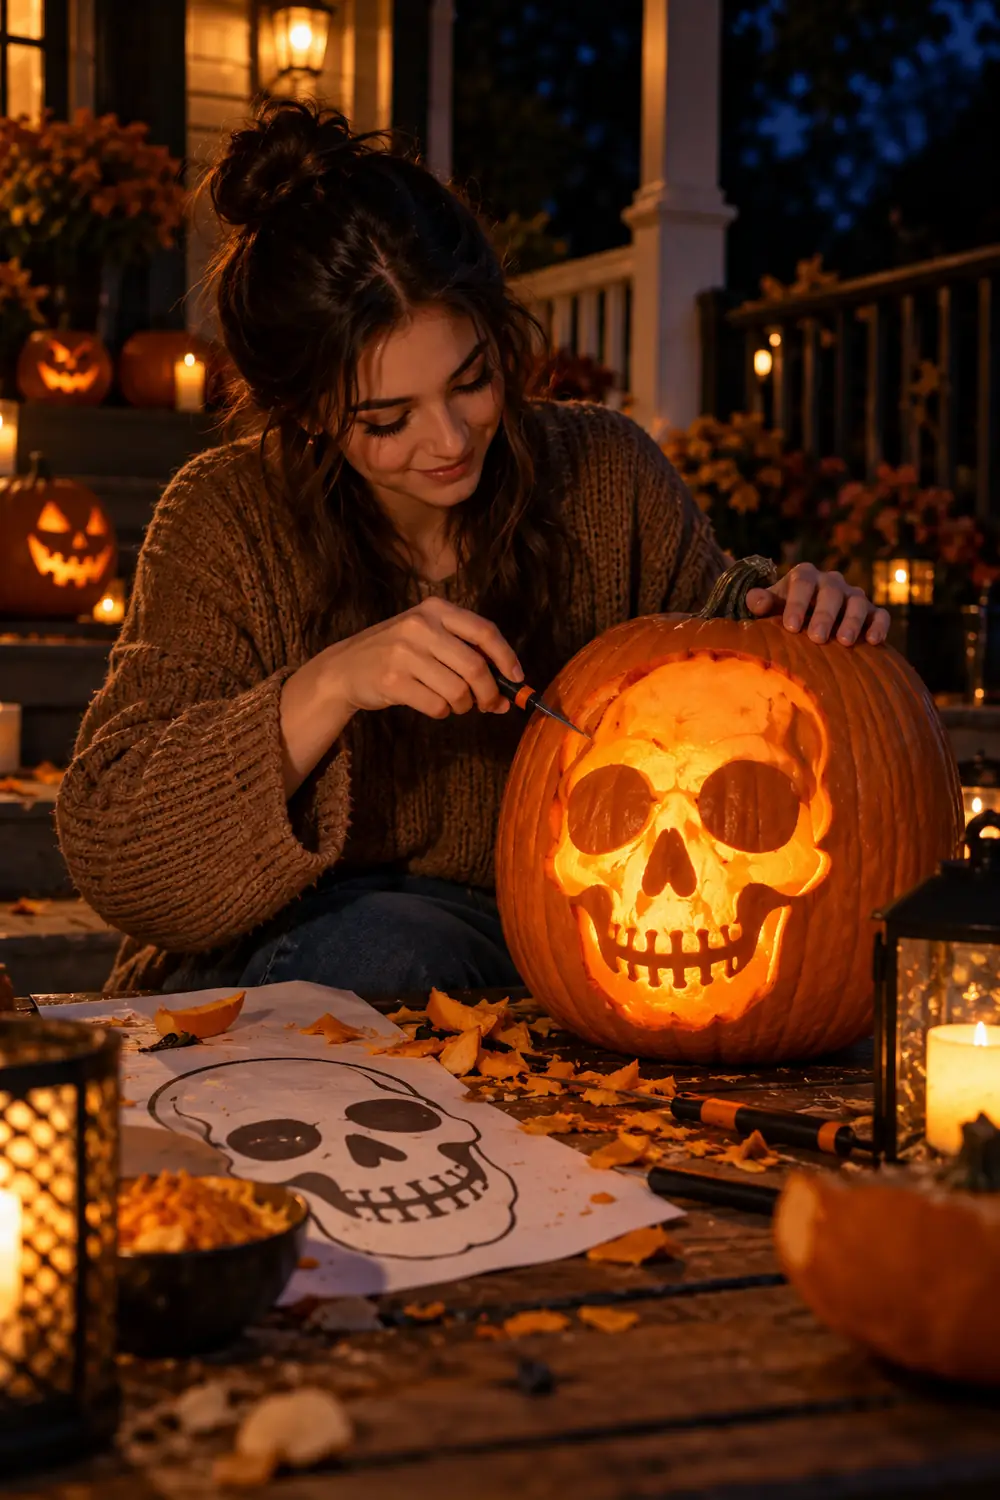
15. Skull Stencil With Hollow Eyes
Skulls intimidate beginners, but a stencil turns one into a paint-by-numbers job. Pick a stencil with big hollow eye sockets, a simple nose triangle, and teeth drawn as short vertical lines. Cut the eyes and nose all the way through. For the teeth, etch the lines instead of cutting, or the jaw will crumble. If you love spooky designs, our spooky pumpkin faces roundup has more.
- Keep the cheek bridges wide so the face holds together.
- Cut teeth only if they are chunky, never thin.
16. Layer Two Stencils for Real Depth
Once one stencil feels easy, try layering. Carve a moon stencil all the way through, then etch a bat stencil overlapping it so the bat glows softly against the moon’s bright blaze. Plan the overlap on paper first with two printouts. The cut-through shape always goes underneath in the plan, and the etched shape goes on top.
- Sketch the overlap on paper before touching the pumpkin.
- Etch the top layer first, cut the bottom layer second.
17. Save Your Stencils for Next Year
Good stencils deserve a second Halloween. Let the paper dry completely, then slide each stencil into a sheet protector or a zip bag. Label the bag with the pumpkin size it fit, because a stencil that fit a giant pumpkin will swim on a small one. Store them flat under a book so the edges do not curl. Next October you will start carving in minutes instead of hunting for designs again.
- Note which stencil sizes matched which pumpkins.
- Toss any stencil with torn thin bridges.
18. Finish With the Candle Test
Before the big night, do a candle test in a dark room. Drop your light inside, step back to the sidewalk distance, and look at the stencil design the way visitors will. If a line disappears, widen it slightly. If a bridge looks thin, leave it alone and admire it from far away.
The candle test rule: check every stencil carve in the dark from sidewalk distance before Halloween night.
Stencils turn pumpkin carving from a drawing test into a tracing game, and that is why beginners get such good results with them. Pick one design from this list, tape it down well, and poke your dots before you cut. Your first pumpkin will look like your fifth.
When you are ready for more, pin this page to your Halloween board so your pumpkin-carving stencils are waiting next October. Then grab a fresh pumpkin and try layering two designs. That is where the real fun starts.