
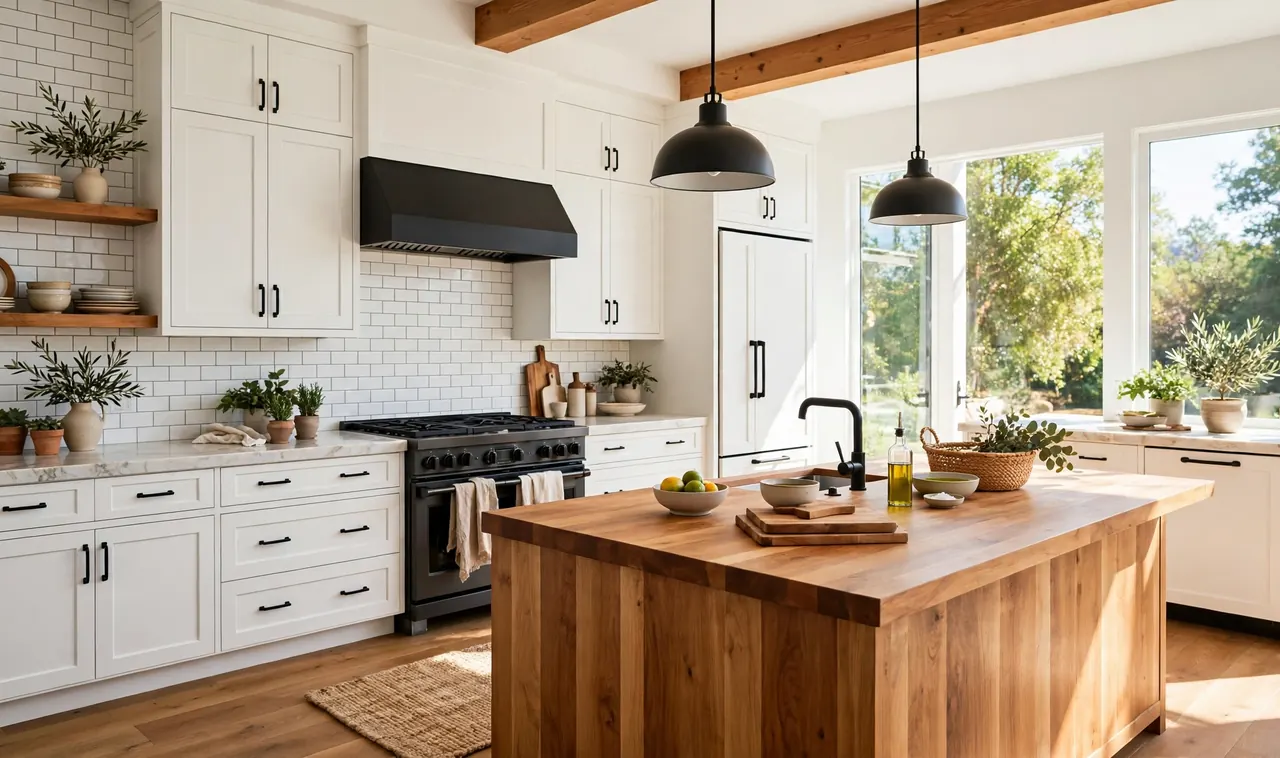
A tired kitchen does not need a full remodel to feel new again. Most dated kitchens share the same few problems: worn cabinet paint, an old backsplash, dim lighting, and tired hardware. Each one can be fixed in a weekend for the cost of a few cans of paint.
That is the whole point of these budget kitchen makeover ideas. Every idea below costs far less than new cabinets or counters, and most need no special skills. You can paint, stick, swap, and hang your way to a kitchen that looks cared for, without hiring a crew.
Pick one idea to start with, the one that bothers you most each morning. Finish it, live with it for a week, then pick the next. Small changes stack up fast in a kitchen.
1. Paint the Cabinets Instead of Replacing Them
New cabinets eat most of a remodel budget, but paint does the same job for a small share of the cost. Clean the doors well, scuff them with fine sandpaper, and prime before the top coats. White, warm greige, and soft sage hide wear well and make a dark kitchen feel open.
Take the doors off and label each one with tape on the inside edge so every door goes back to its own spot. Before you pick a color, look at real kitchen before and after makeovers to see how far paint alone can go.
Yellowed doors, chipped edges, and handles that stick.
Smooth painted doors, fresh knobs, and doors that close right.
2. Swap the Cabinet Hardware for a New Finish
Old knobs and pulls date a kitchen fast. A full set of new pulls costs little, and the swap takes an afternoon with one screwdriver. Matte black reads modern, brushed brass reads warm, and simple bar pulls suit nearly any door.
Measure the hole spacing before you order, since pulls come in set sizes. Take one old knob with you when you shop so the screw length matches. This one change makes painted cabinets look finished instead of half done.
3. Add Peel and Stick Backsplash Tiles
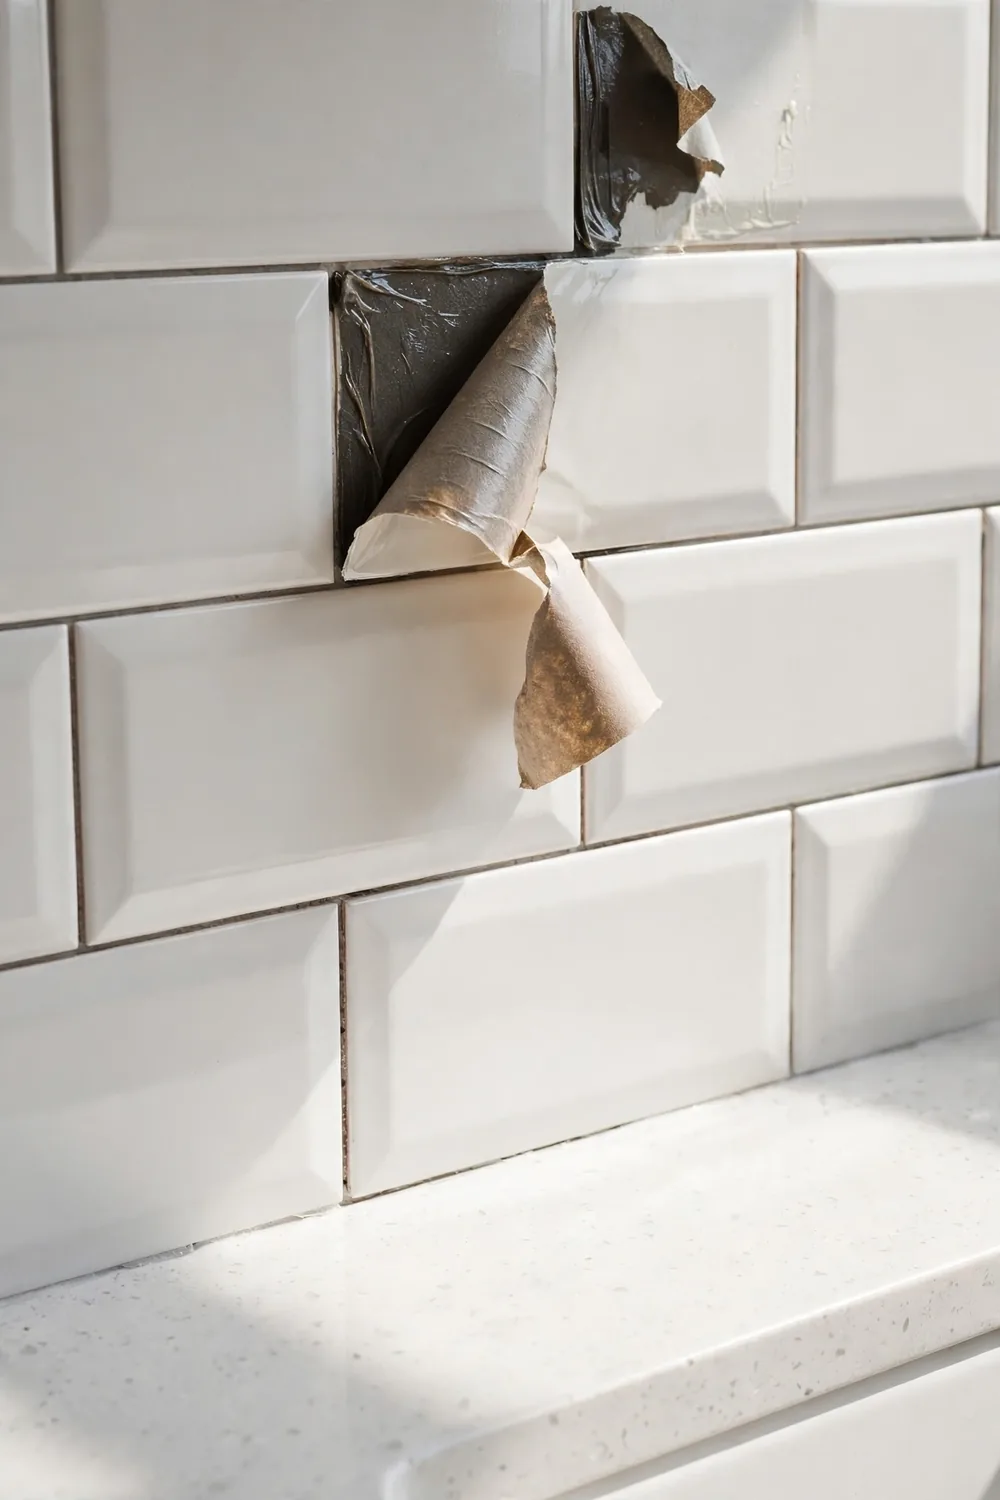
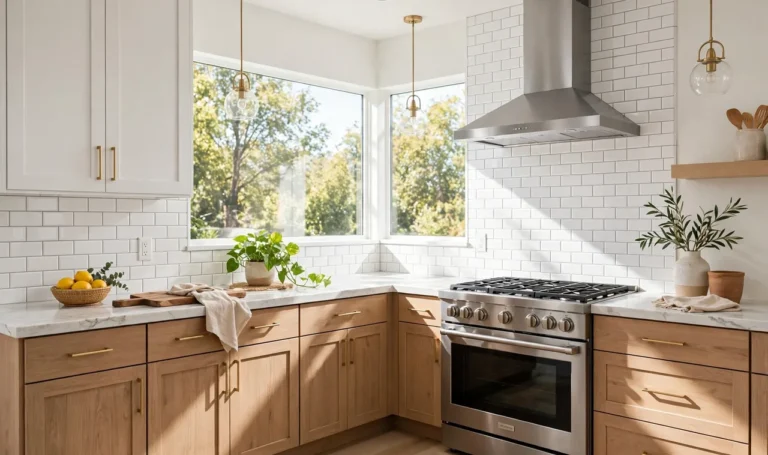
A plain wall between the counter and the cabinets drags the whole kitchen down. Peel and stick tiles fix it without grout, thinset, or a wet saw. The sheets cut with scissors and press straight onto a clean, dry wall.
Start at the center behind the stove and work outward so the cut pieces land at the edges. Subway, mosaic, and faux marble sheets all look convincing from a normal distance, and the whole job fits in one evening.
4. Paint the Walls a Fresh, Light Color
Wall paint is the cheapest change in any kitchen. A warm white or pale greige bounces light around the room and makes old cabinets look cleaner than they are. Two coats on a Saturday cover years of cooking stains.
Test three small swatches and live with them for a day before you commit. Kitchens change color under morning light and evening bulbs, and the swatch that looks calm at noon can look cold at night.
5. Change the Faucet for an Instant Update
The faucet is the one thing in the kitchen you touch a dozen times a day, so it sets the tone more than its size suggests. A tall gooseneck faucet with a pull down sprayer makes the sink area feel new and makes washing large pots much easier.
Turn off the water at the shutoff valves under the sink before you start, and keep a towel and a small bucket nearby for the water left in the lines. Most new faucets fit the same holes as the old one, so the swap takes about an hour.
💡 Quick Tip
Take a photo of the pipes under your sink before you remove the old faucet. The photo shows exactly how the new supply lines should connect.
6. Add Open Shelving in Place of One Upper Cabinet
Removing a single upper cabinet and putting up two wood shelves opens a kitchen up in a way paint alone cannot. The shelves hold everyday dishes and a few plants, and the wall behind them gets light it never had.
Pick the cabinet that holds the least used dishes, not the one over the stove. Use solid brackets screwed into studs, since dishes are heavy. Store only what you use weekly on the shelves, and keep the rest behind closed doors.
7. Lay Peel and Stick Vinyl Floor Tiles
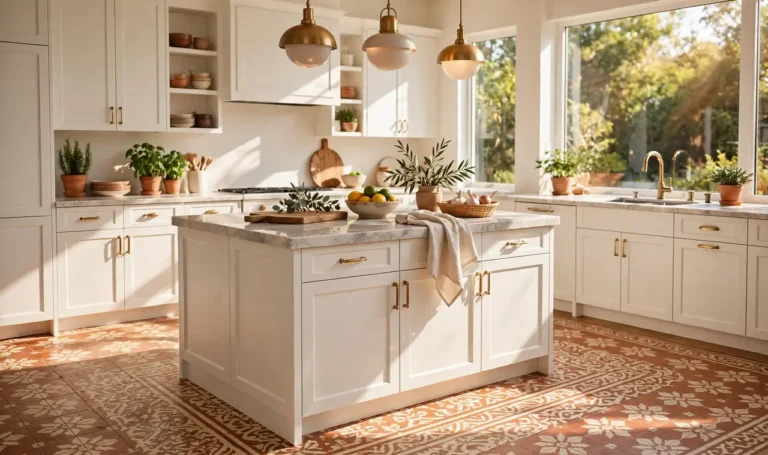
Worn vinyl or tired linoleum makes the whole kitchen feel old, even when the cabinets are fine. Peel and stick floor tiles go right over a clean, flat floor, and the wood look and stone look versions have come a long way.
Start in the most visible corner and work toward the door so the cut tiles hide under the fridge and the stove. Roll each tile firmly so the edges stay down. A small kitchen floor takes one afternoon.

8. Add Under Cabinet LED Strip Lighting
Dark counters make a kitchen feel small and hard to work in. A strip of warm LED lights under the upper cabinets fixes the shadows and makes the counters look deeper and cleaner. The plug in kits need no wiring, just a strip and a few clips.
Stick the strip toward the front edge of the cabinet so the light falls on the work surface instead of the wall. Warm white suits wood cabinets, while cool white suits grey and white kitchens.
9. Refinish the Countertops with a Paint Kit
Replacing counters costs thousands, but a countertop refinishing kit costs a small fraction of that and covers the worst stains and burns. The kits roll on like thick paint and dry to a hard, stone look finish.
Clean the surface twice, sand it lightly, and tape off the sink and the walls before you start. Give each coat a full day to dry, and keep hot pans off the new surface for the first week. This move buys years of life from old counters.
10. Hang New Pendant Lights Over the Island or Sink
One old flush mount light flattens a whole kitchen. Two small pendants over the island or one over the sink give the room a focal point and real working light. Glass shades keep the room bright, while metal shades throw warm light downward.
Turn off the breaker before you touch any wires. Hang pendants so the bottom of the shade sits about 30 inches above the counter, high enough to see across and low enough to light the work.
11. Add a Rolling Kitchen Island or Cart
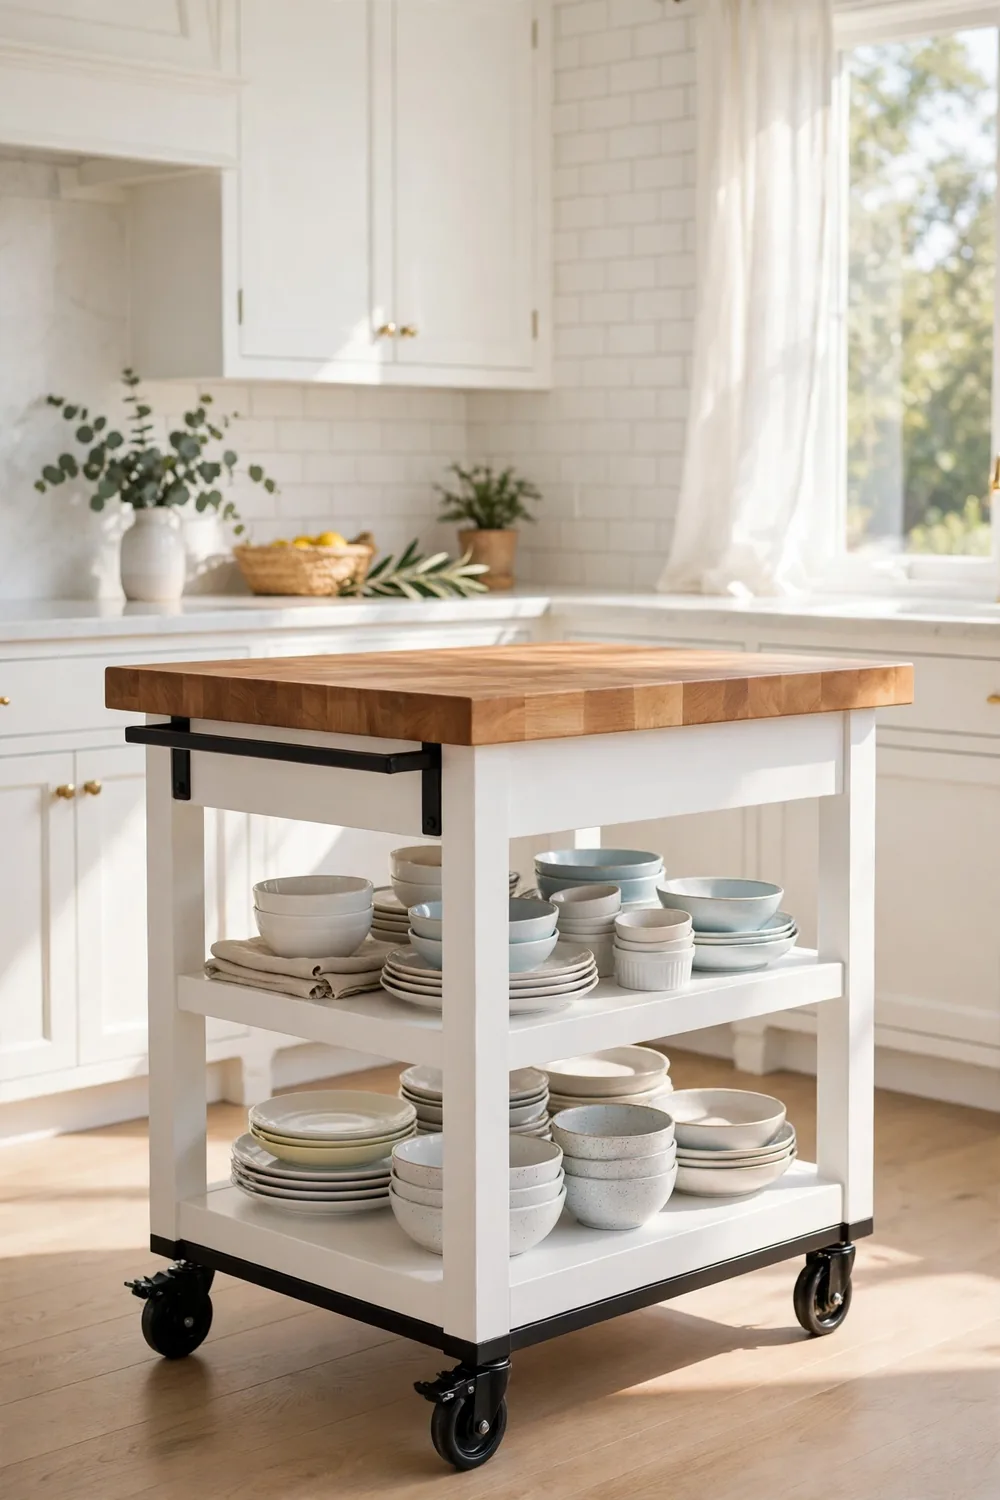
Short on counter space is the most common complaint in a small kitchen, and a rolling island solves it without any building work. The cart adds a work surface, a few shelves, and storage that rolls out of the way.
Look for a cart with locking wheels and a solid top, since a wobbly cart is worse than no cart. Butcher block tops handle chopping, while a painted cart can match the cabinets.
12. Organize with Pull Out Organizers and Shelf Risers
A kitchen can look messy even when it is clean, if every cabinet is a jumble. Pull out baskets, shelf risers, and small turntables turn deep shelves into usable space. You stop losing cans at the back.
Start with the cabinet that annoys you most, usually the one under the sink or the spice shelf. Measure the inside width and depth first, since organizers come in fixed sizes. One organized cabinet a week is enough.
What to grab first
13. Swap in a Deep Single Bowl Sink
A shallow double sink makes washing large pots a chore, and the divider always gets in the way. A deep single bowl sink fits sheet pans and stock pots flat. A basic stainless model costs far less than most people expect.
Measure the cabinet under the sink before you buy, since a deep bowl needs room below. Keep the old faucet if it still works, and put the money into the sink itself.
14. Add a Plate Rack or Mug Rail on an Empty Wall
Every kitchen has one bare wall that does nothing. A simple plate rack or a mug rail with hooks turns that wall into storage and a display at the same time. Everyday mugs stay within reach.
Mount the rail into studs or use strong wall anchors, since a row of full mugs is heavy. Hang the mugs you use daily and keep the rest in a cabinet.
15. Paint the Kitchen Island a Bold Accent Color
Painting every cabinet one color can feel flat, but painting just the island a deep green, navy, or charcoal gives the kitchen a center without much work. The island is small enough to paint in one afternoon.
Pick a color that already appears somewhere in the kitchen, like the rug or a dish, so the island looks planned rather than random. Use the same paint and primer as the doors.

16. Add Crown Molding or Trim to Plain Cabinets
Flat, plain cabinet boxes look builder grade, but a strip of trim along the top changes that. Crown molding on the uppers and a small base trim on the lowers make stock cabinets look built in.
Measure twice and cut the corners at 45 degrees so the joints sit tight. Paint the trim the same color as the cabinets so it reads as one piece.
Cut trim a little long, then trim to fit.
Fill nail holes before painting.
Skipping primer on raw wood trim.
Gluing trim to dusty cabinet tops.
17. Update the Window with a Simple Cafe Curtain and a Plant Shelf
The kitchen window is where you stand every morning, so it deserves more than a bare frame or a faded blind. A short cafe curtain gives privacy at eye level while keeping the light, and a narrow shelf above the sink holds herbs.
Use a tension rod if you rent, so nothing gets drilled into the trim. Fresh herbs on the shelf are useful and smell good when you brush past them. For more seasonal styling, see these cozy Christmas kitchen decor ideas when the holidays come around.
18. Hide Clutter with a Chalkboard Pantry Door or Command Center
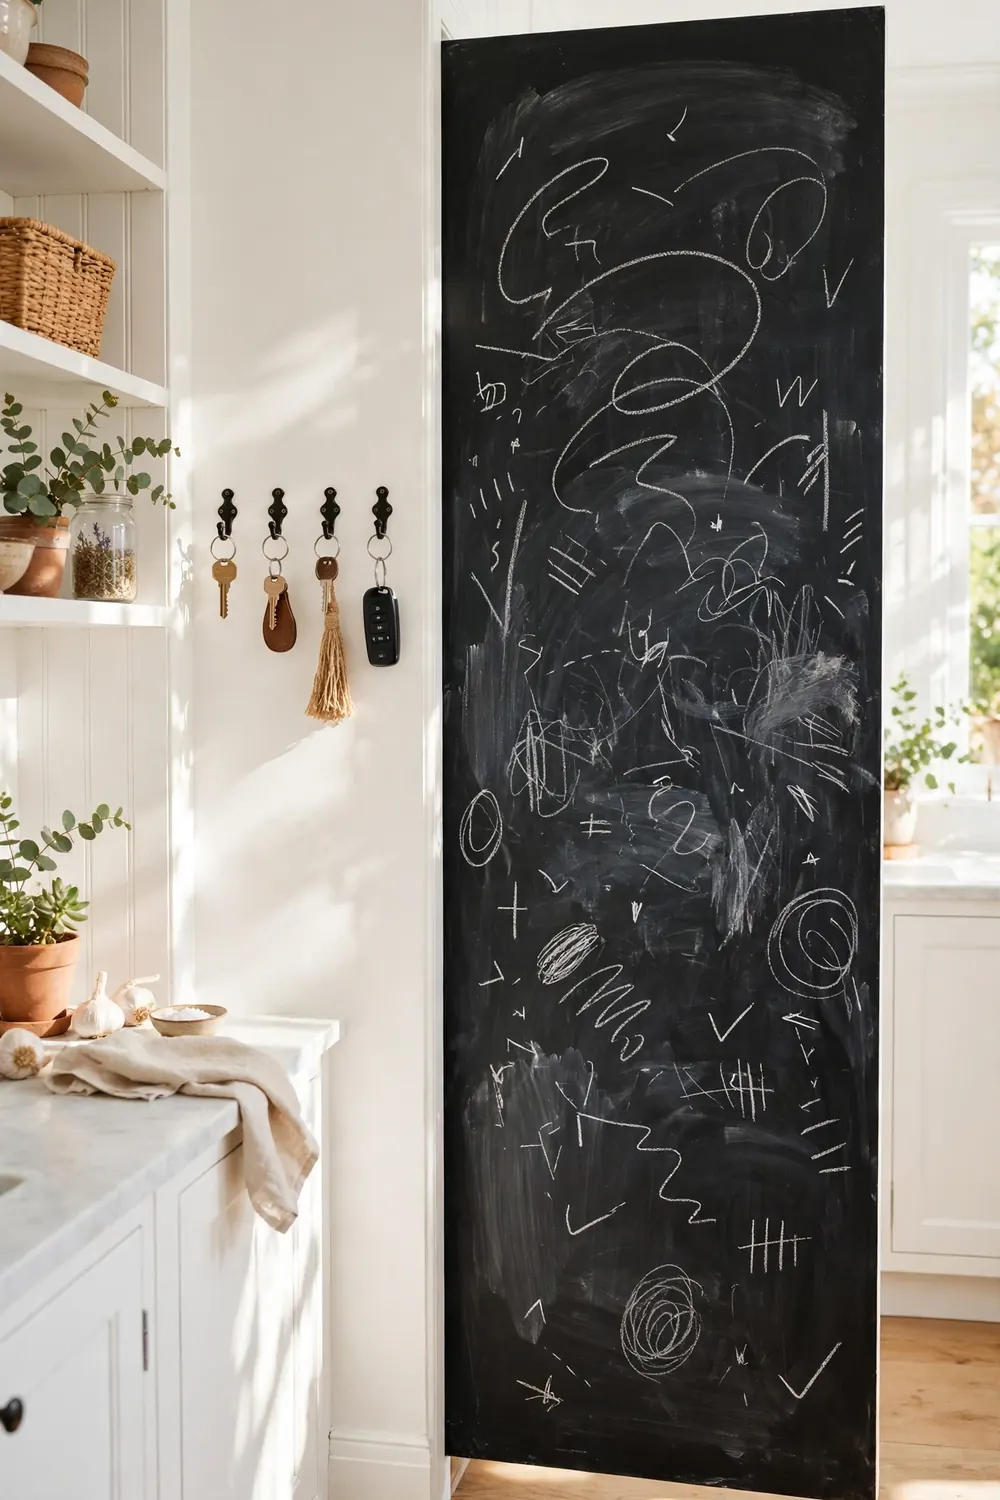
Paper piles, keys, and school notes collect on kitchen counters because they have nowhere else to go. A chalkboard pantry door or a small command center on the wall gives all of it a home. The door holds the shopping list, and hooks hold keys and bags.
Chalkboard paint goes on like normal paint, two coats with a day between them. Keep the list short and wipe it clean each week, or the board becomes clutter itself.
19. Refresh the Small Details: Switch Plates, Rug, and Towels
After the big jobs, the small details are what make a kitchen feel finished. New switch plates in a matching finish, a washable rug in front of the sink, and fresh towels in one color pull the room together.
Pick one towel color and stick with it so the room reads calm instead of busy. A flat weave rug stays put and washes easily. For seasonal towel and table swaps, these Thanksgiving kitchen decor ideas show how small changes carry a whole season.
Start with the change that will make your mornings easier, and let the rest follow one weekend at a time. It is not one big project. It is a run of small, smart moves that add up to a room you enjoy being in, and these budget kitchen makeover ideas give you a place to begin. Save this list for the next time you want to refresh your space.

3 Responses