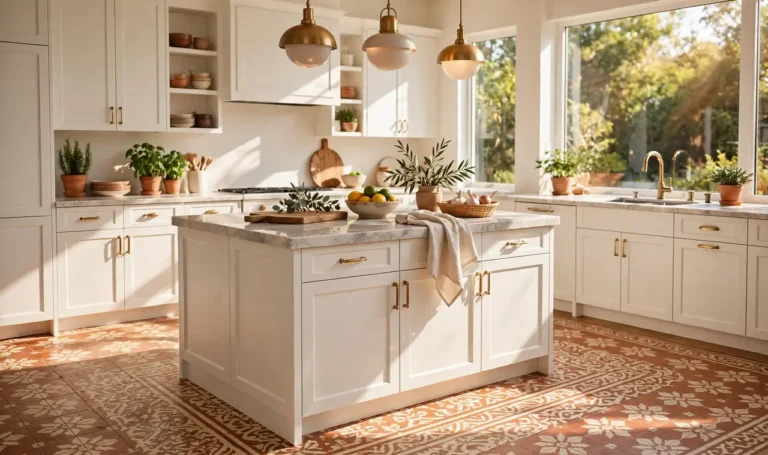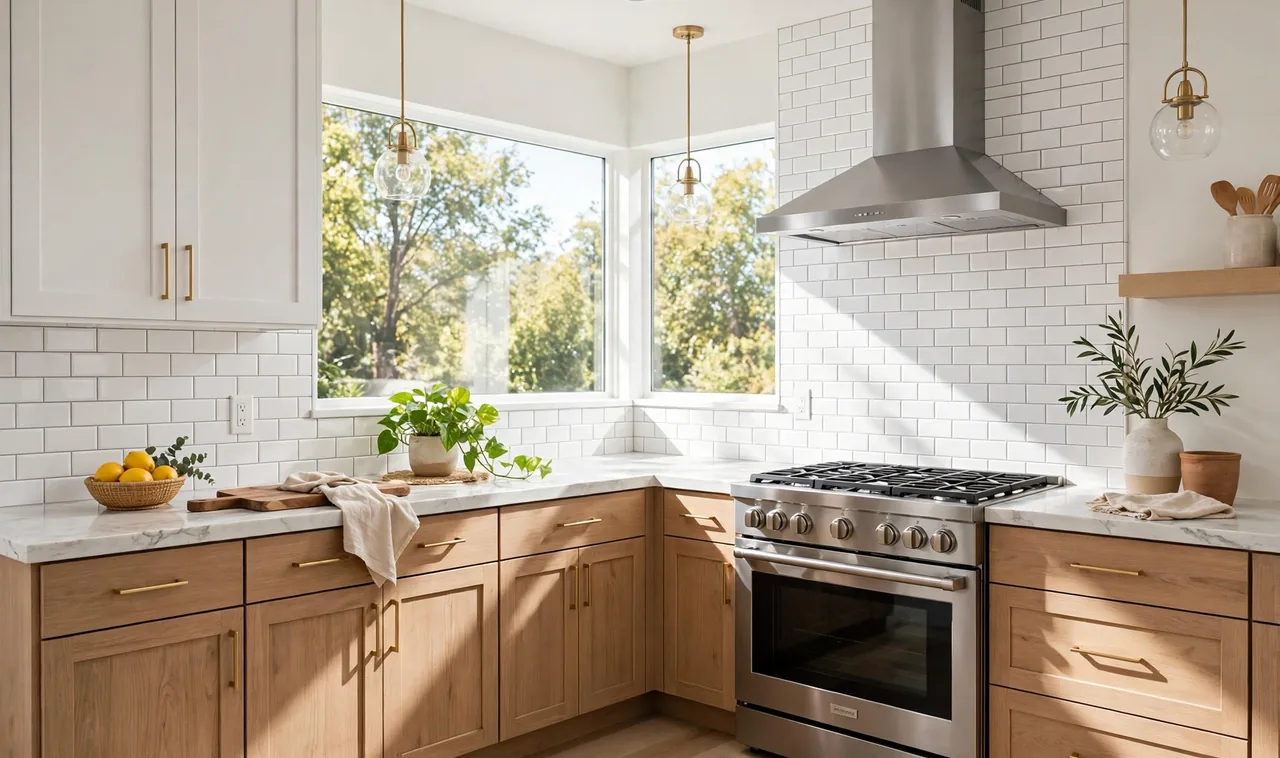
Your kitchen wall looks tired, and you know a new backsplash would wake the whole room up. Real tile means thinset, grout, a wet saw, and a weekend of dust. That is why so many renters and first time DIYers never start. This guide shows you how to install peel and stick backsplash tiles in a kitchen with no wet saw, no grout bucket, and no mess on the floor. You will measure the wall, prep it the right way, cut the sheets to fit, and press them in place one row at a time. The hands on work takes about two hours for a standard sink wall. The tiles look like real ceramic or stone from a normal viewing distance, and you can pull them off later without tearing up the paint. Grab a tape measure and a utility knife, and let us get your kitchen wall done today.
What You Need
- Peel and stick tile sheets
- Tape measure
- Pencil
- 24 inch level
- Utility knife with fresh blades
- Metal straightedge or ruler
- Heavy duty scissors
- Clean cloths
- Mild dish soap
- Rubbing alcohol
- Painter’s tape
- Matching caulk (optional)
- Grout pen (optional)
- Screwdriver for outlet covers
- Step stool
At a Glance: All 12 Steps
- Choose peel and stick tiles that fit your kitchen
- Measure the wall and count the sheets you need
- Clean the wall and let it dry for a full day
- Mark a level starting line with a pencil
- Cut the first tiles to fit the starting edge
- Peel the backing and press the first tile in place
- Line up each tile and press it flat
- Cut tiles to fit around outlets and switches
- Trim the last row and finish the top edge
- Add a grout look and seal the seams
- Wait 24 hours before you wipe or hang anything
- Pull tiles off cleanly when you move out
Choose peel and stick tiles that fit your kitchen
Tile sheets come in vinyl, gel, and stone look finishes. Vinyl sheets suit beginners best because they cut with scissors and bend around slight bumps. Gel tiles look thicker and more like real glass, but they cost more per sheet. Most sheets are 10 to 12 inches tall, so measure your counter to cabinet height before you buy. Check the heat rating first, since the strip behind a gas stove needs a heat rated tile or a 6 inch gap. Buy 10 percent extra sheets. Paint cabinets first with this guide to how to paint kitchen cabinets.
Measure the wall and count the sheets you need
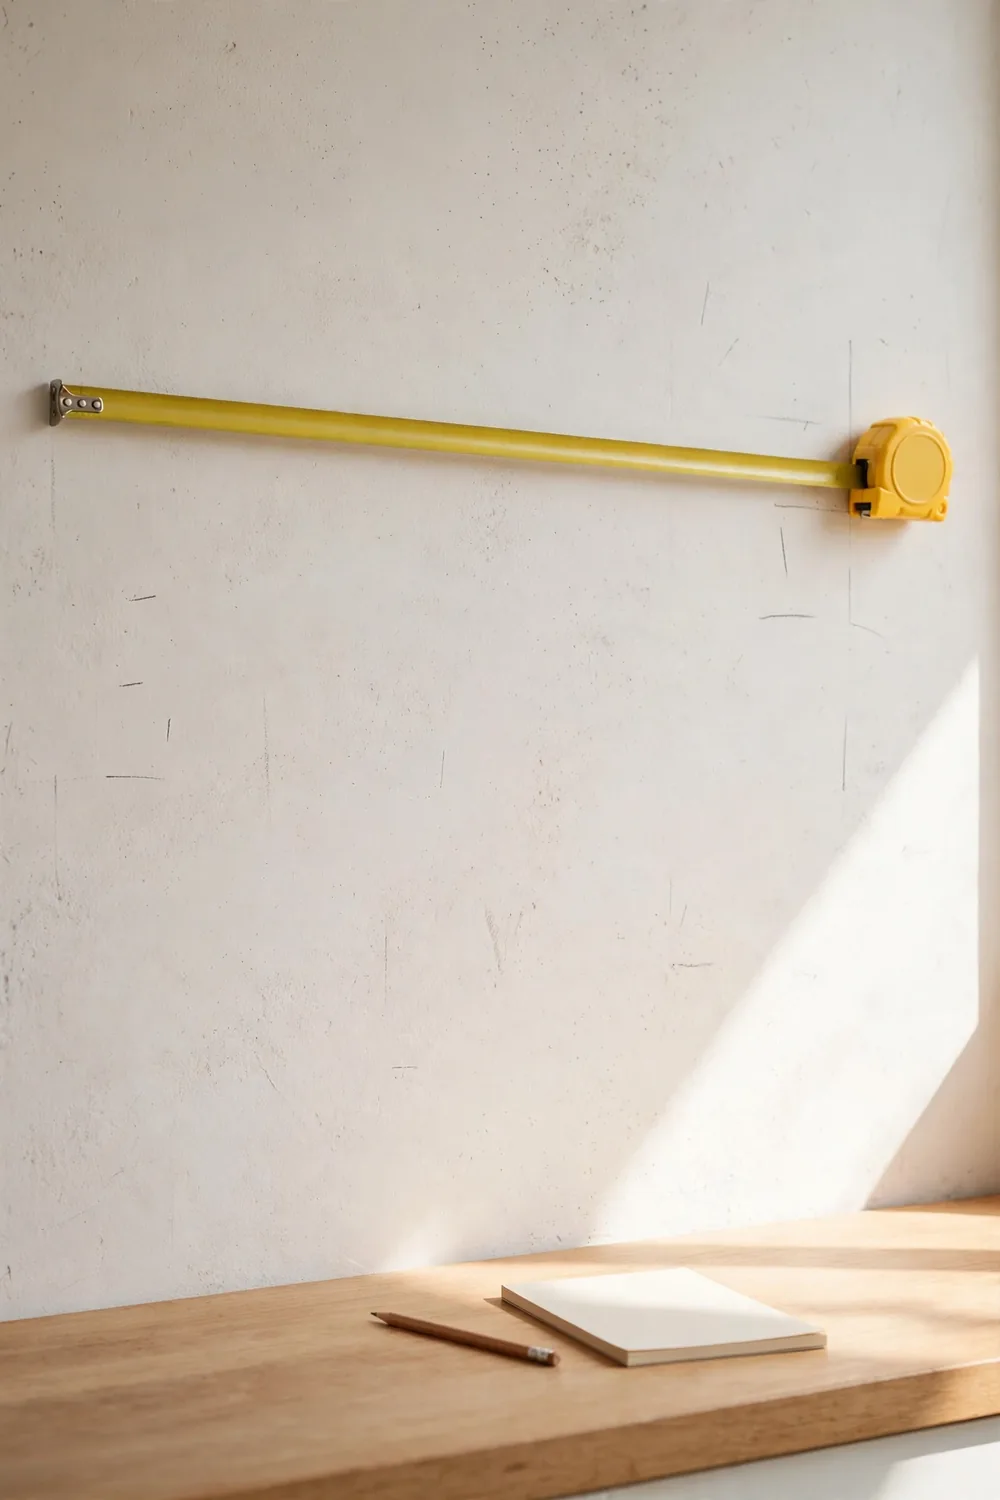
Measure the width and height of the wall in inches. Multiply width by height to get square inches, then divide by 144 to get square feet. Compare that number with the coverage printed on the tile box, which is usually 10 square feet per pack of ten sheets. Round up to whole packs, then add one extra pack for a wall with outlets or an odd corner. Sketch the wall on a notepad and mark where each outlet sits. That sketch saves you from guessing later when the knife is in your hand.
Clean the wall and let it dry for a full day
Peel and stick adhesive grips a clean, dry, smooth wall and gives up on a coated one. Kitchens collect a thin film of cooking oil even on walls that look clean, and that film is the number one reason tiles fall off. Wash the area with warm water and mild dish soap, then rinse so no soap stays behind. Wipe the wall once more with rubbing alcohol on a clean cloth, which pulls off the last film and dries fast. Sand rough walls lightly first so the adhesive can grip.
Mark a level starting line with a pencil
Careful work still looks wrong if the first row goes on crooked. Find the center of the wall and draw a light vertical pencil line there with your level. Starting from the center keeps the cut pieces equal on both ends instead of leaving one tiny sliver on one side. Draw a horizontal line along the counter too, because counters are not always level. Use a pencil, never a pen, since pen can bleed through light tiles. Painter’s tape along the counter edge protects the surface.
Cut the first tiles to fit the starting edge
Most walls need a cut piece at the edges, and cutting before you peel keeps the adhesive clean. Hold a sheet against the wall and mark where it meets the edge. Lay the sheet face down on a cutting mat or a scrap board. Score the sheet firmly with the utility knife in one smooth pass. Press down on both sides of the score line and the sheet snaps clean. Score curved cuts three times, then bend the sheet until it breaks. Swap in a fresh blade when cuts start to tear instead of slice.

Peel the backing and press the first tile in place
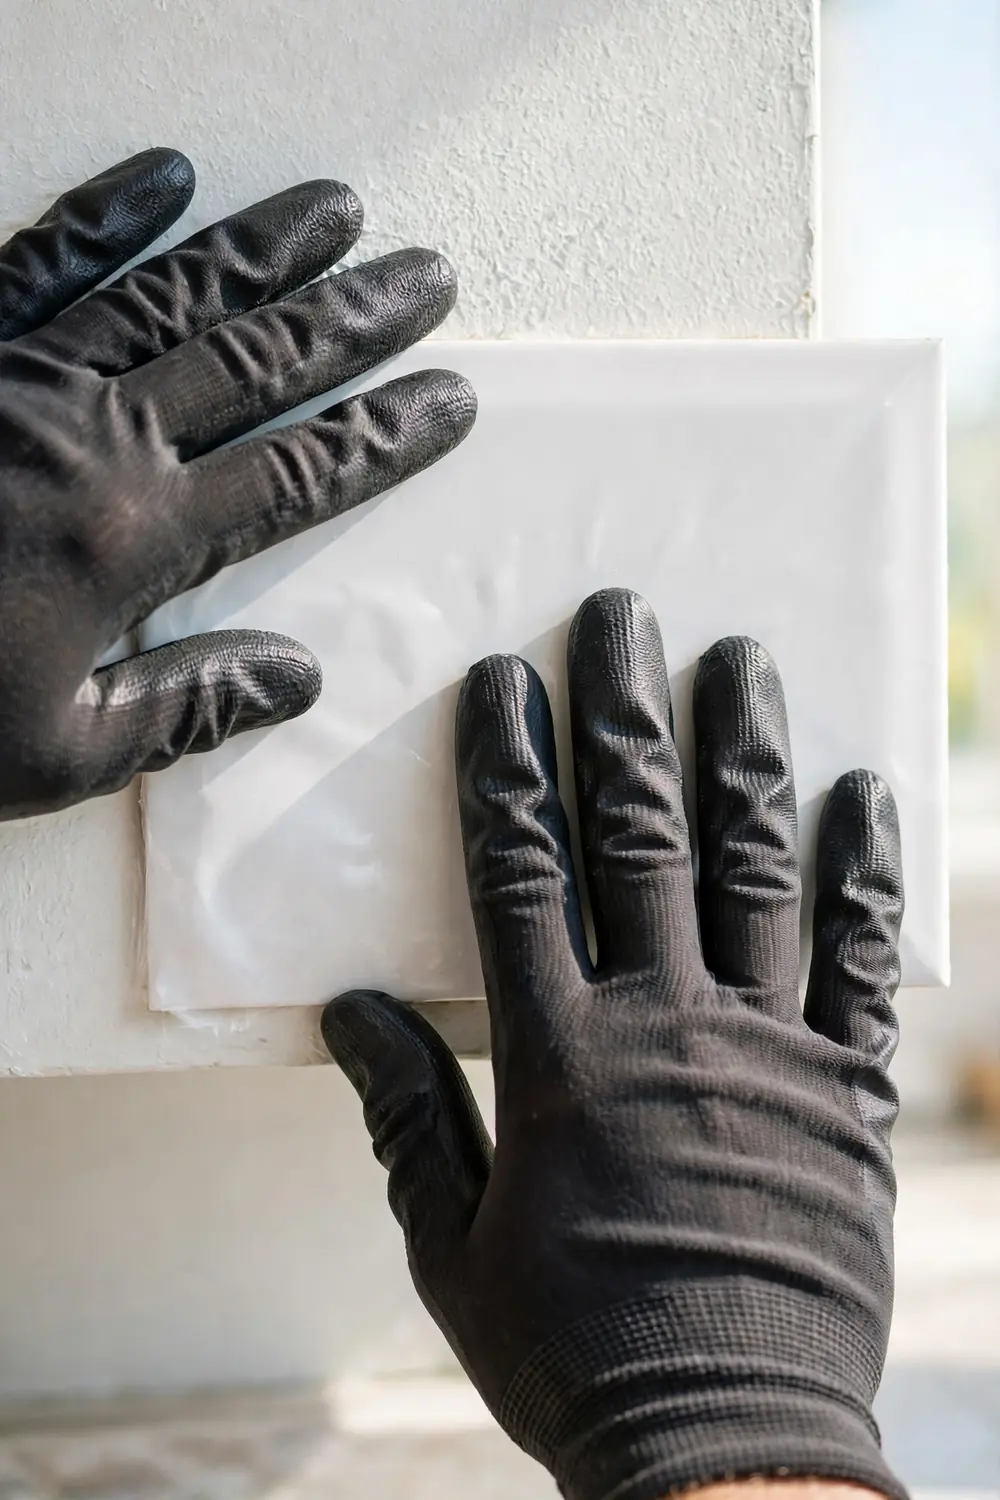
Peel back only the top 2 inches of the backing paper. Line the top edge up with your horizontal line and the side with your center line. Press the exposed strip onto the wall with your palm, then smooth down from the center with a clean cloth. Pull the rest of the backing off slowly while you smooth the tile down in the same motion. Work from the middle out so no air stays trapped under the tile. Check the first tile with the level before you move on.
Line up each tile and press it flat
Butt each tile tight against the last one with no gap and no overlap. A gap shows wall color, and an overlap leaves a ridge you can feel. Press each tile from the center outward with a dry cloth, using firm, even pressure across the whole sheet. A rolling pin from the kitchen does the same job in a pinch. Check the row with your level every three tiles, since a small lean grows into a slope. Tiles can be lifted and repositioned within the first few minutes if you catch a mistake early.
Cut tiles to fit around outlets and switches
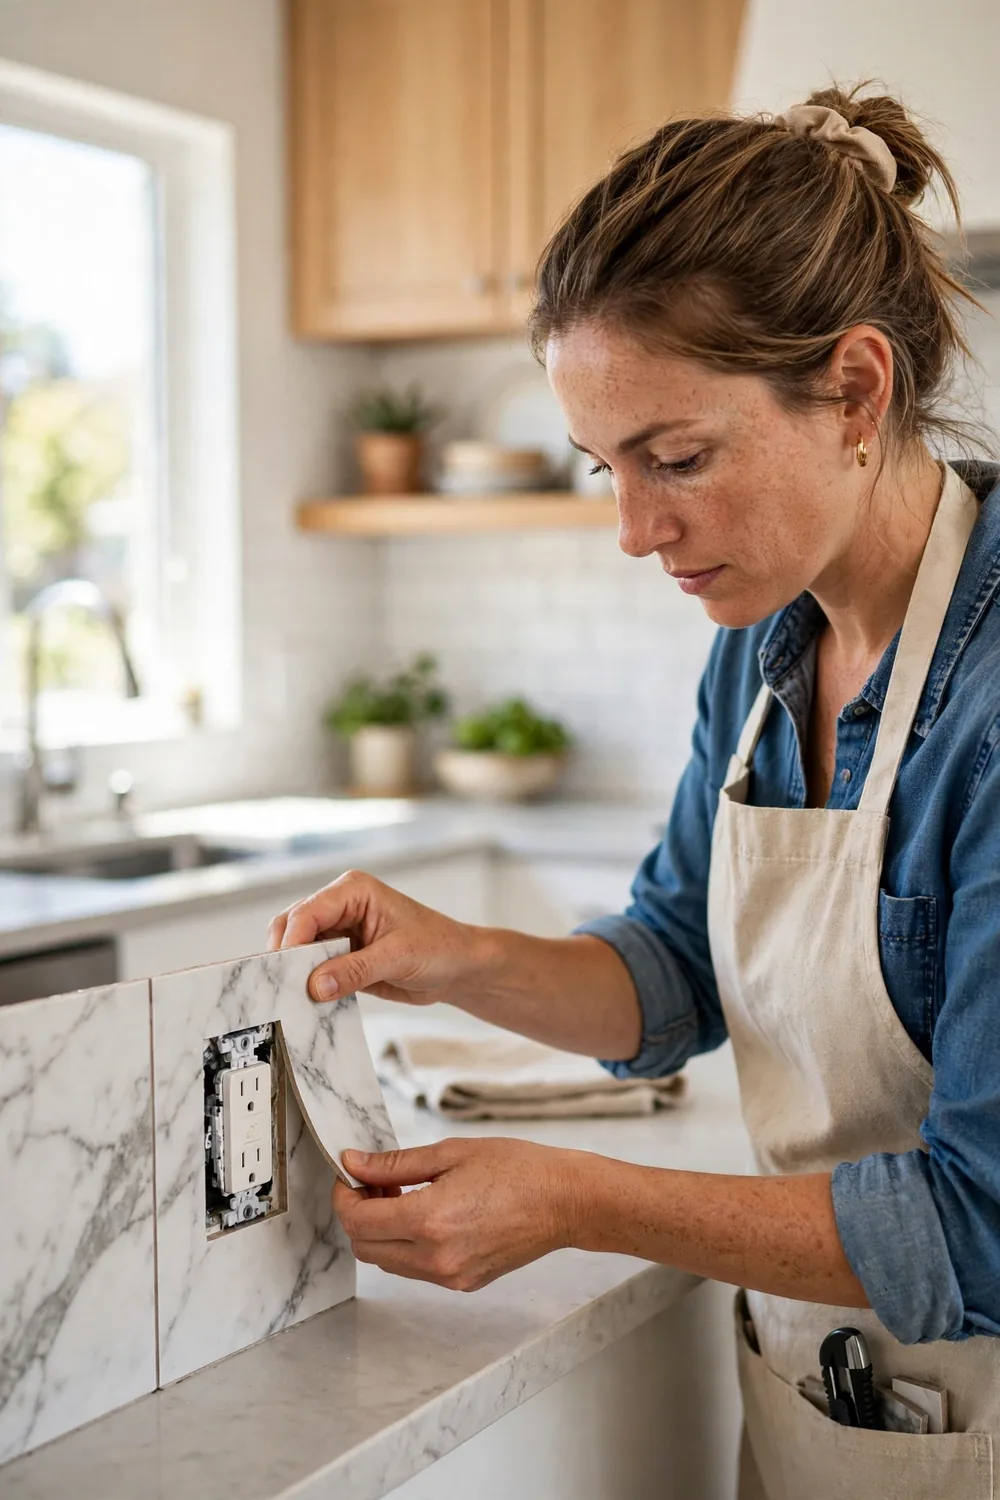
Turn off power to the kitchen outlets at the breaker box first. Remove the cover with a screwdriver and keep the screws in a small cup. Mark the outlet outline on the back of the sheet, adding 1/8 inch on each side. Cut the marked rectangle out with the utility knife, making several light passes instead of one hard one. Press the tile into place around the outlet box and check that the edges sit flat. Screw the cover back on once the tile is flat, and the plate hides the cut edge.
Trim the last row and finish the top edge
Measure the gap under the cabinets at three points, left, center, and right. Cut your final row to the smallest of the three measurements so the strip fits even at the tightest spot. Press the cut strip into place and smooth it flat. Run a thin bead of matching caulk along the top edge, then smooth it with a damp finger. Caulk also belongs along the bottom edge where the tile meets the counter, since water pools there when you wash dishes. Wipe away extra caulk right away with a damp cloth.
Add a grout look and seal the seams
Sheets with a printed grout line need nothing more than a wipe down. If your tiles have real gaps, a grout pen fills the lines with color. Draw the pen slowly along each seam in one steady pass and let it dry for 30 minutes before you touch it. A second pass darkens the line if you want more contrast. In steamy kitchens, a thin line of clear silicone along the bottom seam keeps water out. Skip the grout pen on gel tiles, since the pen can stain their glossy surface.
Wait 24 hours before you wipe or hang anything
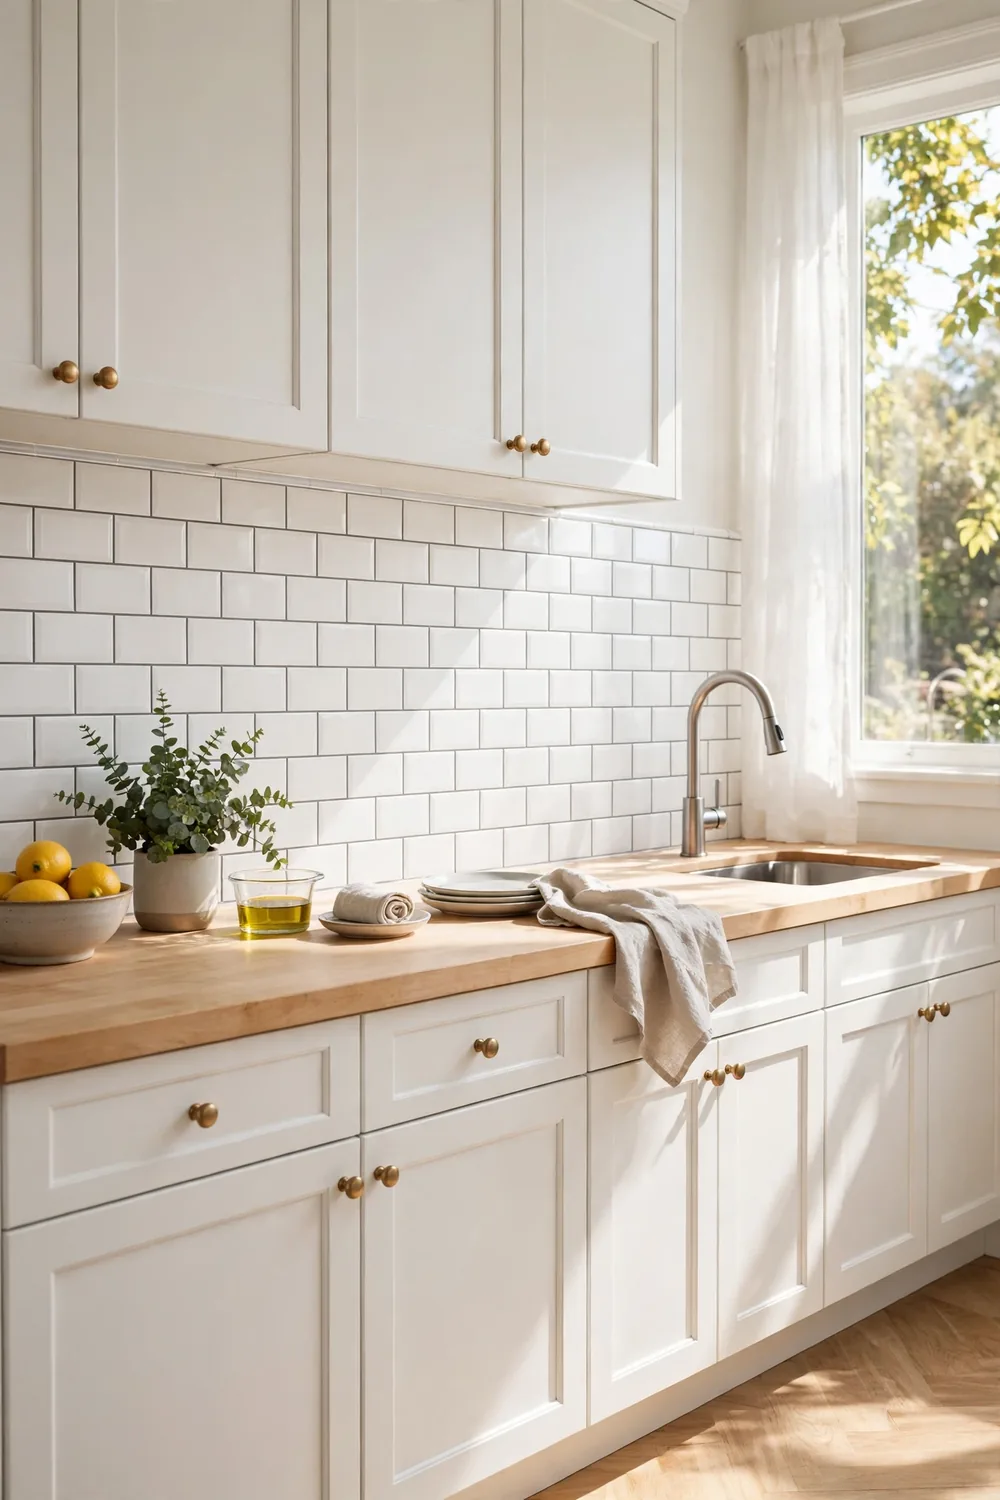
The adhesive needs a full day to bond, even though the tiles feel stuck right away. Leave the wall alone for 24 hours. Do not wipe it, hang anything on it, or press the tiles to test them. Cooking heat is fine, but steam from a boiling pot can soften fresh adhesive, so keep lids on. Once the day has passed, wipe the wall with a damp cloth and mild soap whenever it needs it. Avoid harsh scrub pads and strong cleaners, which can dull the tile surface over time.
Pull tiles off cleanly when you move out
Renters pick peel and stick tile because it comes off cleanly when you take it slow. Warm one corner of a tile with a hair dryer on medium heat for about 30 seconds. The heat softens the adhesive so the sheet lifts without pulling paint with it. Peel the tile back at a low angle, close to the wall. Warm each sheet before you pull it, working across the wall one at a time. Rub any sticky residue off with a cloth dampened with rubbing alcohol. These renter friendly kitchen upgrades pair well with a fresh backsplash.
Troubleshooting: If This Happens, Try This
| If This Happens | Try This |
|---|---|
| Tiles will not stick | Wash the wall again and wipe it with rubbing alcohol. |
| Air bubbles under a tile | Prick the bubble with a fine pin, then press the air out with a cloth. |
| Rows drift crooked | Lift the last tile and press it back on the level line. |
| Gaps show at the edges | Fill the gap with matching caulk and smooth it with a damp finger. |
| Tiles peel near the stove | Keep a 6 inch gap from burners. |
Frequently Asked Questions
Can peel and stick tiles go behind a stove? Standard vinyl handles the wall behind an electric stove, but gas burners throw more direct heat. Keep a 6 inch gap from open flame, or use a heat rated tile.
How long do peel and stick backsplash tiles last? On a clean, dry wall indoors, most sheets hold for 3 to 5 years. Heat, steam, and frequent scrubbing shorten that time.
Can I put them on textured walls? Light orange peel texture works if you sand the high spots first. Deep knockdown texture will not hold, because the adhesive cannot make full contact with the wall.
Will they damage the paint when I remove them? On paint cured for at least 30 days, removal with a hair dryer leaves the wall clean. Fresh or flat matte paint can lift, so test one corner first.
Can I cut the sheets with scissors? Vinyl sheets cut fine with heavy duty scissors, which work well for small notches around outlets. A utility knife gives a straighter edge on long cuts.
Quick Reference: How to Install Peel and Stick Backsplash
You need: tile sheets, tape measure, pencil, level, utility knife, straightedge, scissors, cloths, dish soap, rubbing alcohol, painter’s tape, caulk, screwdriver.
- Choose tiles, buy 10 percent extra.
- Measure the wall, count the sheets.
- Clean the wall, dry 24 hours.
- Mark a level starting line.
- Cut the first tiles to fit.
- Peel and press the first tile.
- Line up tiles, press flat.
- Cut around outlets with the power off.
- Trim the last row, caulk edges.
- Add a grout look, seal seams.
- Wait 24 hours before wiping.
- Remove with a hair dryer.
You did it. The wall that looked tired this morning now reads as a finished kitchen. Now you know how to install peel and stick backsplash tiles, and the next wall will go even faster. Stand back and look at the rows in the evening light. Once it has cured, dress the kitchen to match with these cozy Christmas kitchen decor ideas. Pin this guide so you have it ready when a friend asks how you did it.