
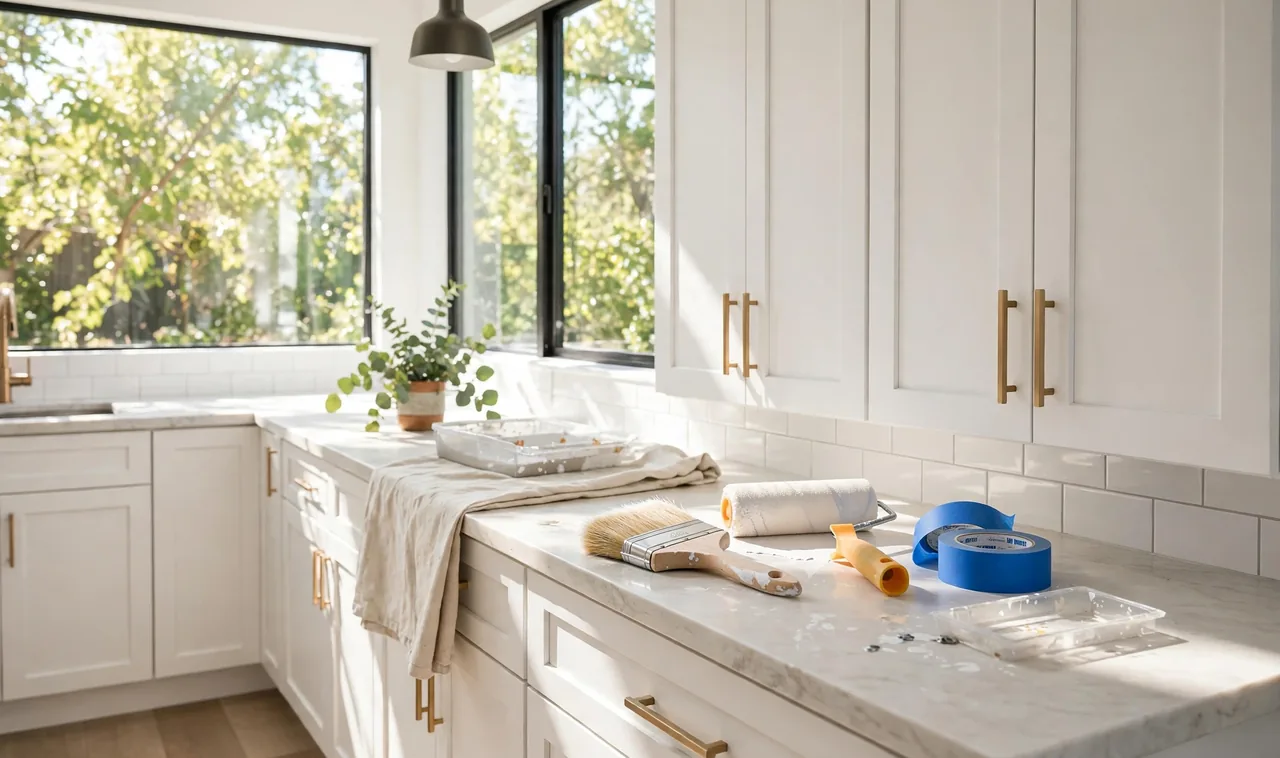
Your kitchen cabinets look tired. The finish has yellowed, the edges show wear, and every time you walk in, the room feels older than it is. A full remodel costs thousands, and new doors alone can eat a whole budget. Paint changes all of that for under $200 in most kitchens. This guide shows you how to paint kitchen cabinets the way a pro would, with the same order of work, the same prep, and the same thin coats that make a finish last for years. You do not need a sprayer. You do not need a workshop. You need a free weekend, a few basic tools, and patience while coats dry. Painting is the cheapest big change in any budget kitchen makeover, and the result can look like new cabinets. The hands-on work takes about 10 to 12 hours spread over two days. The rest is drying and curing, and that part does the real work for you. Read each step in order, gather everything before you start, and keep your coats thin.
What You Need
- Degreaser or TSP substitute
- 120-grit and 220-grit sandpaper
- Sanding block or orbital sander
- Wood filler and putty knife
- Bonding primer (1 gallon)
- Urethane enamel paint (1 gallon)
- 2.5-inch angled brush
- 4-inch foam roller and tray
- Painter’s tape and drop cloths
- Screwdriver and drill
- Numbered labels and zip bags
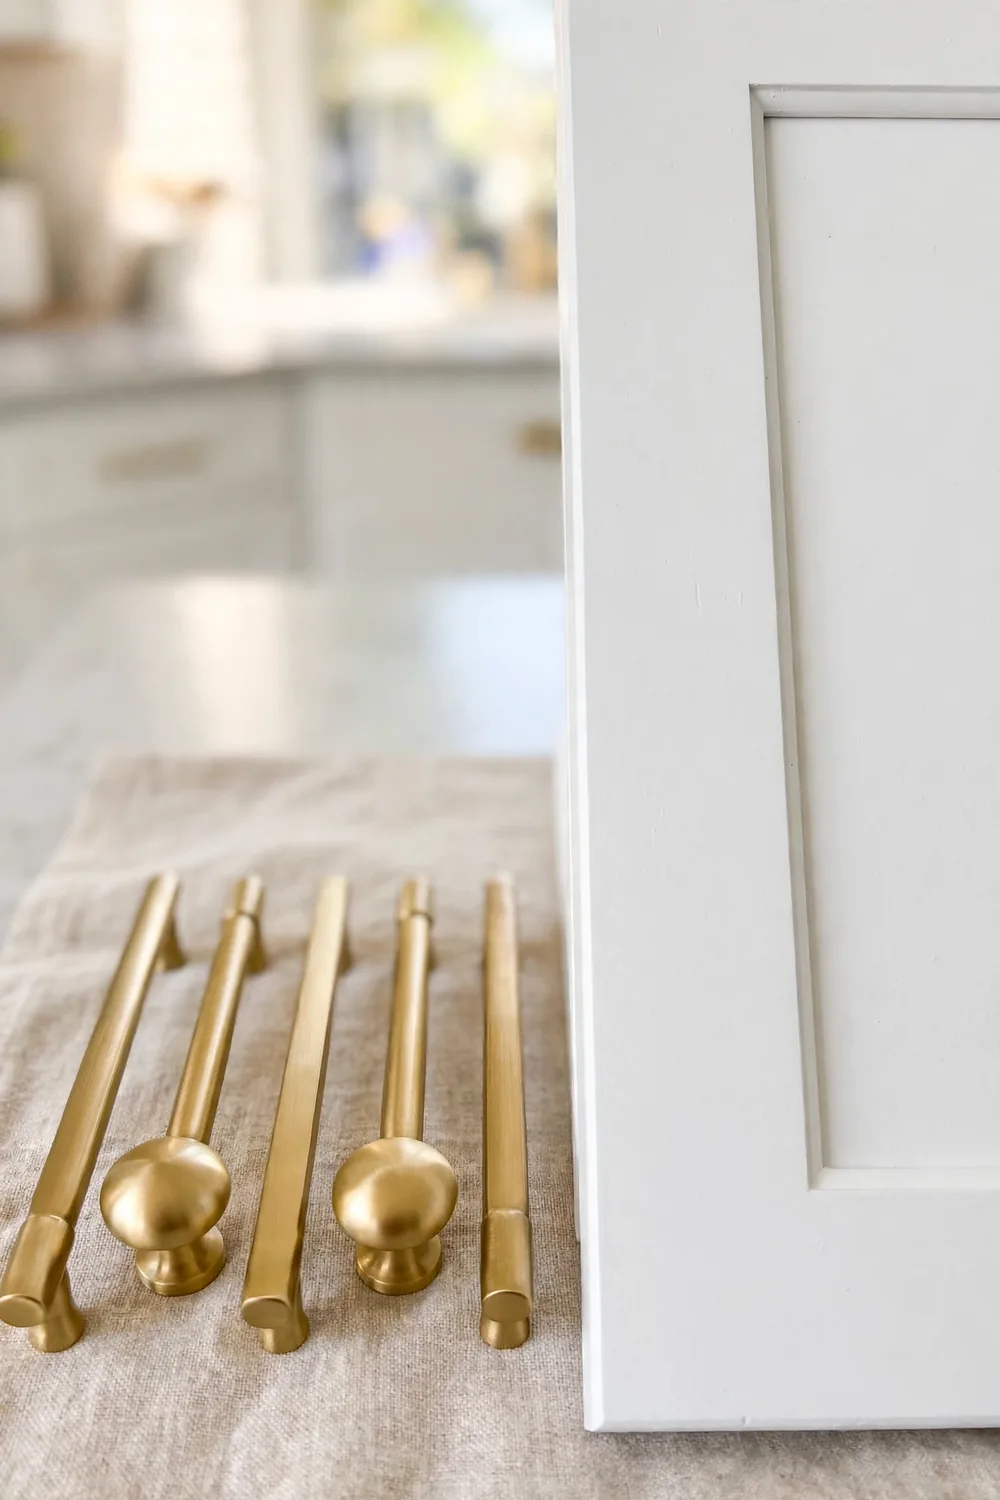
- New knobs or pulls (optional)
At a Glance
- Empty the cabinets and label every door
- Remove the doors, drawers, and hardware
- Scrub every surface with a degreaser
- Scuff sand all the surfaces
- Fill dents and holes with wood filler
- Tape off the walls and cover the floors
- Brush on a thin coat of primer
- Sand the primer smooth
- Paint the cabinet boxes
- Paint the doors and drawers
- Let the paint cure for a full week
- Reinstall the doors, drawers, and hardware
Empty the cabinets and label every door
Take everything out of the cabinets and drawers first. Cooking oil and dust collect inside over years, and paint will not stick to a greasy shelf edge. Wipe each shelf with a damp cloth as you empty it. Stick a small numbered label on the inside of every door and on the matching cabinet frame, like 1 with 1 and 2 with 2. Doors that look the same are rarely the same size, and labels save you an hour of guessing later.
Remove the doors, drawers, and hardware
Unscrew each hinge from the cabinet frame, not from the door, so the hinge stays attached to its own door. Put the screws from each door into a small zip bag and tape the bag to that door. Pull the drawers out and remove the pulls and knobs. Keep every hinge and screw in its own bag. A kitchen has more hardware than you think, and mixed-up screws are the most common cause of a slow reinstall. Set the doors on sawhorses or a flat table, raised on small blocks so paint can wrap around the edges.
Scrub every surface with a degreaser
Kitchen cabinets hold a thin film of cooking grease even when they look clean. Mix a degreaser or TSP substitute in a bucket of warm water, following the label. Wipe every door, drawer front, and frame with a sponge, then rinse with a clean damp cloth. Pay extra attention to the doors near the stove and the handles, where hands leave oil every day. Let the wood dry for at least 1 hour before you touch sandpaper. Paint peels off grease, not wood.
Sand every surface until it feels dull
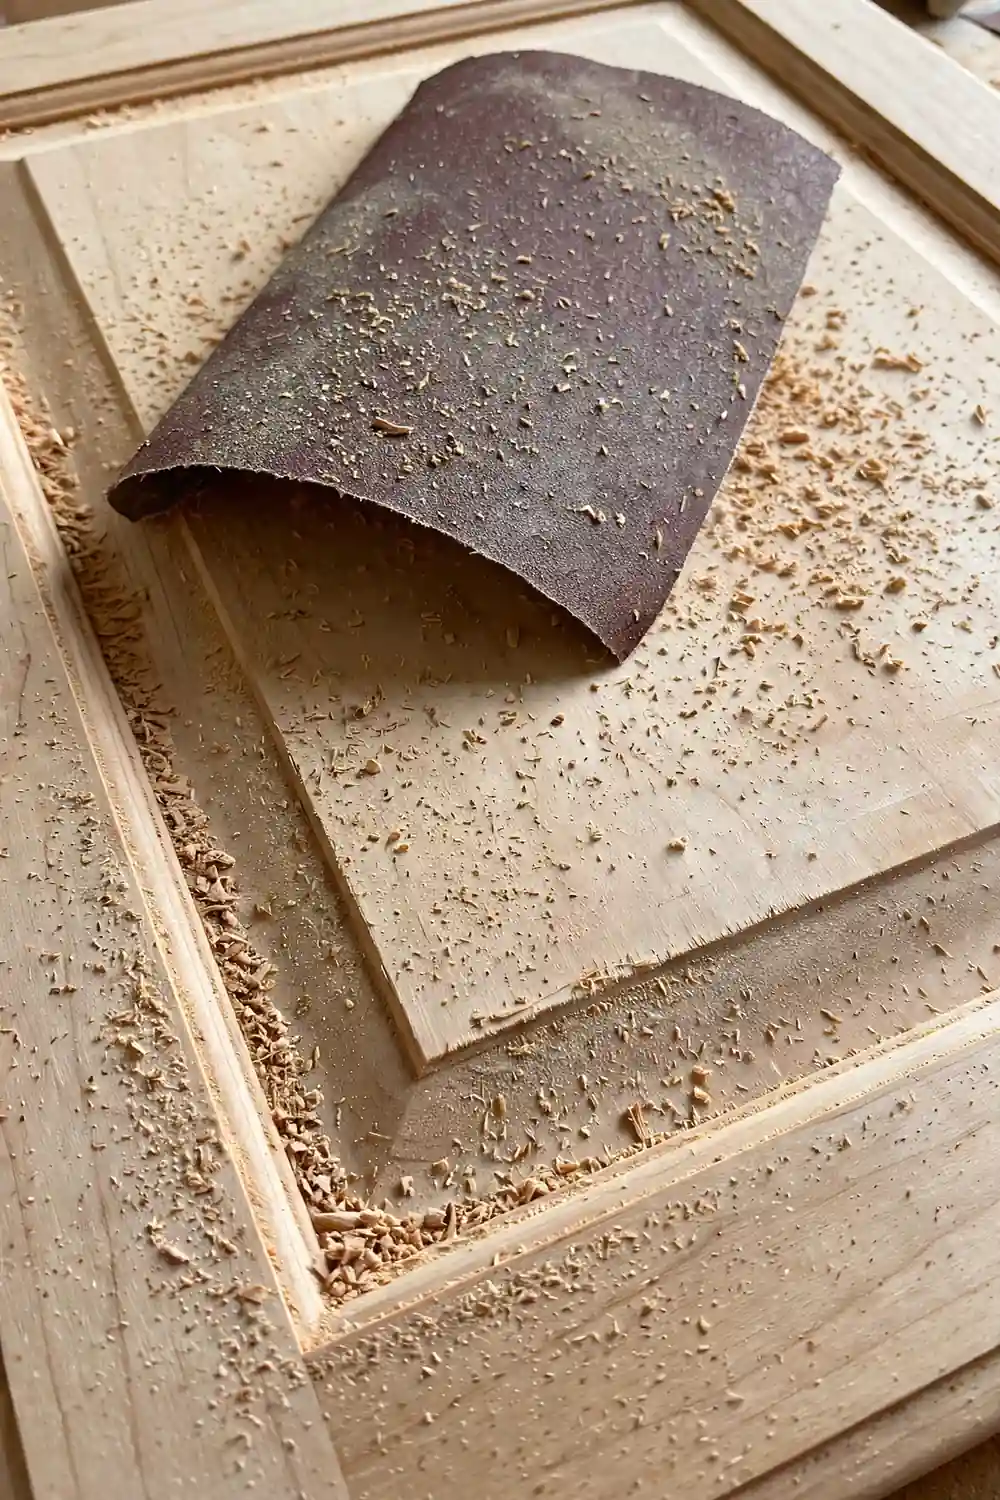
Sanding gives the primer something to grip. Use 120-grit sandpaper on a sanding block and rub every flat surface in long, even strokes. You are not removing the old finish, only dulling the shine. A glossy surface that still shines will reject paint. Rounded edges and grooves need a folded piece of sandpaper by hand. Wipe the dust away with a tack cloth after each section. The surface should look flat and chalky, with no shiny spots left anywhere.
Fill dents and holes with wood filler
Old knob holes, small dents, and dings show through paint, so fix them now. Press wood filler into each hole with a putty knife, slightly overfilling it. Let it dry for the time on the label, usually 1 to 2 hours. Sand the patches flat with 220-grit sandpaper and wipe off the dust. If you plan to move the knobs to a new spot, fill the old holes now and drill the new ones after the paint cures.
Tape off the walls and cover the floors
Run painter’s tape along the wall where it meets the cabinet frames, around the ceiling line, and over the backsplash edge. Press the tape edge down hard with a putty knife so paint cannot creep under it. Lay drop cloths on the floor and over the counters. Tape the cloth to the base of the cabinets. A stray brush stroke on a wall takes ten minutes to fix, and a drip on a wood floor takes longer, so cover more than you think you need.
Brush on a thin coat of primer
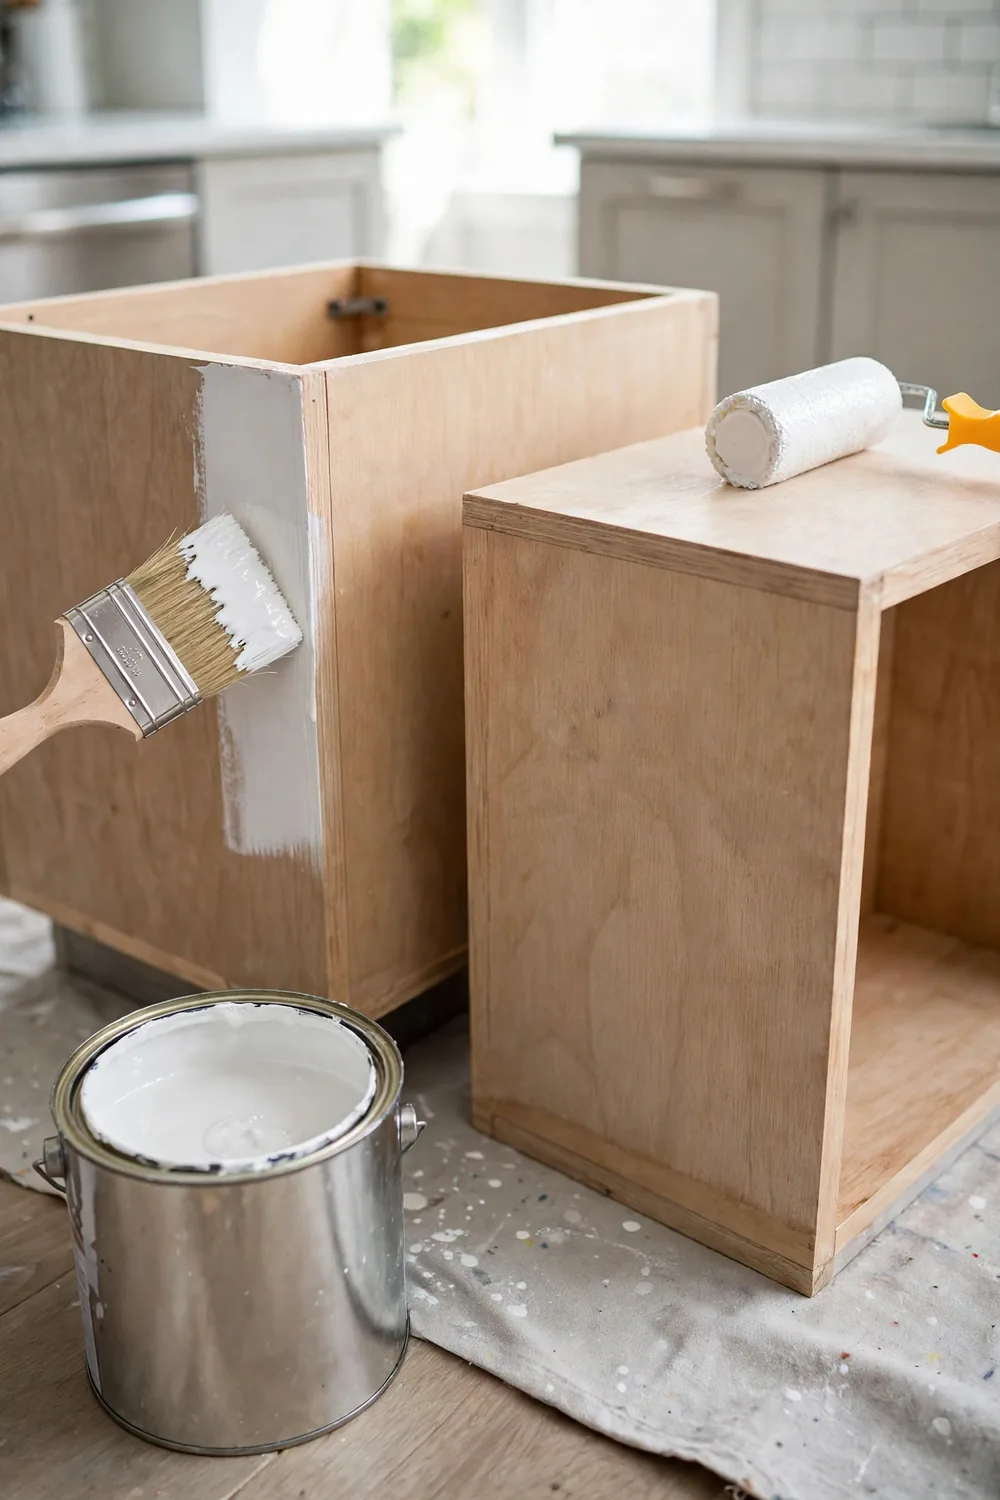
Primer is the step that makes the job last. Stir the can well and pour some into a tray. Brush the primer onto the frames first with a 2.5-inch angled brush, then roll the flat areas with a 4-inch foam roller. Keep the coat thin enough that you can see a hint of wood grain through it. Thick primer fills details and dries with ridges. Let it dry for 2 to 4 hours, or the time on the can. If you skip primer, the paint will peel in months, and the old color will bleed through.

Sand the primer smooth
Primer dries with a rough, chalky feel, and that texture shows through the paint if you leave it. Rub every primed surface lightly with 220-grit sandpaper until it feels smooth under your hand. Do not press hard. You only want to knock down the rough spots, not sand back to bare wood. Wipe the dust off with a tack cloth. A smooth primer coat is the real secret behind a smooth paint coat.
Paint the cabinet boxes in thin coats
Start with the frames while they are still on the wall. Brush the edges and corners first, then roll the flat panels with the foam roller. Work in sections about 2 feet wide and keep a wet edge so the paint blends. Apply the paint thinner than your instinct says. Two thin coats always look better than one thick coat, and thick paint drips on vertical surfaces. Wait 4 to 6 hours between coats. Sand lightly with 220-grit paper between coats and wipe the dust away. Most kitchens need two coats for full coverage.
Paint the doors and drawers flat
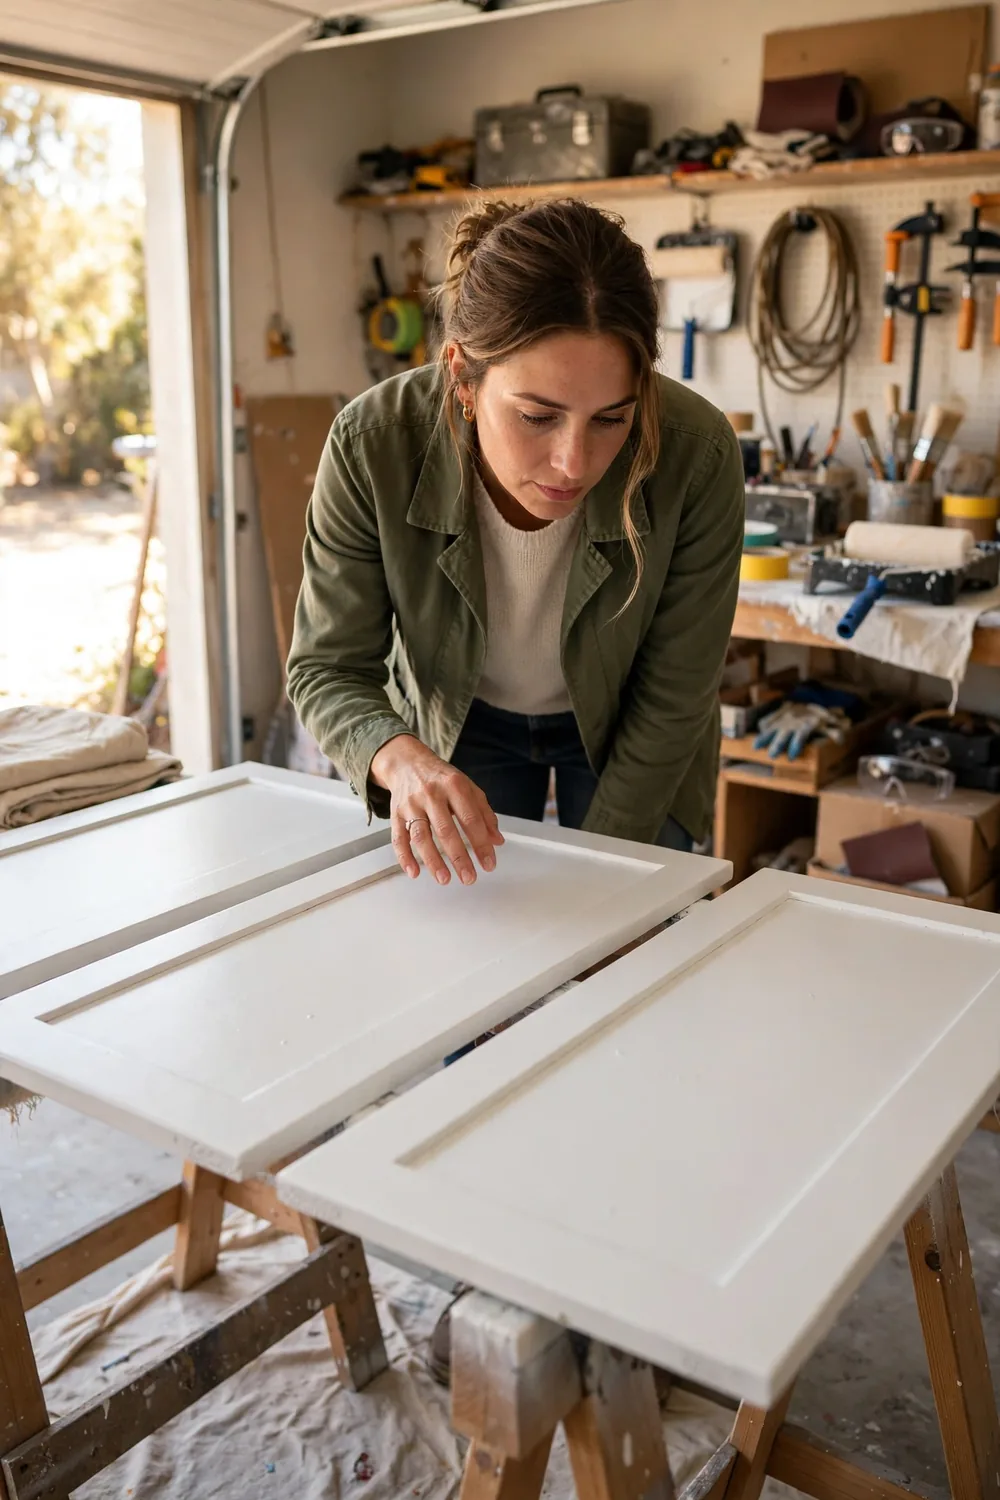
Doors paint best lying flat, so drips cannot run. Brush the edges first, then roll the flat face. Flip each door only after the top side is dry to the touch, usually 4 hours. Paint the drawer fronts the same way. Two thin coats give the best result, with a light sanding between them. Label the back of each door with its number in pencil before you start, so the wet paint does not cover the label. Keep pets and kids out of the drying area.
Let the paint cure for a full week
Dry to the touch is not the same as cured. The paint feels hard after a day, but it stays soft underneath for days. Leave the doors flat and untouched for at least 24 hours after the last coat. Reinstall gently after 48 hours, and treat the cabinets with care for a full 7 days. No scrubbing, no leaning heavy pots against the doors, and no slamming. Paint that cures without stress stays hard for years. Paint that gets bumped in the first week chips.
Reinstall the doors, drawers, and hardware
Match each numbered door to its frame and screw the hinges back in place. Hang the top doors first, then the bottom ones. Slide the drawers back in and check that each one closes without rubbing. Add new knobs or pulls if you bought them, drilling new holes only after the paint has cured. Step back and open every door once. A door that rubs needs one hinge screw loosened and shifted a fraction of an inch.
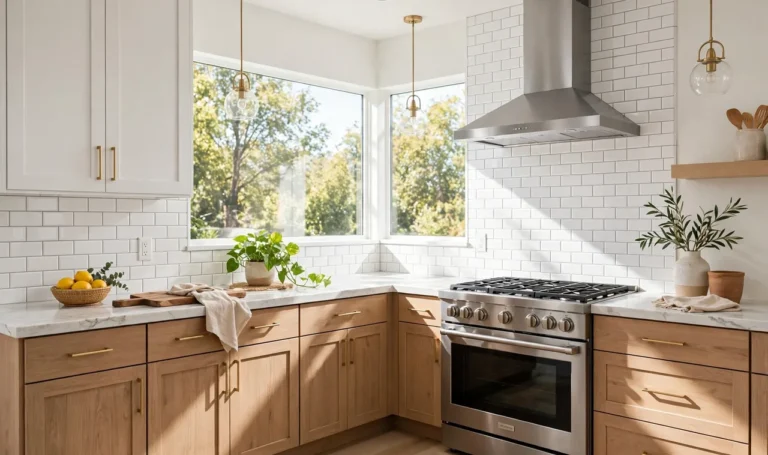
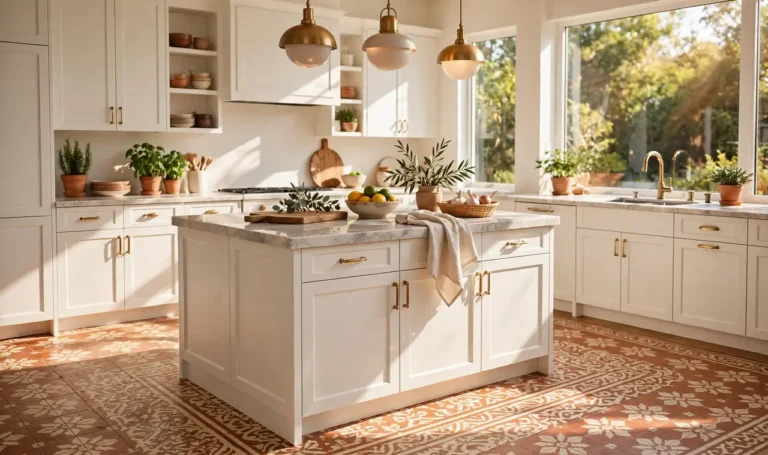
Wondering what the finished result looks like? Browse these painted kitchen cabinets before and after examples to compare colors and finishes before you pick your paint.
Troubleshooting
| If This Happens | Try This |
|---|---|
| Brush marks show in the finish | Sand with 220-grit, then roll the next coat with a foam roller instead of brushing. |
| Paint peels off in sheets | The surface was greasy or unprimed. Strip the loose paint, degrease, prime, and repaint. |
| Drips run down the doors | Sand the drip flat once dry, then repaint that spot in a thinner coat. |
| Doors stay sticky for days | The coats were too thick or the room is humid. Give them a full week to cure and add airflow. |
Frequently Asked Questions
How long does it take to paint kitchen cabinets?
Plan on two full days of hands-on work for an average kitchen, plus 7 days for the paint to cure. Most of the time goes to prep, drying between coats, and waiting. Rushing the drying time is the fastest way to a soft, chipped finish.
Do I have to sand before painting cabinets?
Yes. A light scuff sand with 120-grit paper is enough. You only need to dull the shine so primer can grip. Skipping sanding is the most common reason paint peels off within a few months.
What kind of paint is best for kitchen cabinets?
Use a water-based urethane enamel made for cabinets and trim. It dries hard, resists grease, and cleans with a damp cloth. Flat wall paint stays soft and marks easily, so keep it off the cabinets.
Can I paint cabinets without removing the doors?
You can, but the result is weaker. Hinges get painted over, edges stay unpainted, and drips are harder to control. Removing the doors takes about an hour and gives a far cleaner finish.
Quick Reference Card
Supplies: Degreaser, 120-grit and 220-grit sandpaper, wood filler, bonding primer, urethane enamel paint, 2.5-inch angled brush, 4-inch foam roller, painter’s tape, drop cloths.
- Empty and label everything
- Remove doors, drawers, hardware
- Degrease all surfaces
- Scuff sand to dull the shine
- Fill holes and dents
- Tape and cover the room
- Prime in one thin coat
- Sand the primer smooth
- Paint the boxes, two thin coats
- Paint the doors and drawers flat
- Cure for 7 full days
- Reinstall and align the hinges
Your Kitchen Is Ready
You did the hard part, and you now know how to paint kitchen cabinets like a pro. The prep, the primer, and the thin coats are all behind you, and your cabinets now look like they cost ten times what you spent. Give the paint its full week to cure, then cook in the room and enjoy it. When the paint is hard, dress the room up with cozy Christmas kitchen decor ideas for the holidays. Save this guide on Pinterest so you can find it for your next room.

One Response