You open the fridge to grab the milk and find a jar of something you cannot identify, a bag of spinach that turned to soup, and three half-used bottles of the same sauce. The back of every shelf hides food you forgot you bought, and dinner takes twice as long because nothing is where you expect it. Learning how to organize your fridge fixes all of that in one afternoon, and the system holds for months if you keep up one small weekly habit. This guide walks you through the whole job in twelve steps, from the empty-and-clean reset to the zones, bins, and labels that keep everything in its place. You do not need special containers or a big budget. A few clear bins, a roll of tape, and about 90 minutes are enough. The method works in any fridge, large or small, because it follows how cold air and food actually behave inside the box. A tidy fridge is also one of the cheapest upgrades in a budget kitchen makeover, since it makes the whole room feel calmer every time you cook.
What You Need
- 4 to 6 clear stackable bins
- 1 lazy Susan turntable
- Masking tape and a marker
- All-purpose cleaner or warm soapy water
- 2 clean dish towels
- 1 small notepad or whiteboard
- A cooler bag or two for cold food
- Trash bag for expired items
At a Glance: The 12 Steps
- Empty the entire fridge onto the counter
- Throw out what has gone bad
- Wipe every shelf and drawer clean
- Set the temperature to 37 degrees
- Sort food into groups on the counter
- Give every shelf a clear job
- Place tall bottles at the back of each shelf
- Group small items in clear bins
- Label the bins so everyone finds things fast
- Put a running list on the fridge door
- Move leftovers to the front where you see them
- Run a five-minute reset every week
Empty the entire fridge onto the counter
Clear one stretch of counter or the kitchen table first, then take everything out, shelf by shelf, top to bottom. Put dairy, meat, and anything that spoils fast into a cooler bag with an ice pack so it stays cold while you work. The rest can sit on the counter for the 30 minutes this reset takes. An empty fridge lets you see what you actually own and clean the shelves properly. Do not try to organize around the food already inside. Pulling it all out feels like a bigger mess for ten minutes, then it makes every step after this one faster.

Throw out what has gone bad
Go through the pile with a trash bag in hand. Toss anything past its date, anything with mold, and any leftover you cannot name or date. The sniff test works for milk and sauces, but when you are unsure, throw it out. Check the condiment shelf too. Most opened sauces last 3 to 6 months, and the ones with a crusty lid have been there too long. This is also the moment to admit which healthy ingredient you will never cook. Let it go. The fridge you reload should hold food you will actually eat this week.
Wipe every shelf and drawer clean
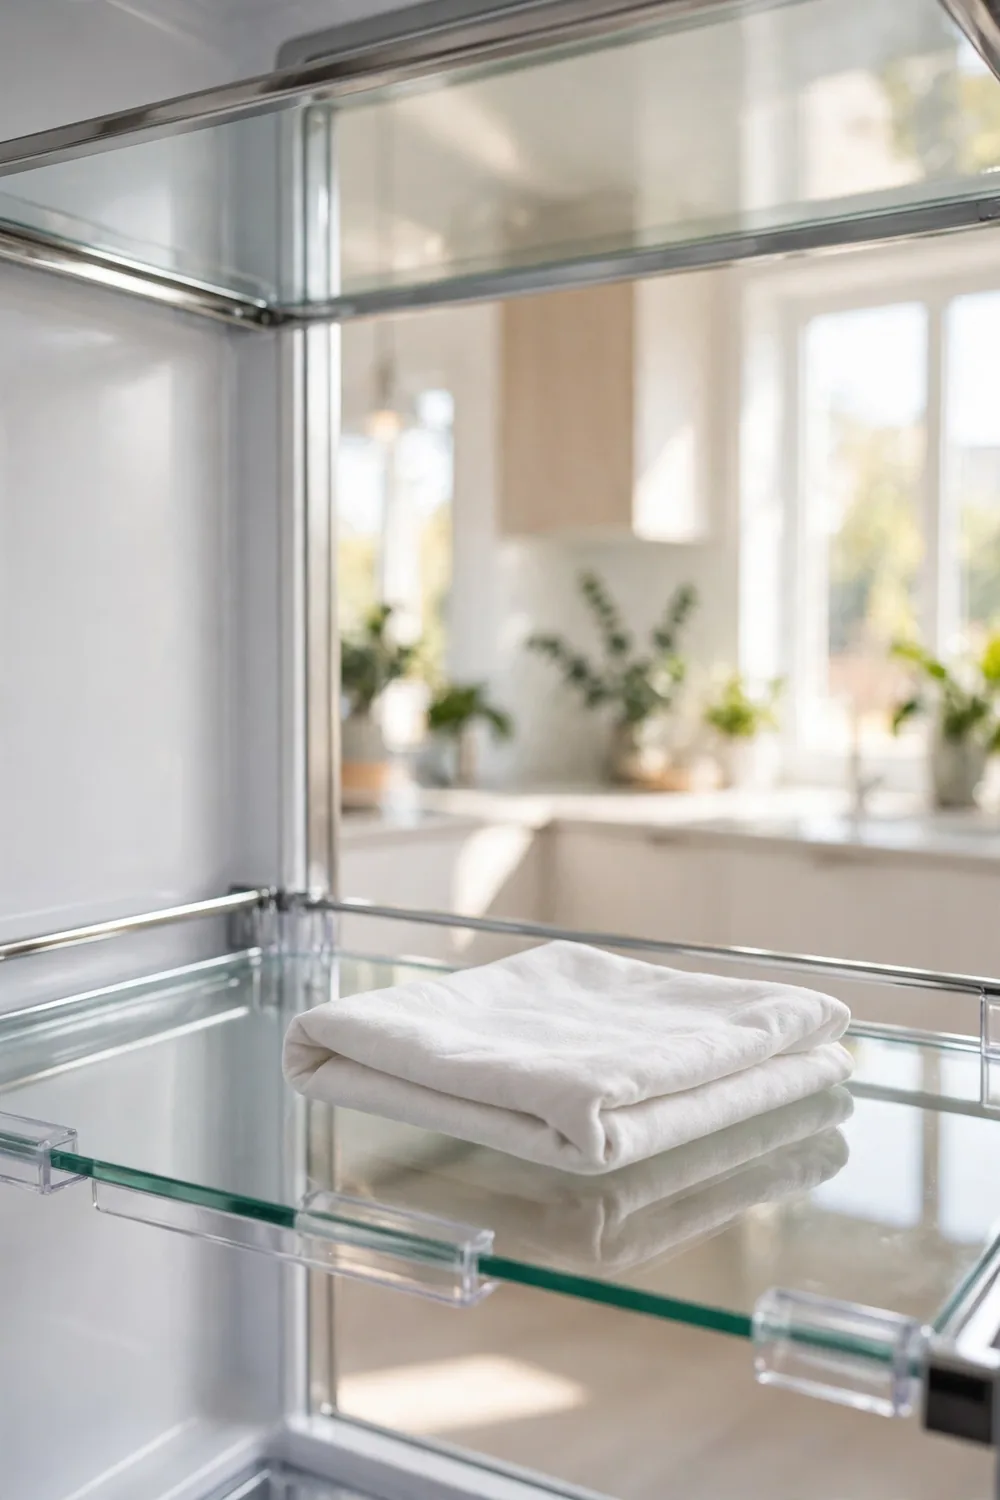
Pull out the removable shelves and drawers and wash them in the sink with warm soapy water, then dry them with a clean towel before they go back. Wipe the inside walls, the door shelves, and the rubber seal around the door with an all-purpose cleaner. A damp towel with a little baking soda lifts dried spills without scratching the plastic. Let the inside air dry for 5 minutes while you work on the next step. A clean fridge smells better, and you will notice a spill the day it happens instead of finding it a month later.
Set the temperature to 37 degrees
Find the dial or digital control, usually at the top of the fridge or on the front panel, and set it to 37°F (about 3°C). That number sits in the safe zone: cold enough to slow bacteria, warm enough that lettuce and milk do not freeze. Many fridges ship set warmer than they should be, so check even if you have never touched the dial. A small fridge thermometer costs a few dollars and tells you the truth in 24 hours. If your milk keeps going sour early, the temperature is the first thing to check before you blame the food.
Sort food into groups on the counter
With the fridge empty and clean, sort everything on the counter into piles before a single item goes back in. Make one pile for each group:
- Dairy and eggs
- Raw meat and fish
- Fruits and vegetables
- Leftovers and ready-to-eat food
- Condiments, sauces, and drinks
Grouping first stops the random reload that caused the mess. You can see at a glance which group is too big for its shelf, and you can move an item to a different pile while it is still in your hand.

Give every shelf a clear job
Assign one job to each shelf and stick to it. The top shelf holds leftovers and ready-to-eat food, since it is the first thing you see when the door opens. The middle shelf holds dairy and eggs. The bottom shelf holds raw meat on a tray, so drips cannot fall onto anything below it. The drawers hold fruits in one and vegetables in the other, with the humidity slider set low for fruit and high for vegetables. The door holds condiments, sauces, and drinks, because it is the warmest spot. A fixed job per shelf means anyone in the house can put the groceries away the same way you do, without asking. When the whole kitchen follows one plan, even the kitchen countertop decor stays calmer, because the fridge no longer overflows onto the counters.
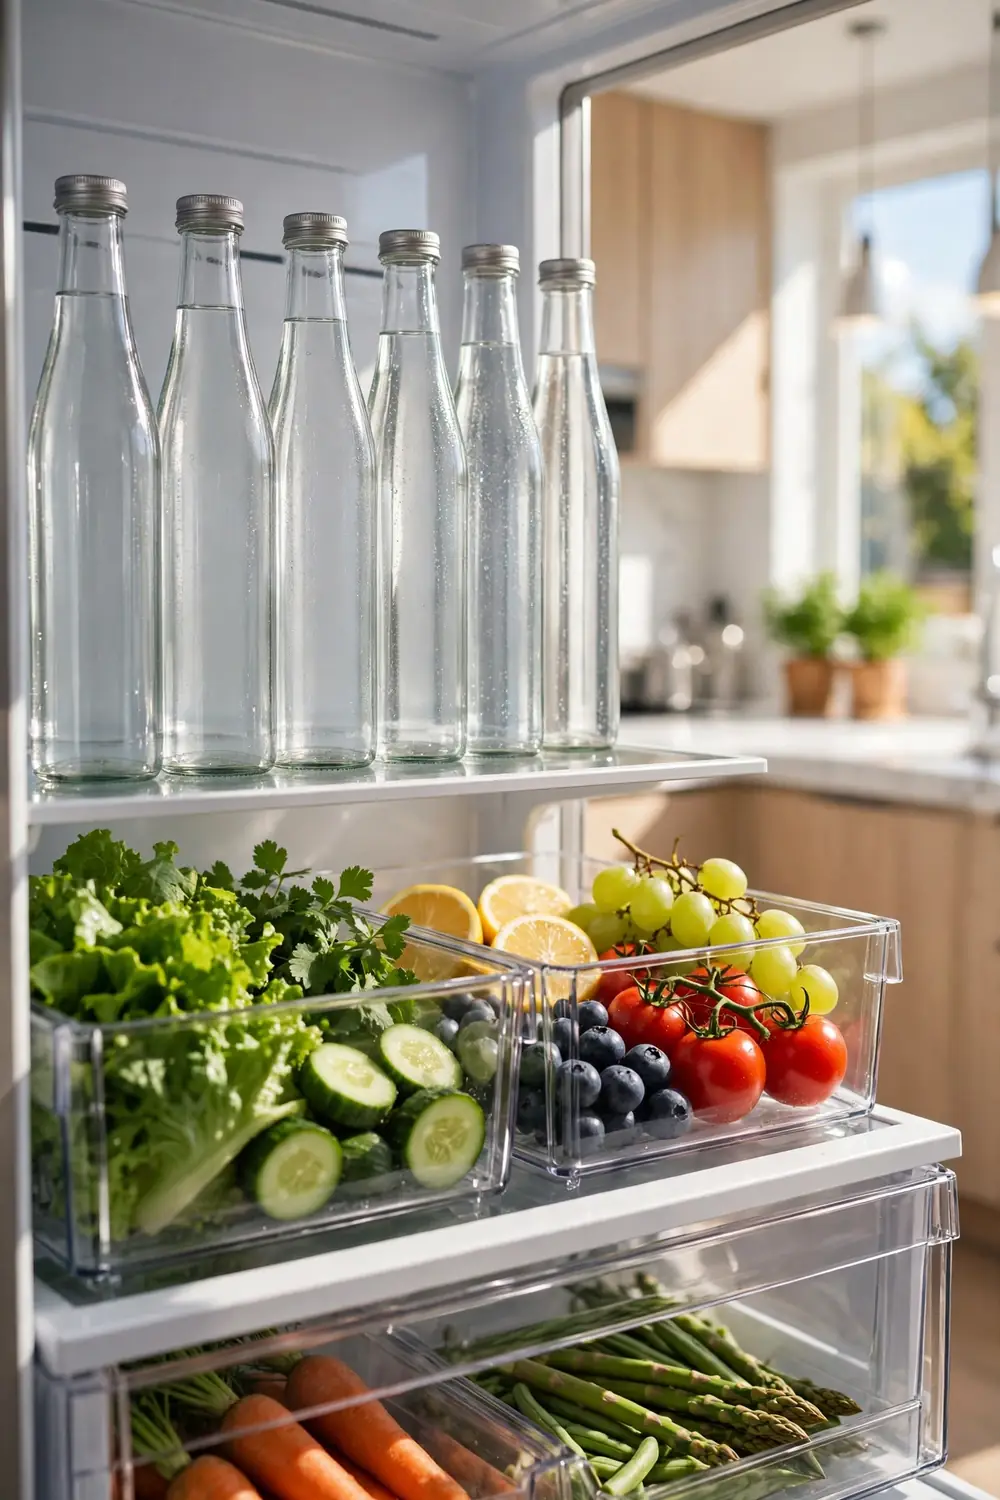
Place tall bottles at the back of each shelf
Tall bottles and jars go in the back row of each shelf, short items in front. The back of the fridge is the coldest part, which suits drinks and sauces, and the height difference lets you see the shorter items in front without moving anything. Line the tall items up in a single row rather than stacking them two deep, so the one in front never hides the one behind it. If a shelf is deep and the back row still vanishes, slide a lazy Susan turntable into that spot. One spin brings the back row to the front. Measure the shelf depth before you buy one, since most are 10 to 15 inches across and need clearance to spin.
Group small items in clear bins
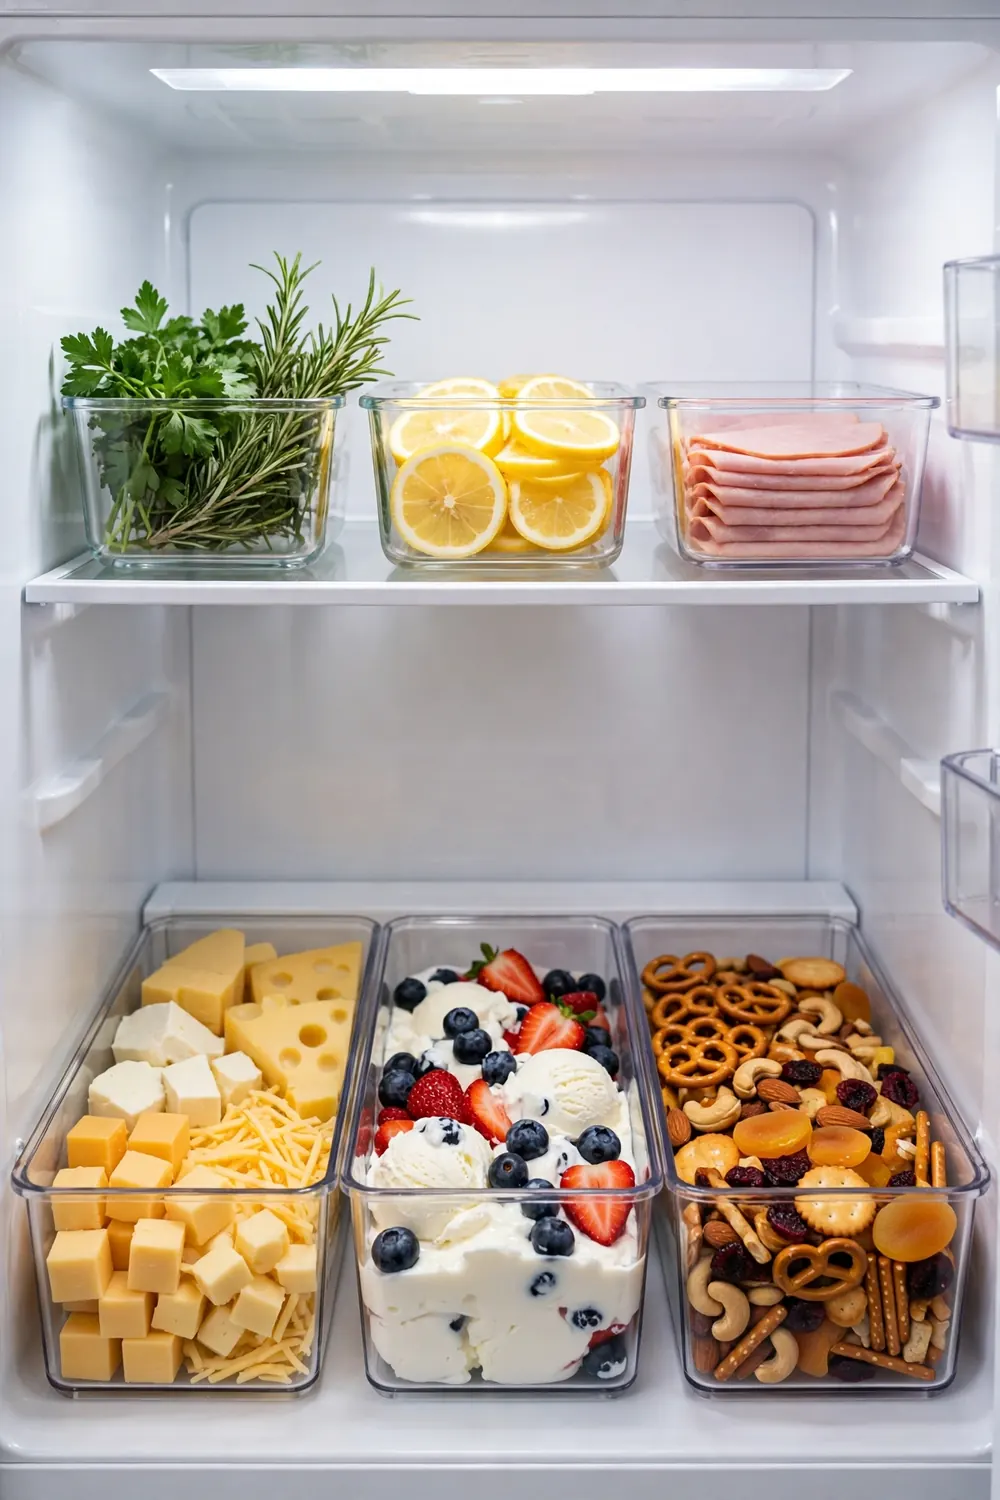
Small things cause most of the mess, because they slide, tip, and vanish behind bigger items. Put each small group in its own clear bin: one for cheese and deli meat, one for yogurts, one for snack packs, one for the half-used jars. Clear bins matter because you can see what is inside without pulling the bin out. Leave 1 inch of space on each side of a bin so it slides in and out without catching. If a bin is too tall for the shelf, use a shallow tray instead.
Pro tip: Measure each shelf before you buy bins. Shelf heights vary by 2 to 3 inches even inside the same fridge, and a bin that fits the middle shelf may not fit the top one.
Label the bins so everyone finds things fast
A strip of masking tape and a marker is all the labeling you need. Write one word per bin: cheese, snacks, sauces, leftovers. Stick the label on the front face of the bin, low enough to read at a glance. Labels do two jobs at once. They tell everyone where things belong, so the system survives other people putting groceries away. They also tell you when a bin is empty, which is the signal to add that item to the shopping list. Replace a label when it gets damp or hard to read.
Put a running list on the fridge door
Stick a small notepad or a magnetic whiteboard on the fridge door and keep a marker beside it. Every time you finish something or notice a bin running low, write it on the list right then. That habit replaces the mental note you forget by the time you reach the store. Before shopping, tear off the page or snap a photo of the board. The list also stops duplicate buying, which is how most fridges end up with three open jars of the same mustard. Wipe the board clean after each shop so old items do not pile up.
Move leftovers to the front where you see them
Leftovers die at the back of the fridge. Put them in clear containers on the top shelf, at the very front, where you see them every time the door opens. Write the date on a strip of tape on the lid so you know how long they have been there. Most cooked food stays good for 3 to 4 days, so plan one night a week to eat through what is left. That night is often the cheapest dinner of the week, and it clears space for the next batch of cooking. If a container has been there longer than four days, throw it out without a second look.
Run a five-minute reset every week
Pick one day, the night before shopping day works best, and spend 5 minutes on a reset. Toss anything expired. Move the oldest leftovers to the front. Wipe any spill with a damp cloth. Check the list on the door and add anything that ran out. That is the whole routine. A weekly reset takes less time than one frustrated search for a lost jar, and it stops the slow drift back to chaos. Skip a week and you will notice. Skip a month and you will be back at step one.
Frequently Asked Questions
How often should I organize my fridge?
Do a full reset like this one every 3 to 4 months, and run the five-minute weekly reset in between. The weekly habit is what keeps the full reset from becoming a big job again.
Where should milk go in the fridge?
On a middle shelf toward the back, never in the door. The door is the warmest spot and swings in temperature every time it opens, which makes milk go sour faster.
Do I need to buy special bins?
No. Any clear food-safe container works, and you can start with containers you already own. Buy bins only after you measure your shelves, so you get sizes that actually fit.
What temperature should my fridge be?
37°F (about 3°C). That is cold enough to keep food safe and warm enough that fresh produce does not freeze at the back of the shelf.
Your fridge is clean, zoned, and labeled, and you know exactly what is inside it. Cooking tonight will feel quicker, and the next grocery run will be shorter, because nothing is hiding anymore. Keep the weekly five-minute reset on your calendar and the system will take care of itself. If the fridge project has you looking at the rest of the kitchen, learning how to paint kitchen cabinets is a strong next step for a bigger refresh. Save this guide to your kitchen board on Pinterest so you can find it again when the next reset is due.