Your back hurts before the match even starts. The monitor sits too low, the keyboard is pushed too far back, and there is nowhere to put your coffee without knocking over the controller.
That is the real problem with most gaming desk setups. People shop for parts, a monitor here, a keyboard there, and never plan how the pieces sit together. The desk becomes a pile of gear instead of a place you actually want to sit.
These gaming desk setup ideas fix that from the ground up. Ergonomics first, so long sessions feel fine and your body thanks you the next morning. Layout second, so everything has a spot and nothing fights for space. Organization last, so the clean desk stays clean instead of lasting one day.
Work through the ones that fit your space and your budget. A few small moves, monitor height, cable routing, a place for the headset, and your desk can go from painful pile to comfortable command center.
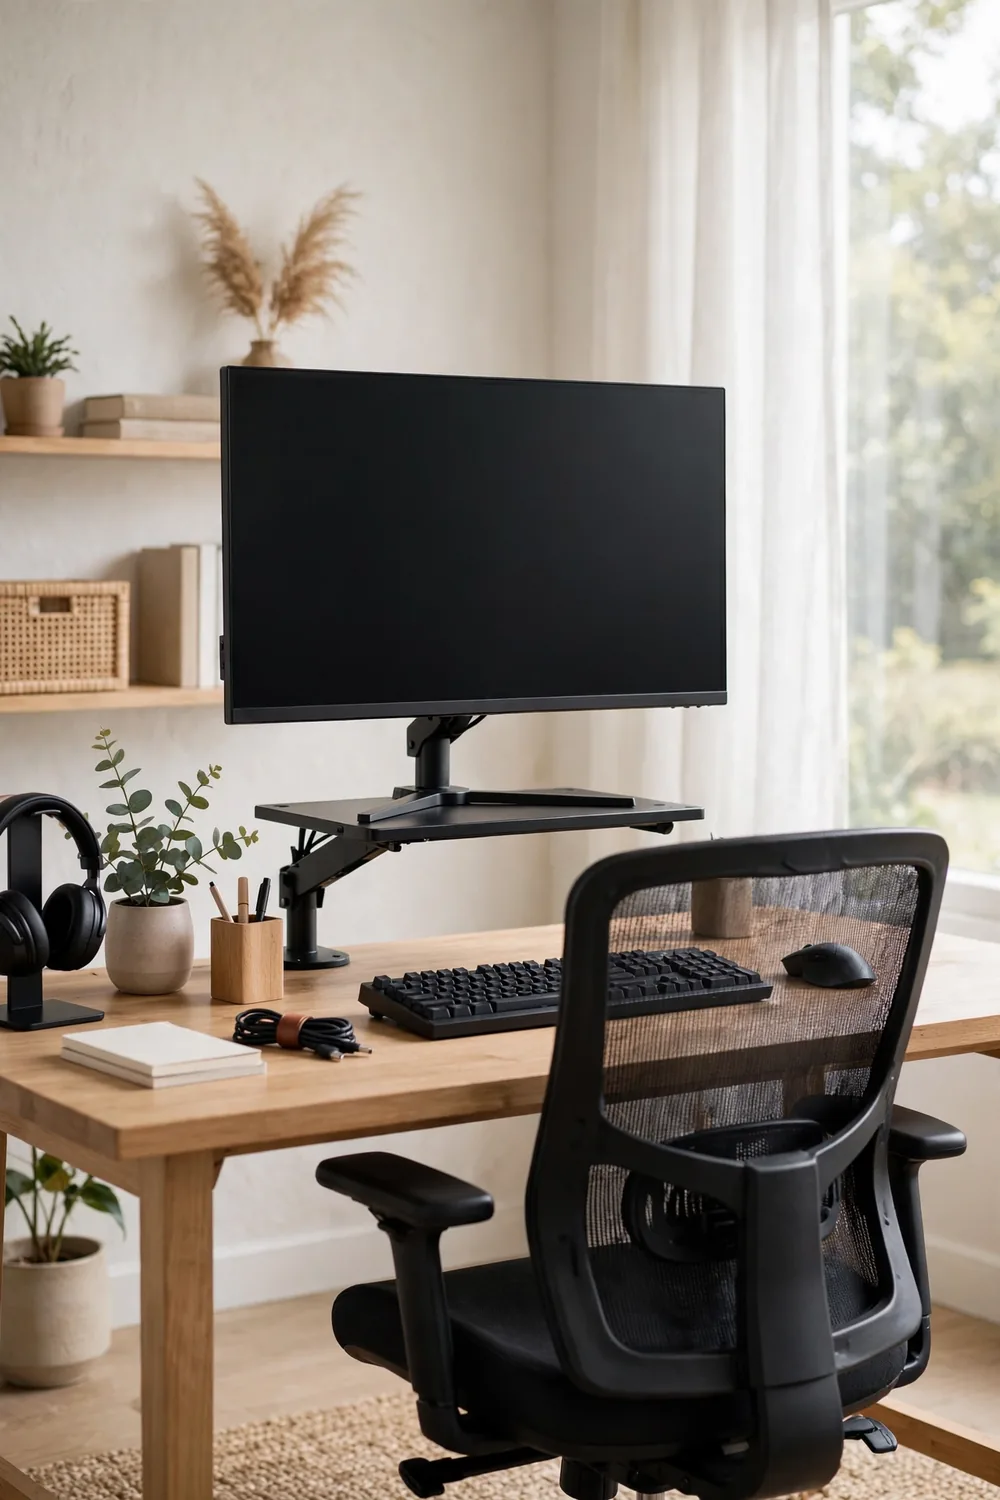
Set the Monitor at Eye Level: The Comfort Rule Every Gaming Desk Setup Ideas List Should Start With
Neck pain at a gaming desk almost always comes from one place: the monitor is too low.
You crane your head down for hours, and by evening your shoulders are up by your ears. The fix is simple. The top edge of the screen should sit at or just below your eye level when you sit tall. Your eyes look straight ahead or slightly down, never up.
Stack the monitor on books to test the height before you buy a stand or arm. You will feel the difference in one session.
- Top of screen at eye level, not above or below
- Sit tall, shoulders back, to check
- Test with books before buying gear
Pick a Desk Deep Enough to Reach Everything
Shallow desks are the silent killer of comfort.
A desk that is only 18 inches deep forces the monitor right into your face and leaves no room for the keyboard to sit where your hands naturally fall. You end up hunched over the edge like a question mark.
Go for at least 24 inches of depth, and 30 is better if you can fit it. The monitor sits back where it belongs, the keyboard lands under your hands, and you stop leaning in to see.
💡 Quick Tip
Measure from the wall to where your hands rest. If the keyboard and monitor cannot both fit with room to spare, the desk is too shallow.
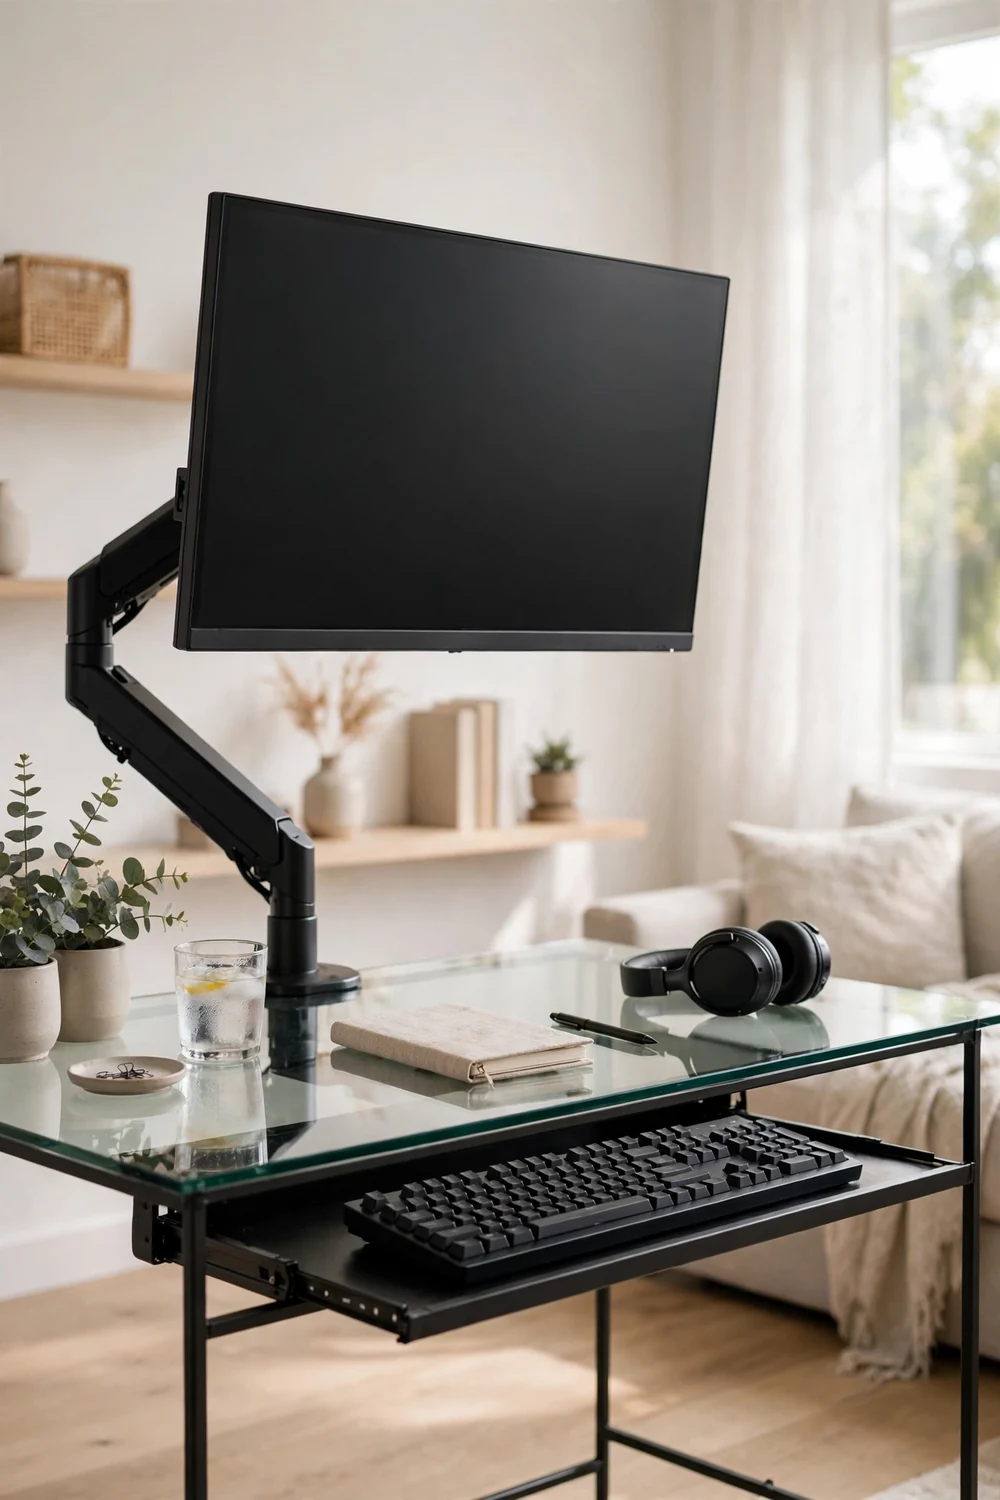
Mount the Monitor and Free the Whole Desk
The stock monitor stand is bigger than it looks.
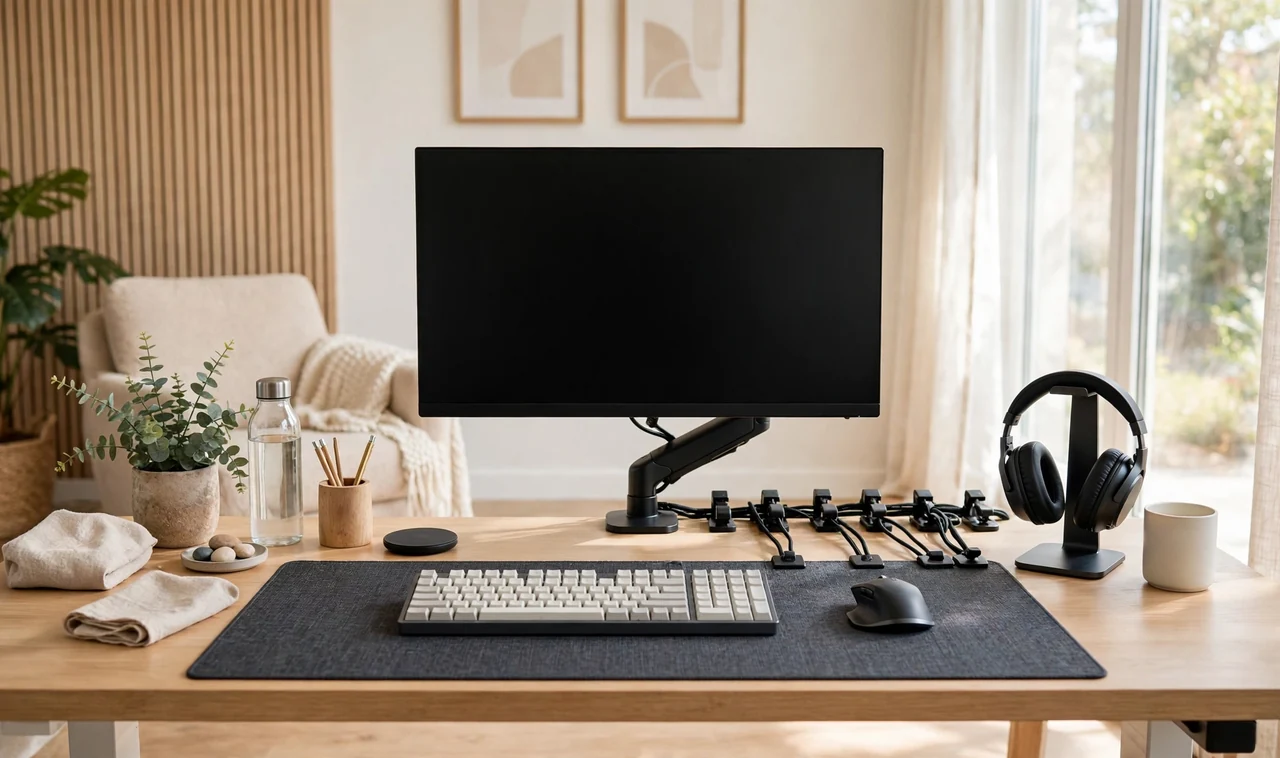
Those wide feet eat a surprising chunk of the desk, right in the middle where your keyboard wants to be. A monitor arm or a simple riser shelf lifts the screen off the surface and hands that space back.
With an arm, you also get tilt and swing. Angle the screen slightly toward you, push it back when you need desk space for homework or work, and pull it in for game time.
- Arm or riser, both work
- Tilt the screen slightly toward your face
- Tuck the keyboard closer once the feet are gone
Park the Keyboard at Elbow Height
Wrist pain starts at the wrong keyboard height.
When the keyboard sits too high, your wrists bend up all session. Too low, and your shoulders hunch. The target: elbows bent at about a right angle, wrists straight, hands floating just above the keys.
If your desk is fixed height, adjust the chair instead. Raise or lower the seat until your elbows land at desk height with feet flat on the floor.
Sit in your chair with feet flat and shoulders relaxed.
Adjust the chair until your elbows bend at about ninety degrees.
Place the keyboard so your wrists stay straight while you type.
Angle the Keyboard and Mouse Like Your Hands
Nobody’s hands sit perfectly straight ahead.
Most people angle their keyboard slightly and keep the mouse close to their dominant hand, but default desk photos show everything squared up and pushed to the back. Your setup should match your body, not a catalog.
Turn the keyboard so your wrists stay neutral. Keep the mouse at the same height, within easy reach, with room to move it. A large desk mat gives both of them a defined home.
Angle the keyboard so wrists stay straight and relaxed.
Keep the mouse close, at the same height, with space to move.
Pushing the keyboard to the back edge out of habit.
Parking the mouse on a different surface than the keyboard.
Give Each Peripheral a Home Zone
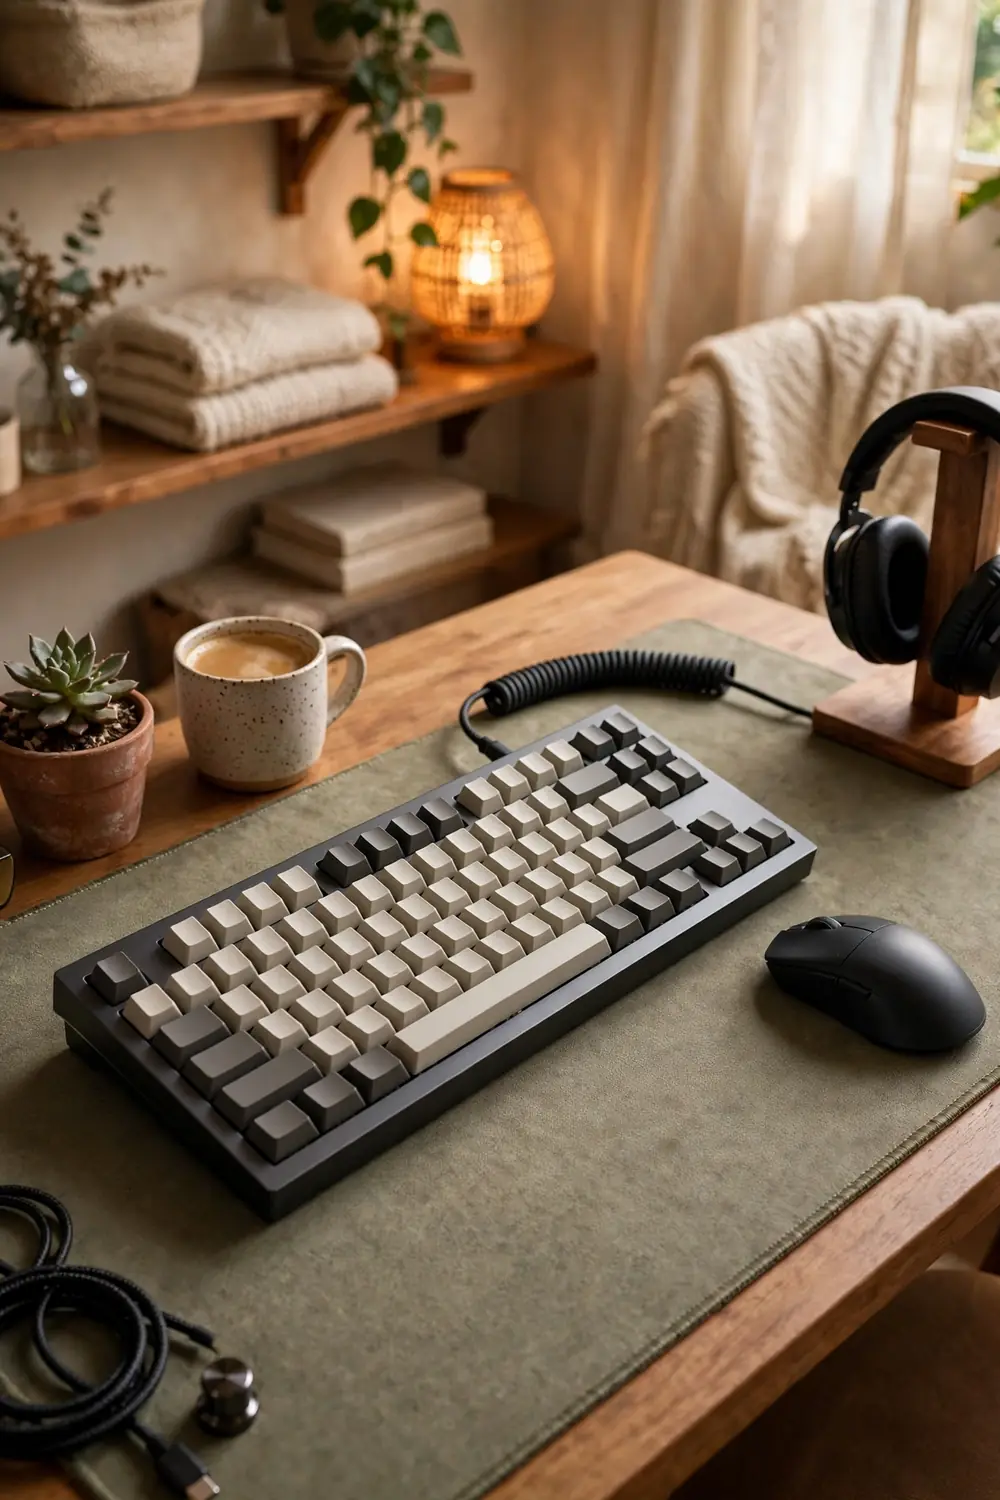
Chaos on a desk is really just gear with no address.
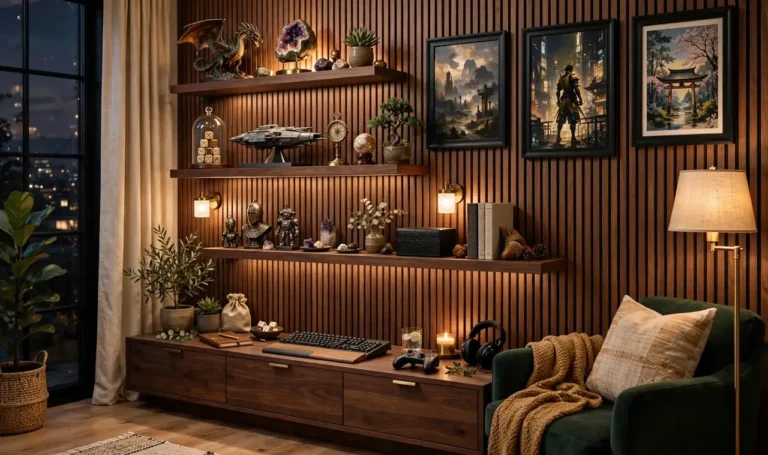
Assign zones: keyboard and mouse front and center, headset on a stand to one side, controller docked on the other, drinks on a coaster far from the electronics. When everything has a spot, putting things back takes seconds instead of becoming a chore you skip.
This is the cheapest organization upgrade there is. No new furniture, just decisions about where things live.
- ▸Front center: keyboard, mouse, desk mat
- ▸Left side: headset stand, within easy reach
- ▸Right side: controller dock and drink coaster
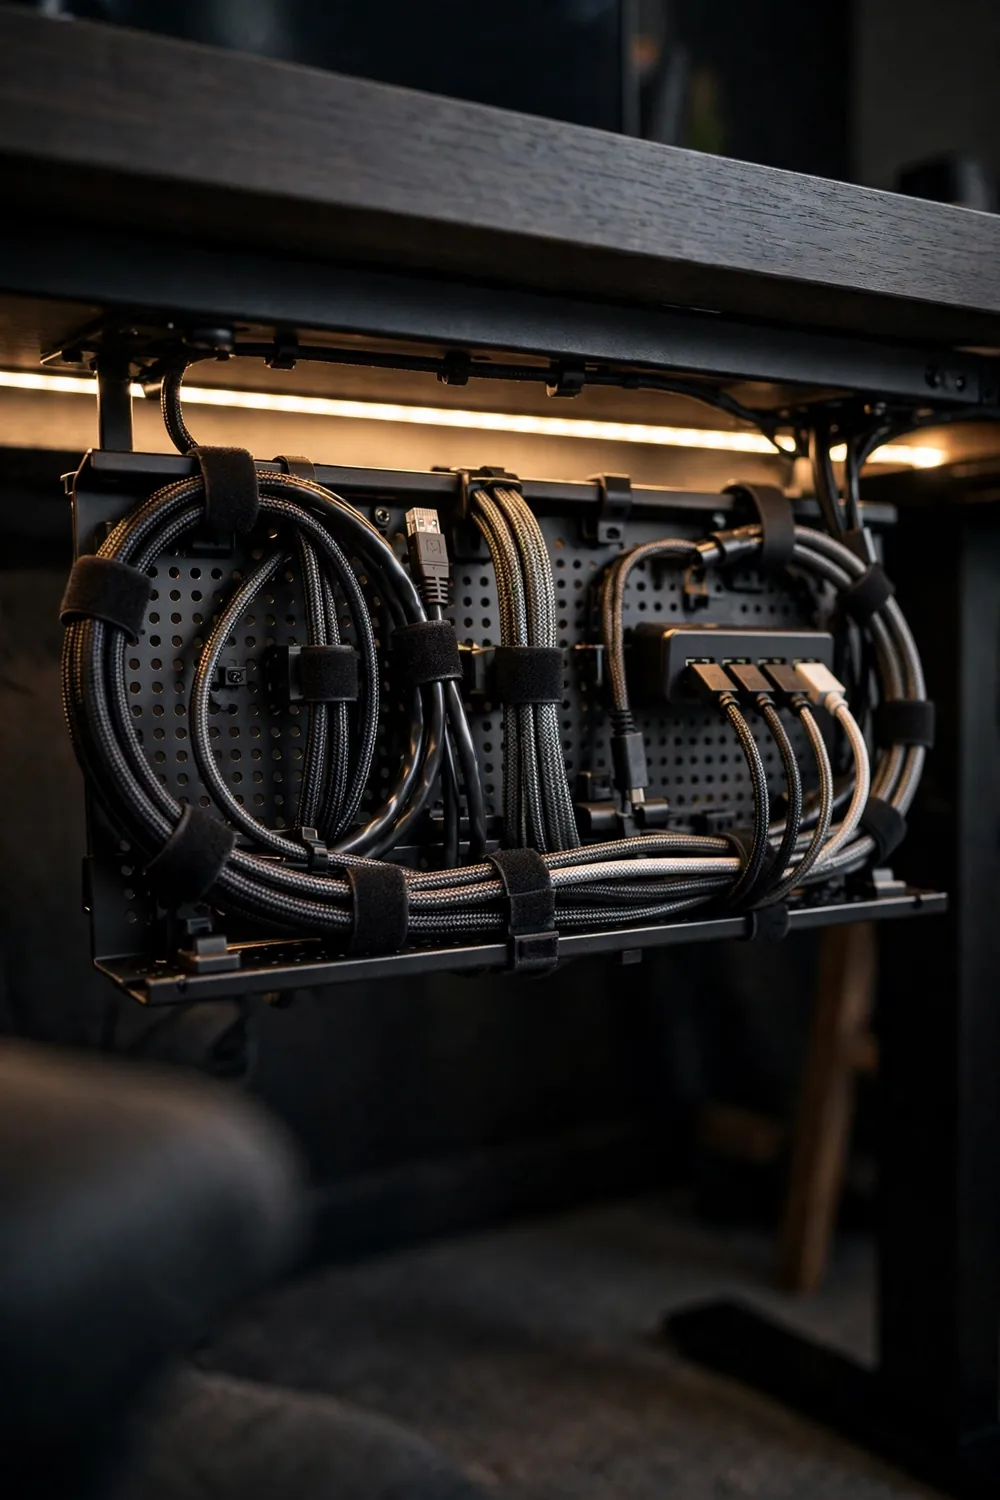
Route Cables Before You Plug Anything In
Everyone plugs in first and manages cables never.
The result is the familiar nest: monitor power, PC power, USB hub, charger, speaker cable, all tangled behind the desk. It looks bad and collects dust like a hobby.
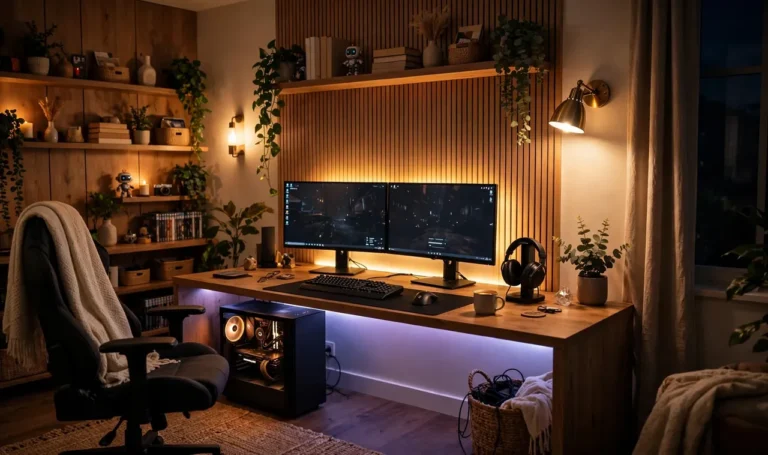
Do it in the other order. Plan the route first, mount a tray or raceway under the desk, run each cable along it, then plug in. The desk back goes from spaghetti to one clean line.
Cable routing kit
Raise the Chair Until Your Feet Sit Flat
Dangling feet ruin posture faster than anything else.
When the chair is too high, your feet dangle and your weight shifts forward, which rounds your lower back. When it is too low, your knees jam up toward the desk. The sweet spot: feet flat on the floor, knees at about ninety degrees.
Set the chair height first, then deal with the desk. If your feet cannot reach the floor at the right chair height, a simple footrest closes the gap.
Feet dangling, weight sliding forward, lower back rounding by hour two.
Feet flat, knees at ninety degrees, back resting against the chair.
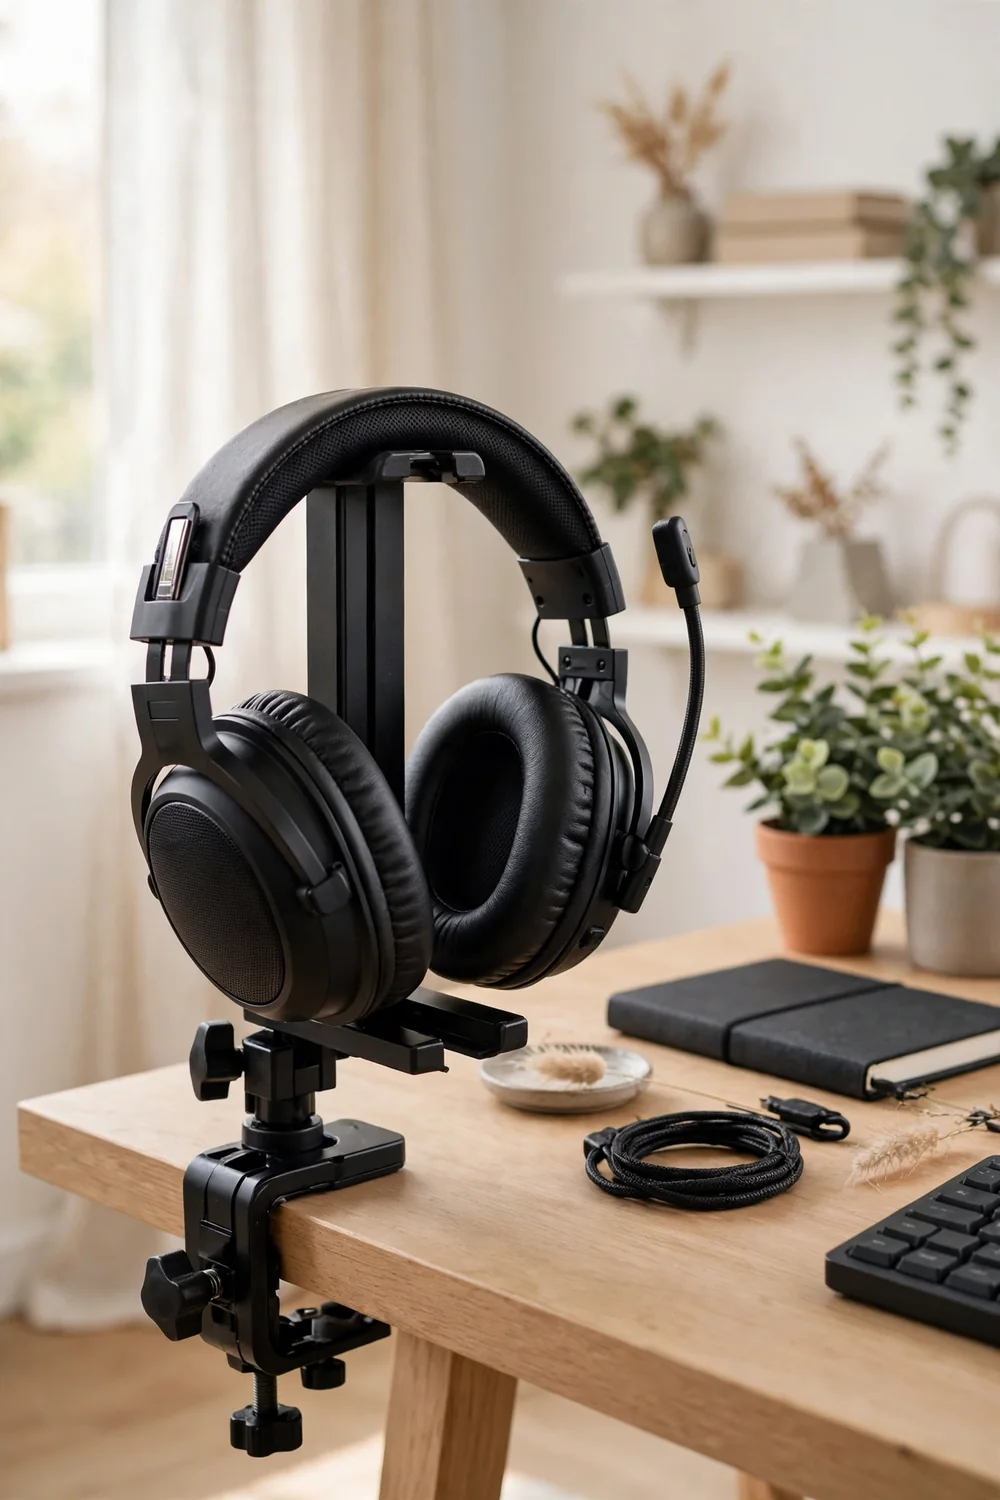
Keep the Headset on a Stand, Not the Desk
The headset is always in the way because it has no home.
It sits on the desk, slides off, hangs off the monitor corner, ends up under a book. A stand gives it one permanent spot and keeps the ear cushions in shape instead of flattened under something heavy.
Clamp a stand to the desk edge or set a weighted one to the side. The headset lives there between sessions, off the desk surface, and the desk instantly looks calmer.
💡 Quick Tip
Put the stand on your non mouse side so grabbing the headset never crosses your playing hand.
Store Controllers and Game Cases Within Arm’s Reach
Nothing breaks a session like hunting for the second controller.
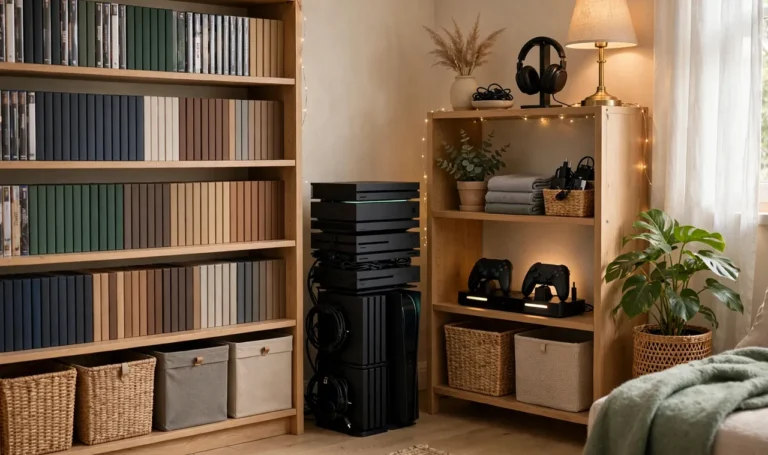
Stacking cases on the far corner of the desk or tossing controllers on the bed means a ten minute hunt every time a friend comes over. A small drawer unit or a couple of wall shelves next to the desk keeps the collection visible and grabbable.
Sort by what you play most. Current games up front, the rest behind. You will stop losing things the week you do this.
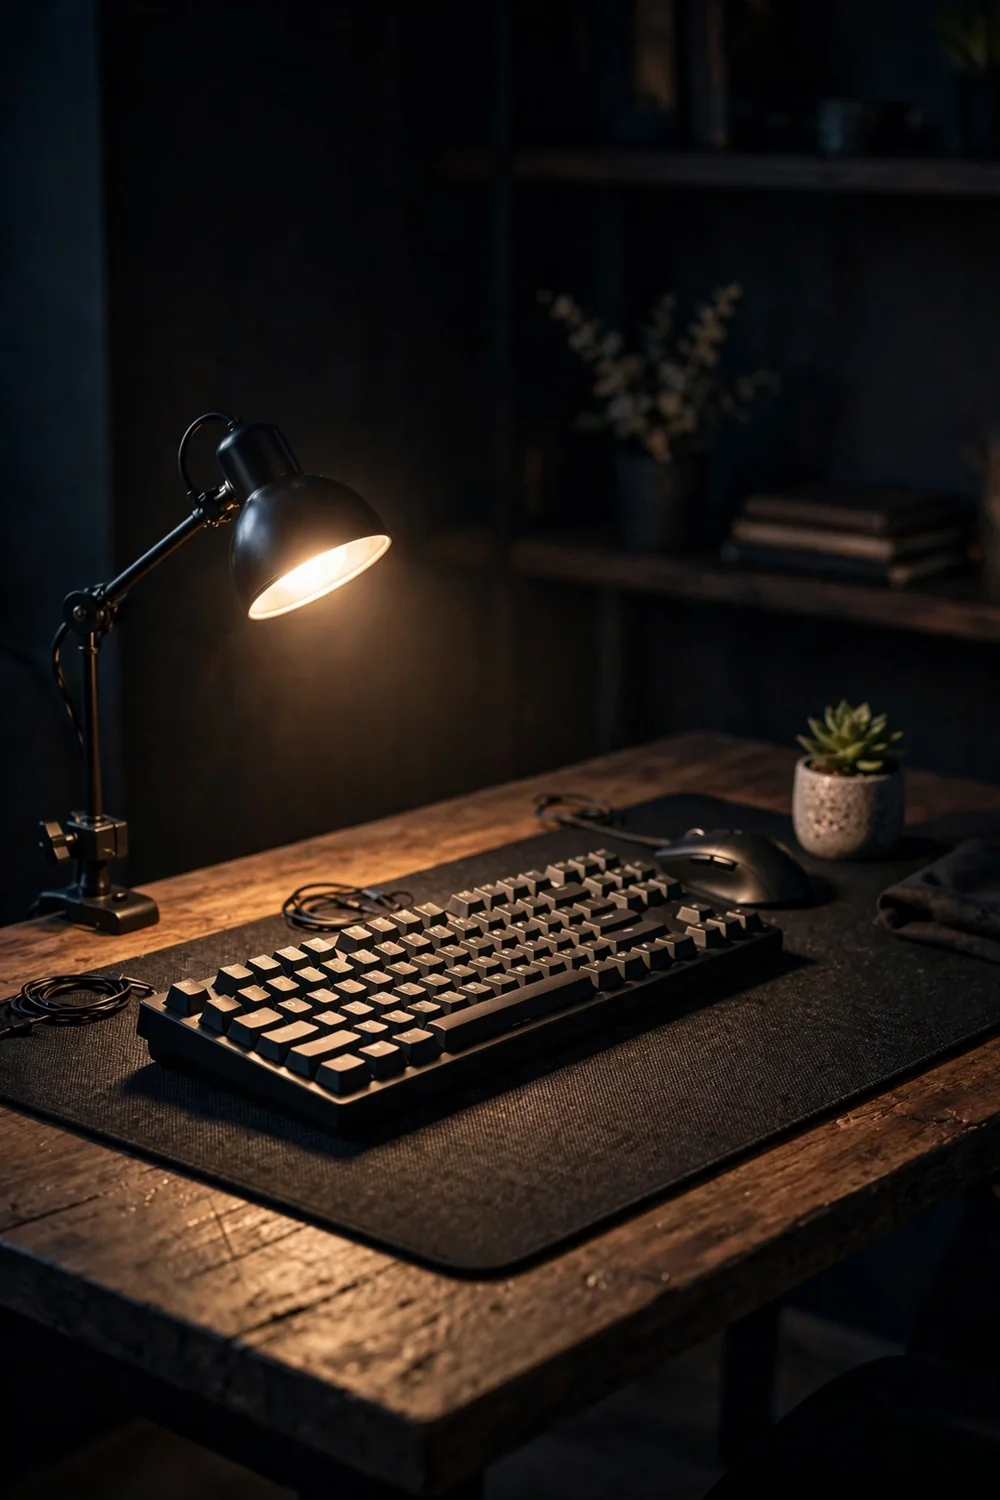
Put Task Lighting on the Side, Never in Front
A lamp in front of the monitor is a glare factory.
The screen already lights your face. What you need is light for your hands, your notes, and the desk surface, coming from the side so it never reflects in the display. A small adjustable lamp on the left or right edge does the job.
Aim it down at the desk, not up at the screen. Warm white keeps the mood calm and matches most gaming room lighting.
| Lamp spot | Result |
|---|---|
| In front of the monitor | glare and reflections in the screen |
| Behind the monitor | soft wall glow, easy on the eyes |
| Side of the desk, aimed down | lit workspace, zero screen glare |
Add a Footrest If Your Feet Cannot Reach the Floor
Tall desk plus short legs equals a posture problem.
If the desk height is right for your elbows but your feet hang, do not lower the chair and wreck the elbow angle. A footrest bridges the gap so your knees stay at ninety degrees and your lower back stays supported.
Anything sturdy works: a proper footrest, a low stool, even a firm box. It is one of those fixes that feels silly until the back pain stops.
Feet, knees, elbows, eyes. Get those four in line and the rest of the setup falls into place.
Create a No Play Zone on the Desk
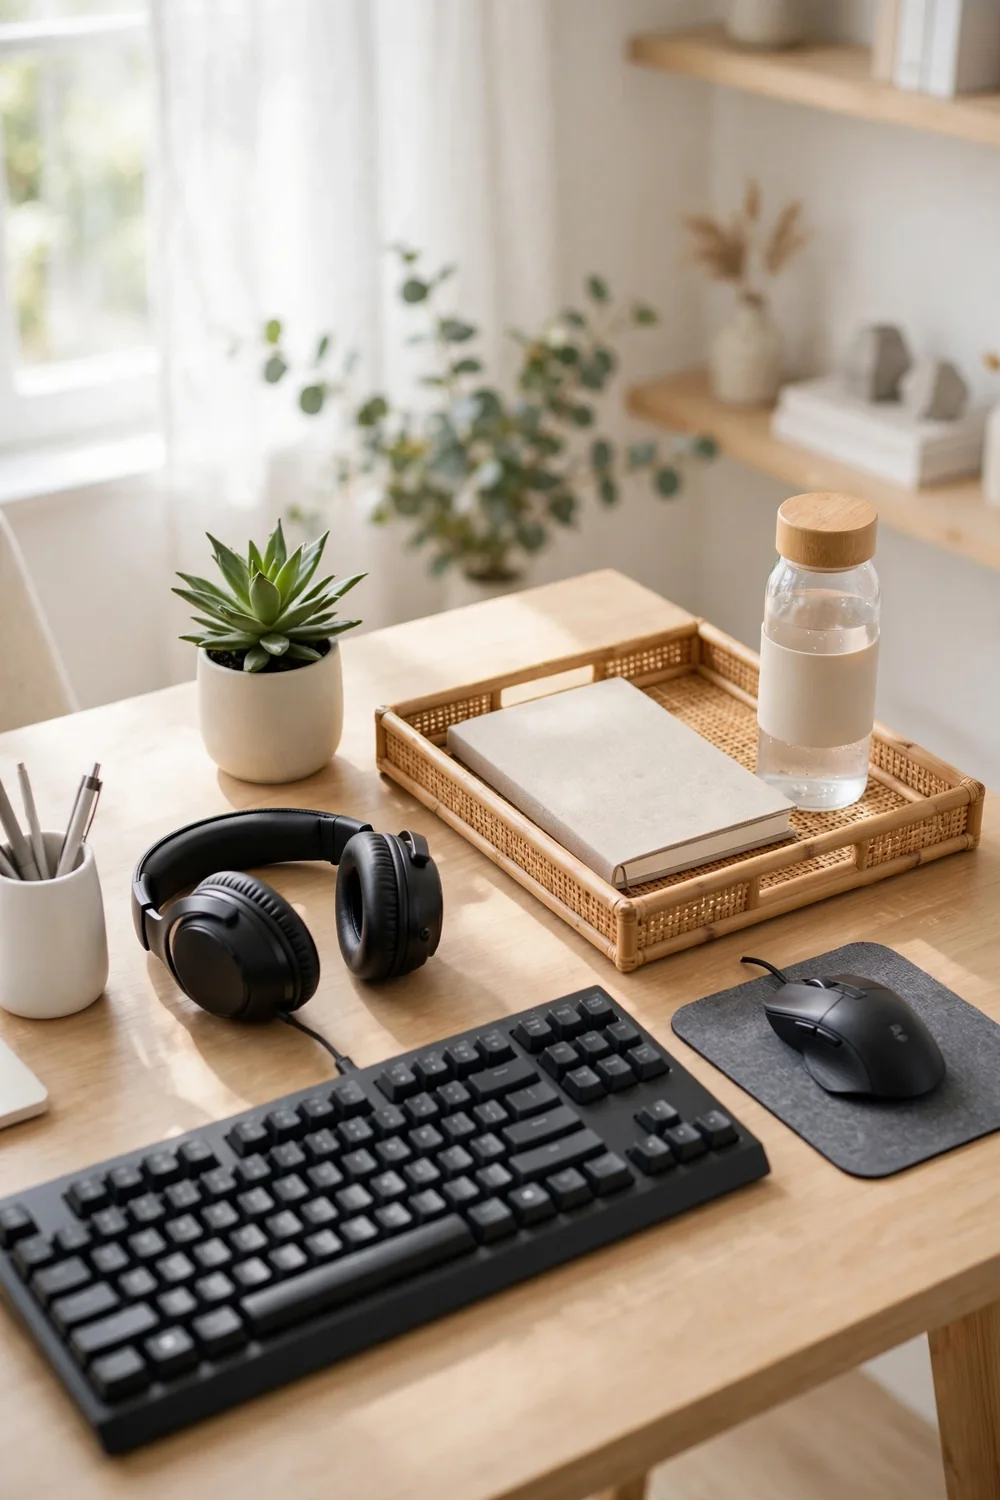
The desk needs one spot that is not for gaming.
Mail, notebooks, a water bottle, the thing you were supposed to fix last week. Without a defined landing strip, that stuff spreads across the whole desk and buries the keyboard.
Mark off one corner with a small tray or mat. Everything non gaming lands there and nowhere else. The play zone stays clear, and you stop losing important things under the monitor stand.
One tray or mat in a desk corner for non gaming items.
Clear the tray weekly so it does not become a junk drawer.
Letting mail and gadgets creep onto the play surface.
Keeping drinks on the desk without a coaster or tray.
Do a Two Minute Desk Reset After Every Session
Clean desks do not stay clean by accident.
Controllers migrate, wrappers appear, the headset ends up face down on the desk. A two minute reset when you log off keeps the setup permanently tidy: gear to its home zone, trash in the bin, cables nudged back into place.
Attach it to the shutdown ritual. While the PC powers down, you tidy. By the time the screen goes dark, the desk is ready for tomorrow.
- ▸Gear back to its home zone
- ▸Trash and wrappers in the bin
- ▸Cables nudged back into the tray
Test the Setup With a Long Session Before It Is Final
A desk that feels fine for ten minutes can hurt at hour three.
Before you call the setup done, play a full long session in it. Notice what you reach for, what you bump, where your shoulders end up. Move the things you kept adjusting.
Comfort is the whole point of these gaming desk setup ideas. The setup is not finished when it looks good in a photo. It is finished when a three hour session feels like nothing.
📌 Good To Know
Keep a small notepad on the desk during the test session. Every time something annoys you, write it down and fix it the next day.
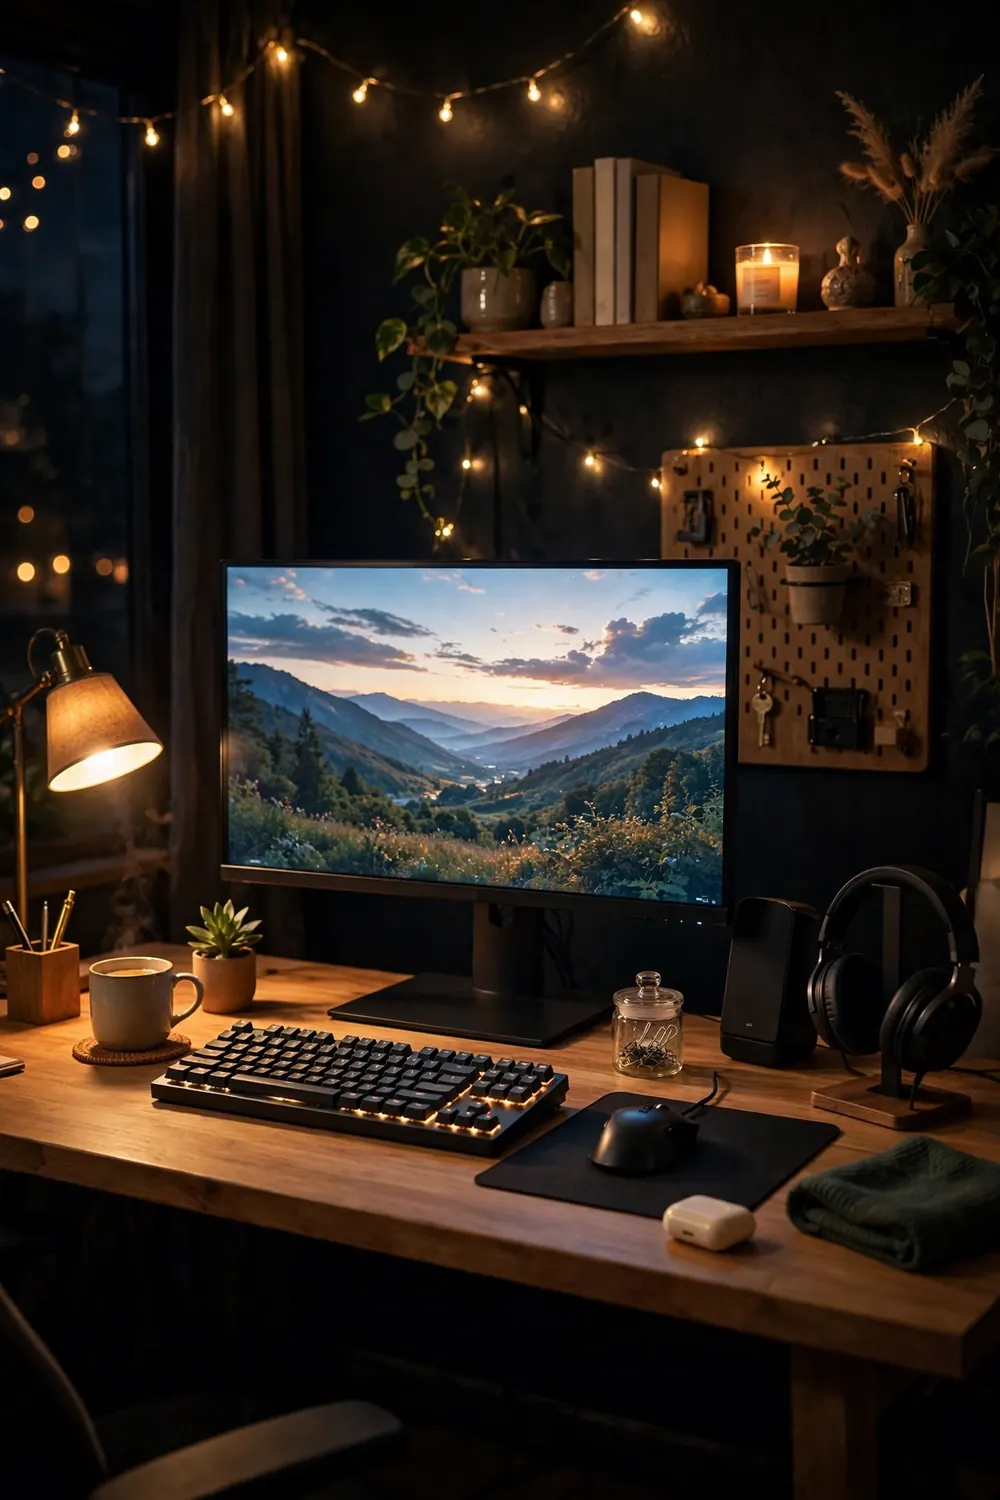
A comfortable desk is not about expensive gear. It is about placement: screen at eye level, keyboard where your elbows rest, feet flat, cables out of sight, and everything with a home.
These gaming desk setup ideas work in any order, so start with the one that hurts most. Fix the monitor height tonight, route the cables this weekend, and the two minute reset will keep it all working.
Save this list to your setup board so your next upgrade starts with comfort, not more stuff.