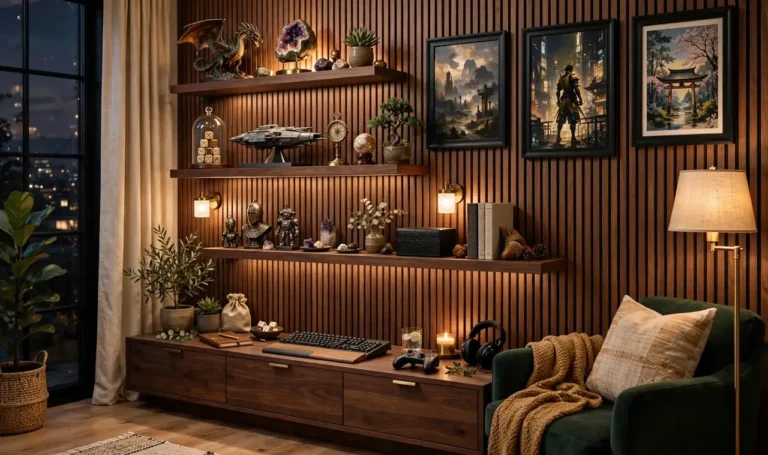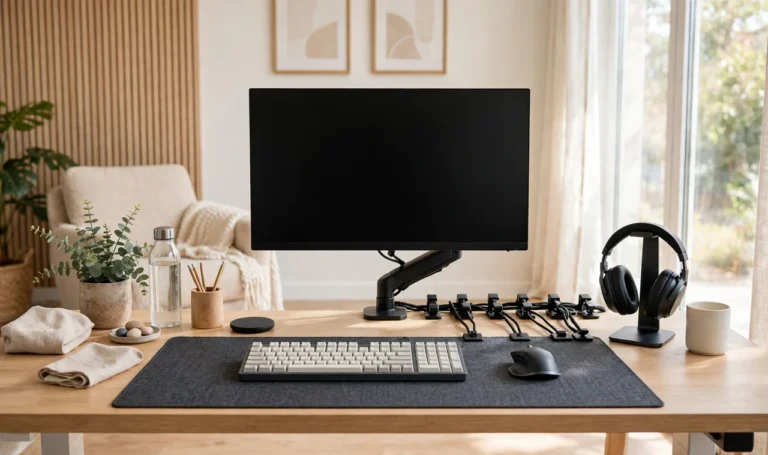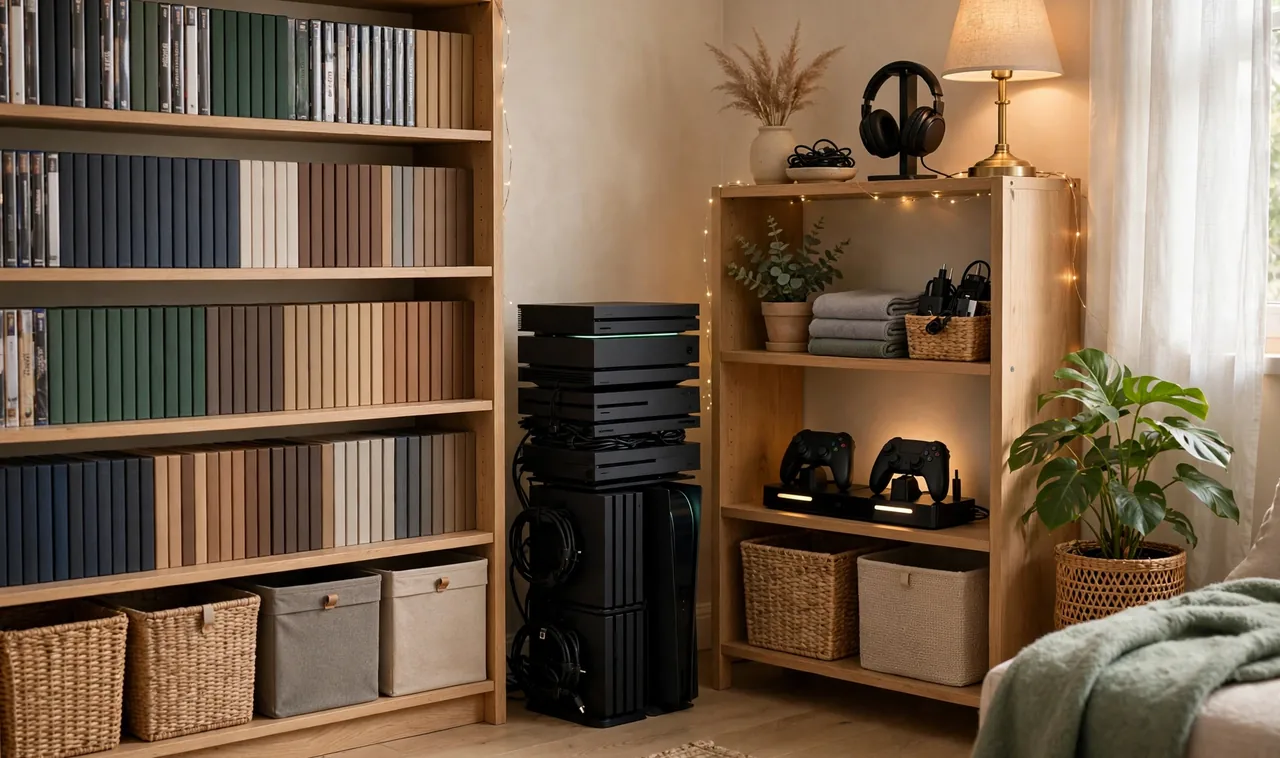
Three controllers on the floor. A headset tangled in the desk chair. Game cases stacked on the TV stand like a leaning tower, and the second controller is missing again because somebody’s kid borrowed it last weekend.
That is what happens when a gaming room has no storage plan. The gear multiplies, but it never gets a home. You spend game night hunting for cables instead of playing, and the room always looks like it just got unpacked.
These gaming room storage ideas fix that without turning your space into a warehouse. Console towers with room to breathe, charging docks that end the dead battery hunt, shelves that keep cases visible and grabbable, and a few tricks for hiding it all when guests come over.
Work through the ones that fit your collection. Most take an afternoon or less, and the payoff starts the first night you sit down and everything is exactly where you left it.
Build a Console Tower Where Every System Has Its Own Slot: The First of These Gaming Room Storage Ideas
Consoles piled on each other is the fastest way to a hot, dusty mess.
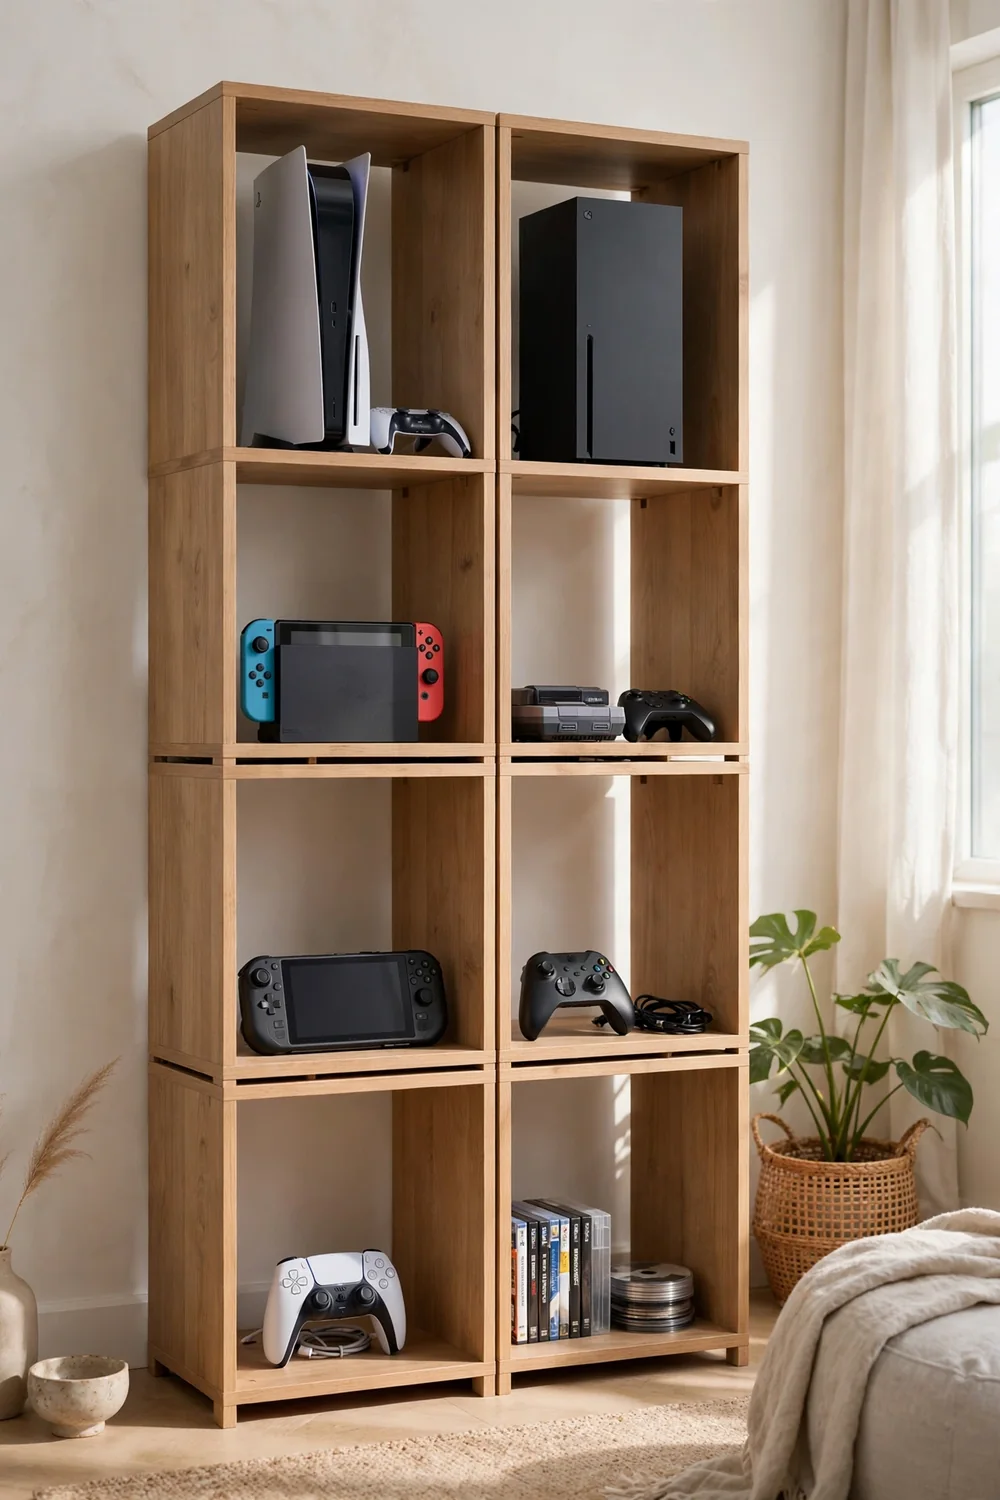
Give each system its own open slot in a vertical tower or cube shelf. Leave a finger of space above each one so heat escapes and you can slide it out without dragging the neighbors. One column per console, cords routed straight down the back, and nothing sits on top of anything else.
The payoff is bigger than it sounds. No more unstacking to reach the bottom system. Dust has fewer hiding spots. And the whole corner reads as a collection instead of a pile.
Charge Controllers on a Dock, Not the Desk
Dead controllers are a storage problem wearing a charging problem.
Loose controllers migrate to the bed, the couch cushions, and under the coffee table. A charging dock on the shelf or desk gives them a single home where they are also getting power. Sit down, drop the controller on the dock when the session ends, and it is full next time.
Buy a dock that fits your exact controller model so they seat properly the first try. One with two bays covers the most common setup, and a third bay earns its keep the week a friend comes over.
💡 Quick Tip
Put the dock where you sit down, not across the room. If docking the controller takes more than two steps, it will end up on the couch again.
Store Game Cases Upright on Shelves, Like a Library
Flat stacks of game cases always slide. Upright shelves never do.
Line cases spine out on a low shelf, a bookcase, or floating shelves above the TV, sorted however makes sense to you: by series, by genre, or most played up front. Standing upright, every title is visible at a glance, and pulling one out does not topple the whole row.
Leave one empty slot at the end of each row. A shelf packed edge to edge fights you every time you add a game, while a little breathing room keeps the whole thing working.
Flat stacks of cases sliding across the TV stand, the one you want always at the bottom.
Cases upright and spine out on a shelf, every title visible, one pull and it is in your hand.

Hide Controllers in a Charging Drawer
Some people cannot stand seeing gear on display. This one is for them.
A shallow drawer with a power strip or USB hub inside becomes a hidden charging station. Controllers and earbuds plug in, the drawer closes, and the room looks like a normal living room. Open it at game time and everything is charged and waiting.
Drill a small hole in the back of the drawer for the power cable, or run a flat cable under the back edge. Keep the drawer shallow so controllers do not bury each other.
Pick a shallow drawer near where you sit.
Set a small power strip or USB hub inside.
Run the power cable through the back, then charge everything inside the closed drawer.
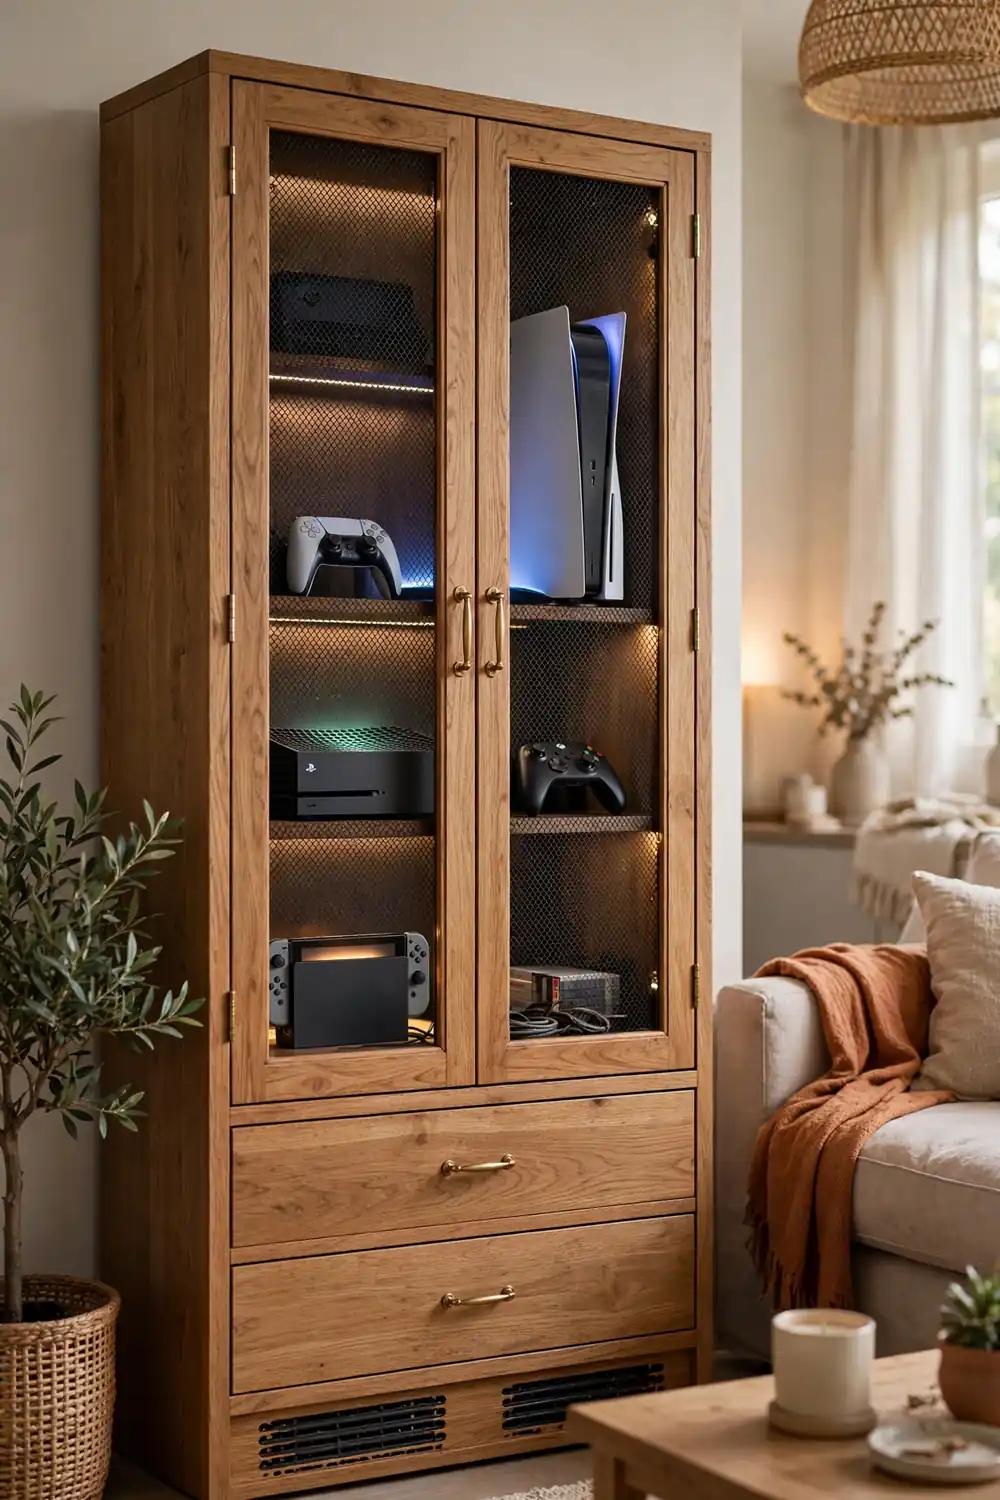
Use a Ventilated Cabinet for the Console Tower
Consoles behind solid doors cook. Consoles in a ventilated cabinet stay calm and hidden.
Look for a media cabinet with mesh fronts, slatted doors, or open back panels. The gear disappears when guests arrive, but air still flows around the vents. Heat is the silent killer of consoles, so airflow matters more than looks here.
Add a small gap behind the cabinet if you can, so warm air has somewhere to go. The room stays tidy and the hardware stays healthy, which is the whole point.
Mesh or slatted doors that let air move freely.
Open back panel so warm air escapes behind the cabinet.
Solid glass doors with no vents trapping hot air inside.
Pushing the cabinet flush against the wall with nowhere for heat to go.
Keep the Headset on a Wall Hook, Not the Floor
The headset is always the first casualty. It slides off the desk, lands on the floor, and somebody steps on it.
A single hook on the wall next to your seat solves the whole saga. Hang it at hand height, ear cushions facing in, and it never touches the floor again. The hook costs almost nothing and takes five minutes to install.
Skip the fancy stands unless you like the look. A padded hook treats the headband just as kindly and keeps the desk surface free for actual play.
Headset hook checklist
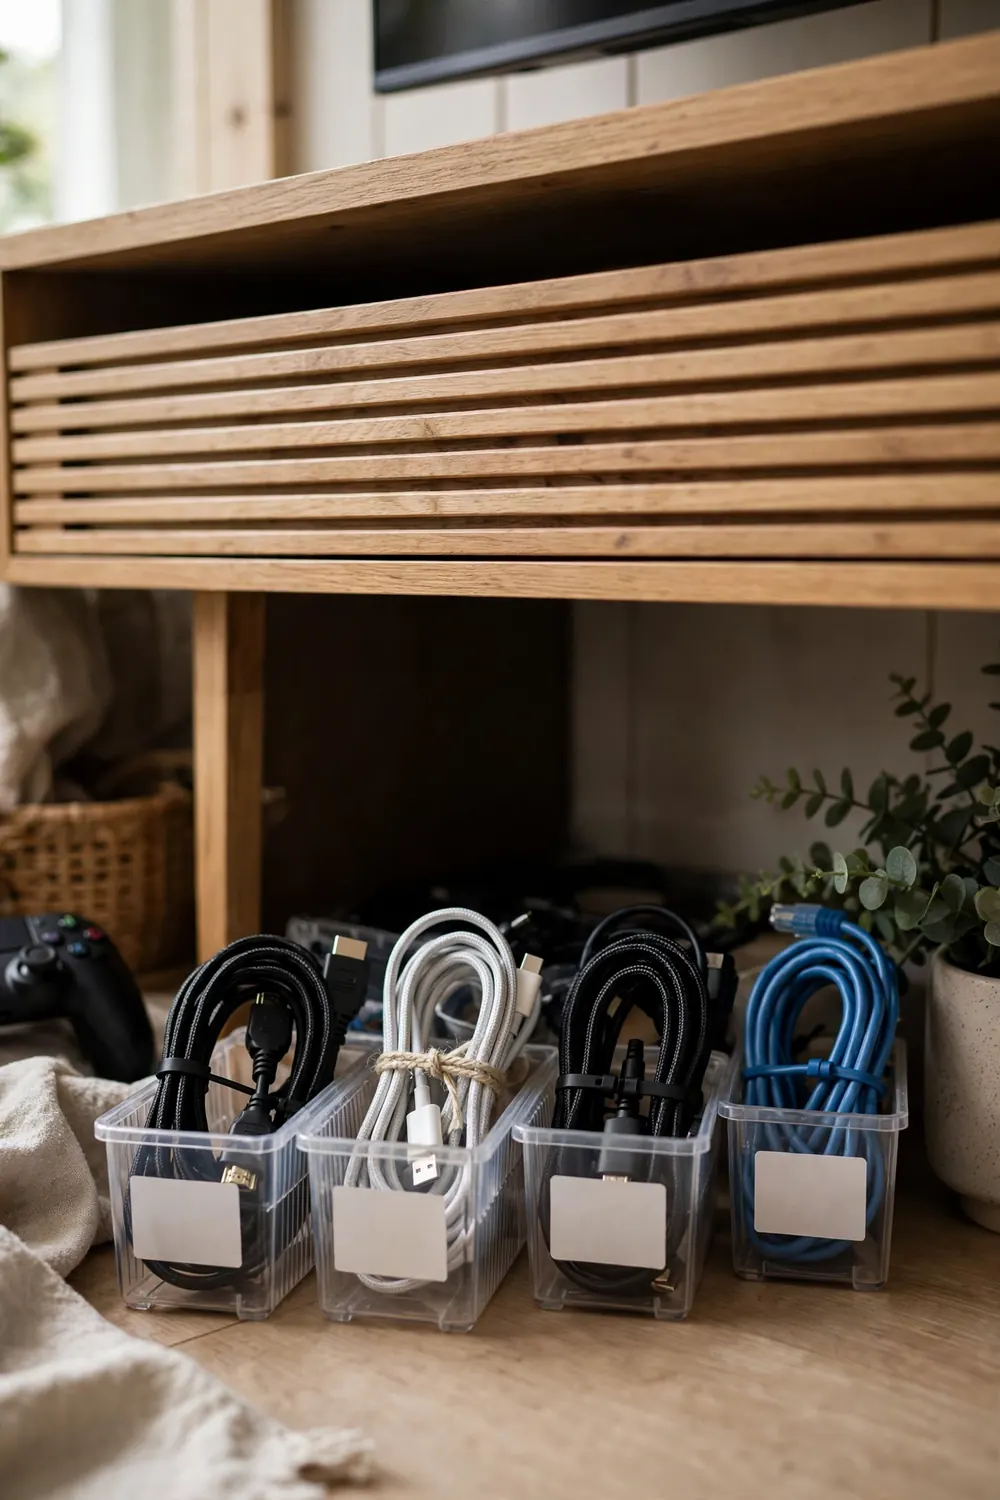
Coil Spare Cables in Labeled Bins Behind the TV
Every gamer owns a box of mystery cables. Half of them fit nothing you still own.
Grab two or three small bins and label them plainly: HDMI, USB and charging, power. Coil each cable, secure it with a velcro tie, and drop it in the right bin. Stash the bins behind the TV stand or under the console tower where they are out of sight but reachable.
Toss the cables you cannot identify. If a cable has sat unused for a year and fits nothing in the room, it is not spares, it is clutter.
Park Discs in a Slim Case Tower Instead of Loose Piles
Discs out of their cases scratch. Cases in loose piles vanish.
A slim disc tower or a simple disc binder holds the whole collection in a footprint smaller than a shoebox. Slot each disc in, keep the cases on the shelf for the artwork, and the pile on the TV stand disappears overnight.
This works best for collectors with big libraries. If you only own a handful of games, the upright shelf from idea three is plenty, and you can skip this one entirely.
| Slim tower | Disc binder |
|---|---|
| Displays well on a shelf | Fits in a drawer, totally hidden |
| One disc per slot, easy to flip through | Holds far more discs in less space |
| Best for small, current collections | Best for big back catalogs |
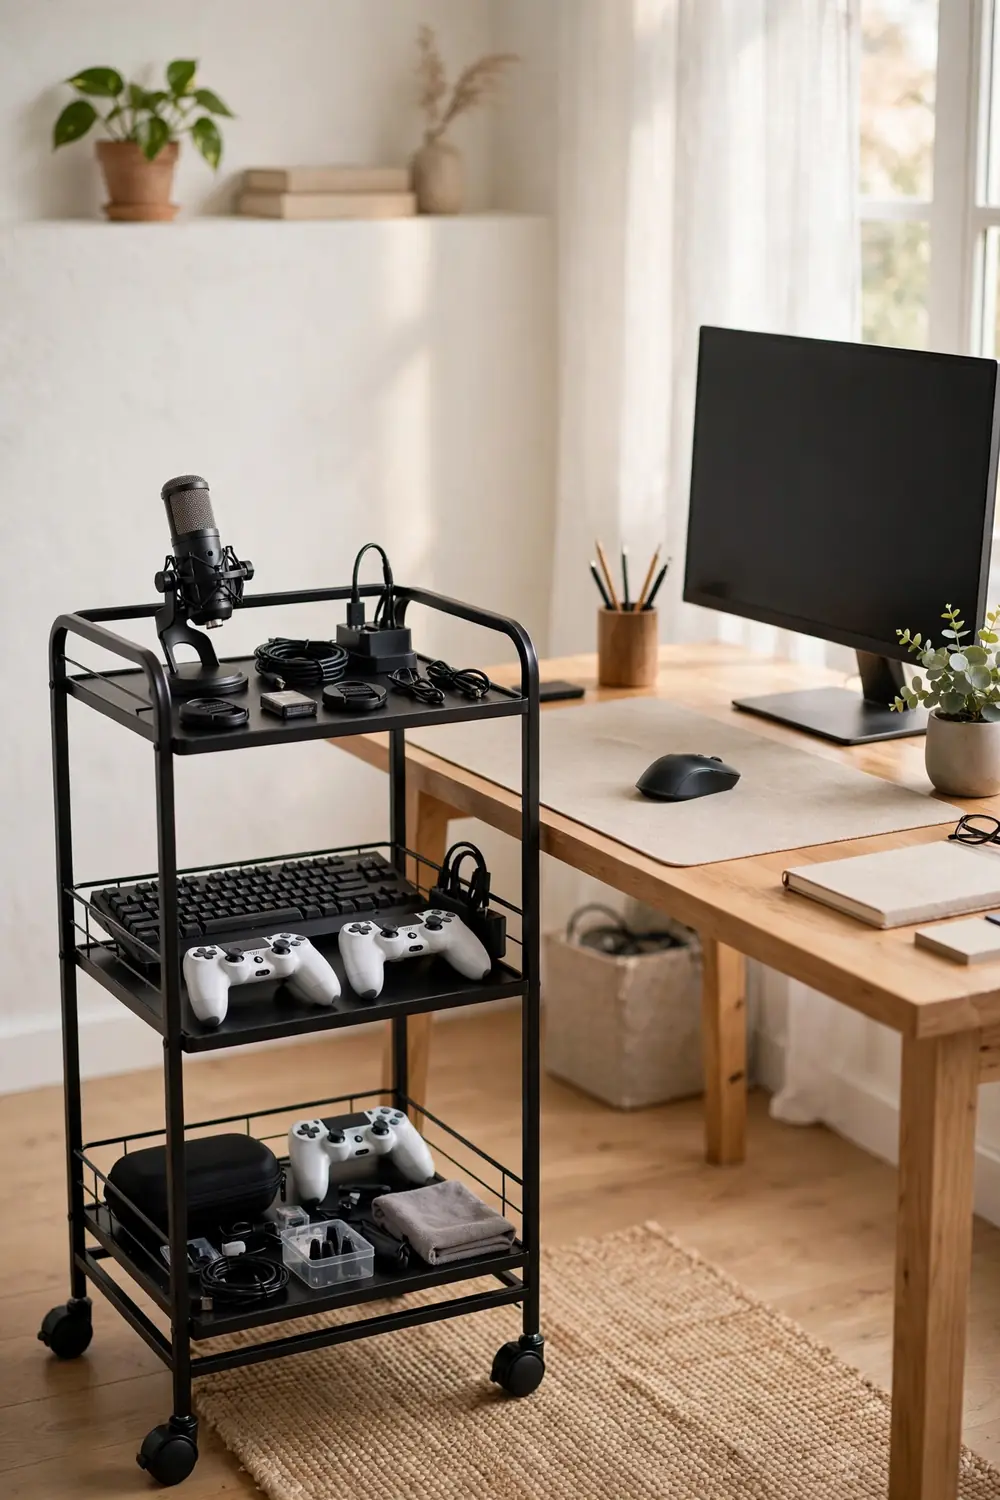
Put a Rolling Cart Next to the Desk for Overflow Gear
When the desk is full and the shelves are full, the cart is the answer.
A slim rolling cart with two or three tiers parks beside the desk and swallows everything that does not fit anywhere else: the second keyboard, the streaming mic, the capture card box, the spare batteries. Wheel it out for game night, tuck it away after.
The wheels are the whole point. Stationary storage forces you to walk to it. A cart comes to you, which means you will actually put things back on it.
If it does not roll, it becomes a junk shelf. Wheels keep storage working instead of sitting.
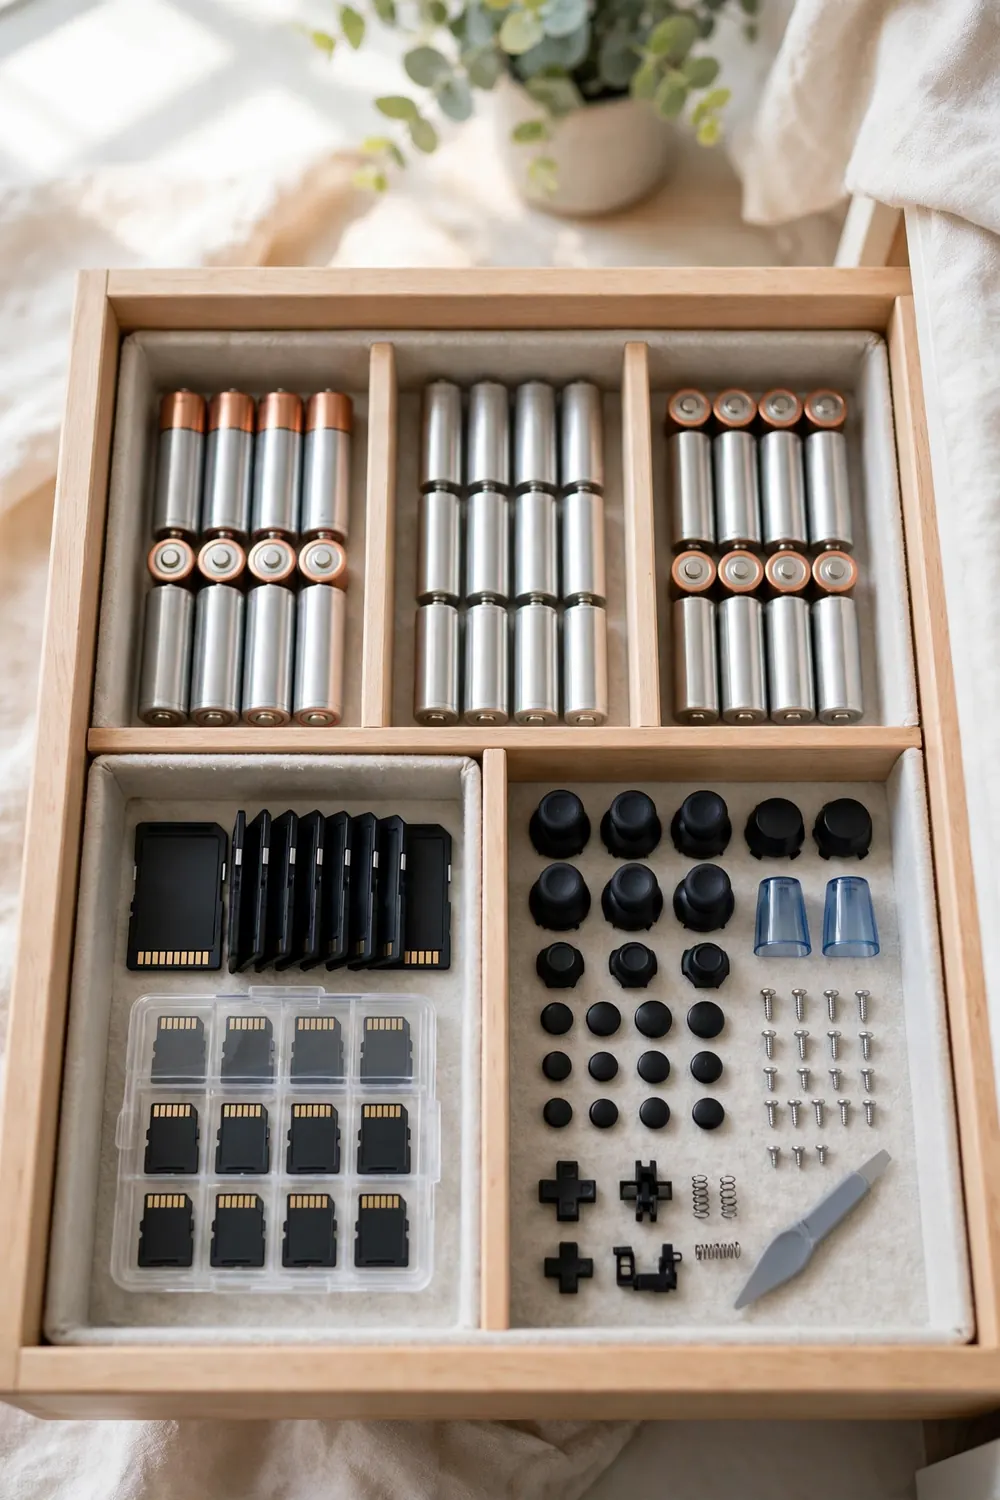
Use Drawer Dividers for Small Accessories
Small accessories are the clutter that no shelf can fix.
Batteries, SD cards, thumb drives, spare ear tips, the tiny screwdriver for the controller battery cover. Tossed in a drawer they become one sad jumble. A few cheap dividers turn that drawer into a grid where every tiny thing has an address.
Sort by type, not by game. All batteries together, all memory cards together. You will find the thing in five seconds instead of dumping the drawer on the bed.
📌 Good To Know
Adjustable bamboo dividers cost little and fit almost any drawer. Spring loaded ones need no measuring at all.
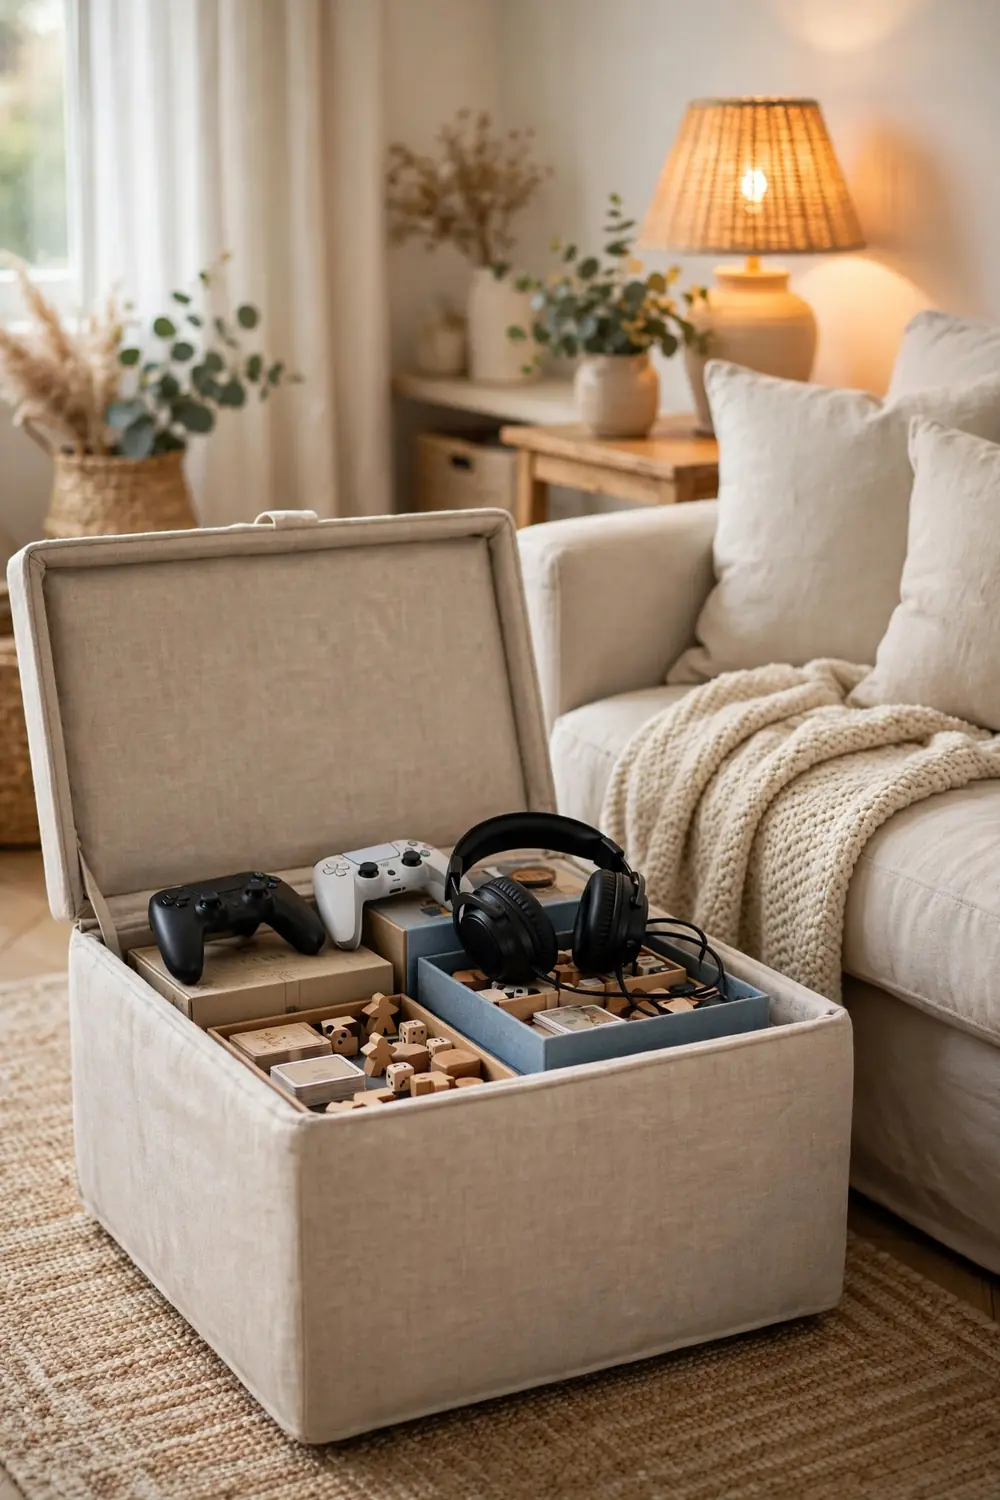
Stow Extra Controllers and Party Games in an Ottoman
Guests multiply the gear problem overnight. Four extra controllers appear from nowhere, plus the party games nobody plays alone.
A storage ottoman by the couch swallows all of it. Extra controllers, the second headset, the party game cases, even the spare batteries. Close the lid and the room is guest ready in ten seconds flat.
Pick one with a firm lid so it doubles as a footrest or extra seat. Storage that also serves the room is storage that earns its floor space.
Guest night chaos: controllers everywhere, party game cases sliding off the coffee table.
Everything inside the ottoman, lid closed, room calm and guest ready in seconds.
Mount the Console on the Wall to Free the Shelf
The console eats the best shelf in the room. Put it on the wall instead.
A simple wall mount bracket holds the console beside or under the TV, floating in open air. The shelf it used to occupy becomes free for game cases, the dock, or nothing at all. Open air also means the best possible cooling, better than any cabinet.
This suits renters less, since it needs solid anchors in the wall. If you own the place or your landlord is relaxed, it is one of the cleanest moves on this list.
- ▸Mount beside or under the TV, never behind it
- ▸Anchor into a stud, not just drywall
- ▸Keep the disc slot and vents fully clear
Keep One Grab and Go Bag Packed for Game Night
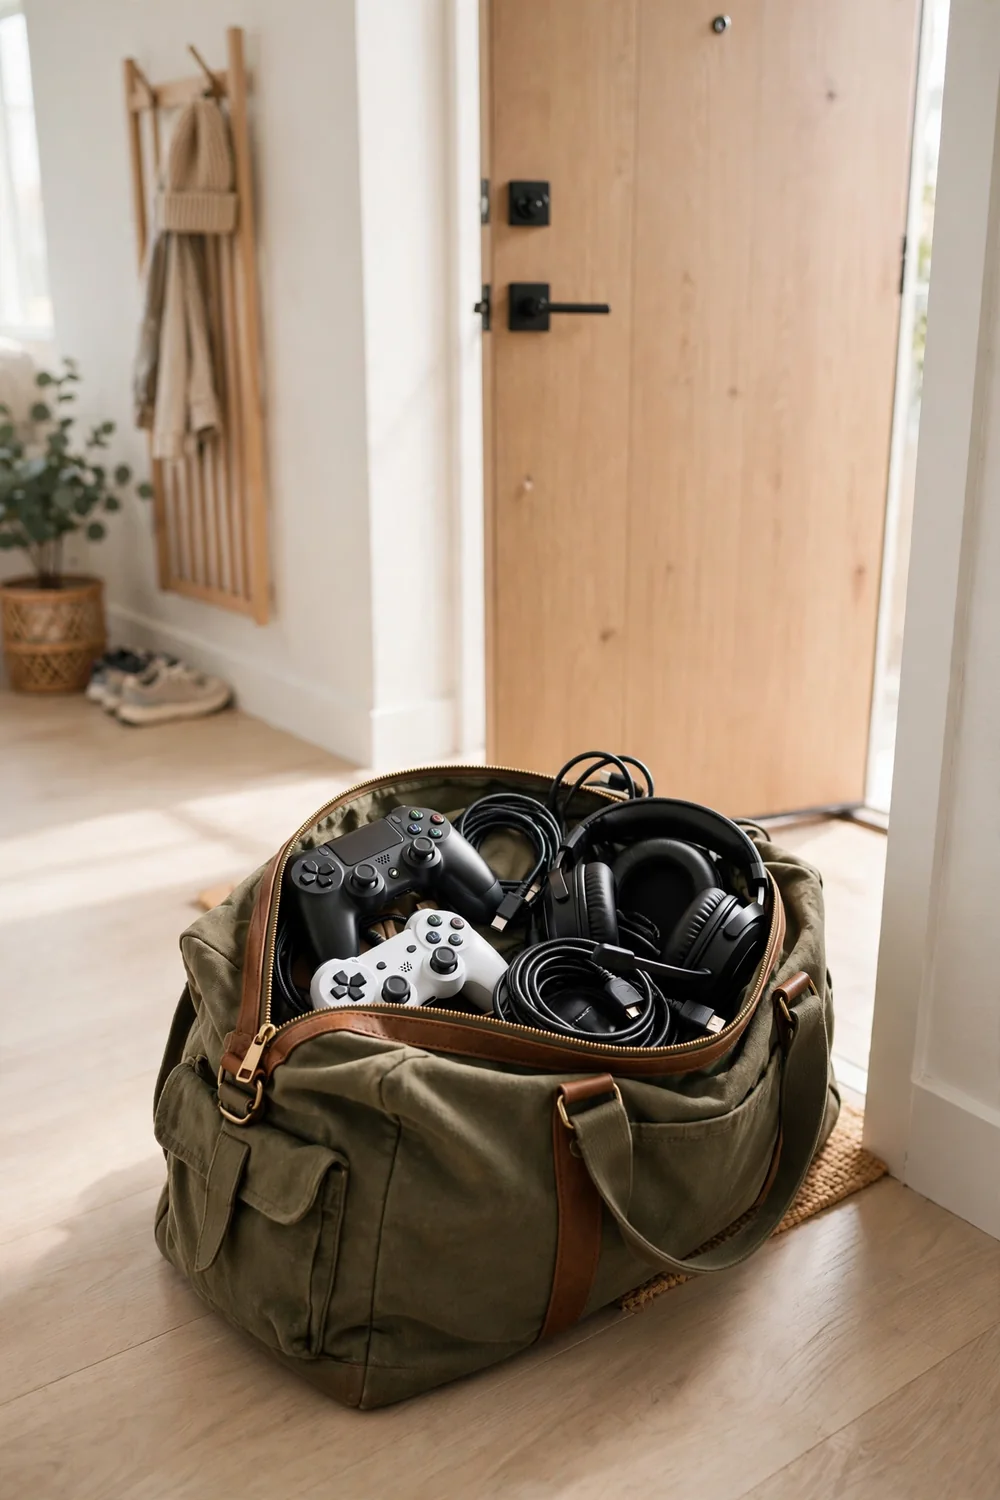
Half of game night is packing. The bag, the controllers, the headset, the HDMI cable just in case.
Keep one bag packed and ready by the door or in the closet. Two controllers, your headset, a charging cable, and any adapters you always forget. When the invite comes, you grab the bag and leave instead of tearing the room apart.
Restock it the day after, while you still remember what you used. A bag that never gets repacked stops being ready after exactly one trip.
Label Everything So the System Survives Other People
You know where everything goes. Your partner, your roommate, and your kids do not.
Label the bins, the drawers, and the shelves with plain words: controllers, charging, HDMI, game cases. A label maker or even masking tape and a marker works fine. When every home has a name, other people put things back instead of stacking them on the nearest flat surface.
This is the least fun idea on the list and the one that matters most long term. Systems only survive if the whole household can read them.
Labels worth writing
Do a Monthly Purge of the Gaming Junk Drawer
Every gaming room grows a junk drawer. Old cables, a broken controller, three cases for games you sold, batteries of unknown charge.
Once a month, dump it on the bed and sort fast into three piles: keep, donate, trash. The broken controller goes. The mystery cables go. The keep pile gets its proper homes from the ideas above.
Ten minutes, once a month, and the drawer stops being a black hole. Storage only works if the stuff inside it still deserves a spot.
Dump, sort into keep, donate, and trash, then put the keep pile away.
Set a monthly phone reminder so it actually happens.
Keeping broken controllers just in case.
Saving mystery cables that fit nothing you own.
Storage is the unglamorous half of a great gaming room, and it is the half that decides whether the room feels calm or chaotic. Give every console a slot, every controller a dock, and every cable a bin, and the whole space starts working for you instead of against you.
These gaming room storage ideas are built to last because they are built around habits, not just furniture. Label the homes, purge the junk drawer monthly, and the system keeps itself running.
Save this list to your setup board so the next time gear starts piling up, you already have the plan.