Your tile floor looks tired. The color dates the whole room, a few tiles carry stains that never come off, and replacing the floor would cost hundreds of dollars and eat a full weekend. Painting the tile is the cheaper fix, and it works when the prep is done right. This guide shows you how to paint tile floors step by step, from picking a paint that bonds to glaze, through cleaning, sanding, priming, and sealing, so the finish holds up under daily foot traffic.
The method here uses a bonding primer and a floor-grade topcoat, which is the pair that keeps paint from peeling off smooth tile. You do not need a sprayer or pro tools. A roller, a brush, and a stencil cover most floors. The hands-on work takes about 6 to 8 hours spread over two days, and the floor needs 3 full days to cure before heavy use. Most of that time is drying, not working.
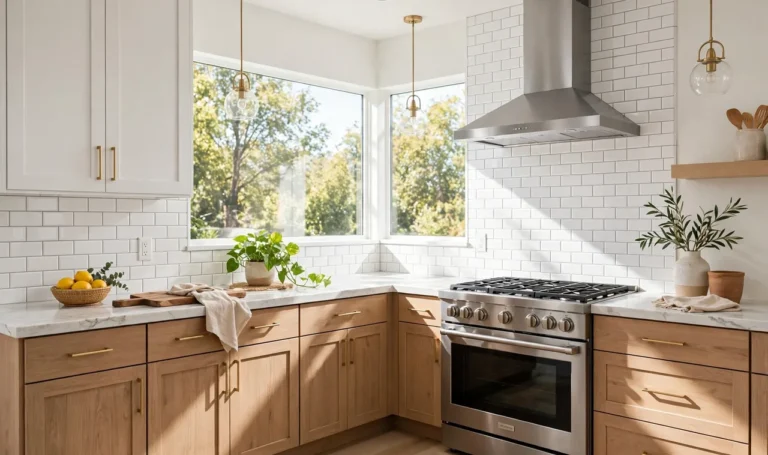
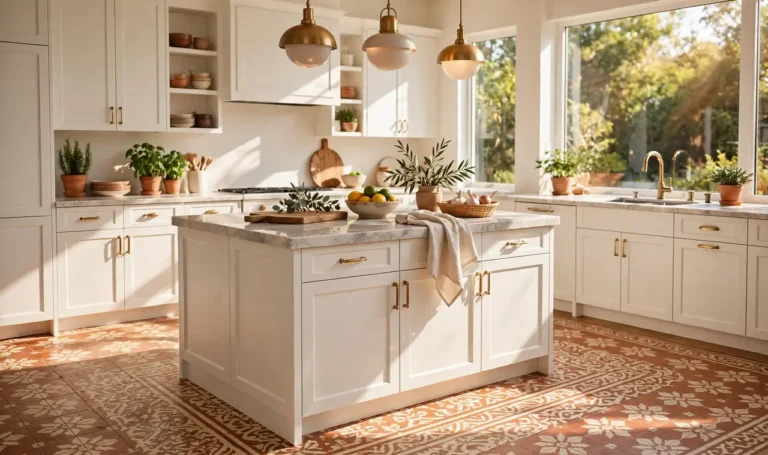
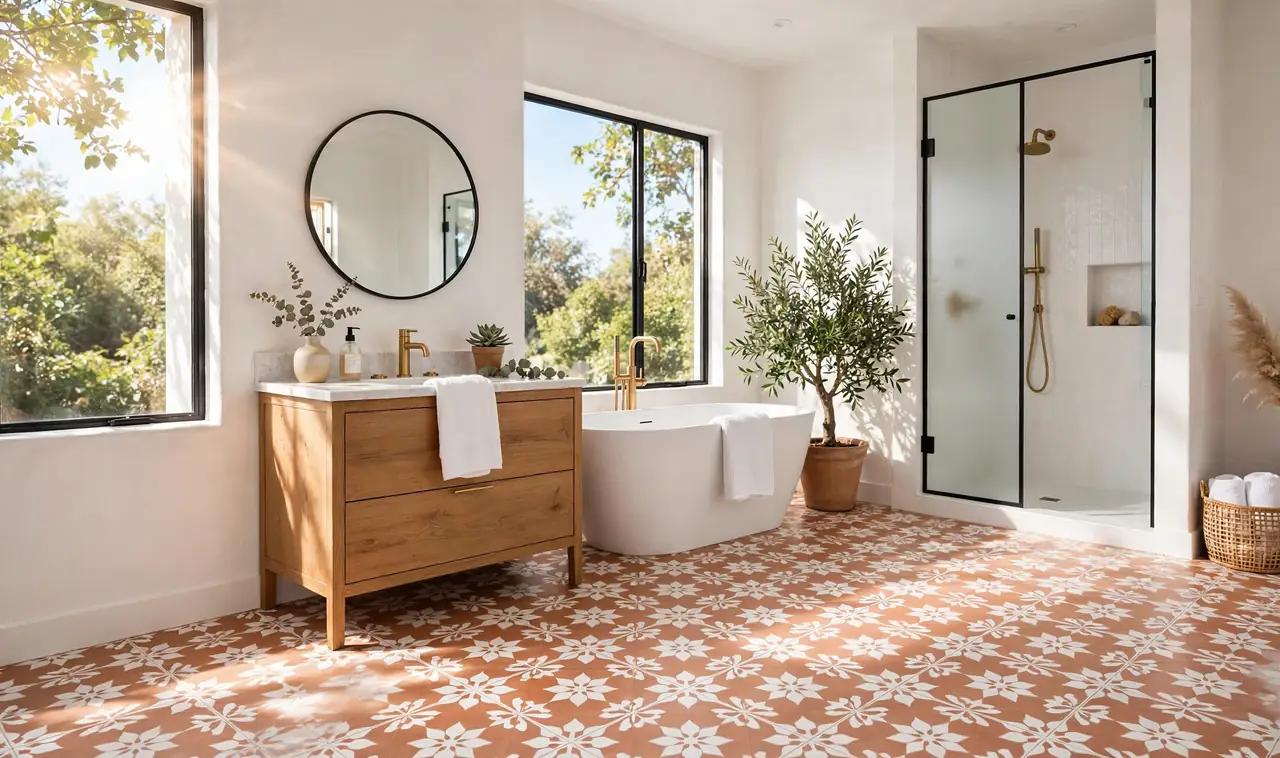
Before you buy paint, look at fresh painted tile floor ideas to pick a color and pattern you will still like next year. A bold stencil looks great in photos, and a soft solid color forgives dust and scuffs. Either way, the steps below stay the same.
TOTAL TIME
3 days
Mostly drying and curing
ACTIVE TIME
6 to 8 hours
Spread over two days
DIFFICULTY
Beginner friendly
No pro tools needed
What You Need
Materials
- Bonding primer rated for tile
- Porch-and-floor paint or epoxy tile paint
- Water-based polyurethane topcoat, satin or matte
- TSP cleaner
- Painter’s tape and plastic sheeting
- Tile stencil (optional)
Tools
- Stiff grout brush and bucket
- 220-grit sandpaper or sanding sponge
- 320-grit sandpaper
- Tack cloth and rags
- 3/8-inch nap roller and paint tray
- 2-inch angled brush
At a Glance
- Pick paint and primer made for tile
- Gather every tool before you start
- Scrub the tiles and grout until clean
- Sand the glaze until it turns dull
- Wipe away all the sanding dust
- Tape off edges, drains, and fixtures
- Roll on one coat of bonding primer
- Paint the first thin coat of color
- Roll on a second coat for full coverage
- Stencil a pattern on the dry base coat
- Seal the floor with two coats of topcoat
- Let the floor cure for three full days
Pick paint and primer made for tile
Floor paint and wall paint are not the same product. Tile glaze is slick, so ordinary latex peels off in sheets within weeks. Buy a bonding primer rated for tile and a porch-and-floor paint, an epoxy floor paint, or a tile paint kit. A kit costs $60 to $100 and covers about 100 square feet. Check the label for the words “bonds to tile” or “for ceramic tile.” If the label says nothing about tile, put it back. One quart of primer and one quart of paint cover most small bathrooms.
Gather every tool before you start
Lay out everything within reach of the door so you never walk across wet primer to fetch a tool. Set the bucket, grout brush, TSP cleaner, sandpaper, tack cloth, tape, roller, brush, and tray in a row along the hallway. Count the roller covers. You need one for primer, one for color, and one for topcoat, because a used cover sheds fibers into the next coat. Fill the bucket with warm water now, while your hands are still clean.
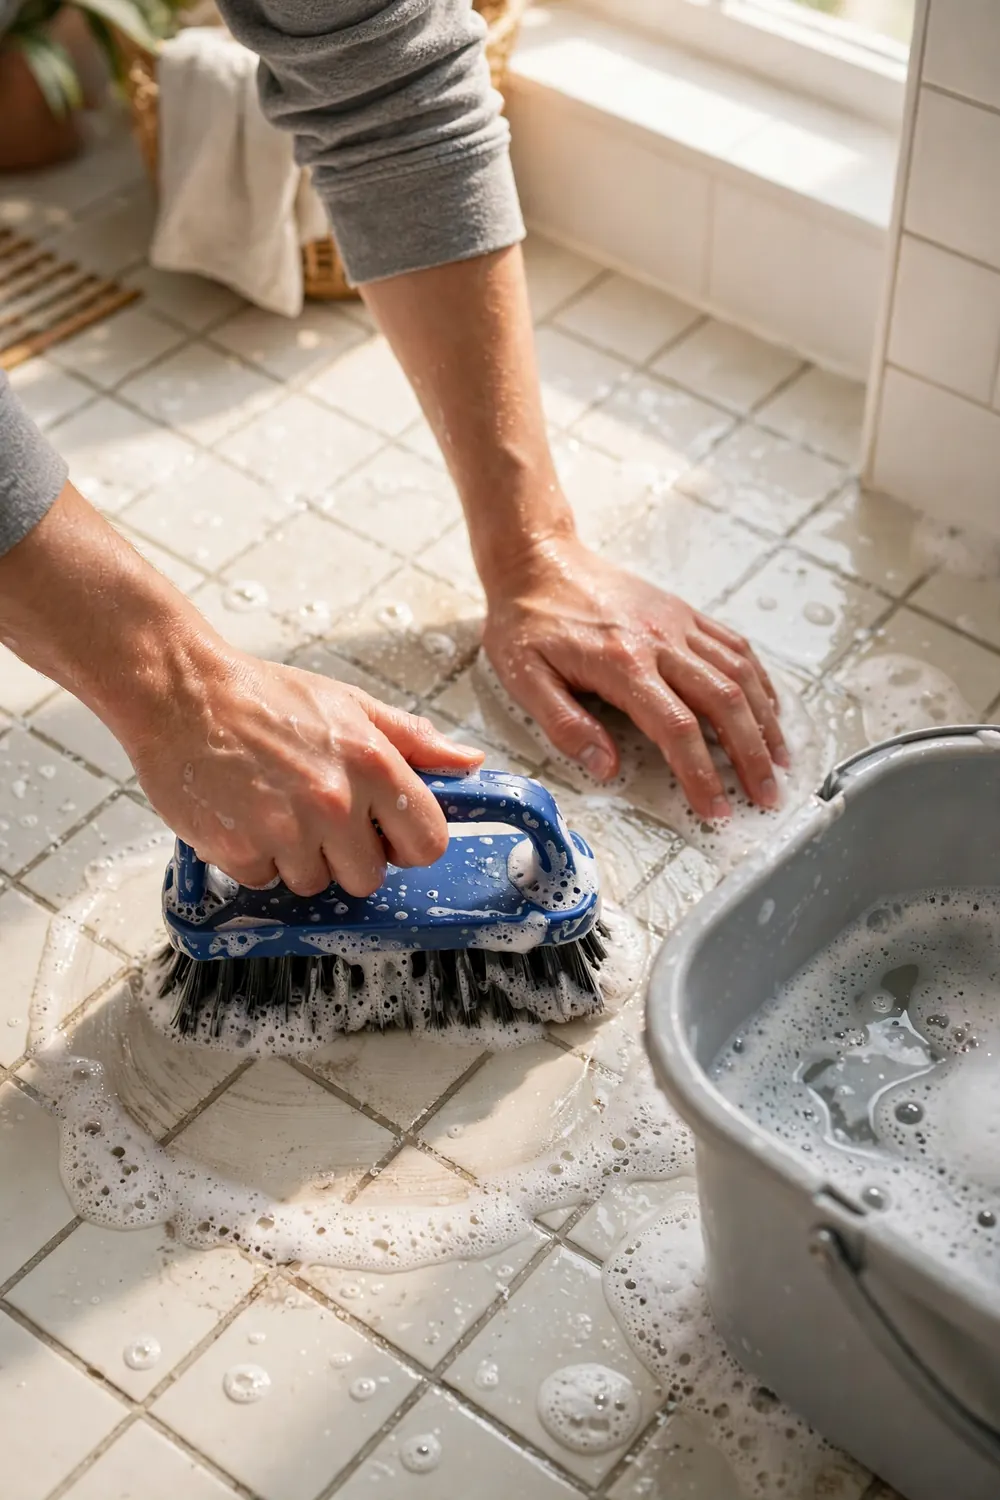
Scrub the tiles and grout until clean
Grease and soap film are the top reason paint fails on tile. Mix TSP cleaner at the strength on the box, usually 1/4 cup per gallon of warm water, and scrub every tile and grout line with a stiff brush. Pay attention to the edges near the tub and toilet, where residue builds up. Rinse twice with clean water and let the floor dry for at least 2 hours. Run your hand over a tile when you think it is dry. If it feels cool or damp, wait longer. Paint sticks to dry tile, not damp tile.
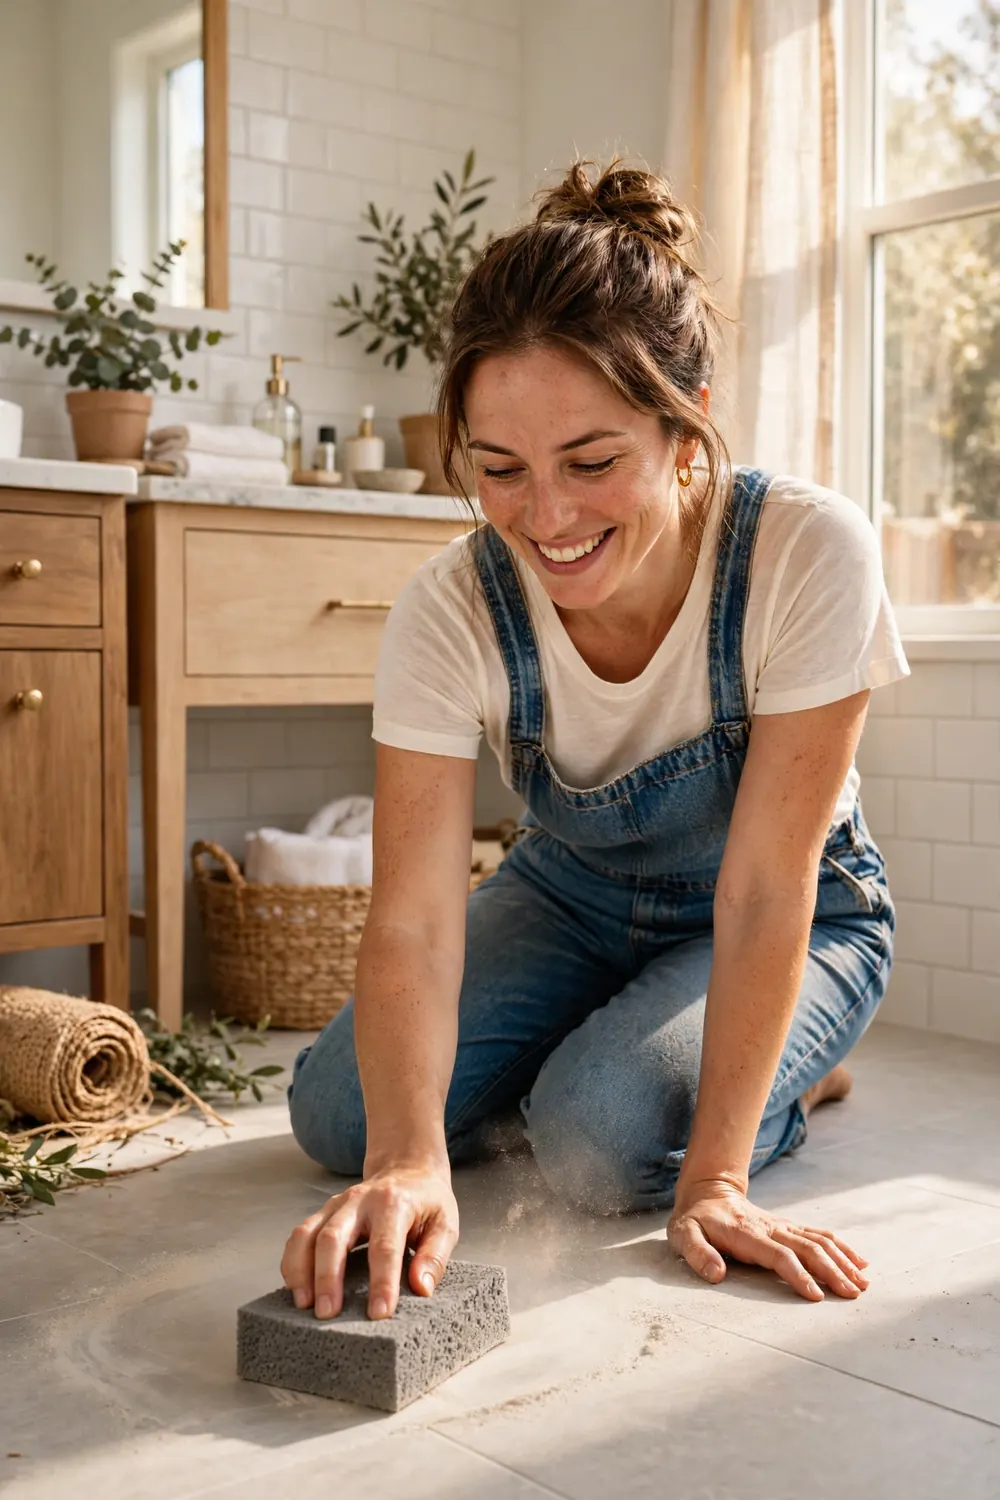
Sand the glaze until it turns dull
Glaze is glass-smooth, and paint needs texture to grip. Rub every tile with 220-grit sandpaper in small circles until the shine is gone and the surface looks flat and chalky. You are not trying to remove the glaze, only to scratch it. A sanding sponge fits grout lines better than a flat sheet. Work in 3-foot sections so you can see what is done and what still shines.
Wipe away all the sanding dust
Sanding dust kills adhesion. Vacuum the whole floor slowly, then wipe it twice with a damp tack cloth. Change the cloth when it stops picking up dust. A final wipe with a rag dampened with rubbing alcohol lifts the last fine film. Let the floor dry for 15 minutes after the last wipe, then check the corners with a fingertip. Dust hides in corners. If the cloth comes back gray, wipe the floor again. Two careful wipes beat one rushed wipe when paint adhesion is on the line.
Tape off edges, drains, and fixtures
Press painter’s tape along the baseboards, the toilet base, the tub edge, and any drain covers. Run a fingernail or a putty knife along each tape edge so paint cannot creep under it. Cover the toilet and vanity legs with plastic sheeting. If your bathroom fixtures are old and you plan to swap them later, tape carefully around them now and read a guide on choosing the right plumbing fixtures before you buy, so the new finish matches the floor you are about to paint.
Roll on one coat of bonding primer
Pour bonding primer into the tray and load the roller. Roll a thin, even coat over the tiles and grout, working away from the door so you never trap yourself in a corner. Cut in the edges with the 2-inch brush first, then roll the open floor. Let the primer dry for the time on the can, usually 2 to 4 hours. A second primer coat helps on dark tile or strong grout lines. Do not sand the primer unless the can tells you to.
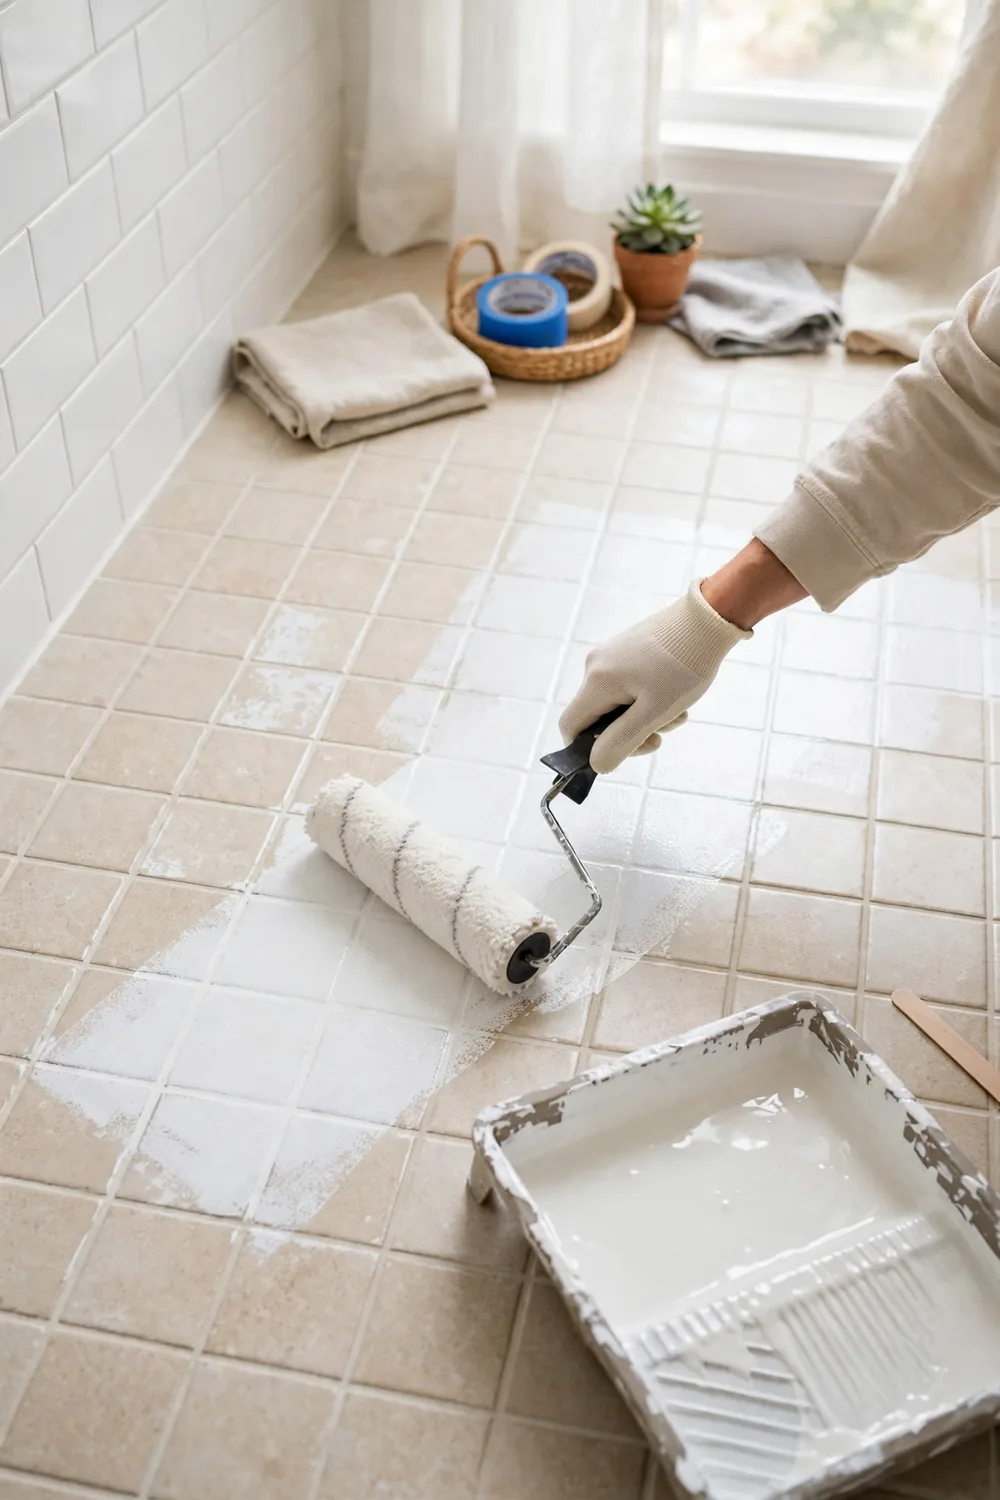
Paint the first thin coat of color
Stir the paint well and pour a small amount into a clean tray. Roll the first coat thin, thinner than your instinct says, in lines across the floor. Thick paint pools in grout lines and dries with ridges. Overlap each pass by half a roller width so no stripes show. If a line of paint gathers at the edge of the roller, roll back over it while it is still wet. Leave the room for 4 hours. The coat looks patchy at this stage. That is normal. Coverage comes from the second coat, not the first.
Roll on a second coat for full coverage
Check the first coat with your eyes, not your hands. Any dull spot or visible grout line means the second coat will fix it. Roll the second coat the same way, in the opposite direction from the first. Crossing the direction hides roller marks. Let this coat dry for at least 8 hours before you stencil or seal. If the color still looks thin after two coats, a third thin coat beats one thick coat every time.
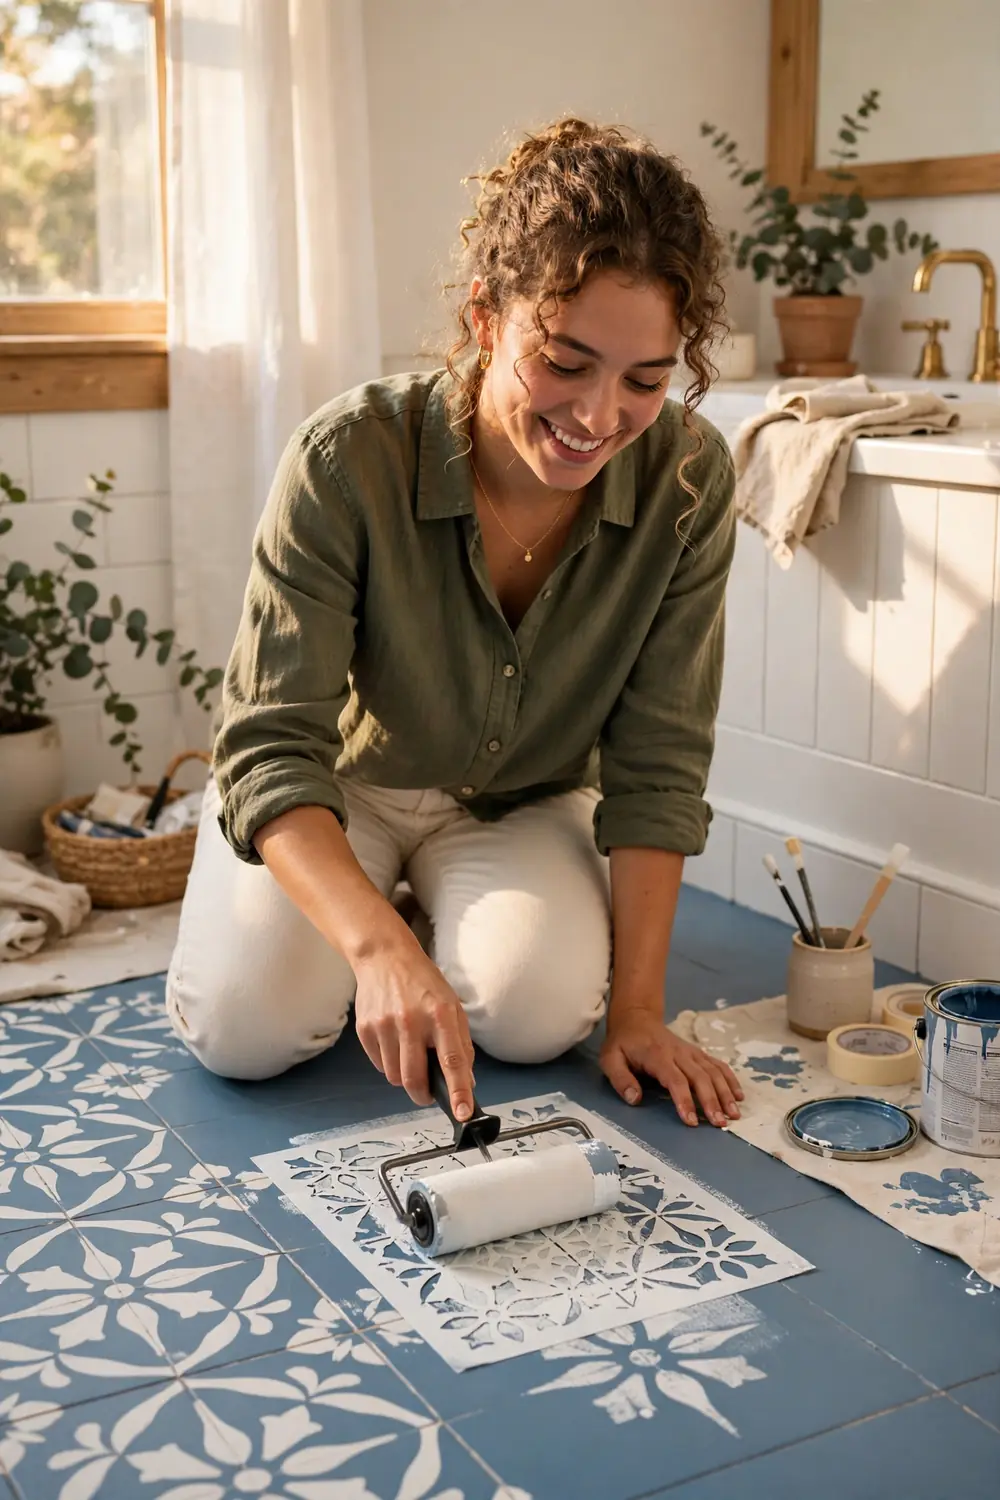
Stencil a pattern on the dry base coat
Wait until the base coat is fully dry, then tape the stencil to the floor with painter’s tape. Load a dense foam roller or stencil brush with a small amount of paint, then roll most of it off on a paper towel. A dry brush keeps paint from bleeding under the stencil edges. Roll or pounce over the stencil in light passes. Lift one corner to check the pattern before you remove the whole stencil. Reposition it with the guide marks and repeat across the floor. Skip this step if you want a solid color.
Seal the floor with two coats of topcoat
A clear topcoat is what makes a painted floor last. Use a water-based polyurethane rated for floors, in satin or matte. Roll the first coat thin and let it dry for 4 hours. Sand lightly with 320-grit sandpaper between coats and wipe the dust away. Roll the second coat the same way. Two coats of topcoat protect the color from shoes, chairs, and mopping. A third coat is worth the time in a busy entryway or kitchen.
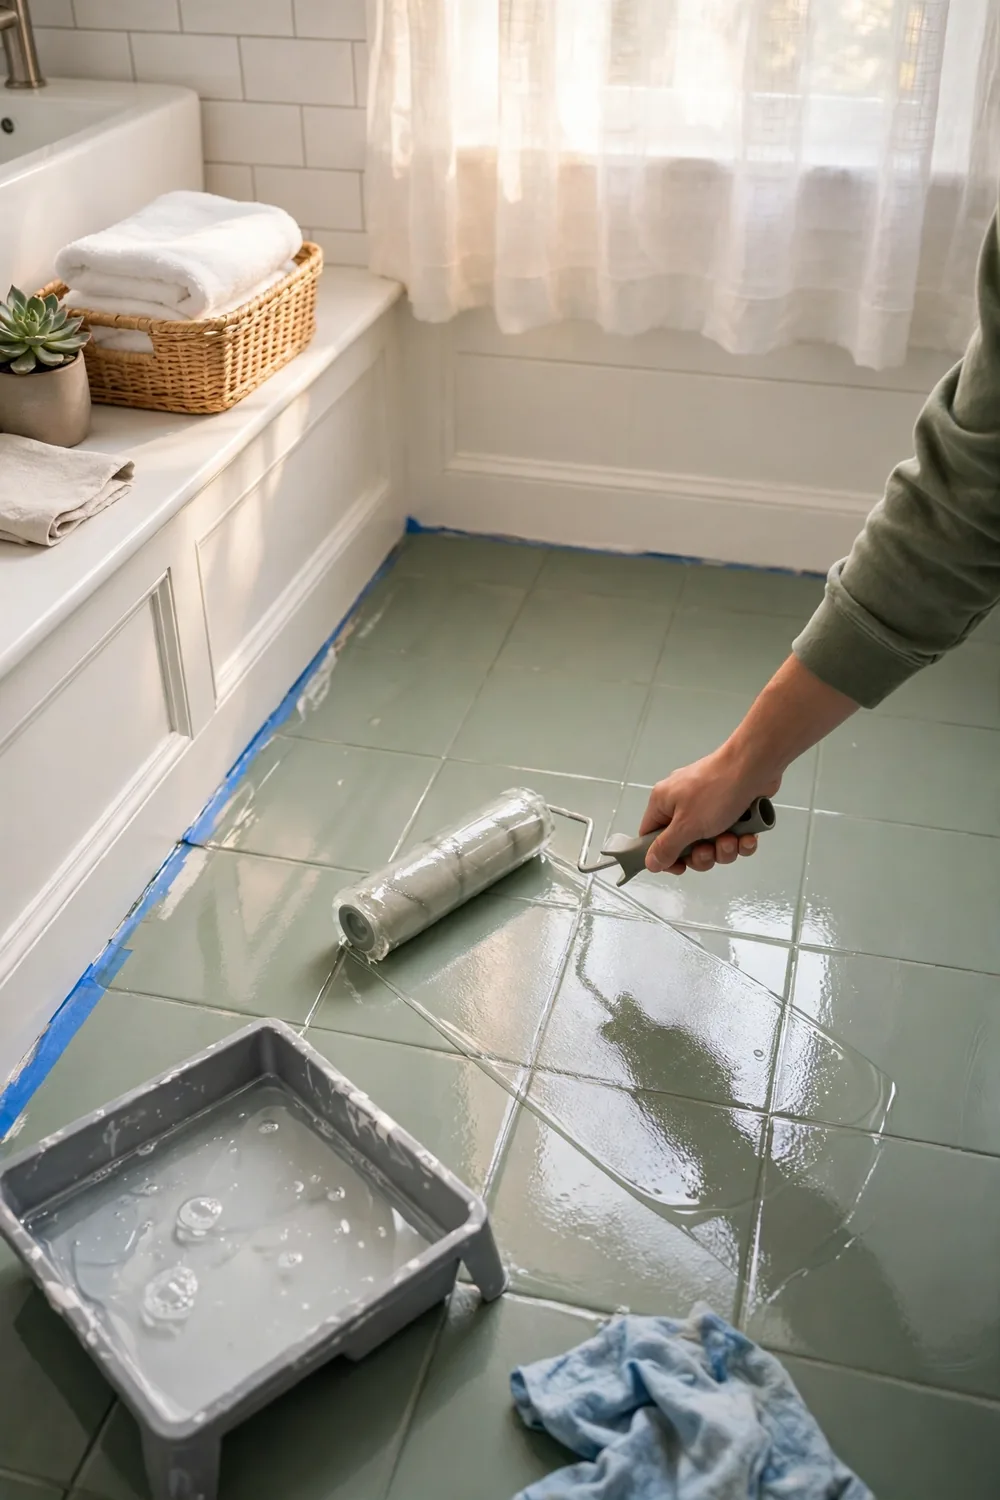
Let the floor cure for three full days
Curing is not the same as drying. The floor may feel dry after a day, but the paint is still soft underneath. Keep furniture off for 72 hours and avoid mopping for 7 days. Put felt pads on chair legs before you move anything back into the room. Light foot traffic in socks is fine after 24 hours. Heavy use too soon leaves dents that never come out. Tape a small sign on the door so nobody walks in with shoes.
Troubleshooting
| If This Happens | Try This |
|---|---|
| Paint peeling off in sheets | Scrape the loose paint, sand the bare spot, prime it, and repaint. |
| Roller marks showing | Sand lightly and roll a thin coat in the opposite direction. |
| Stencil bleeding under the edges | Offload paint on a paper towel until the brush feels almost dry. |
| Floor still sticky after two days | Warm the room to at least 65°F and give it two more days. |
| Grout lines cracking | Scrape out the bad grout, re-grout, and let it cure before repainting. |
Frequently Asked Questions
How long does painted tile last?
With primer and two coats of topcoat, a painted floor lasts 2 to 5 years in a bathroom and 1 to 3 years in a busy kitchen. Recoat the topcoat once a year to stretch that.
Can I paint floor tiles in a shower?
No. Standing water and steam break the bond. Paint the floor outside the shower only.
Do I need to seal painted tile floors?
Yes. The topcoat takes the wear so the color does not. Without it, the paint scuffs within weeks.
What paint works best on ceramic tile?
A bonding primer plus porch-and-floor paint or an epoxy tile kit. Check that the label names tile as a surface.
How do I clean a painted tile floor?
Sweep often and mop with warm water and a drop of mild dish soap. Skip bleach, vinegar, and scrub pads.
You now know how to paint tile floors from prep to seal, and the floor that dated the whole room looks fresh for a fraction of what new tile costs. Give the finish a full week before the first mop, and add a fresh coat of topcoat once a year to keep it looking new. If this project gave you the bug for more small changes, these small bathroom makeover ideas pair well with a painted floor and cost little. Save this guide to Pinterest so you can find it when the next tired floor calls for help.