Carving pumpkins looks fun in photos. In real life it means a kitchen covered in orange strings, a knife that slips at the worst moment, and a jack-o-lantern that collapses into mush by Tuesday. I stopped carving years ago and my porch has never looked better.
These no-carve pumpkin decorating ideas skip the mess and the sharp tools entirely. You paint, wrap, glue, or stick things on, and the pumpkin stays whole underneath. That also means it lasts weeks instead of days, which matters when you decorate early in October and want the porch to still look good on the 31st. Kids can do every single one safely, and you can finish a whole batch in one relaxed afternoon.
Below are 20 no-carve pumpkin decorating ideas anyone can do, grouped from paint projects to wrap tricks to sticker shortcuts. Most need nothing more than craft supplies you already own. Pick one tonight and your porch is done.
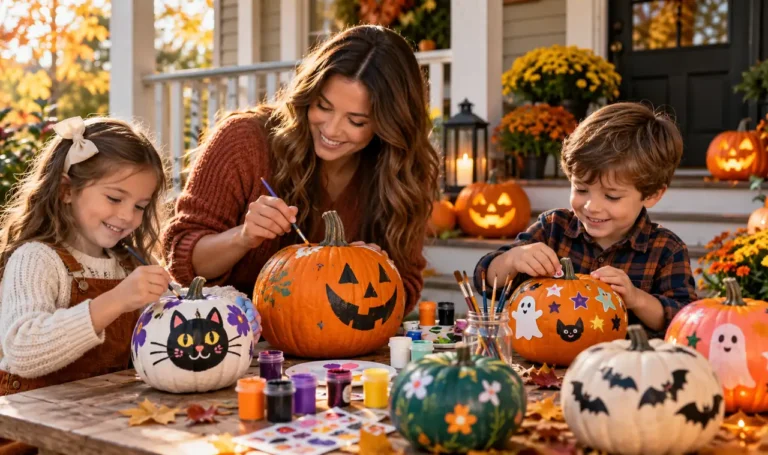
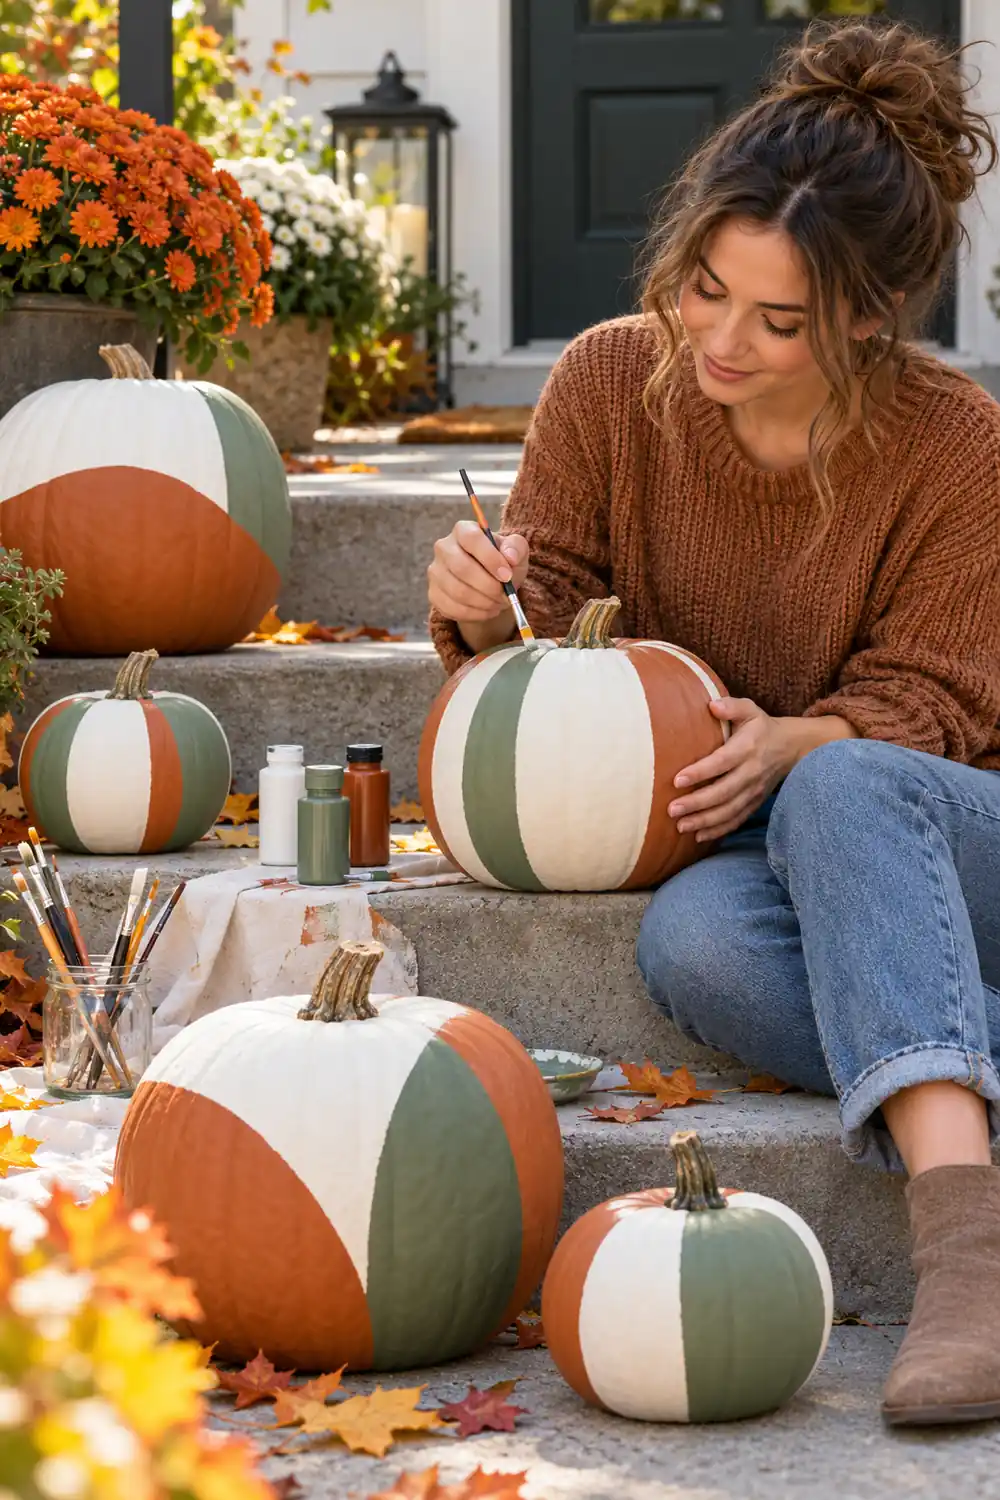
1. Color-Block Painted Pumpkins
This is the fastest paint project on the list. Pick two or three acrylic colors, tape off a band or triangle with painter’s tape, and fill it in. Peel the tape while the paint is still a little tacky for the sharpest edge.
White pumpkins take color beautifully and the paint rarely needs a second coat. Orange ones need a white primer layer first or the color turns muddy. Matte finish paint hides brush marks best, so grab the cheap craft bottles, not the glossy ones.
2. Chalk Paint Farmhouse Pumpkins
Chalk paint was basically invented for this. It sticks to pumpkin skin with zero sanding, dries fast, and gives that soft matte look people pay good money for in stores.
💡 Quick Tip
Thin your chalk paint with a spoonful of water for the first coat. It levels out smoother on the pumpkin’s curves and you will use half as much paint.
Stick to one color for the whole batch. A row of matching cream or sage pumpkins on the steps looks calmer and more expensive than a rainbow, and it takes less deciding.
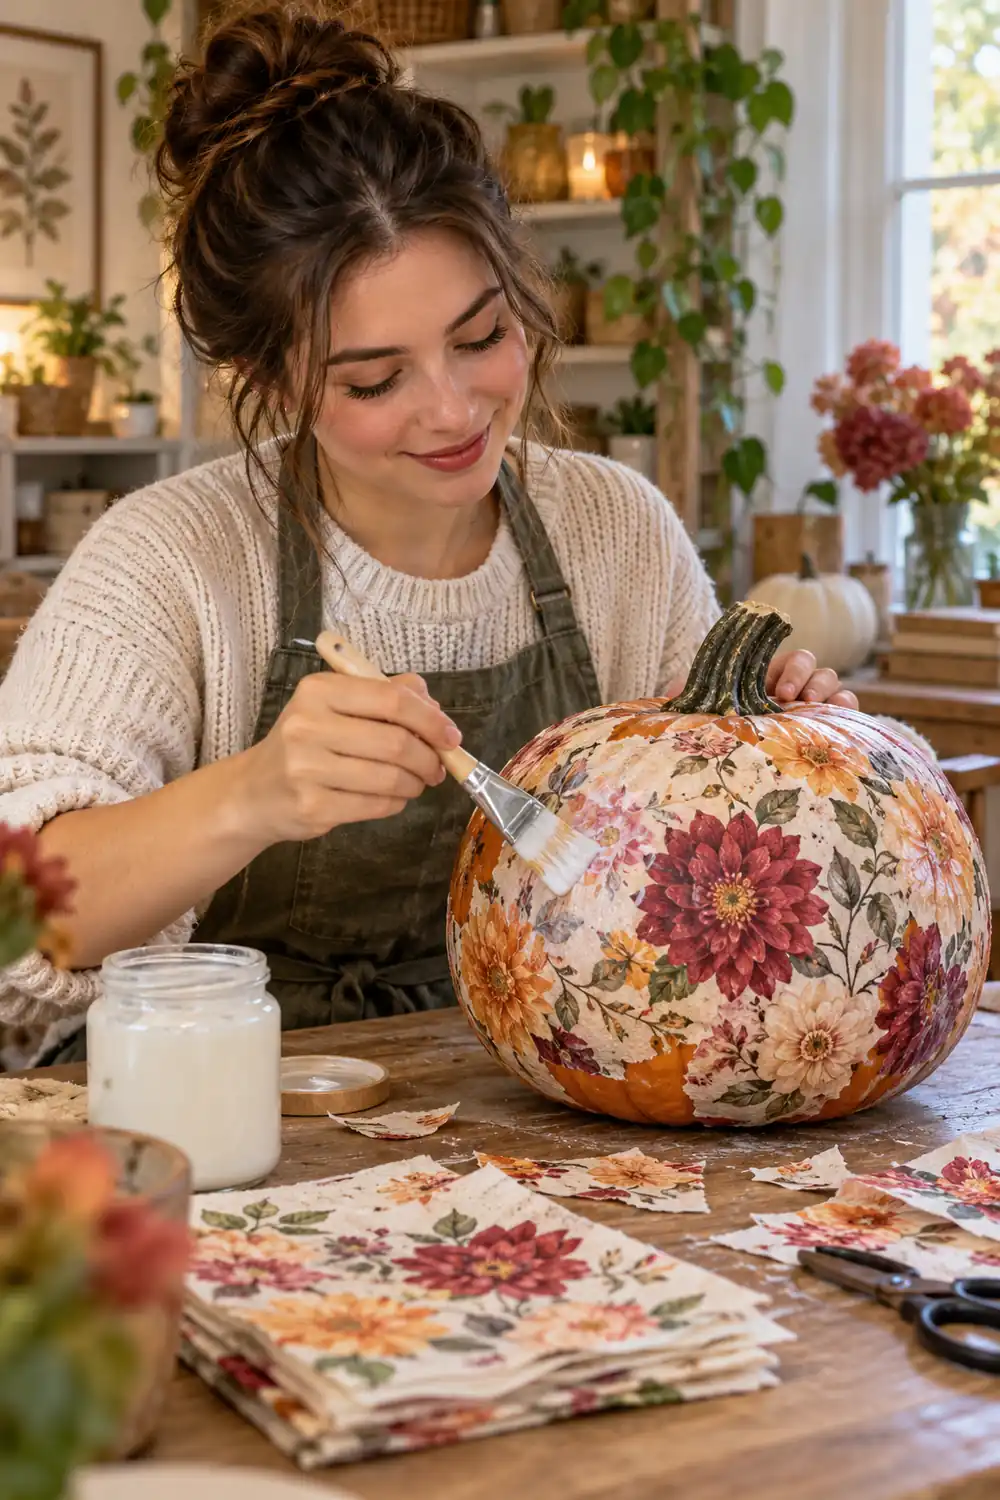
3. Decoupage Napkin Pumpkins
Most people mess this up by gluing the whole napkin down at once. Peel the napkin to its single printed layer first, tear it into palm-sized pieces, and brush Mod Podge under and over each piece.
The torn edges disappear into the pumpkin’s ribs once the glue dries clear. Botanical prints and plaid patterns work best because they hide seams. One napkin covers a medium pumpkin, so a single pack decorates the whole porch.
4. Washi Tape Stripe Pumpkins
Washi tape is the laziest good-looking trick here. Wrap stripes around the pumpkin following its natural ribs, or make a chevron by angling short pieces into Vs.
The tape lifts off cleanly at the end of the season, so this is the one to try on a pumpkin you plan to cook later. Press each strip down firmly with your thumb or the edges curl up overnight in damp air. Metallic tape catches porch light nicely after dark.
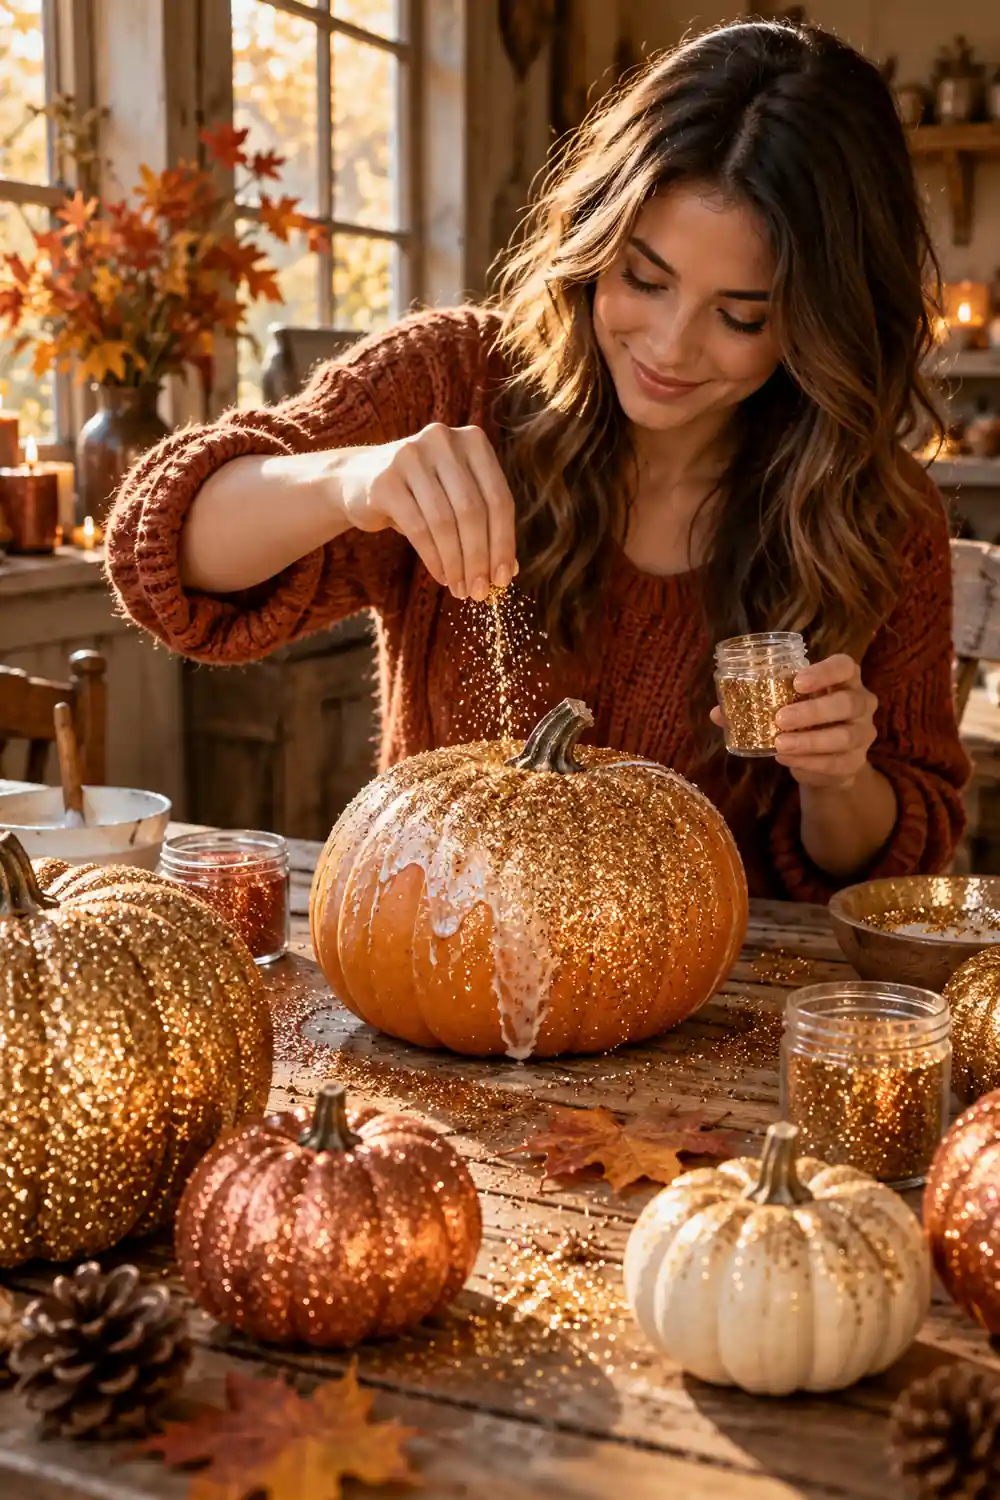
5. Glitter Pumpkins That Do Not Shed
Glitter pumpkins have a reputation problem: the glitter ends up on everything except the pumpkin. The fix is a final seal coat. Paint your base color, brush on craft glue in sections, roll the pumpkin in fine glitter, let it dry, then spray the whole thing with clear acrylic sealer.
Fine glitter beats chunky glitter here. It sits flatter, needs less glue, and reads as shimmer instead of craft-store explosion. Do this one outside or over newspaper you can throw away.
6. Gold Leaf Accent Pumpkins
Gold leaf sounds fancy and it is, but the technique is simple. Brush adhesive size onto the pumpkin in patches, wait until it turns tacky, then press the leaf sheets on with a soft dry brush.
What to grab first
You do not need full coverage. A half-leafed pumpkin with raw orange showing through looks more modern than a solid gold one, and it uses a quarter of the sheets.
7. Foam Sticker Face Pumpkins
Ask any tired parent and they will tell you foam stickers are the real hero of Halloween. Peel a black foam sheet’s backing, stick on eyes and a mouth, and you have a jack-o-lantern in about ninety seconds.
Buy the pre-cut face packs if you can find them. Cutting your own from sheets works too, just keep the shapes chunky. Thin little teeth peel off by morning. For more face inspiration that also works as stickers, see these cute pumpkin-carving ideas and copy the faces with foam instead of a knife.
8. Lace-Wrapped Elegant Pumpkins
A strip of wide lace wrapped around the middle of a white pumpkin looks like something from a wedding table. Pin it in back with a dressmaker pin or dot it with hot glue where nobody will see.
Black lace on an orange pumpkin goes full Halloween. Cream lace on a white pumpkin reads harvest dinner party. Either way, one yard of lace dresses three or four pumpkins, so check the remnant bin at the fabric store.
9. Fabric-Wrapped Cozy Pumpkins
Old flannel shirts and sweaters make the coziest pumpkins. Lay the pumpkin in the middle of a fabric square, gather the fabric up around the stem, and tie it off with twine or a rubber band tucked underneath.
Plaid flannel is the classic, but a charcoal sweater knit looks surprisingly good next to real pumpkins. Tuck the gathered fabric under the pumpkin so it sits flat. The stem pokes through the top like a little hat.
10. Yarn-Wrapped Textured Pumpkins
Wrapping a whole pumpkin in yarn sounds slow until you realize it is just one long spiral. Dab a dot of hot glue at the stem, wrap downward in tight rows, and glue again at the bottom.
| Yarn type | Best look |
|---|---|
| Chunky wool | Farmhouse cozy, hides every bump |
| Cotton string | Clean modern lines, neat ribs |
| Variegated acrylic | Autumn color shift with zero effort |
Keep your rows snug but not stretched. Yarn that is pulled too tight slides off the curve overnight.
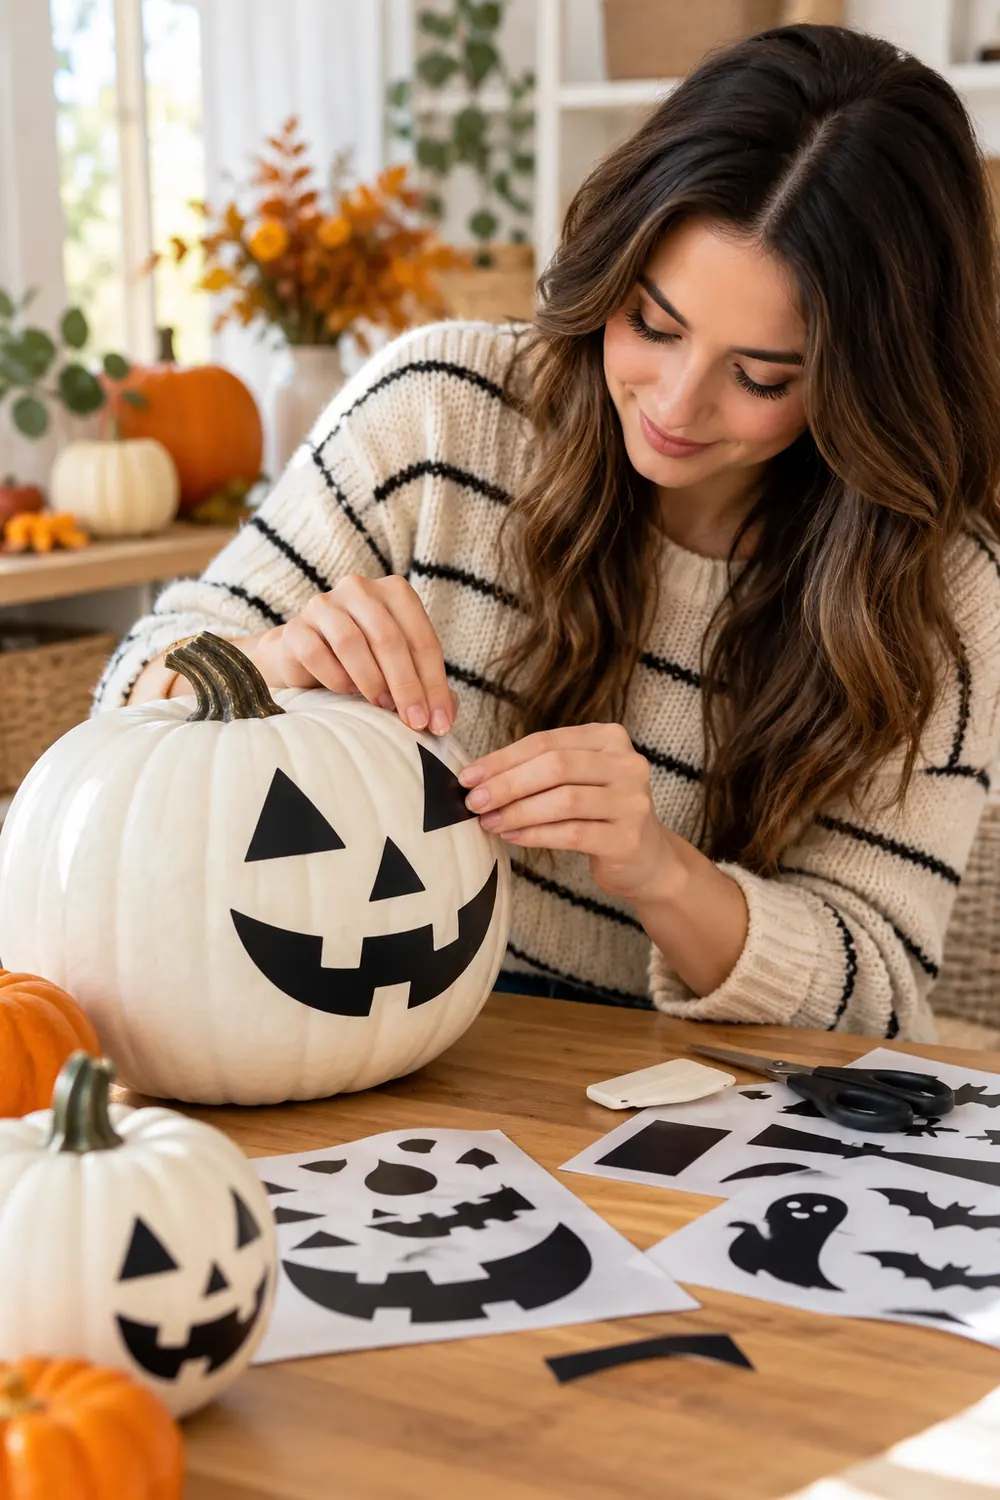
11. Vinyl Decal Face Pumpkins
If you own a cutting machine, vinyl decals are the sharpest no-carve option. Cut faces, words, or spiderwebs in matte black vinyl and press them onto a clean, dry pumpkin.
No cutting machine? Order custom decals from any vinyl seller and they arrive ready to stick. Wipe the pumpkin with a dry cloth first because dust is what makes edges lift. Smooth from the center outward to push air bubbles out.
12. Temporary Tattoo Pumpkins
Those Halloween temporary tattoos from the dollar store stick to pumpkins just as well as they stick to arms. Wet the back, press for thirty seconds, peel the paper, done.
This is the ultimate last-minute pumpkin move. Keep a sheet of tattoos and a damp sponge in the Halloween box and you can decorate a pumpkin at 6pm on the 31st. Layer two or three small tattoos into a scene instead of centering one big one.
13. Thumbtack Studded Pumpkins
Push brass thumbtacks straight into the pumpkin skin in a pattern and you get a studded, almost jeweled look. The skin is softer than it looks. A firm thumb press is enough for most of them.
Draw your pattern lightly on the pumpkin with a pencil first, a spiral, a star, or simple stripes.
Push tacks in along the lines, spacing them evenly, about a finger width apart.
Fill any gaps, then press each tack once more so they all sit at the same depth.
Silver tacks on a dark green pumpkin look expensive. Gold tacks on orange look classic Halloween. Pull them out with the back of a spoon when the season ends.
14. Push-Pin Dot Pattern Pumpkins
Colored push pins are thumbtacks’ playful cousin. Map out polka dots, a heart, or a simple ghost shape and press the pins in. The colored heads become the design.
Work from the top down so you are not reaching over finished sections. Kids love this one because there is no wrong answer, but supervise the little ones since the pins are sharp. A white pumpkin with black and orange pins is the easiest win.
15. Googly Eye Pumpkins
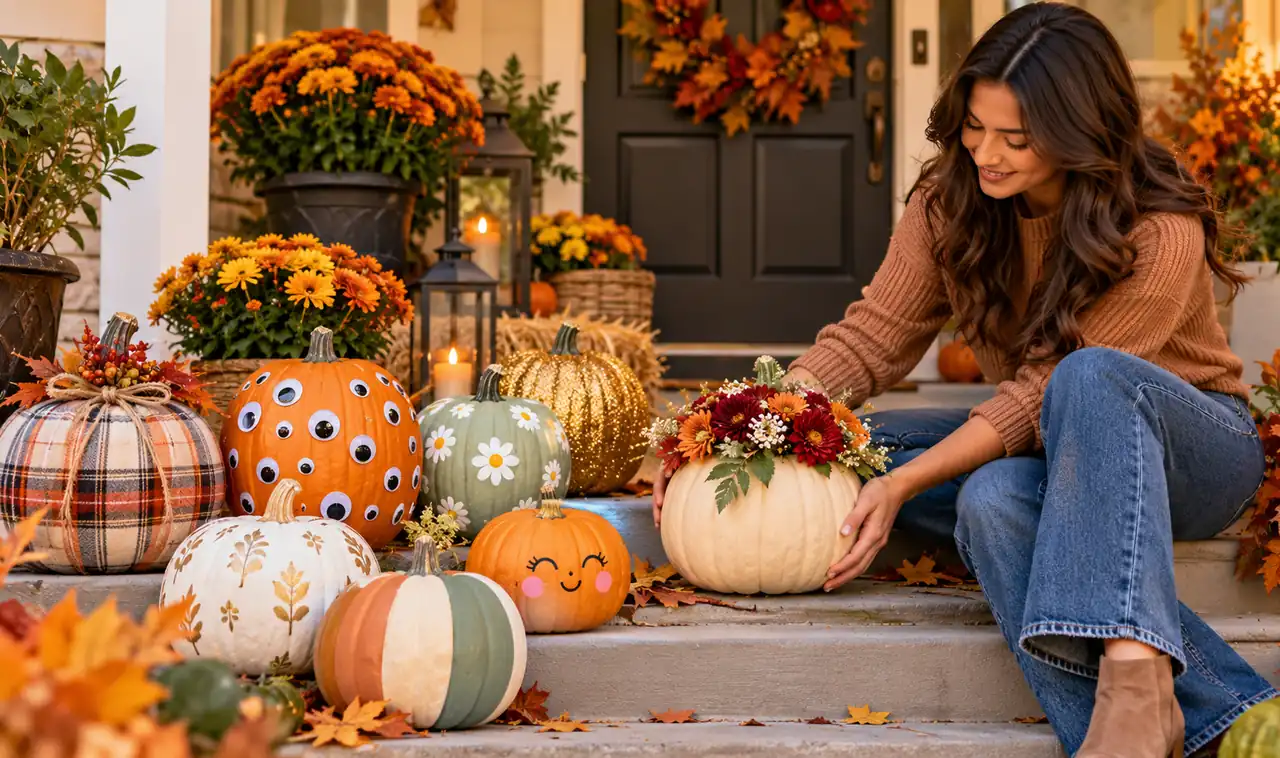
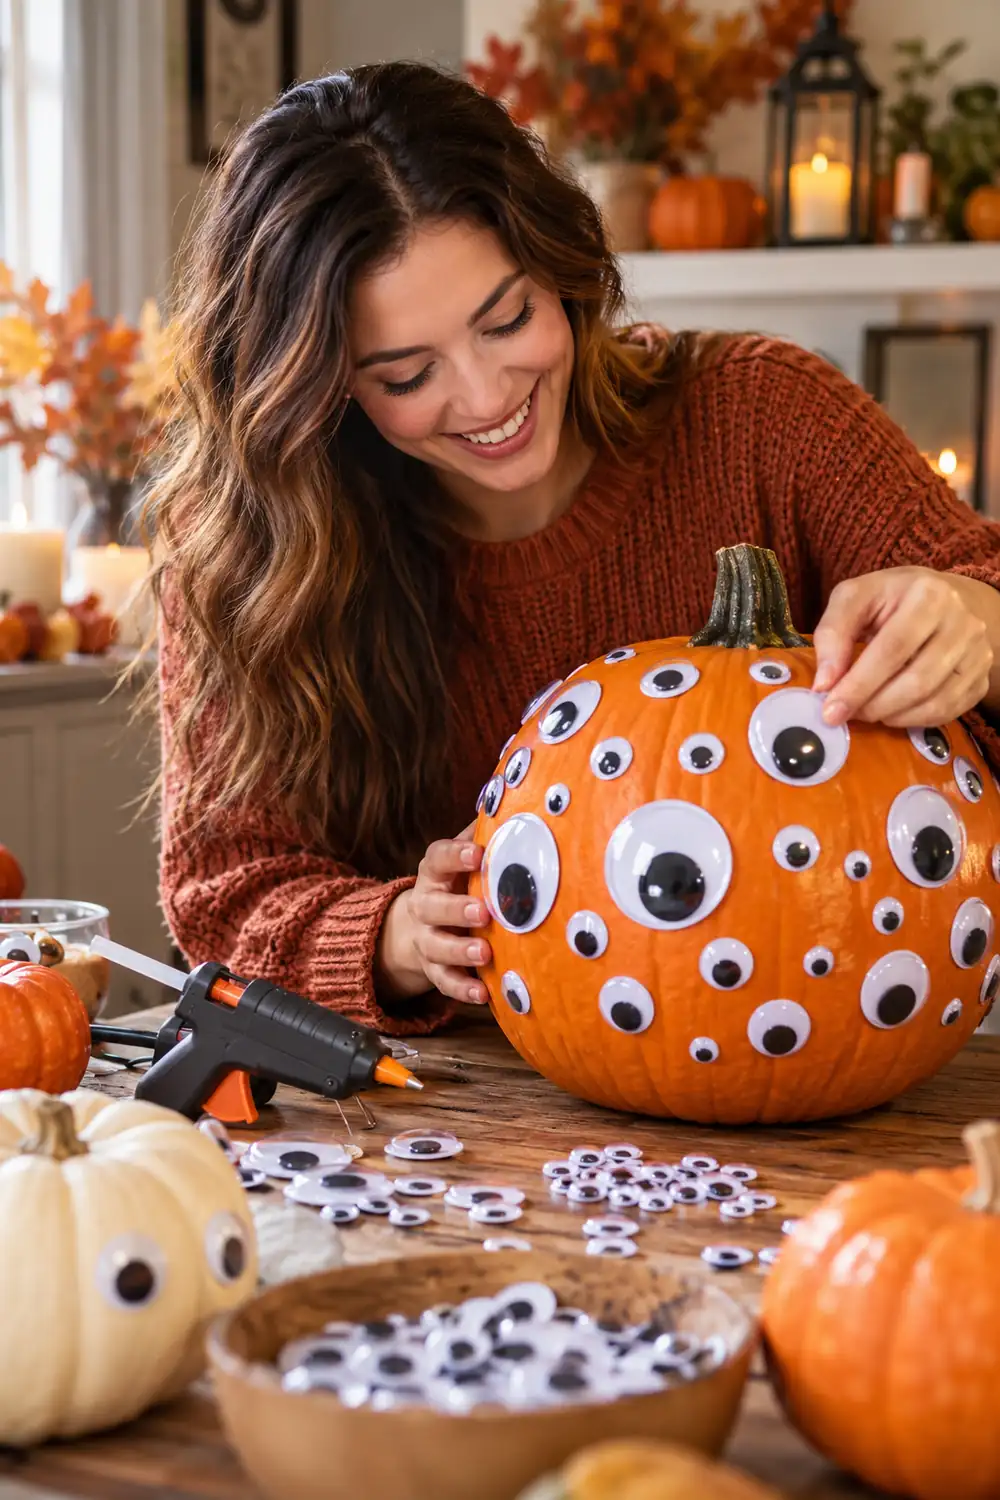
Nothing gets a laugh like a pumpkin covered in googly eyes. Hot glue them on in clusters of different sizes and the pumpkin instantly looks alive.
The comedy is in the numbers. Three eyes is funny. Thirty eyes is hilarious. Mix the jumbo craft eyes with the tiny ones for the best effect. A dab of hot glue holds each eye through rain and porch wind.
16. Fresh Flower Crown Pumpkins
Hot glue a ring of small fresh flowers around the stem and the pumpkin turns into a centerpiece. Mums, marigolds, and dried wheat all hold up for days without water.
Glue the heavier blooms first, then fill gaps with small filler flowers and leaves. Keep the arrangement tight to the stem so it reads as a crown, not a random pile. Mist it lightly each morning and it stays fresh through the weekend.
17. Succulent-Topped Pumpkins
This one looks like a florist made it. Hollow out just the very top of the pumpkin, tuck in damp moss, and nestle small succulent cuttings into the moss. No carving of a face, just a shallow planting pocket.
The succulents are not planted, just resting there, so lift them out and reuse them after Halloween. Spray the moss every few days. Echeveria rosettes in dusty blue and green are the prettiest against orange.
18. Chalkboard Paint Message Pumpkins
Chalkboard paint turns any pumpkin into a message board. Two thin coats, a day of curing, then write on it with chalk markers. “Boo,” “Trick or Treat,” or the house number all work.
Let chalkboard paint cure a full 24 hours before writing on it, or your first message becomes permanent.
Chalk markers give brighter lines than real chalk and still wipe off with a damp cloth. Keep a cloth nearby on Halloween night so the message can change as the candy bowl empties.
19. Painted Leaf Garland Pumpkins
Real pressed leaves glued around a pumpkin in overlapping rows look like fall decided to hug it. Collect flat leaves, press them in a book for two days, then Mod Podge them on starting from the bottom.
Overlap each row like shingles so no pumpkin skin peeks through. This pairs well with simple painted faces underneath for beginners who want a little character. If you are brand new to all of this, start with the gentle projects in these pumpkin-carving ideas for beginners before attempting layered work.
20. Ribbon and Twine Wrap Pumpkins
Wrap the pumpkin in wide ribbon following its ribs, crossing the strips at the top and bottom like a gift box. A dot of hot glue under each crossing keeps everything in place.
Twine gives a rustic harvest look, satin ribbon goes dressy. Tie a small bow at the stem and trim the ends on a diagonal so they do not fray. This takes about ten minutes per pumpkin once you get the rhythm.
No-carve pumpkin decorating ideas prove you do not need a knife to win Halloween. A little paint, some glue, and a free afternoon give you pumpkins that last for weeks and cost almost nothing. Pick the one that made you smile and start tonight.
📌 Save this list on Pinterest so it is waiting for you next October, and send it to the friend who always says they are not crafty. They are about to be.