
Knife carving has one big problem. Your hand decides how the pumpkin looks, and hands get tired, slip, and wobble. A drill does not have that problem. Every hole comes out clean and round, and when you light the pumpkin from inside, those holes turn into a pattern of glowing dots that looks far more skilled than it is.
That is the whole appeal of drill-carved pumpkin ideas. You mark dots, you drill dots, and the light does the artwork for you. No sawing, no fiddly little knives, no broken stems from pressing too hard. A basic power drill and a few twist bits are enough to start, and most of the designs below need nothing else.
This list walks through fifteen ways to use those dots, from starry skies to lace edges, so you can pick the pattern that matches your porch, your tools, and your patience level tonight.
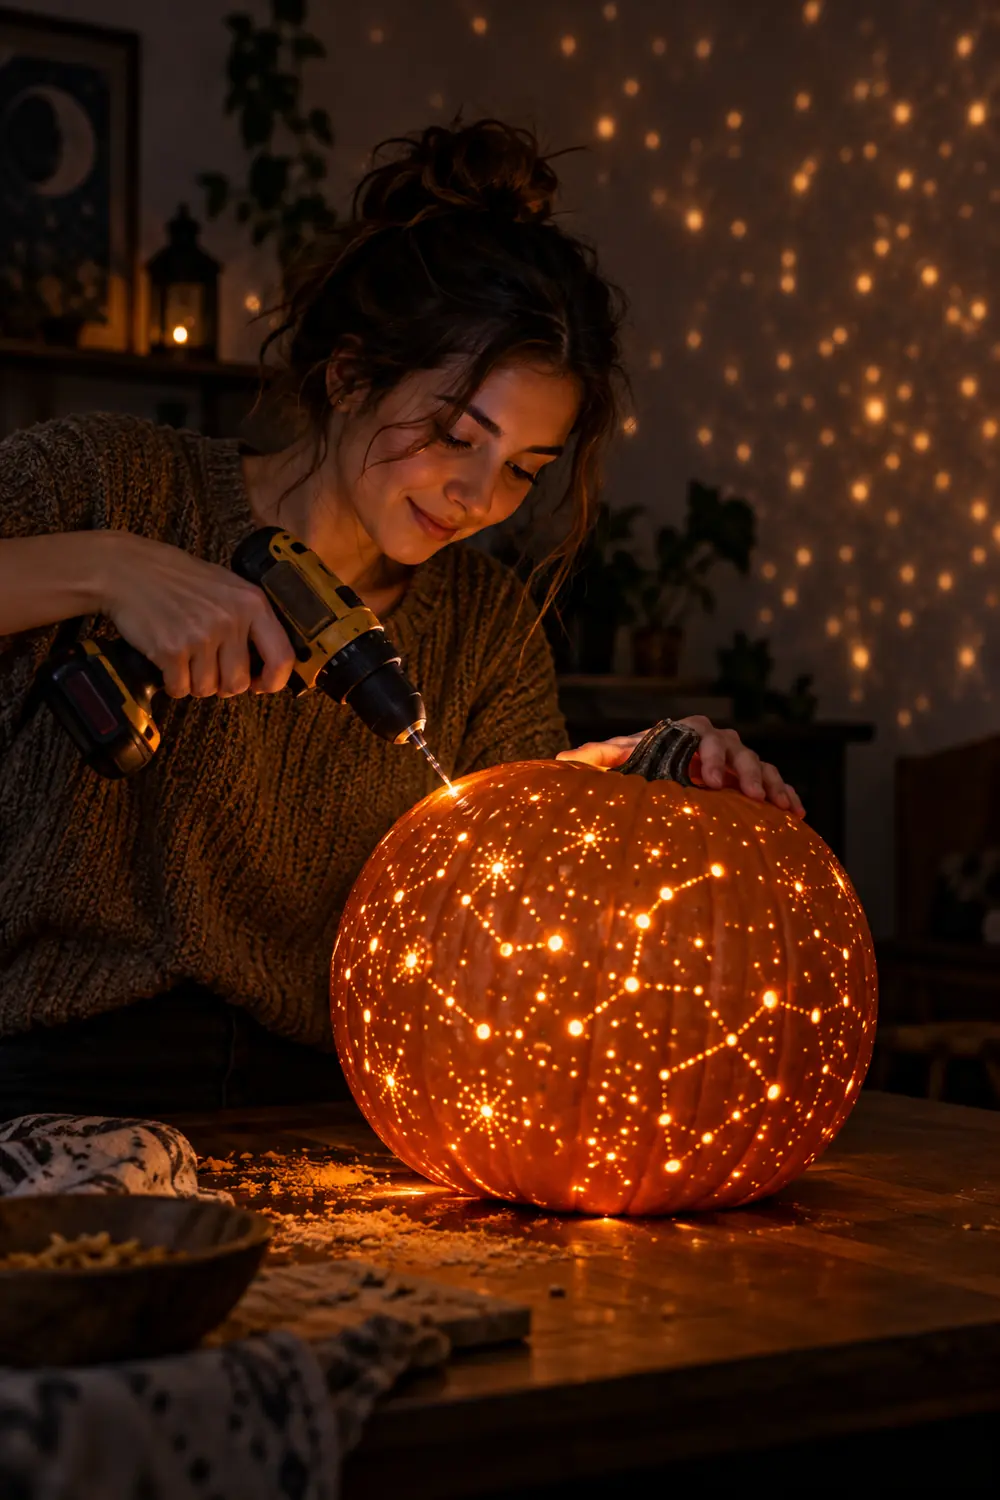
1. Drill a Starry Night Constellation
The easiest win on this list. Tape a printed star map, or just sketch random clusters, onto your pumpkin and drill small holes where each star goes. Use a 1/8 inch bit for most of them and a slightly bigger one for the bright stars.
When the candle goes in, the wall behind the pumpkin fills with pinpricks of light. Set it near a dark corner of the porch so the glow has somewhere to land. Keep the holes on the upper half if you want it to read as sky. Real tea lights give the prettiest flicker, but an LED puck works if the pumpkin sits where kids might bump it.
2. Try a Spiral of Graduated Dots
Start with one hole at the center of your design and spiral outward, switching to a larger bit every full turn. The holes grow as the spiral grows, which gives the pattern motion even in daylight.
This one looks best on a smooth, round pumpkin where the spiral can sit flat. Mark the spiral lightly with a washable marker first so your spacing stays even. A hand drill works fine here since you are only making twenty or so holes. Wipe the marker off with a damp cloth once the drilling is done so no stray lines show in daylight.
💡 Quick Tip
Drill halfway through the rind first and check the dot from outside. If the size looks right, finish the hole. It is easier to widen a hole than to shrink one.
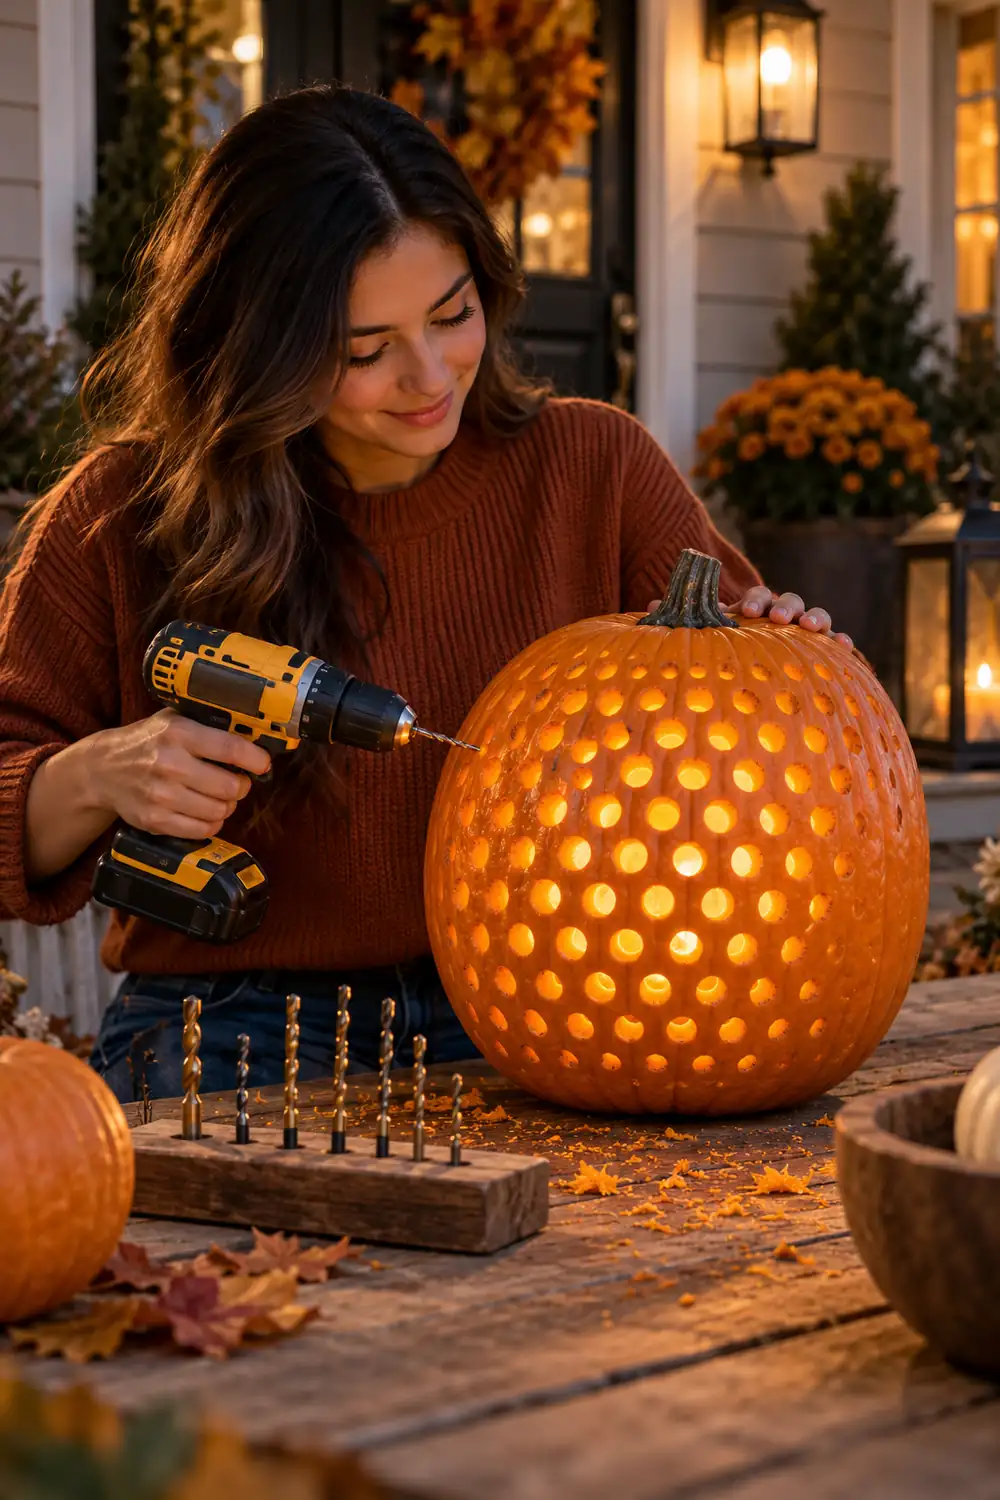
3. Build a Honeycomb Wall of Holes
Hexagons sound hard until you realize they are just dots in rows. Offset each row by half a spacing and drill through the marked points. The rind between the holes reads as a honeycomb.
Keep the bit size consistent, about 3/16 inch, so the pattern stays tidy. This design eats up a whole side of a large pumpkin nicely, which makes it a good choice for the biggest one on your steps. Scoop the wall a little thinner behind the pattern so the light pushes through the holes instead of getting trapped inside the thick rind.
4. Drill a Moon and Crescent Scene
Outline a crescent moon with widely spaced holes, then fill the rest of the panel with tiny scattered stars. The moon shape needs no carving skill, just a steady curve of dots.
Use the smallest bit you own for the stars so they read as background texture. One larger hole at the moon’s tip can hold a second light source if you want the moon to burn brighter than the sky. A second tea light tucked right under the moon gives that brighter spot without any extra wiring.
Bits worth having on the bench
5. Create a Lace Doily Edge
Drill two neat rings of tiny holes around the top of the pumpkin, then add a scalloped row beneath them. From across the yard it looks like lace trim.
This is the prettiest use of the smallest bit you own. The holes sit close together, so drill slowly and let the bit do the work instead of leaning in. A lace band pairs well with a painted pumpkin if you want a design that works in daylight too. Chalk paint in a soft white or sage gives the pumpkin a finished look before you ever pick up the drill. If you love how these look after dark, these glowing pumpkin-carving ideas have more night friendly designs in the same spirit.

6. Make a Flickering Candle Glow Pattern
Cluster your holes tightly in the center of the panel and thin them out toward the edges. The dense middle burns bright and the edges fade, which mimics a candle flame’s halo.
Follow this order and the fade comes out even:
Mark a 3 inch circle in the center and drill it with the 1/4 inch bit, holes touching.
Ring the circle with 3/16 inch holes spaced a finger width apart.
Finish with a loose outer ring of 1/8 inch holes, twice as far apart.
7. Outline an Animal With Dot Silhouettes
Pick a simple animal shape, an owl, a cat, a bat, and trace its outline with evenly spaced holes. The glowing dotted outline reads clearly from the sidewalk without any carving.
Print the shape at the right size, tape it on, and poke through the paper. Peel the paper away and drill through your marks. Simple shapes with thick bodies work best, so skip anything with thin legs. A bat with spread wings is a great first try because the whole shape is one bold outline with no fiddly inner details.
8. Drill a Harvest Leaf With Vein Holes
Draw a large leaf shape and drill along its veins instead of its edge. The veins glow while the leaf body stays dark, which looks like stained glass at night.
A maple leaf with five veins is the classic choice. Drill the veins with a medium bit and add a few tiny holes along the stem. It sits nicely beside carved pumpkins because the style is so different. Place it on the opposite side of the porch from your spookiest pumpkin so the display has a calm side and a scary side.
| Hand drill | Power drill |
|---|---|
| Quiet, no cord, full control of speed. | Fast, steady, better for thick rinds. |
| Best for small pumpkins and detail work. | Best for large pumpkins and big dot fields. |
| Tiring after fifty or so holes. | Keep it on low speed or the rind can crack. |
9. Drill Short Words and Messages
BOO, EEK, HI. Three letters made of drilled dots glow like a little marquee. Sketch the letters on paper first so the spacing looks right.
Keep it to three or four letters max. Longer words wrap around the pumpkin’s curve and get hard to read. This one is a hit by the front door where trick or treaters stop to look. All caps reads best because the straight lines of capital letters turn into clean rows of dots. If you are new to carving in general, start with these pumpkin-carving ideas for beginners before you pick up the drill.

10. Make an Owl Face From Perfect Circles
Two big drilled circles for eyes, one small one for a beak. That is the whole owl, and the circles come out cleaner than any knife cut.
Use the 1/4 inch bit for the eyes and the 1/8 for the beak. Center the face on the flattest part of the pumpkin so the circles do not stretch. Kids love this one because it looks friendly instead of scary. If the rind is very thick, drill the eyes in two passes, halfway from outside, so the bit does not wander on the second push.
11. Wrap the Pumpkin in a Lattice
Drill diagonal rows of holes that cross each other, like a pie crust lattice. The crisscross glows in a grid that looks woven.
Mark the diagonals with a ruler and a washable marker before you start. Keep every hole the same size or the weave looks uneven. This pattern uses a lot of holes, so save it for a night when you have time. Put on a podcast and treat it as a relaxing project, because rushing the grid is how the lines drift off course.
12. Drill a Spider Web in the Corner
A web is just straight lines radiating from one point, connected by curved rows of dots. Drill the spokes first, then the rings.
Put the web in the upper corner of the pumpkin and leave the rest plain, or add a second small web on the back. A plastic spider stuck on with a dab of hot glue finishes it. Press the spider’s legs flat against the rind for a minute so the glue grabs, otherwise it will slide off the first damp night.
Hole size controls the light. Small holes give a starry shimmer, big holes throw bold beams. Mix sizes on purpose and your pattern will have depth.
13. Fade Dots From Dense to Sparse
An ombre fade is pure drill territory. Start with holes nearly touching at the bottom and spread them wider as you climb, until the top has just a few.
The fade hides uneven spacing, which makes it forgiving for first timers. It also photographs beautifully, since the gradient reads even in a blurry phone shot. Shoot it from a low angle so the glowing fade fills the frame. For designs you can finish in one sitting, these last-minute pumpkin-carving ideas pair well with a quick ombre pumpkin on the same porch.
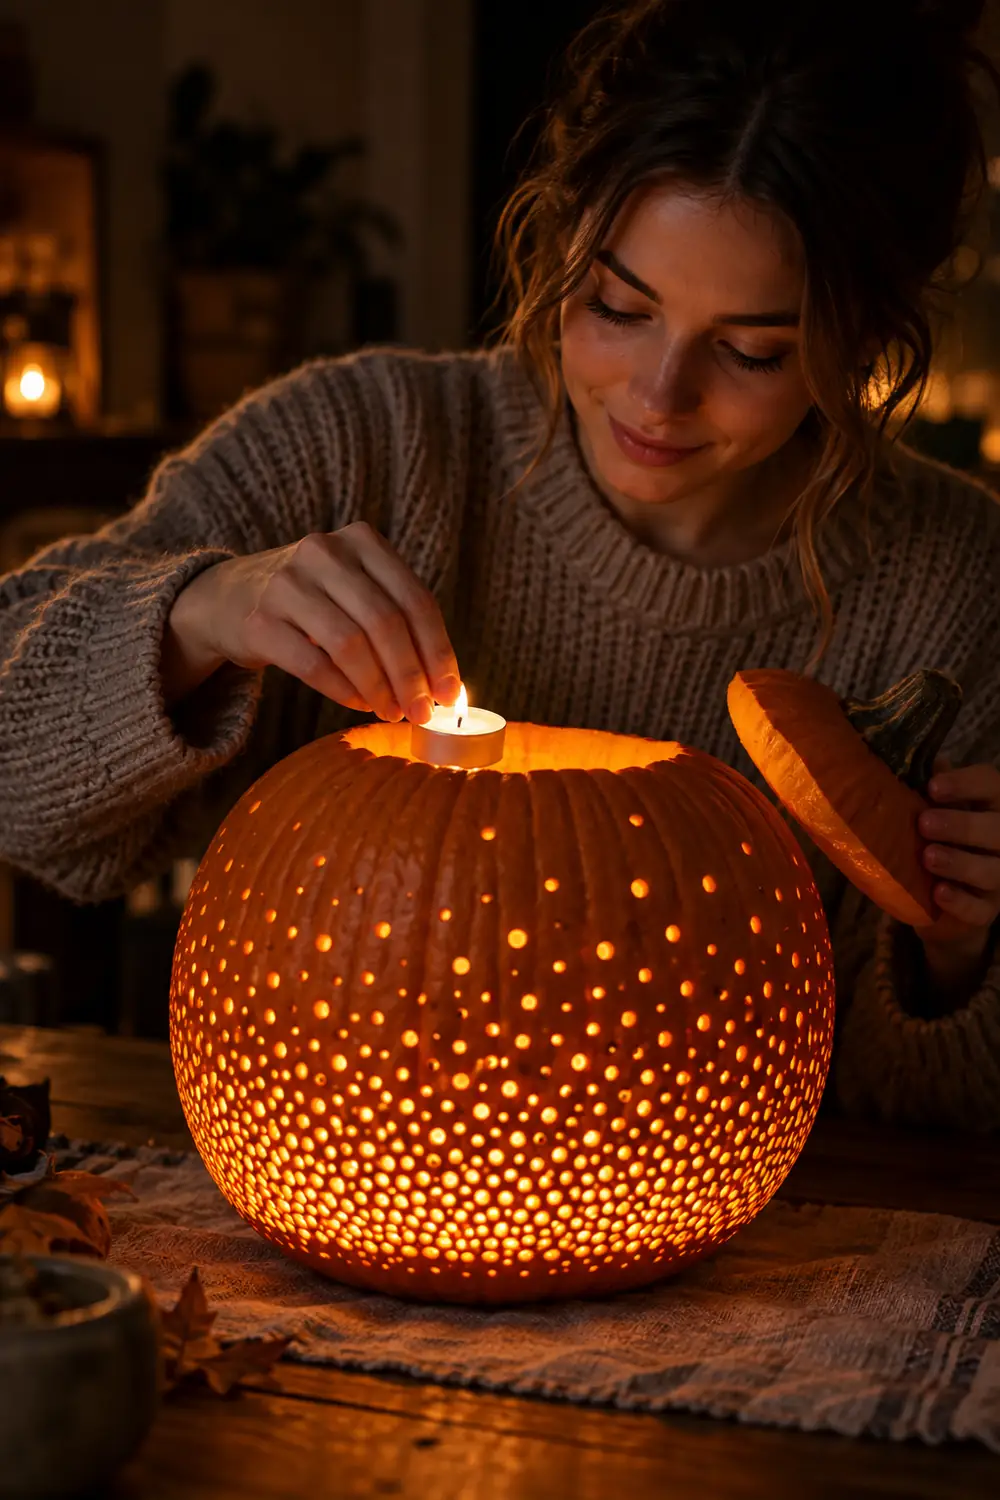
14. Turn a Small Pumpkin Into a Table Luminary
Mini pumpkins drill fast and make great table lights. Cover one in a tight all over dot pattern and set a tea light inside.
Line three of them down the middle of a dinner table or along a windowsill. Because they are small, the glow stays soft instead of harsh. Scoop them thin so the light shines through the holes cleanly. Battery tea lights are the safe pick here since real flames sit close to the thin rind.
15. Mix Drill Dots With a Classic Face
Carve a simple triangle eye face with a knife, then surround it with a drilled star field. The mix of techniques looks richer than either one alone.
Do the knife work first and the drilling second, so sawdust does not get into your cut lines. This is a good final project once you have tried a few pure dot designs. The face gives it personality and the dots give it the wow factor. Wipe the pumpkin down with a dry cloth before you light it so the dust does not dull the glow.
These drill-carved pumpkin ideas reward patience more than skill. The patterns that look the most impressive are usually just the same hole repeated with care, so pick one idea, mark your dots, and let the light do the rest. Save this list for the next time you want a pumpkin that glows like it was planned, because it was.