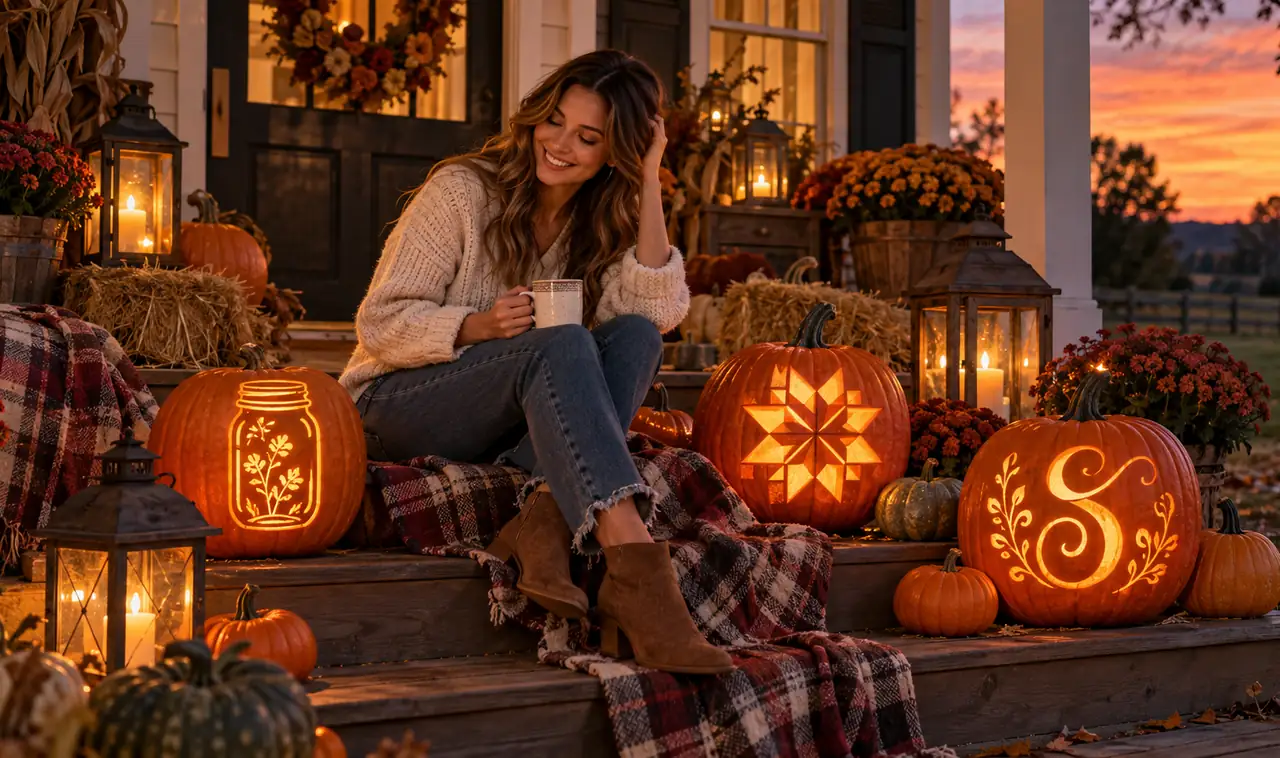
Your porch already has the mums, the hay bale, and the plaid blanket on the rocker. What it is missing is light. A carved pumpkin does what no store-bought sign can do: it glows. And farmhouse carving is the easiest style to get right, because it runs on simple shapes and honest words instead of fussy detail.
These Farmhouse Pumpkin-Carving Ideas stick to designs you can read from the sidewalk. Think script lettering, barn quilt stars, mason jars, and roosters. Nothing here needs an art degree. A basic carving kit plus a drill covers almost every idea on the list, and most of them take less than an hour once the pumpkin is cleaned out.
Work through the list and pick the ones that fit your porch. One strong glowing pumpkin beats five plain ones every time, so start with the design that made you smile first and keep the carving kit handy, because one pumpkin always leads to another.
1. Carve a Welcome Script Pumpkin for the Front Steps
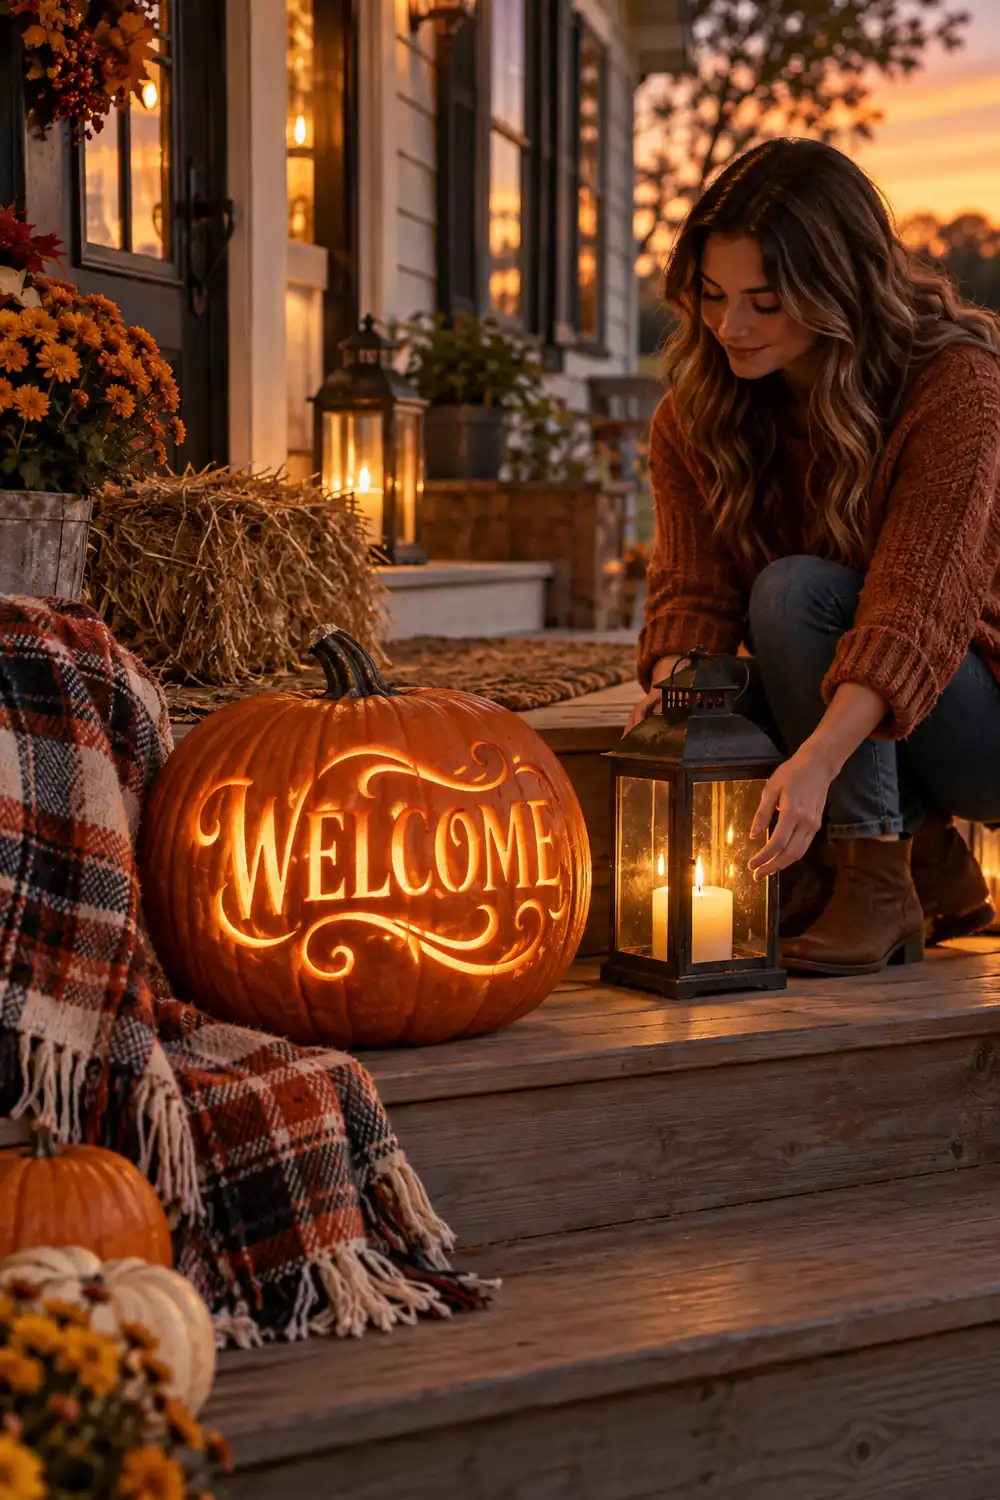
The mail carrier stopped at my gate last October just to say the glowing welcome pumpkin made her evening. That is the power of one word, cut well.
Pick your widest, flattest pumpkin and print WELCOME in a big script font. Tape the paper on, poke the outline with a nail, then cut along the dots with a fine saw. Keep the letters connected so no piece falls out. A battery candle inside gives a steady glow with no fire worry. Set it on the bottom step where guests look down as they climb.
- ▸Choose the flattest side of the pumpkin for the lettering.
- ▸Print letters at least three inches tall so they read from the walk.
- ▸Leave small bridges of skin inside loops like O and E.
2. Cut a Plaid Flannel Pattern Into a Pumpkin
Plaid looks hard until you realize it is just straight lines. The real frustration comes from freehanding, so do not. Wrap strips of painter’s tape around the pumpkin in a grid, then cut along every other strip to open the lines. Peel the tape and the plaid appears, crisp and even.
Pick a pumpkin with shallow ribs, because deep ribs fight straight lines. Dark orange pumpkins read best at night. White pumpkins look sharp in daylight but glow less after dark, so choose based on when your porch gets seen most.
💡 Quick Tip
Cut the vertical lines first, then the horizontal ones. The grid stays square and the tape does not shift under your hand.
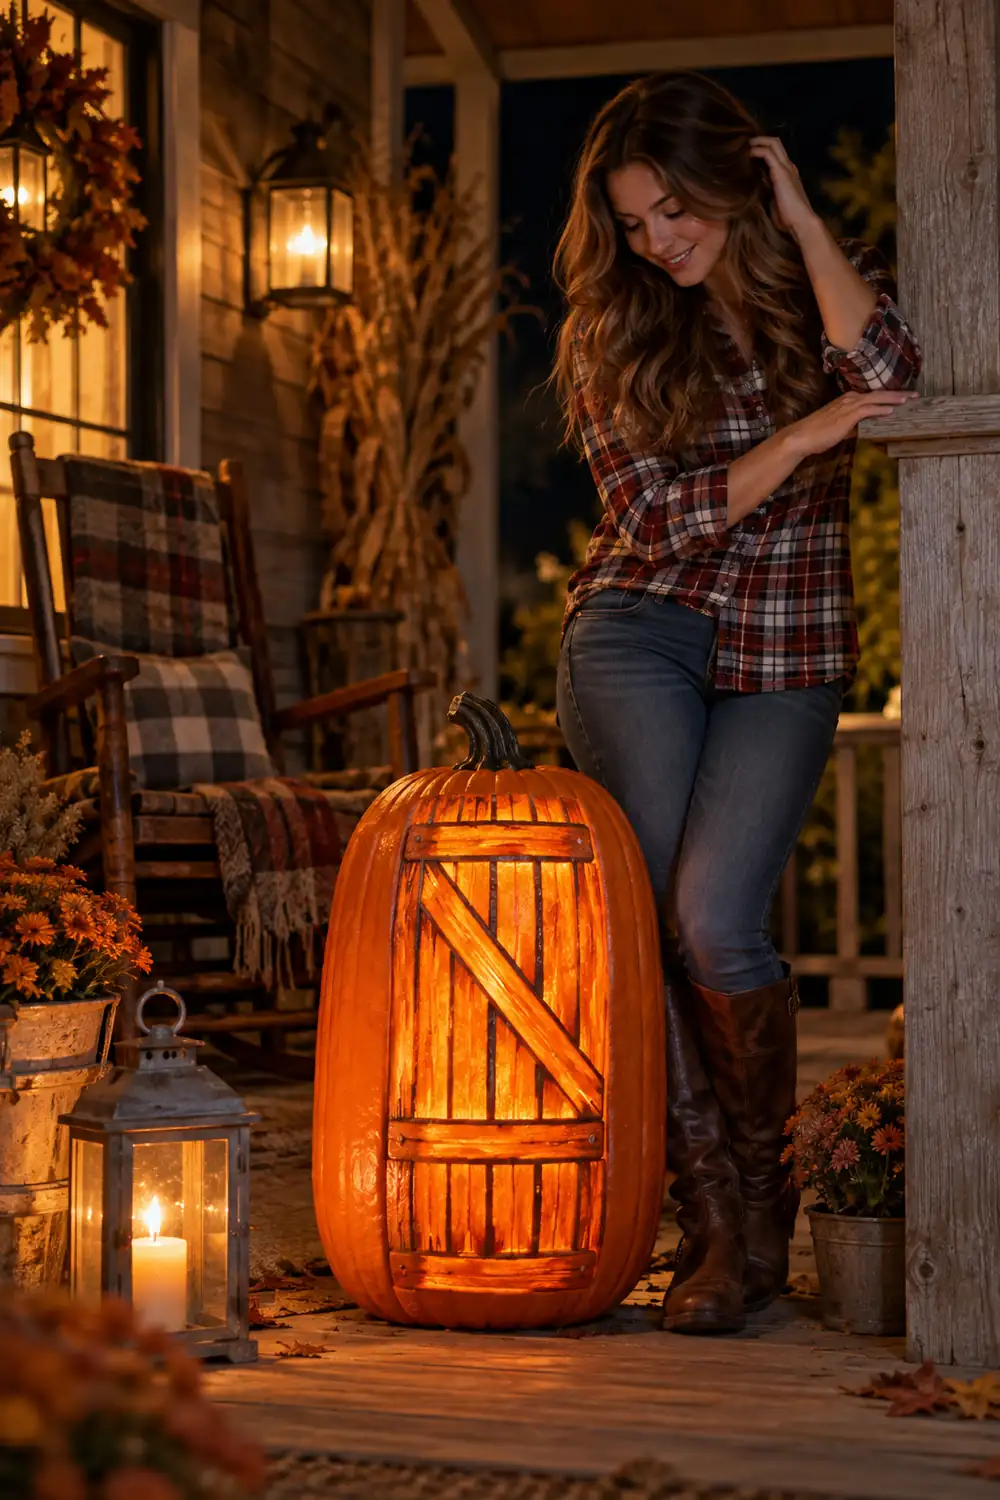
3. Carve Faux Barn Door Planks on a Tall Pumpkin
The payoff here is instant curb appeal. A tall pumpkin becomes a mini barn door with nothing but vertical cuts, and drivers slow down to look.
Mark vertical lines down the pumpkin and cut long thin slits, leaving the skin between them. Add two short horizontal cuts near the top and bottom for the cross braces. If you are feeling brave, cut a shallow X across the middle panel. From ten feet away it reads exactly like a barn door. Set it beside the real door for the full effect.
4. Cut a Mason Jar Silhouette That Glows
Draw a mason jar shape, wide mouth and all, then cut it out in one piece. The trick is the lid: leave a thin bridge of skin across the top so nothing flops or tears.
Inside the jar shape, poke tiny drill holes in a scattered firefly pattern. When lit, the jar glows and the dots sparkle like something is trapped inside. It sits beautifully next to hay bales and lanterns. For the rest of your porch styling beyond carving, these fall pumpkin decor ideas round out the whole look.
5. Carve a Rooster Silhouette for Farm Charm
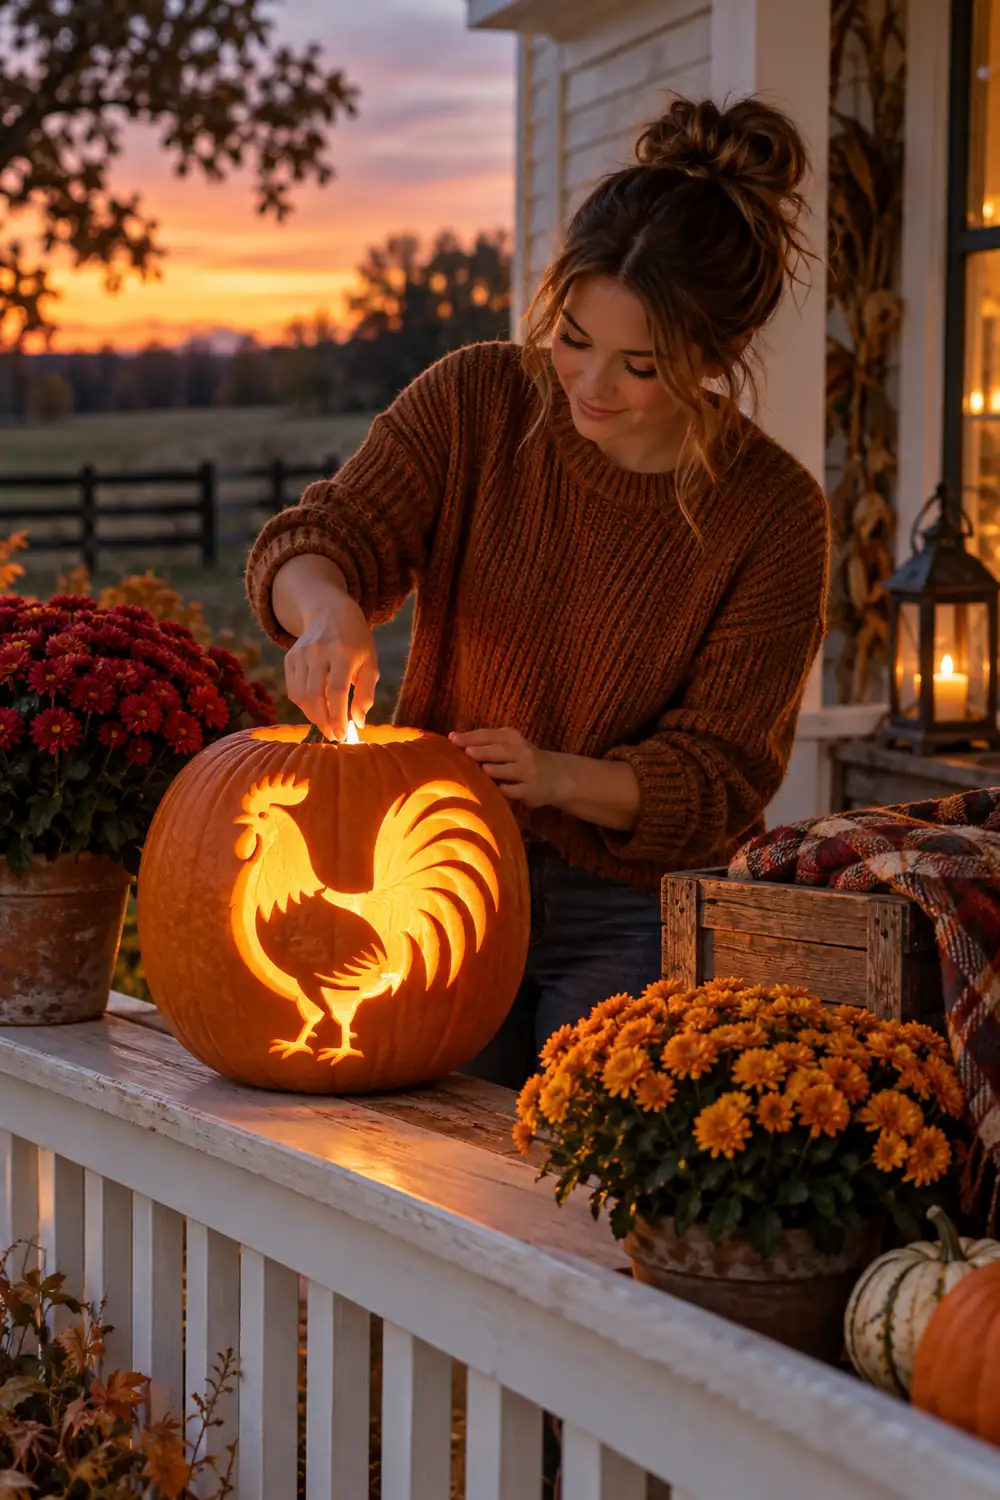
Look at the shape first: big tail feathers become bold arcs, the comb becomes a row of triangles, the beak a single sharp cut. The rooster is the farmhouse mascot, and it carves cleaner than you would expect.
Print a simple side-profile rooster and tape it on. Cut the outline as one connected shape so the whole bird holds together. Leave the eye as uncut skin so it shows dark against the glow. Place this one near the door where the silhouette reads clearly at dusk.
6. Cut Sunflower Faces Along the Porch Rail
One rule makes this work: one sunflower per railing post, no more. The repetition is the whole design.
Cut a circle face with petal notches around the edge, then drill a ring of small holes in the center for the seeds. Line them along the rail and they march down the porch like a border. At night each face becomes its own little sun.
What to grab first
7. Carve Your House Number Into a Pumpkin
Most people carve numbers too small and nobody can read them from the street. That defeats the entire purpose.
Go big. One digit per pumpkin, at least six inches tall, cut in a bold block font. Line up two or three pumpkins by the mailbox or along the walk. Guests find your house faster and delivery drivers stop guessing. Use printed stencils if your handwriting wobbles. This is the most practical carve on the list, and it looks intentional rather than crafty.
8. Whitewash First, Then Carve for a Distressed Look
People assume whitewash hides the carving. It does the opposite. The pale paint makes every cut edge stand out, and the glow turns warm and soft instead of bright orange.
It also stretches your decorating season. A whitewashed pumpkin fits right into November, long after the scary faces feel out of place. If you fall in love with the pale look, these no-carve pumpkin decorating ideas show how to get it with paint alone and no cutting at all.
Brush on thinned white paint, then wipe most of it off with a rag.
Let the pumpkin dry fully, at least two hours in open air.
Carve your design, then light it and enjoy the softer glow.
9. Carve a Vintage Truck Loaded With Mini Pumpkins
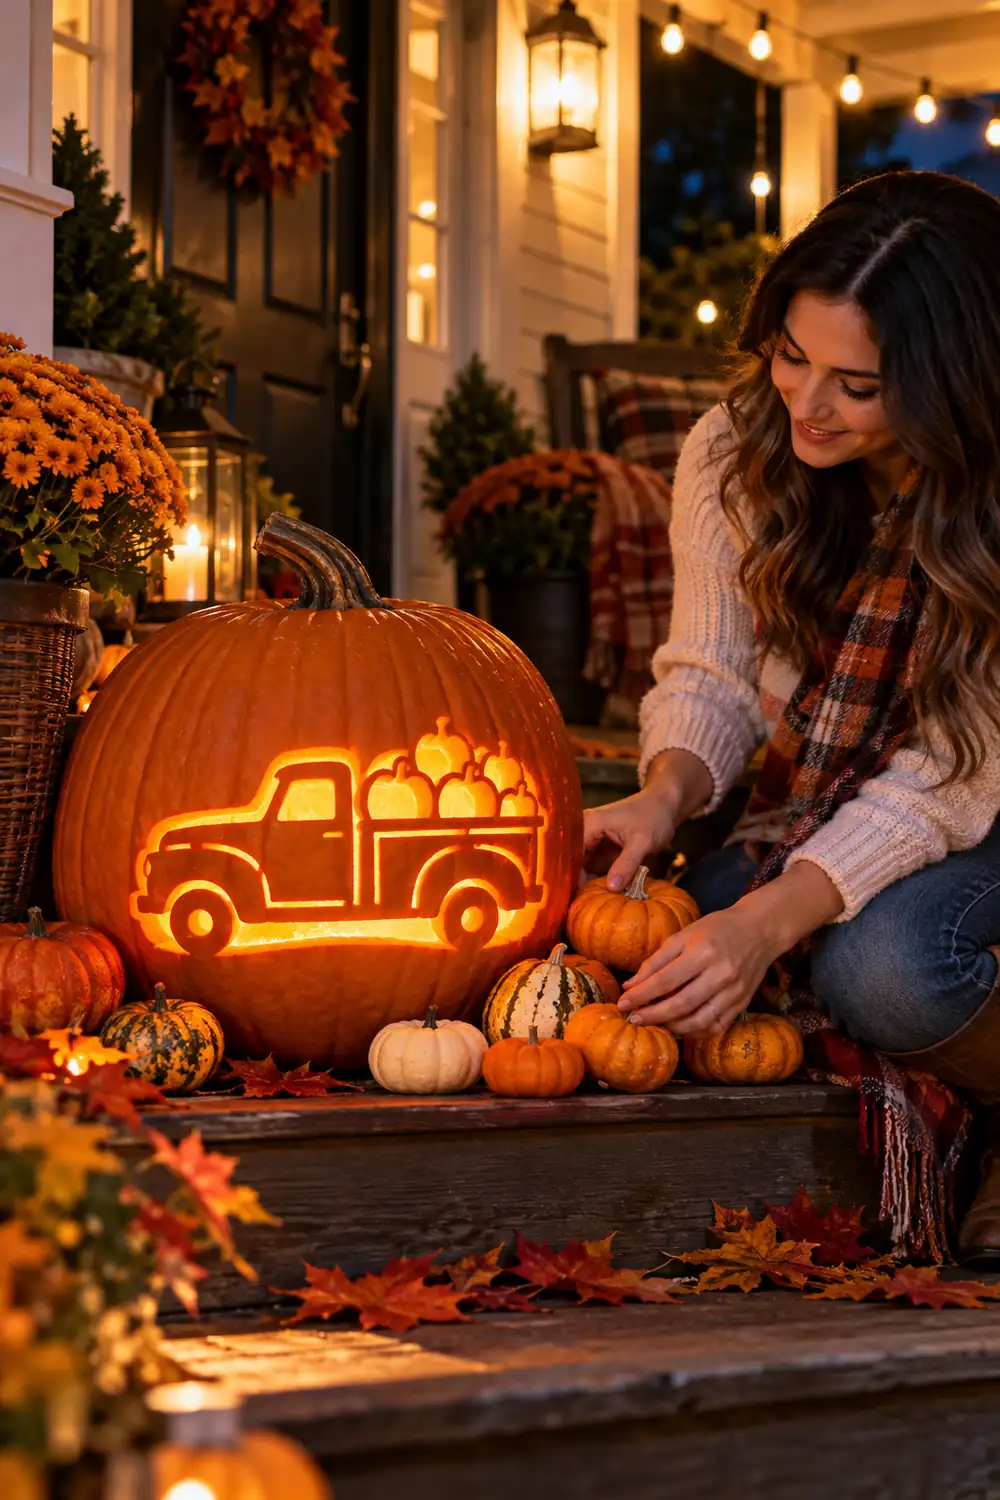
This is the showpiece carve. A vintage pickup silhouette with tiny pumpkins piled around it gets more photos than anything else on the porch.
Print a simple truck side profile and cut it as one connected shape on your largest pumpkin. Then arrange three or four real mini pumpkins in front of the carved truck, like cargo spilling out of the bed. The mix of carved and real pumpkins gives the scene depth. Put a lantern behind it so the truck throws a long shadow across the steps.
10. Cut Barn Quilt Stars Into a Pumpkin
A full barn quilt square is fussy. A single star is not, and it gives you the same farmhouse signal.
Cut one eight-point star in the center of the pumpkin and drill small dots along each point. It reads as quilt-inspired without the geometry headache. Compare the effort honestly: the single star takes about twenty minutes, while a full quilt pattern takes two hours and a ruler. Pick the star and spend the saved hour on the porch swing. A drill makes the dotted outline fast, and the star stays crisp even if your hand shakes a little.
11. Carve a Windmill Silhouette for a Prairie Feel
I drove past a farm at dusk once where the windmill blades were turning against a pink sky, and I have wanted that shape on a pumpkin ever since. It carries the whole prairie in one outline.
Keep it simple and it will glow beautifully. A detailed scene with fences and barns turns muddy at night, while a clean tower with four blades stays readable from the road.
| Simple windmill | Detailed windmill scene |
|---|---|
| Tower plus four blades, one connected cut | Tower, blades, fence, barn, and clouds |
| About 30 minutes, beginner friendly | Two hours, needs a steady hand |
| Clean glow, readable from the street | Pretty up close, blurry from far away |
12. Cut Leaf Vein Patterns for a Quiet, Natural Look
People assume leaves are boring next to faces. On a farmhouse porch, a carved oak leaf with fine vein details looks more expensive than any grin.
Draw one large leaf and cut the outline, then carve the center vein and side veins as shallow cuts that do not go all the way through. The shallow cuts catch the light differently and the leaf seems to glow from within. For more gentle designs the kids can help with, browse these cute pumpkin-carving ideas next.
13. Carve a Lantern Pumpkin With Cut-Out Panels
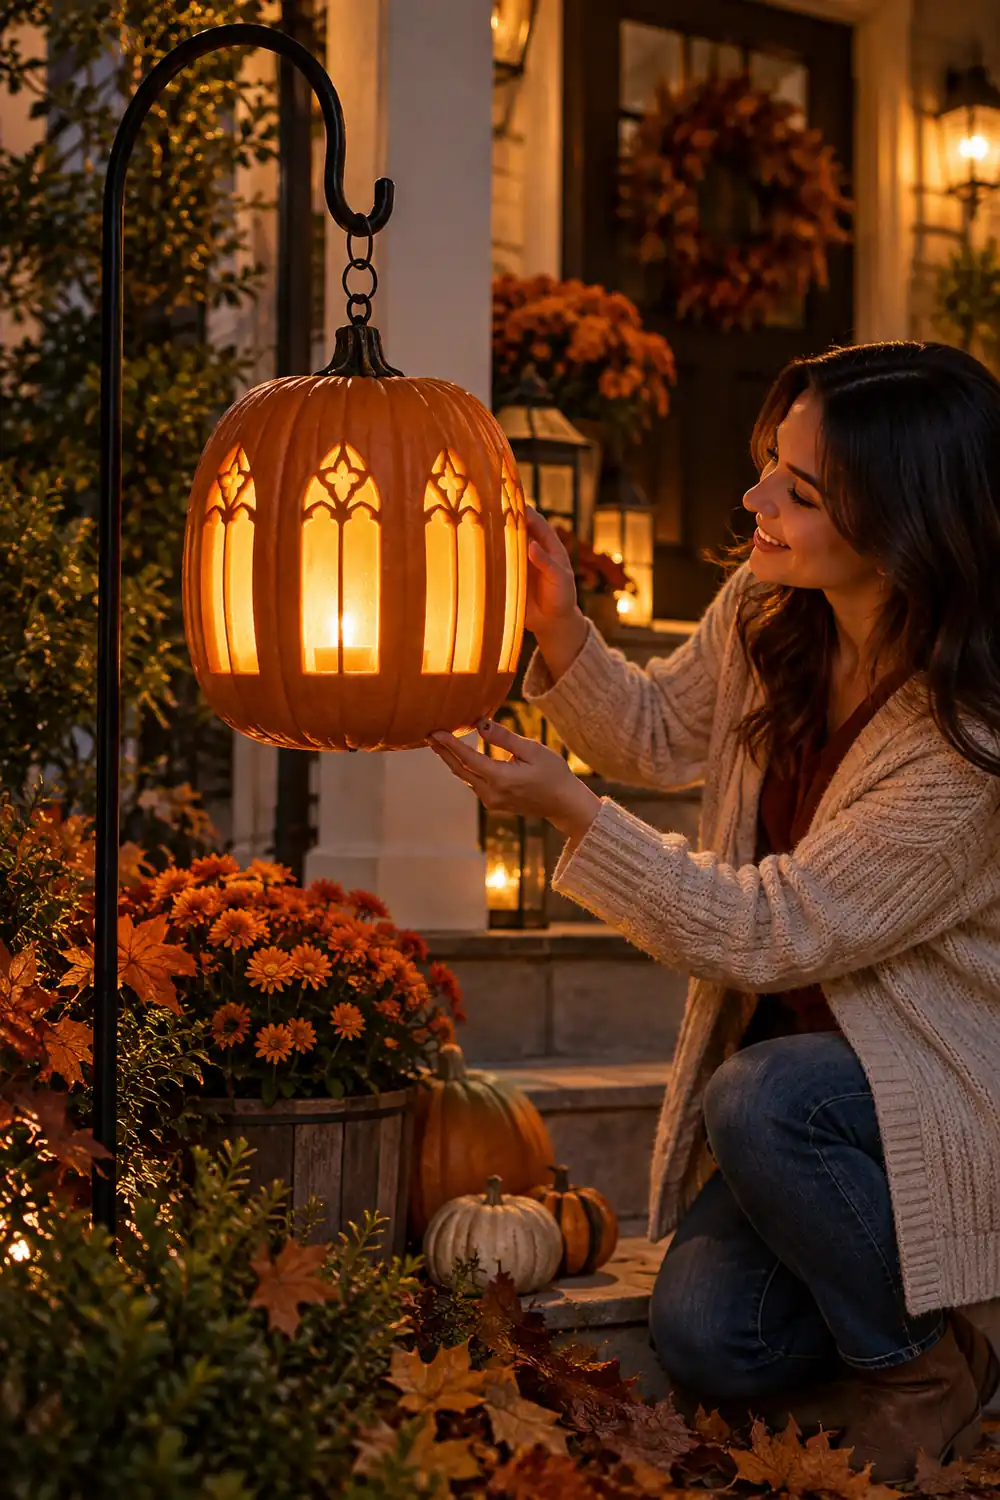
Cut four tall window panels around the pumpkin, leaving thick posts of skin between them. It stops being a jack-o-lantern and becomes a real lantern.
The posts keep it sturdy for weeks, which matters when October weather turns. Put a jar candle inside instead of a tea light so the light fills each panel evenly. If the stem is strong, hang it from a shepherd’s hook by the steps. Otherwise set it on a wooden crate with a plaid runner underneath.
14. Try a Wheat Sheaf Design for Harvest Season
Wheat looks delicate, which scares people off. The fix is to carve it big and keep it bold.
Cut one sheaf on a single side of the pumpkin. Make the stems long straight cuts and the grain heads short angled slashes. From the street it reads as texture rather than detail, which is exactly right for harvest season. Pair it with dried corn stalks tied to the porch posts and the whole entry feels like a farm stand.
15. Carve “Gather” in Block Letters for the Porch
Thanksgiving week, the porch needs one word, and this is it. GATHER in tall block letters across the widest pumpkin you can find.
Block letters are forgiving because every cut is straight. Space the letters wide so the skin bridges stay strong through wind and rain. Light it the night everyone arrives. It is the last thing guests see when they leave, and the first thing they mention the next day.
Start with one pumpkin this weekend and see how the porch feels at dusk. That single glow has a way of pulling the whole farmhouse look together, mums and hay bales included. These Farmhouse Pumpkin-Carving Ideas work because they stay simple: bold shapes, warm light, and words that mean something. Save this list for next October, when the pumpkins hit the stands again and you are ready to carve a fresh batch.
📌 Pin this for later: save this list to your fall decor board so it is ready when pumpkin season rolls back around.