Hang wall decor to make the room feel finished
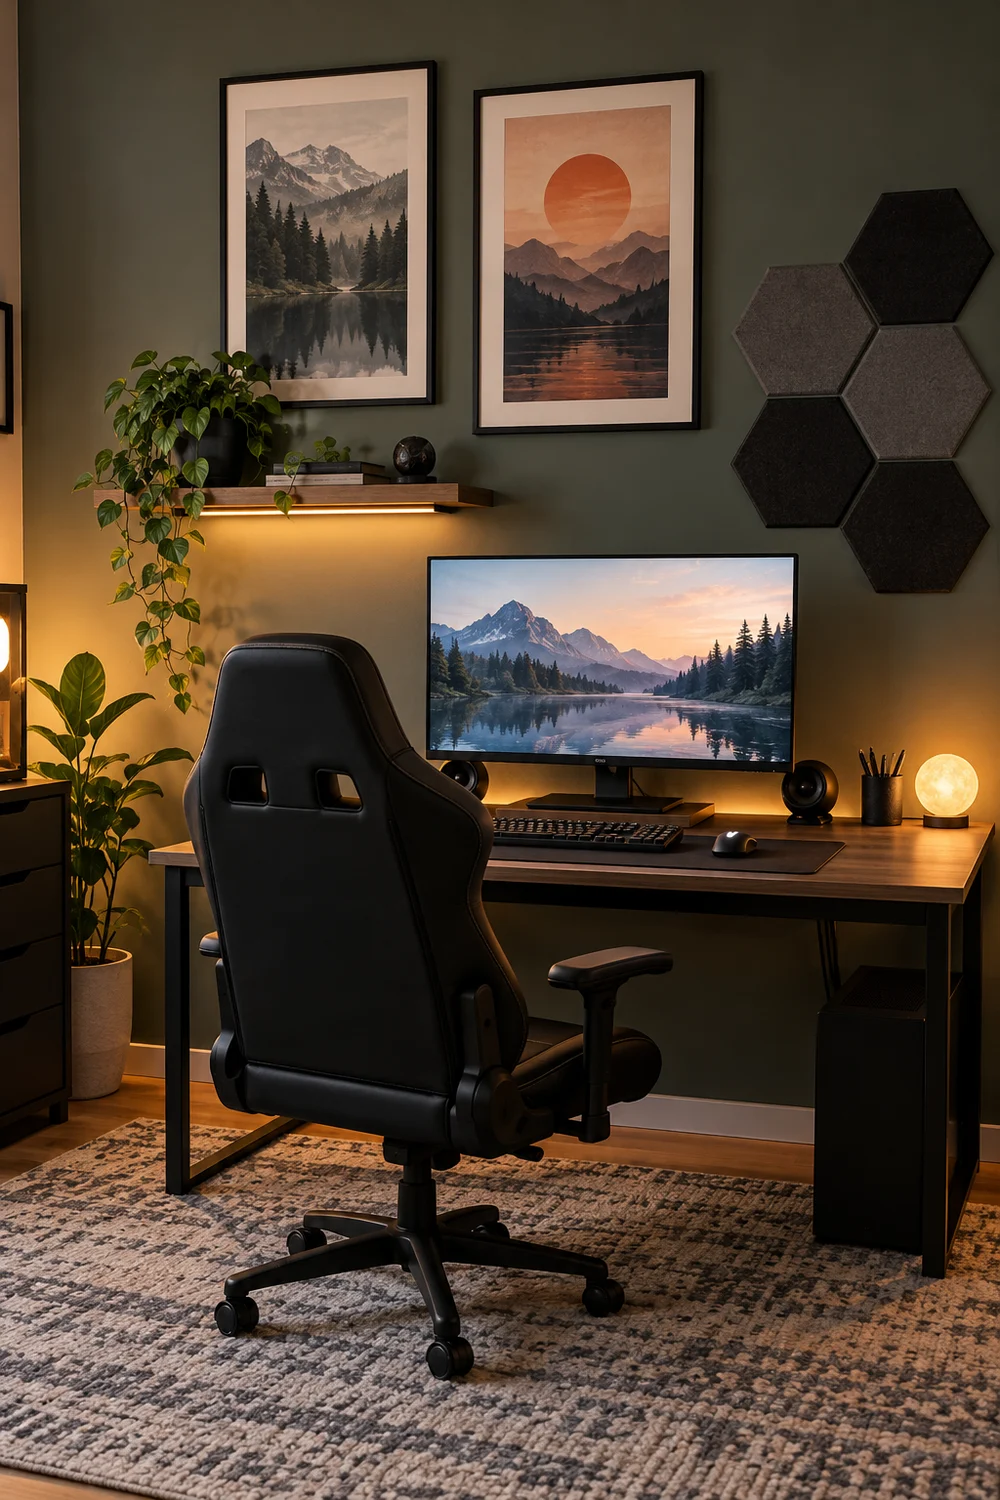
Three pieces on one wall look planned. Seven look messy. Lay your posters, frames, or a small shelf on the floor first and move them around until the spacing feels even, about 2 inches between pieces. Then hang the center of the group at roughly 57 inches from the floor, which is eye level for most people standing. Use removable adhesive strips if you rent. Press each strip for 30 seconds before you let go. Stand back and check that everything is level.
Add a headset hook and simple storage
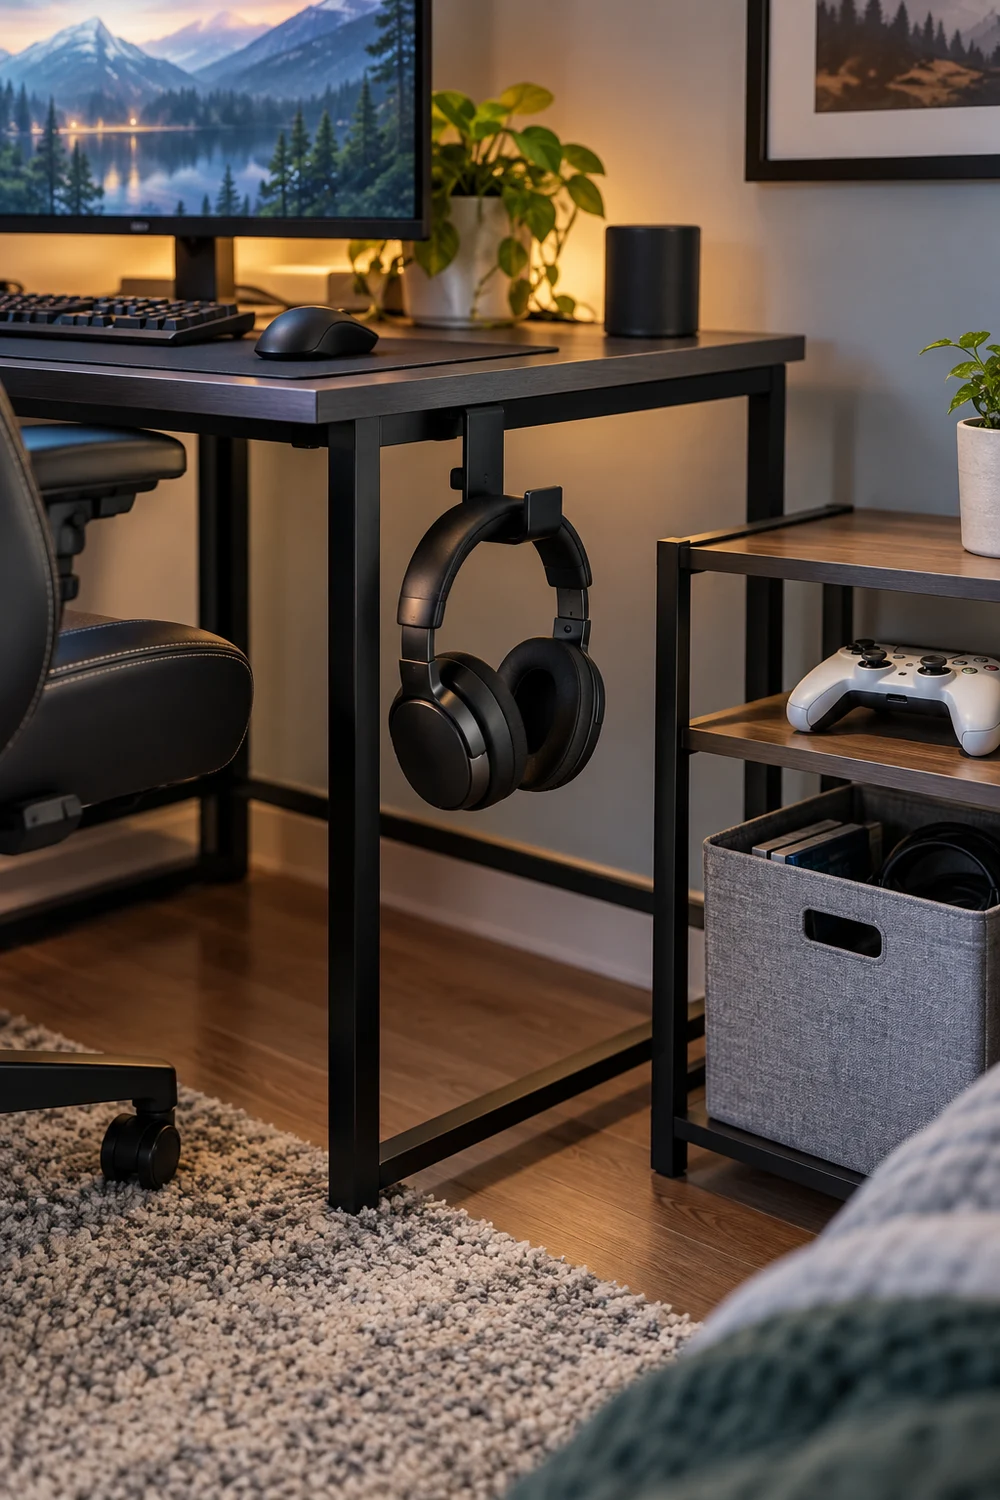
Headsets on the desk surface eat space and get knocked off. Stick a hook to the side of the desk or the monitor stand and hang the headset there. Add a small basket or a 2-shelf cube for controllers, chargers, and games. Keep both within arm’s reach of your chair.
Test your budget gaming room setup and fix what feels off
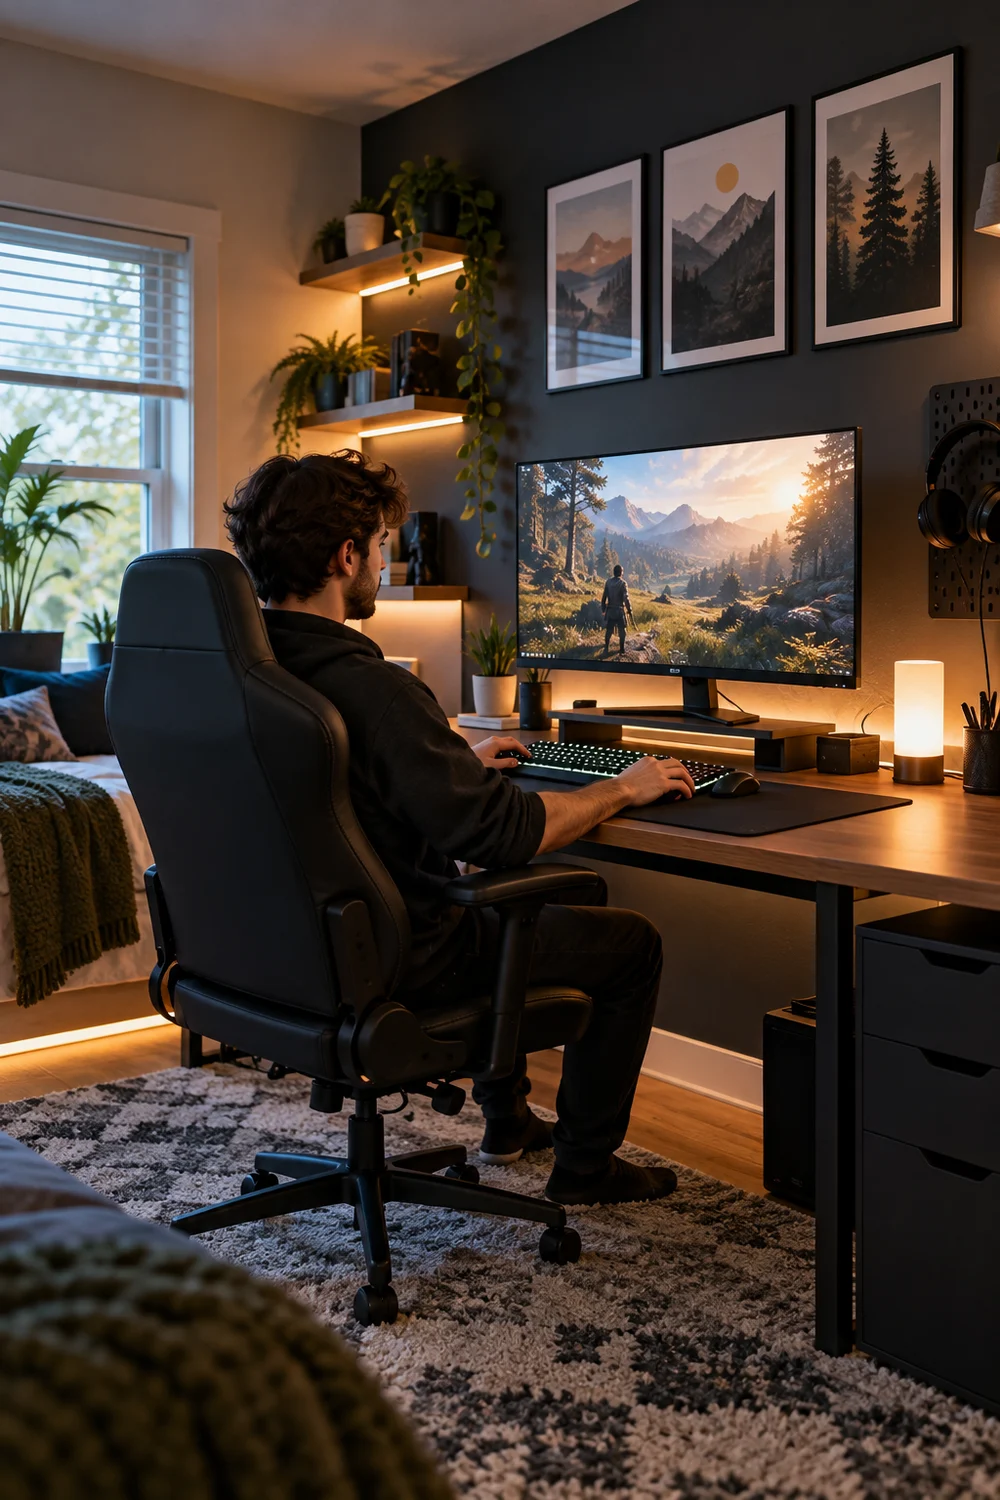
Play for a full 20 minutes before you call it done. A room that looks good for a photo can still feel wrong after one match. Sit in your normal position and check:
- Does any light reflect on the screen?
- Do your wrists rest flat on the desk?
- Can you reach the headset hook without leaning?
- Are all cords tucked out of your foot space?
- Does the LED glow feel too bright at night?
Fix one thing at a time, so you know which change worked.
Troubleshooting Your Budget Gaming Room Setup
Budget Gaming Room Setup FAQs
- Tape measure
- Desk, 47 to 55 inches
- Ergonomic chair
- Monitor stand
- Phillips screwdriver
- LED light strips
- Surge protector
- Cable clips and Velcro ties
- Headset hook
- Wall decor
- Painter’s tape and damp cloth
- Split your $500 into four buckets
- Measure the room first
- Clear the space and wipe the floor
- Assemble a sturdy desk
- Place the desk away from glare
- Adjust your chair height
- Raise the monitor to eye level
- Tame cables with clips and ties
- Stick LED strips behind the desk
- Hang wall decor
- Add a headset hook and storage
- Test your setup and fix what feels off
You Built It
You now have a comfortable, good-looking gaming corner, and you stayed under $500. Your desk is steady, your screen is glare-free, and your cables are out of sight. Next, try adding a small rug or a second shelf to make the room feel even more like yours. Save this budget gaming room setup to your Pinterest board so you can come back to it when you are ready to upgrade.
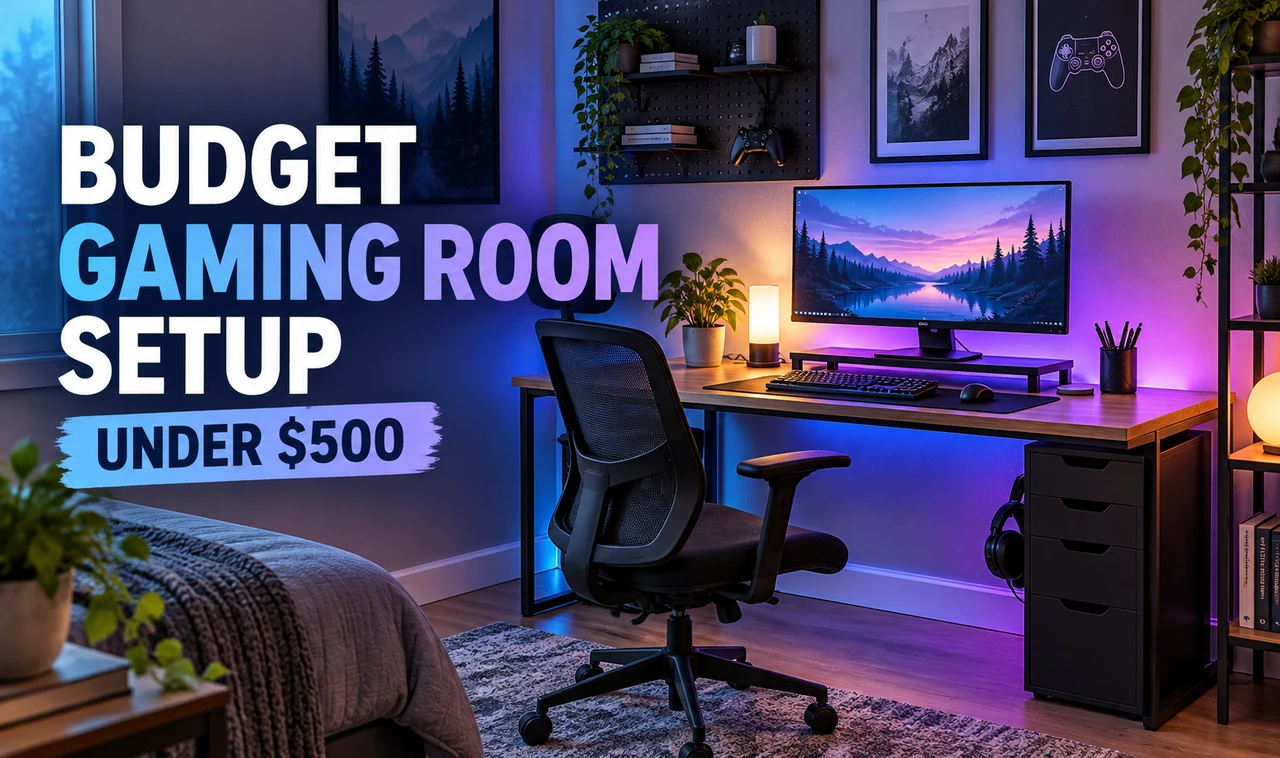
A good gaming room feels like a $2,000 job. You scroll past photos of glowing desks and giant chairs, then look at your bank account and close the app. I have been there. The good news is that a great room depends more on order and layout than on price. This guide shows you how to pull off a budget gaming room setup for under $500, even in a spare bedroom or a corner of the living room. You will pick a desk and chair, add lights, hide the cables, and hang decor that makes the room feel finished. It works because you spend money on the parts your body touches first, then add the looks. That way you never buy cool lights for a desk that hurts your back. One note before you start: this guide assumes you already own a console or PC. The $500 covers the room only. Plan on about 4 hours of hands-on work, spread over a weekend. Nothing here needs special skills. Grab a screwdriver, clear a Saturday, and get started.
- Tape measure (or a phone measuring app)
- Notepad and pen
- Desk, 47 to 55 inches wide
- Ergonomic or gaming chair
- Monitor stand or riser
- Phillips screwdriver
- LED light strips (USB or plug-in)
- Surge-protector power strip
- Cable clips and Velcro ties
- Headset hook
- Wall decor (posters, frames, or a shelf)
- Painter’s tape and a damp cloth
- Split your $500 into four buckets
- Measure your room before you buy anything
- Clear the space and wipe down the floor
- Assemble a sturdy desk
- Place the desk away from window glare
- Adjust your chair to the right height
- Raise your monitor to eye level
- Tame the cables with clips and ties
- Stick LED light strips behind the desk
- Hang wall decor to make the room feel finished
- Add a headset hook and simple storage
- Test your setup and fix what feels off
Split your $500 into four buckets
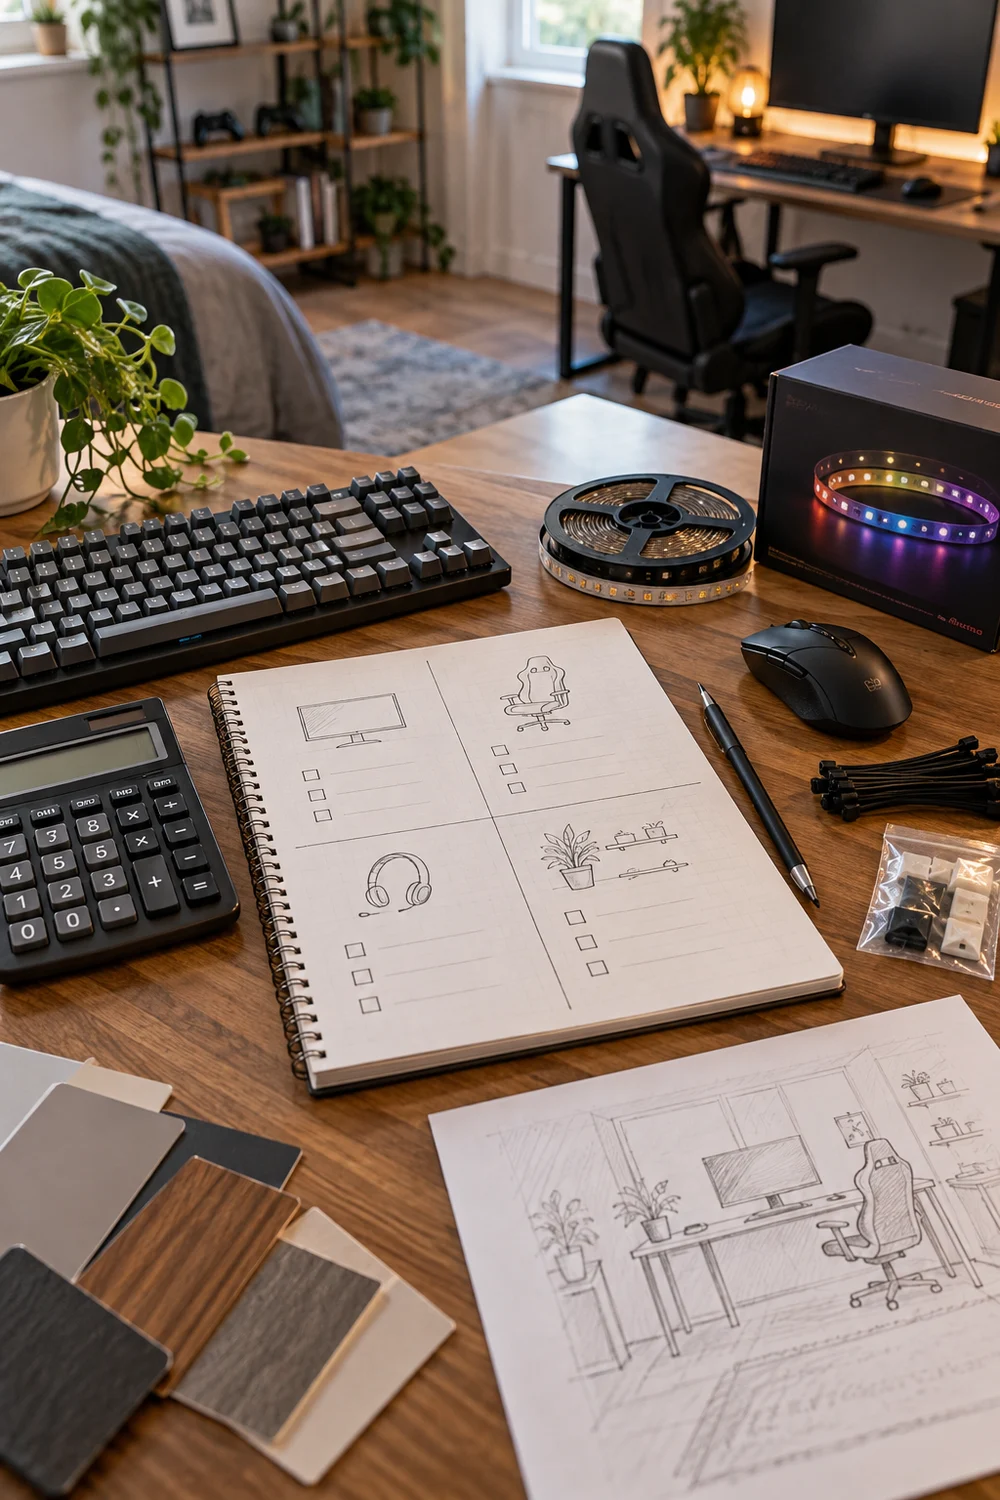
Shopping without a plan is how $500 turns into $700. Write these four numbers on paper before you open a single store tab:
- Furniture (desk and chair): $300
- Lighting: $60
- Cables and storage: $50
- Decor: $90
Furniture gets the biggest share because you sit there for hours. If you find a cheap desk, move the extra money to the chair, not to more lights.
Measure your room before you buy anything
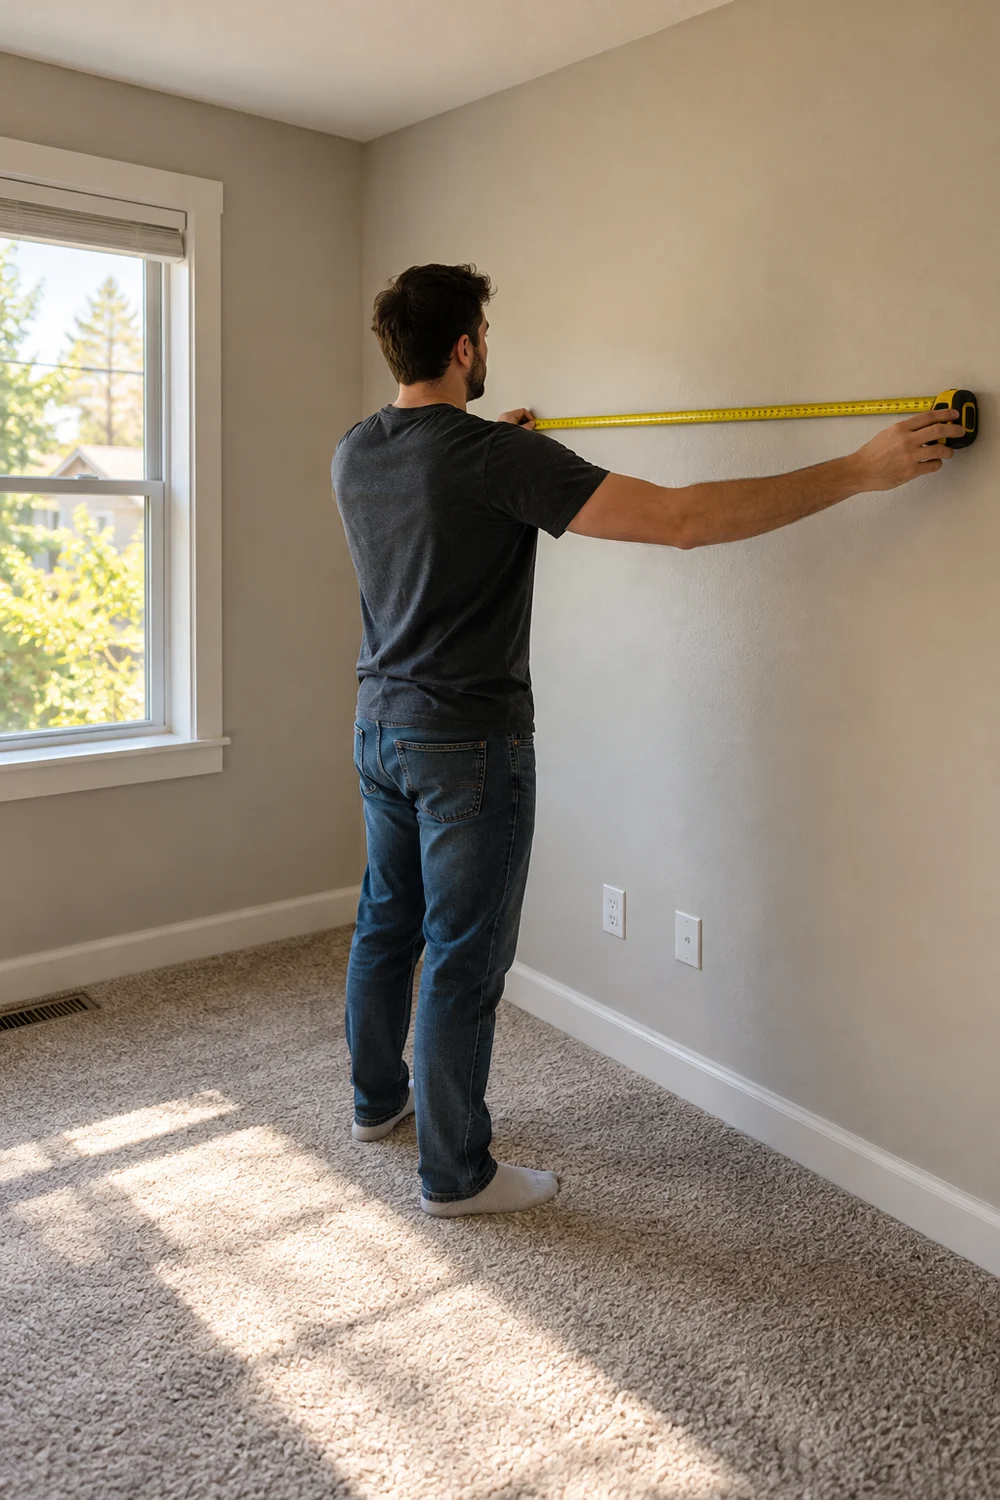
Most desks that do not fit were bought before the room was measured. Write down three numbers: the width of your wall, the distance from that wall to the door, and the distance from the floor to the nearest outlet. Then add one more rule: leave 36 inches behind the desk so your chair can roll back and you can stand up without bumping the wall. A wide desk looks great online and blocks the door in real life. No tape measure? A phone measuring app works fine, or use a piece of string and check it against a ruler later.
Clear the space and wipe down the floor
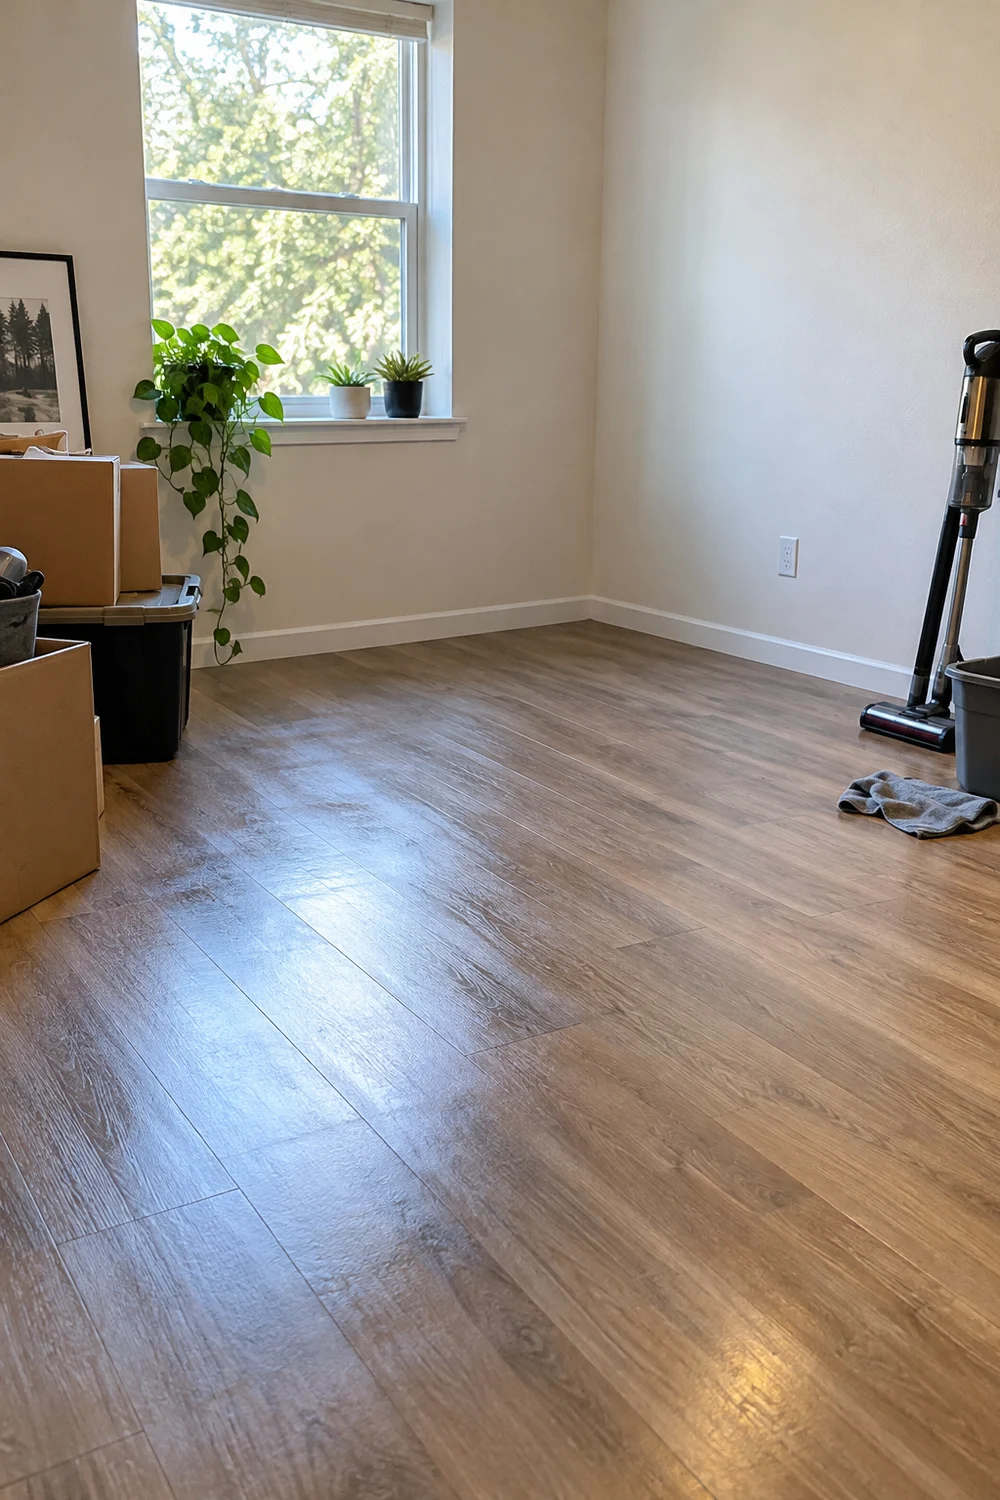
Anything left on the floor ends up under your new desk. Do these four things before you open a box:
- Move extra furniture into another room
- Vacuum the floor and baseboards
- Wipe the wall behind the desk spot with a damp cloth
- Mark the desk spot with painter’s tape
Dust gets pulled into PC fans and shortens their life, so this step protects your gear too.
Assemble a sturdy desk
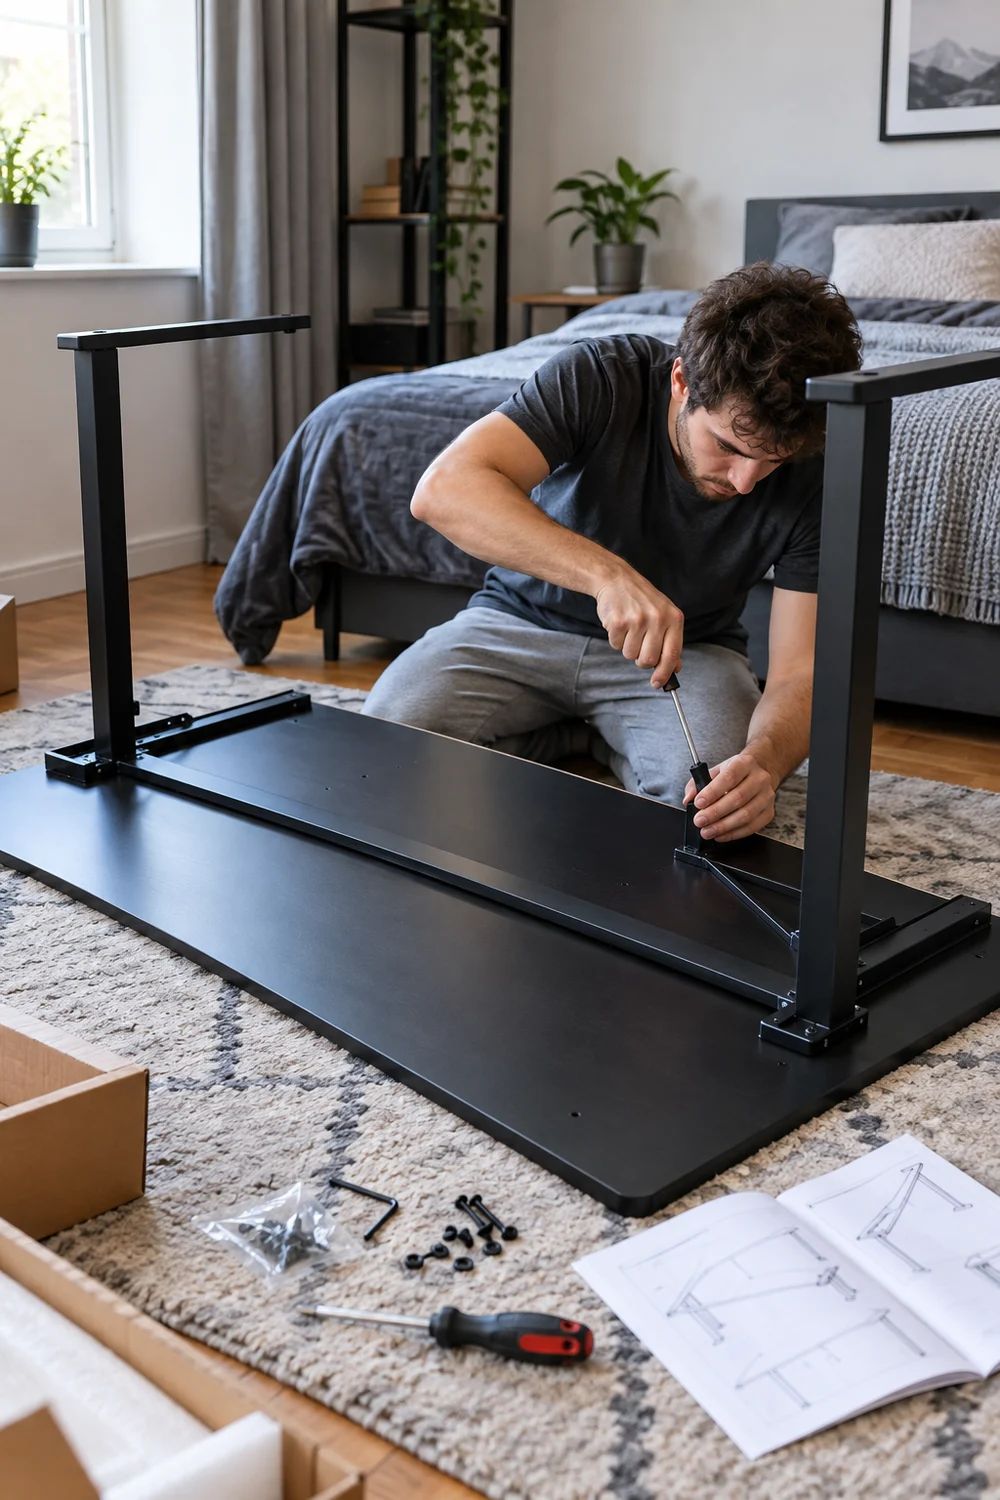
If the box says two people, believe it. Lay the cardboard flat on the floor first so the desk top does not get scratched. Sort the screws into a cup by size, then follow the manual in order. Tighten each screw by hand until it stops, then give it a quarter turn more with the screwdriver. Stand the desk up only after every leg is attached. Then press down on each corner. If it wobbles, check that screw first.
Place the desk away from window glare
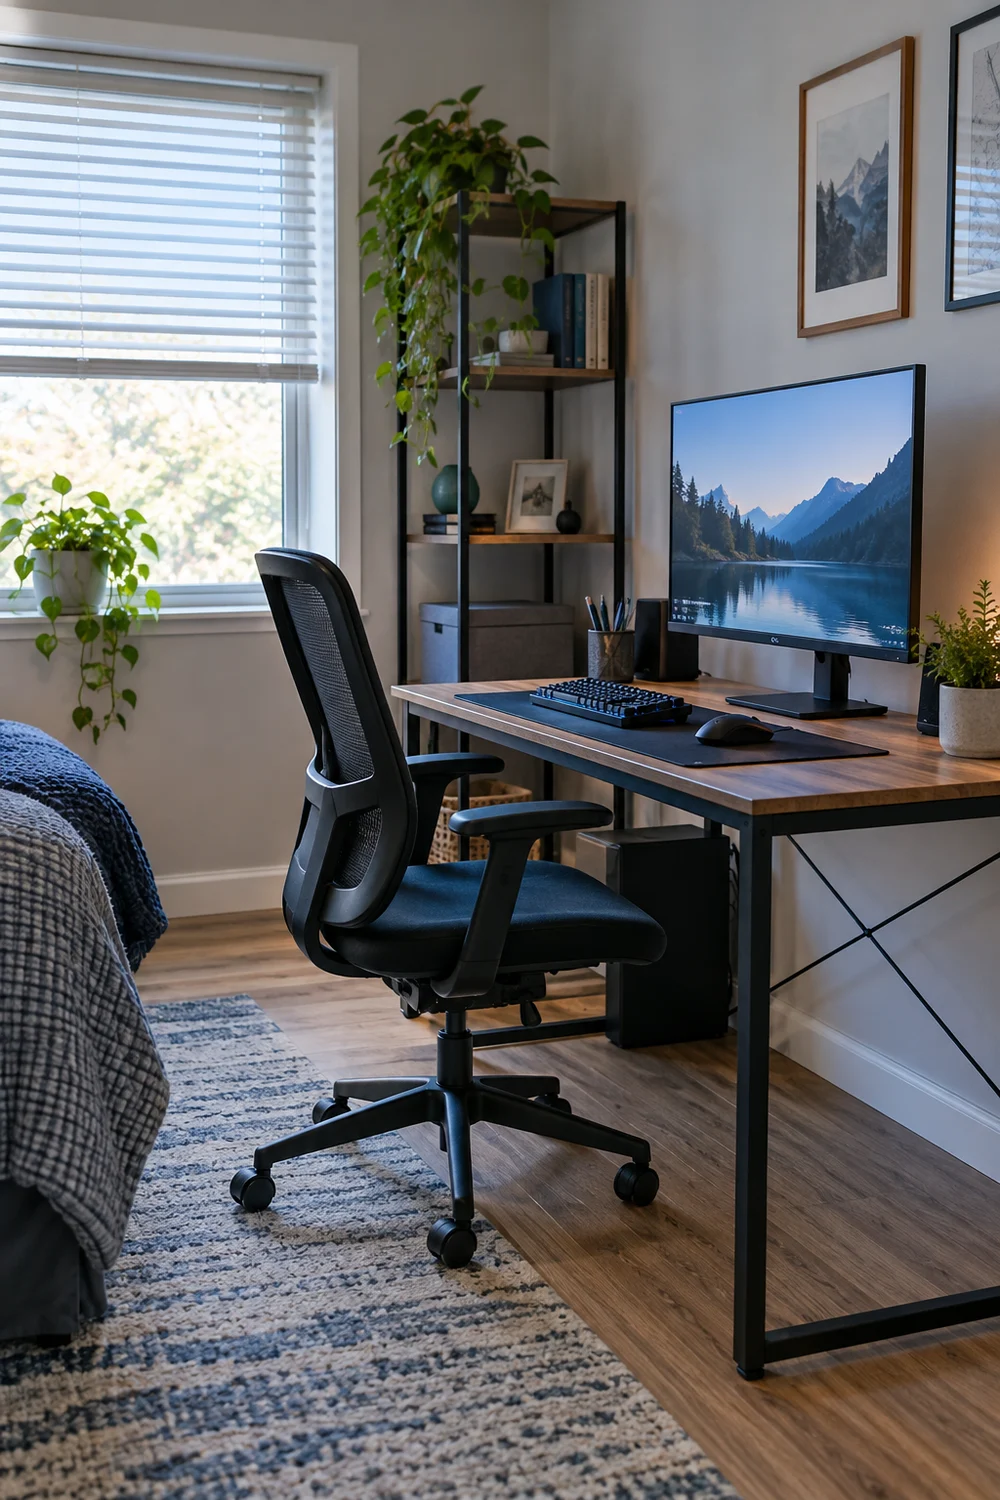
Two spots cause most screen glare: a window right behind you and a window right in front of you. Slide the desk so the window sits to your side. Sit down, turn the monitor on, and look for bright reflections on the screen. Move the desk 1 foot at a time until they fade. Keep it at least 4 inches from the wall so cables have room to drop behind it.
Adjust your chair to the right height
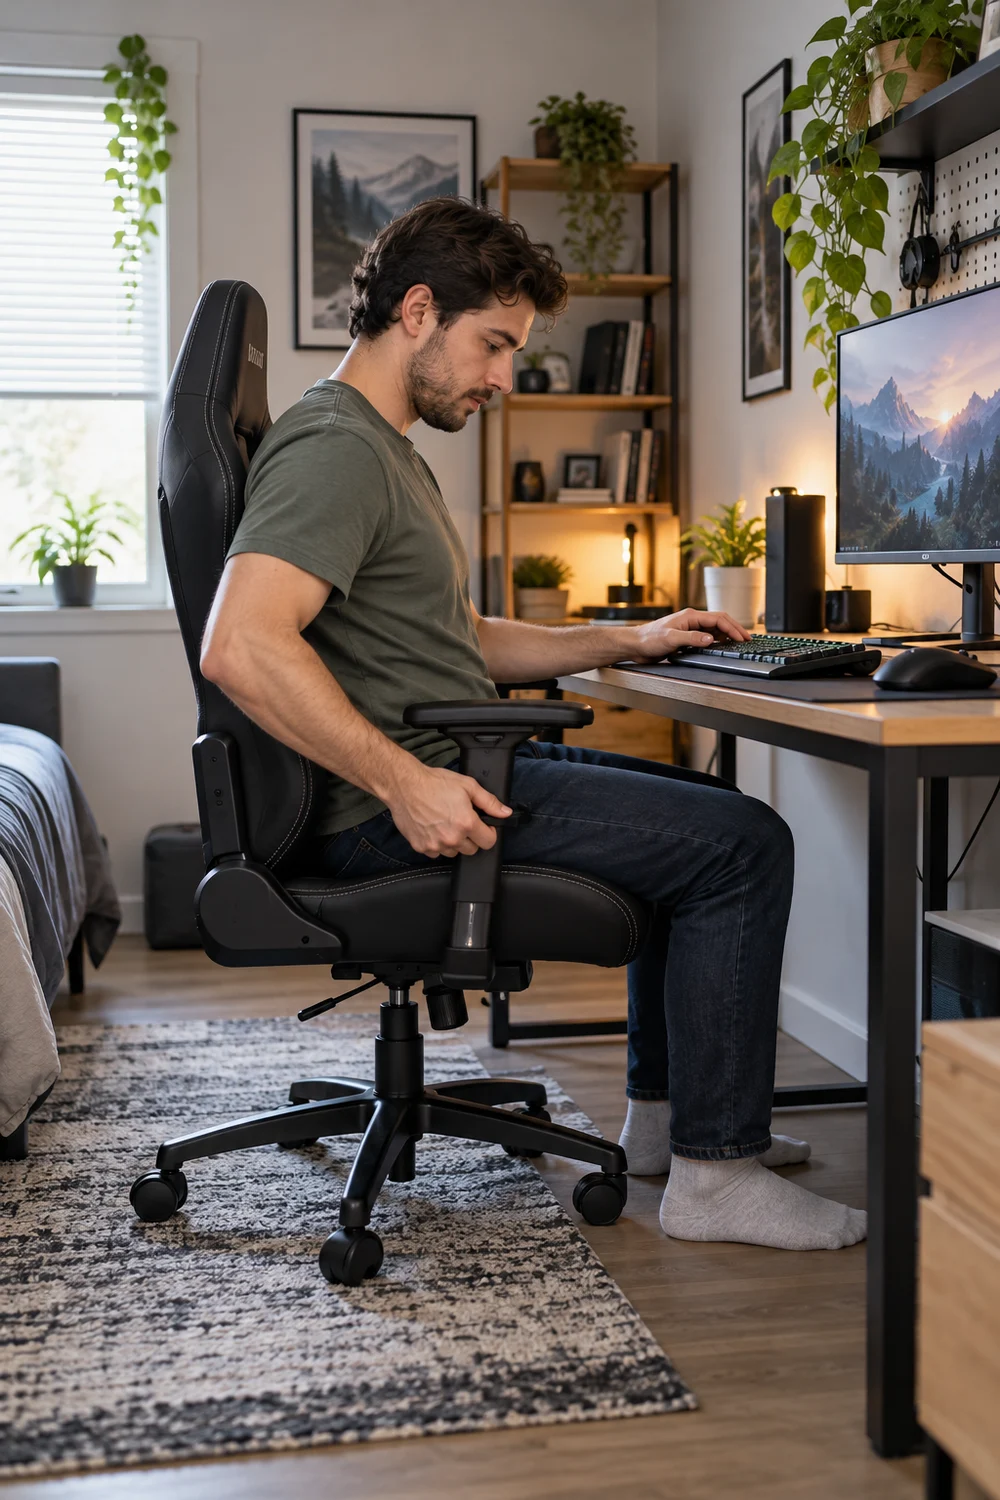
Your body tells you quickly when a chair is wrong. Sore wrists, a stiff neck, or numb legs all point back to height. Sit all the way back in the seat, then set these four checkpoints:
- Feet flat on the floor, knees at a 90-degree bend
- Forearms level with the desk top
- 2 fingers of space between the seat edge and your knees
- Lower back pressed against the support
If your feet still dangle, rest them on a sturdy box or a stack of thick books. A real footrest can wait for later.
Raise your monitor to eye level
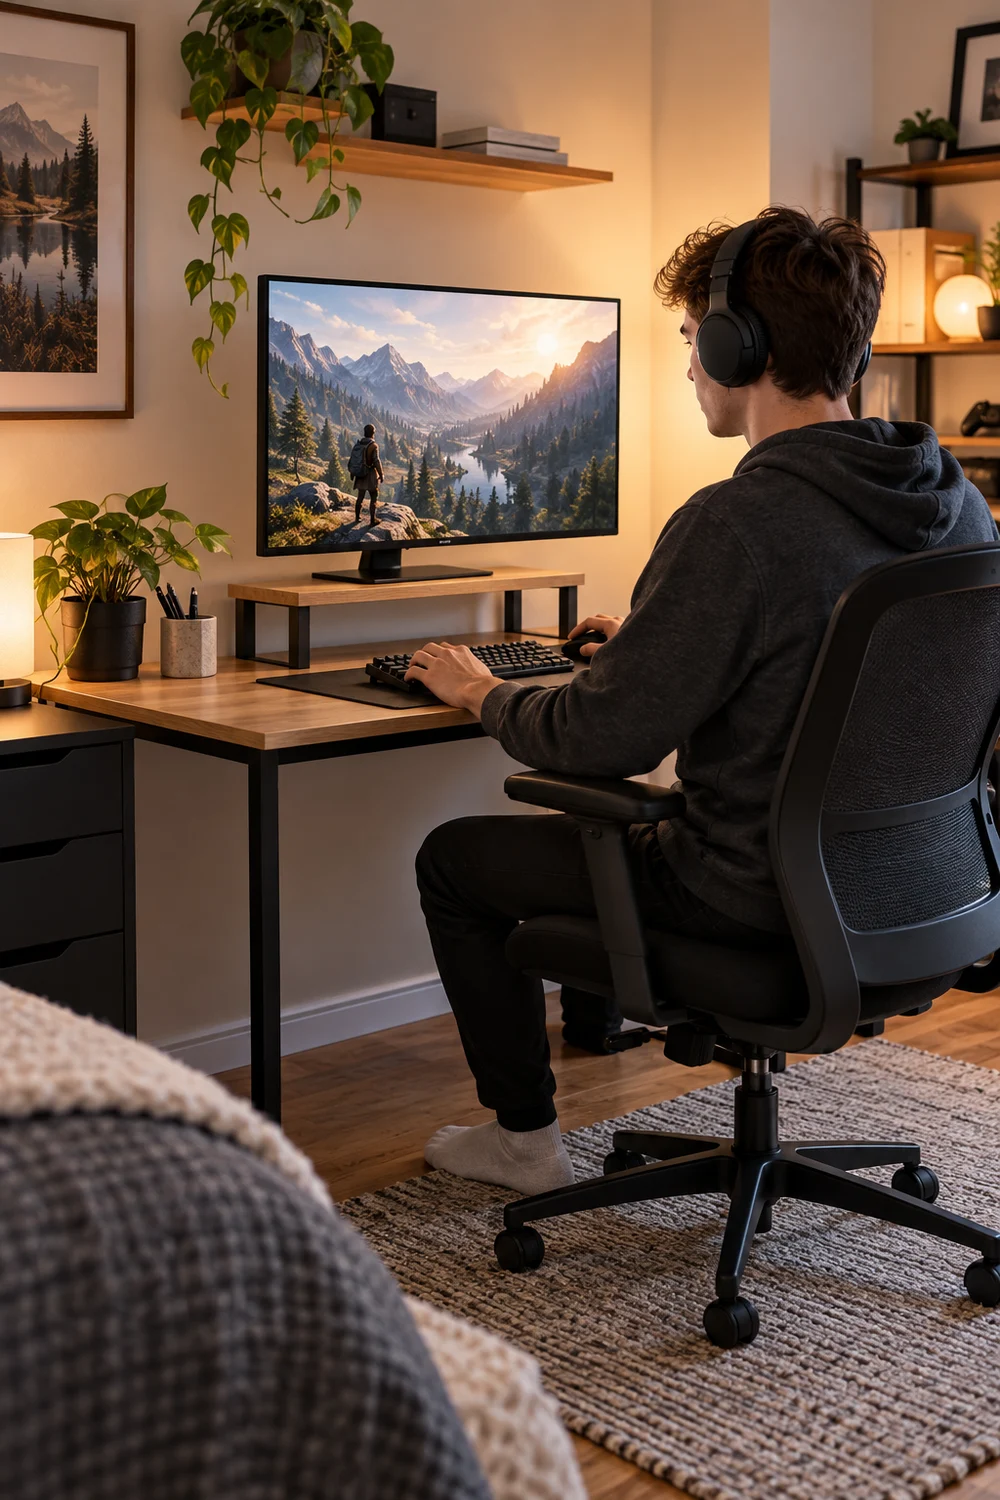
The top edge of the screen should sit at or just below your eyes. Place the monitor about 20 to 30 inches away, roughly an arm’s length. A screen that is too low pulls your head forward, and your neck pays for it by hour two. No stand? A sturdy shoebox or a few hardcover books works fine.
Tame the cables with clips and ties
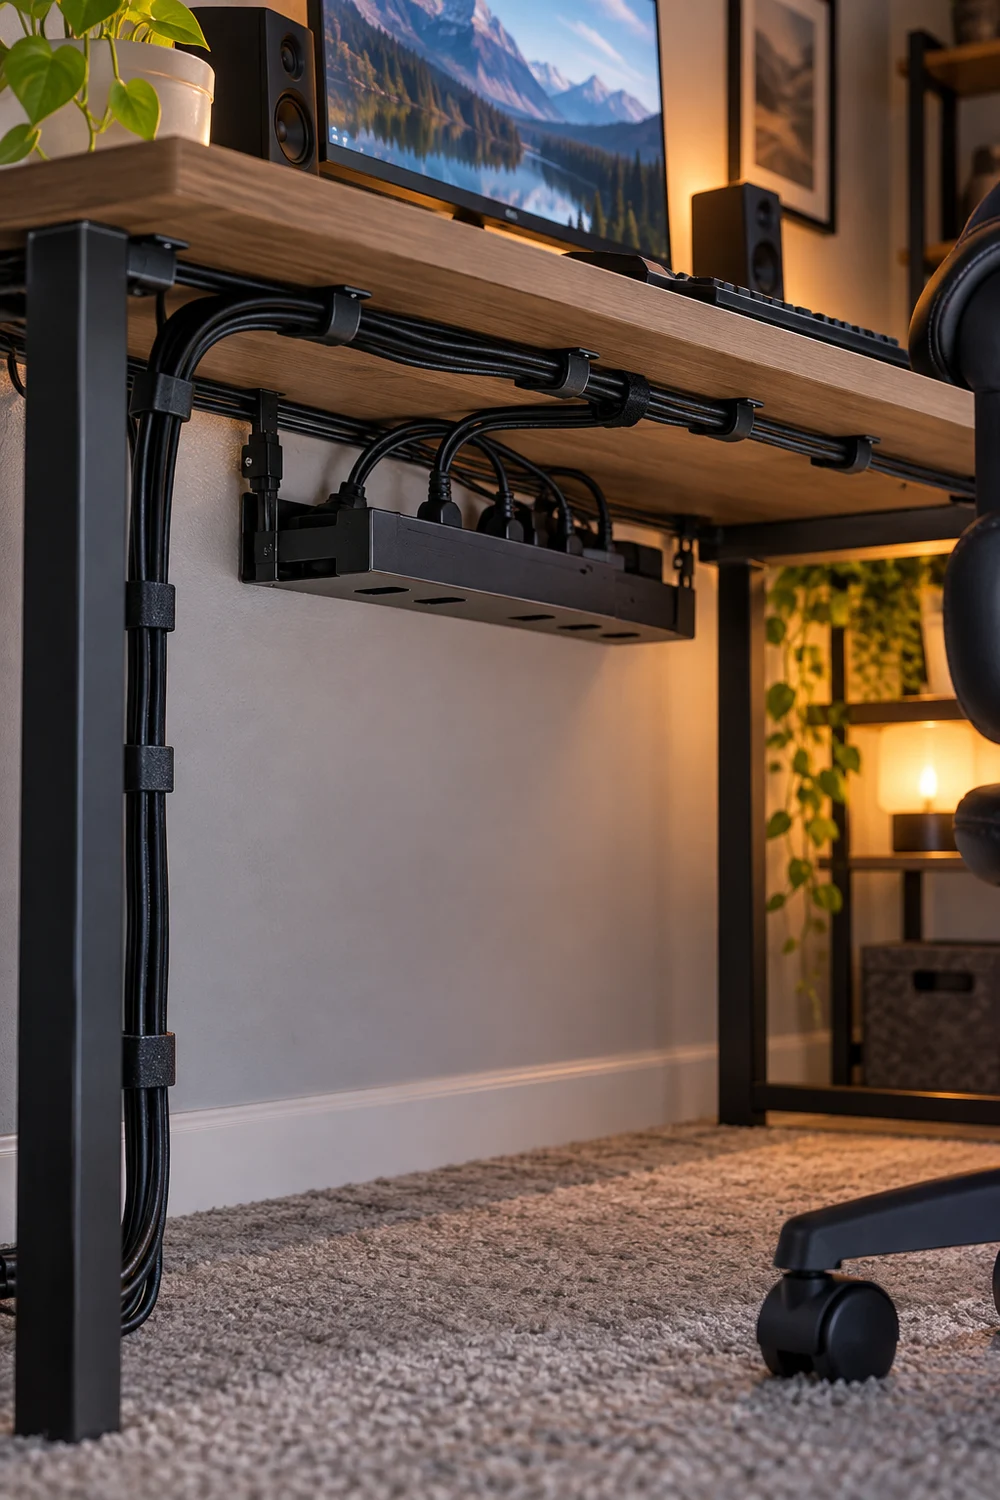
Right now, your cables are probably a pile behind the desk. Before you fix them, unplug nothing and look at where each cord needs to end up. Then work in this order:
- Gather the cords that run to the same device
- Wrap each bundle with a Velcro tie every 8 inches
- Stick cable clips along the back edge of the desk
- Press the bundles into the clips
- Plug everything into the surge protector
Velcro beats zip ties here because you can undo it when you add new gear.
Stick LED light strips behind the desk
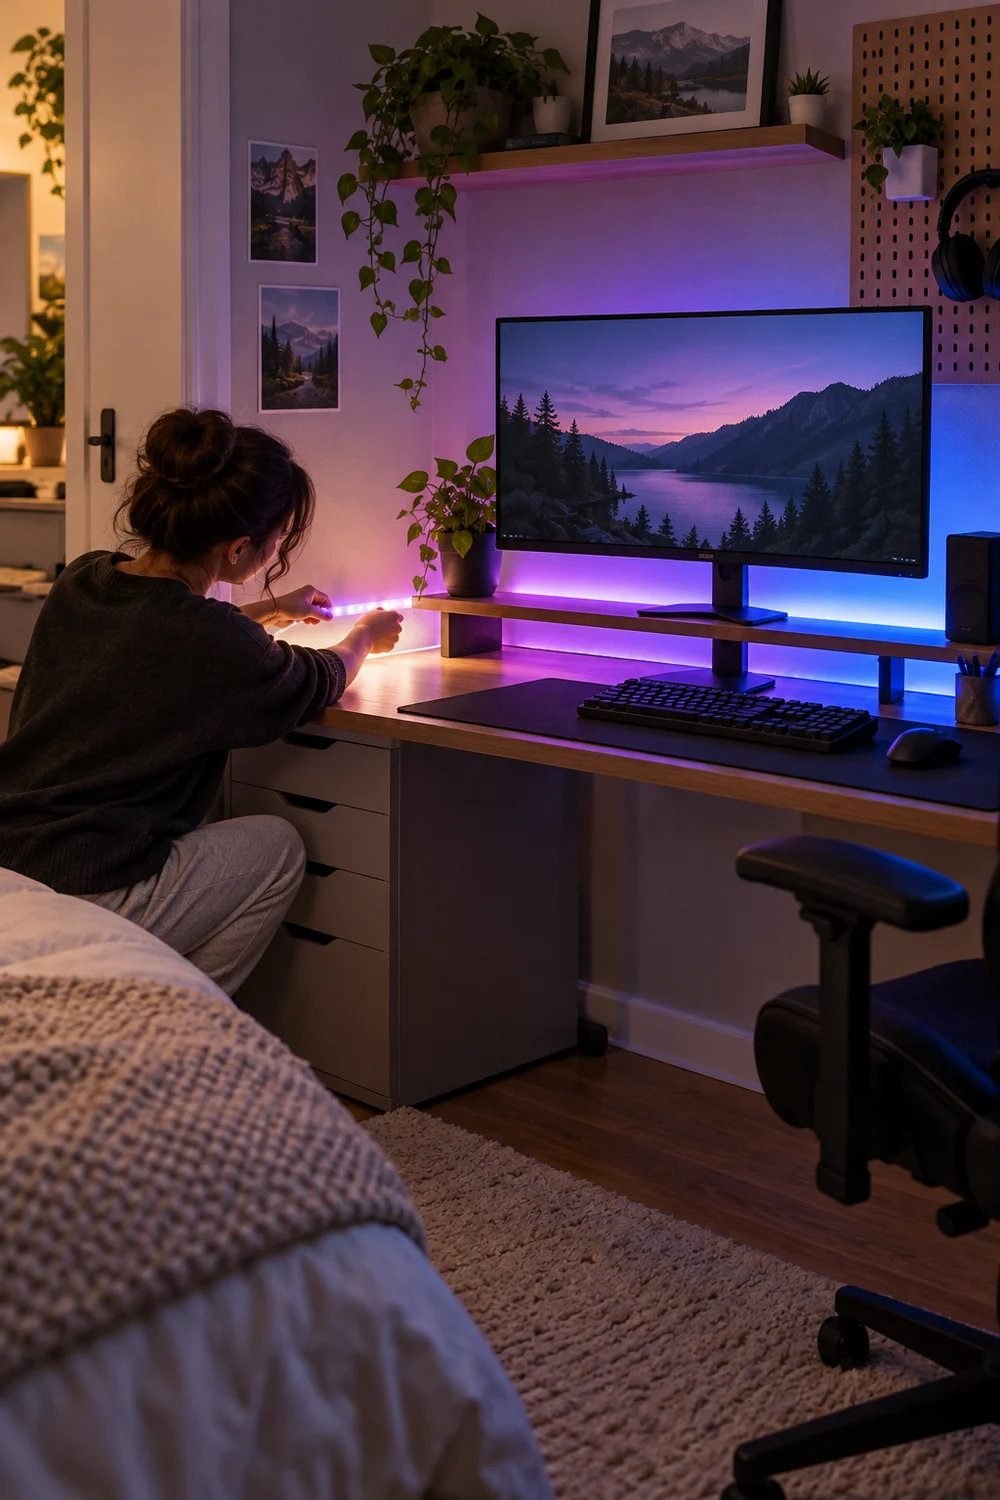
A glowing screen in a dark room is hard on your eyes. Soft light behind the desk lowers that contrast, and it makes the whole room look finished. Wipe the back edge of the desk with a damp cloth and let it dry fully. Peel the backing off in small sections, press each one down for 30 seconds, and keep the strip straight as you go. If the strip has to turn a corner, fold it gently or use the connector piece, never a sharp bend.
Hang wall decor to make the room feel finished
Three pieces on one wall look planned. Seven look messy. Lay your posters, frames, or a small shelf on the floor first and move them around until the spacing feels even, about 2 inches between pieces. Then hang the center of the group at roughly 57 inches from the floor, which is eye level for most people standing. Use removable adhesive strips if you rent. Press each strip for 30 seconds before you let go. Stand back and check that everything is level.
Add a headset hook and simple storage
Headsets on the desk surface eat space and get knocked off. Stick a hook to the side of the desk or the monitor stand and hang the headset there. Add a small basket or a 2-shelf cube for controllers, chargers, and games. Keep both within arm’s reach of your chair.
Test your budget gaming room setup and fix what feels off
Play for a full 20 minutes before you call it done. A room that looks good for a photo can still feel wrong after one match. Sit in your normal position and check:
- Does any light reflect on the screen?
- Do your wrists rest flat on the desk?
- Can you reach the headset hook without leaning?
- Are all cords tucked out of your foot space?
- Does the LED glow feel too bright at night?
Fix one thing at a time, so you know which change worked.
Troubleshooting Your Budget Gaming Room Setup
Budget Gaming Room Setup FAQs
- Tape measure
- Desk, 47 to 55 inches
- Ergonomic chair
- Monitor stand
- Phillips screwdriver
- LED light strips
- Surge protector
- Cable clips and Velcro ties
- Headset hook
- Wall decor
- Painter’s tape and damp cloth
- Split your $500 into four buckets
- Measure the room first
- Clear the space and wipe the floor
- Assemble a sturdy desk
- Place the desk away from glare
- Adjust your chair height
- Raise the monitor to eye level
- Tame cables with clips and ties
- Stick LED strips behind the desk
- Hang wall decor
- Add a headset hook and storage
- Test your setup and fix what feels off
You Built It
You now have a comfortable, good-looking gaming corner, and you stayed under $500. Your desk is steady, your screen is glare-free, and your cables are out of sight. Next, try adding a small rug or a second shelf to make the room feel even more like yours. Save this budget gaming room setup to your Pinterest board so you can come back to it when you are ready to upgrade.