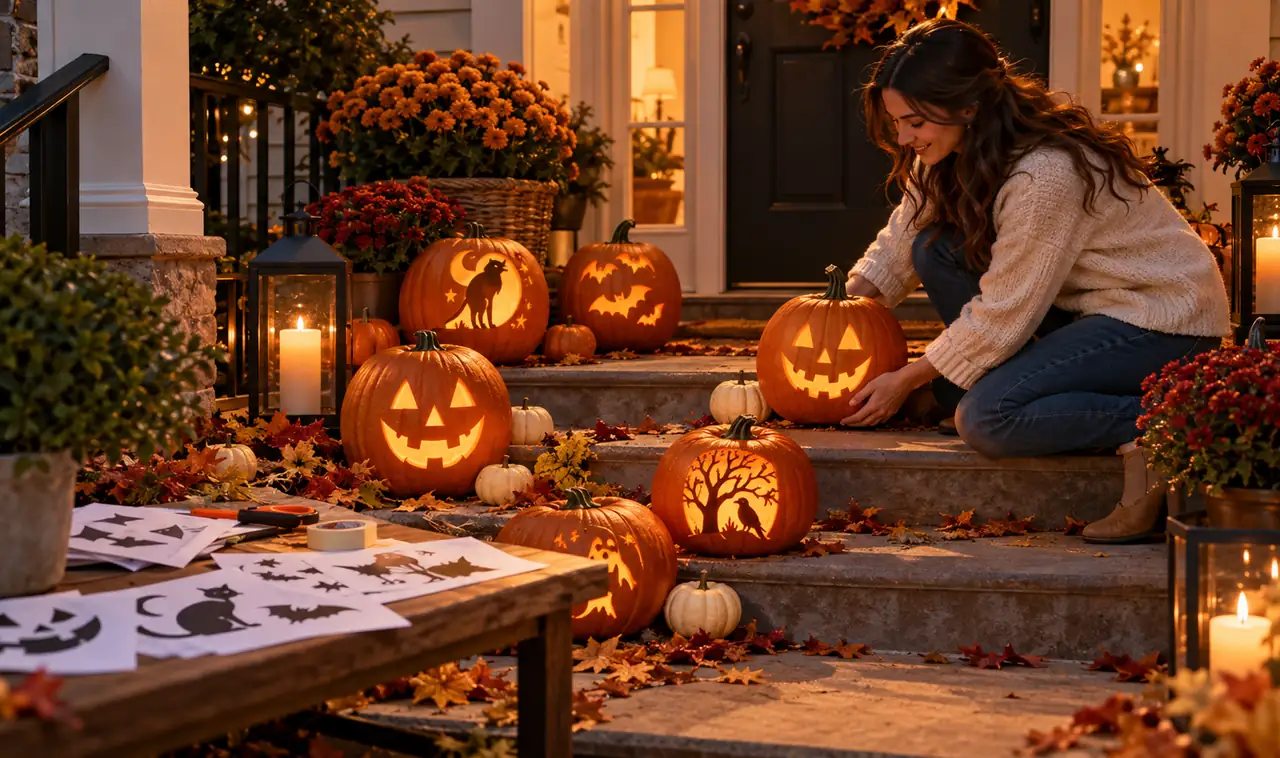
Drawing a face freehand on a pumpkin is harder than it looks. The marker slips, the eyes land at different heights, and the knife follows every wobble. I have a camera roll full of lopsided jack-o-lantern photos to prove it.
Easy pumpkin-carving stencils solve that problem in the simplest way possible. You tape a printed design to the pumpkin, trace or poke the lines, and cut along the marks. The design does the thinking for you, so your hands only need to follow.
This list keeps every stencil simple on purpose. No tiny details, no razor thin bridges, nothing that needs surgeon steady hands. Each idea uses bold shapes that read well from the sidewalk and glow cleanly at night.
Grab a stack of printed stencils, a roll of tape, and one small sharp saw. By the end of this list you will have eighteen designs that carve fast, look sharp, and make your porch the one people slow down to look at.
1. Why Easy Pumpkin-Carving Stencils Beat Freehand Drawing
A stencil turns carving into tracing, and tracing is a skill everyone already has. Freehand drawing asks your brain to invent the shape and your hand to cut it at the same time. That split attention is where most carves go wrong.
With a stencil, the design is already decided. You spend your energy on steady cuts instead of guessing where the next line goes. Beginners get cleaner edges. Kids get shapes they can actually finish. And you get a pumpkin that looks like the picture.
Stencils also save pumpkins. One bad freehand cut can ruin a whole face. A stencil lets you check the layout before the knife ever touches the rind.
2. Start With the Classic Jack Face Stencil
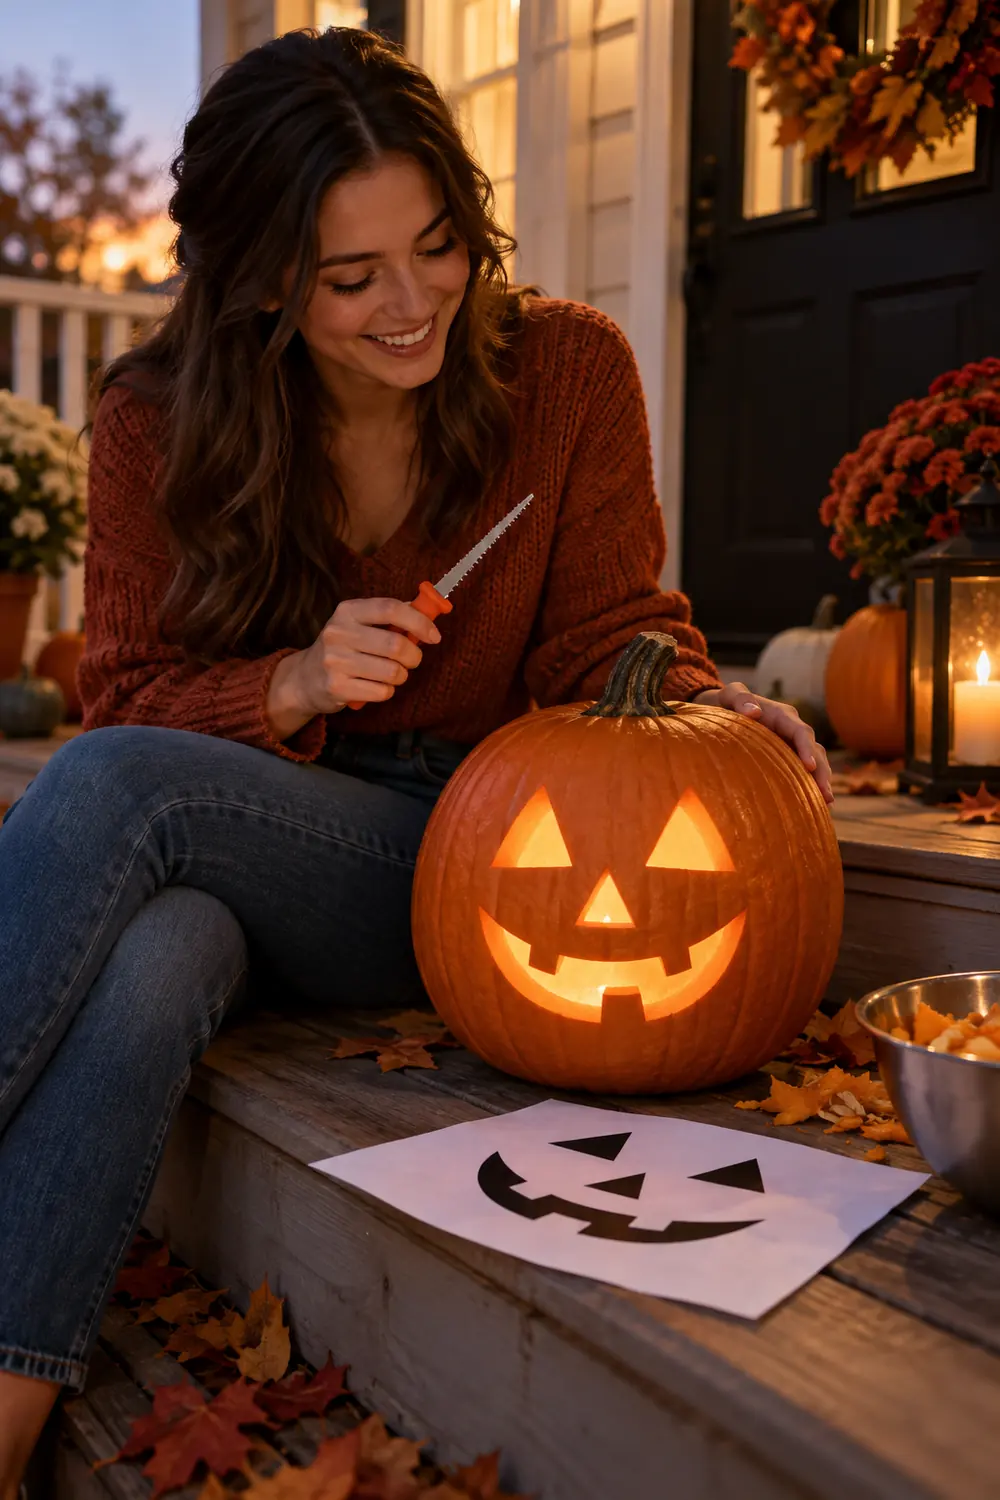
The classic triangle eyes and jagged grin is the best first stencil for a reason. Every shape is big, every line is straight, and the design forgives a shaky cut.
Print the face at a size that leaves two finger widths of space around it. Tape it flat, trace the shapes with a marker, then cut inside the lines. The eyes go first, then the nose, then the big grin last.
Quick Tip
Cut the smallest shapes first while the pumpkin wall is still strong. Big openings weaken the rind and make small details harder to cut cleanly.
3. Tape a Friendly Ghost Stencil on a Curved Pumpkin
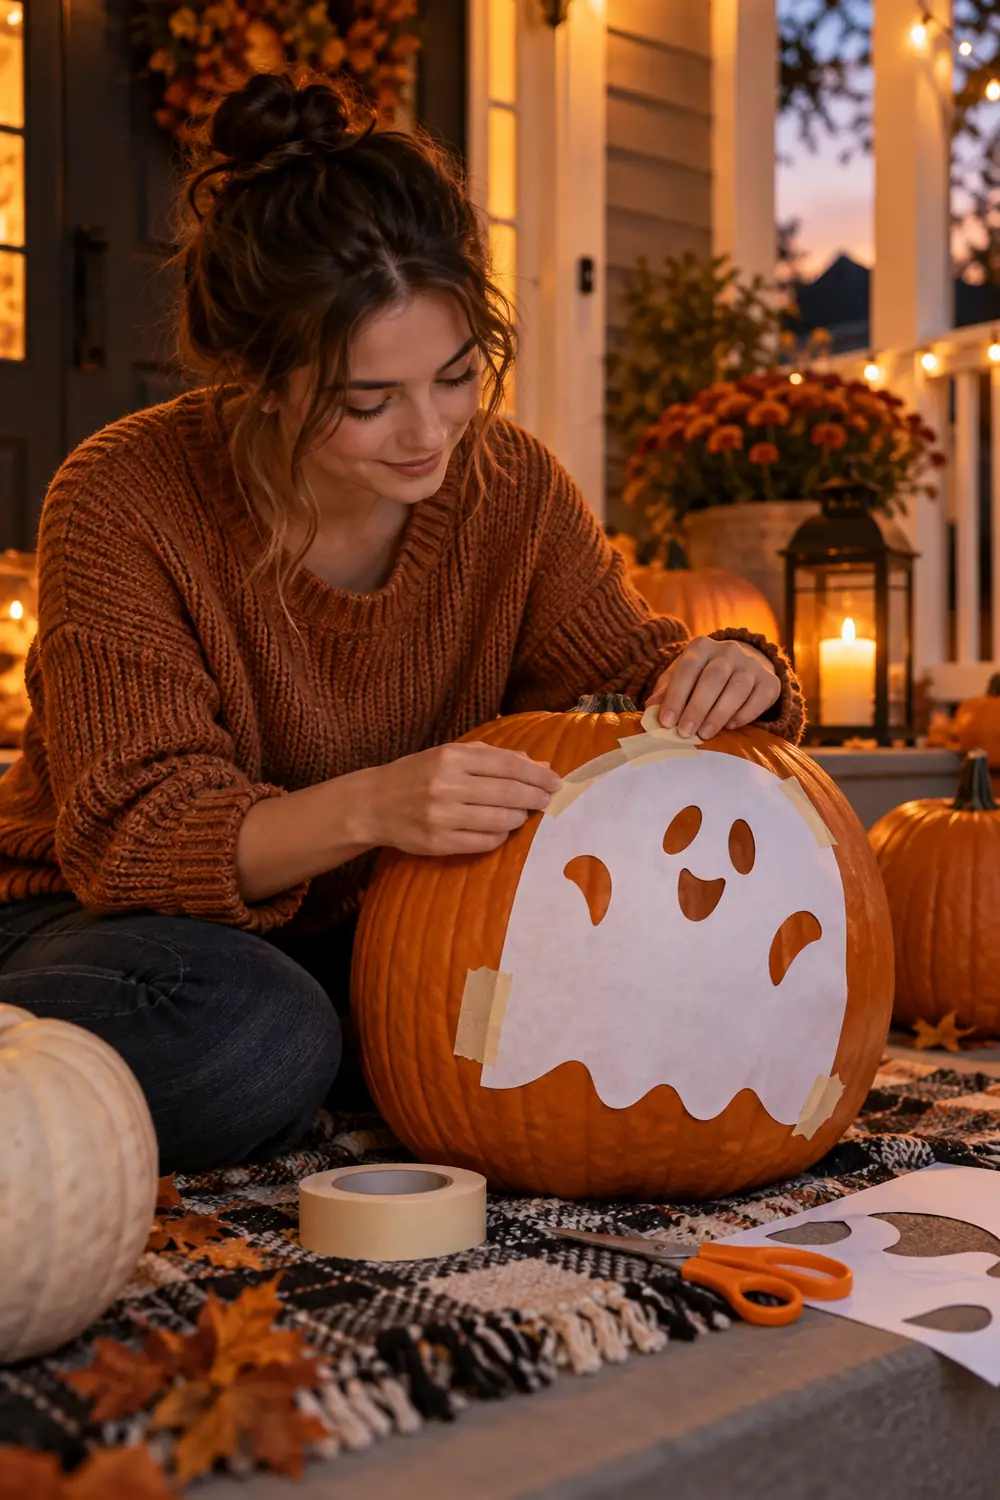
A ghost is one of the kindest first stencils because it has no sharp corners. The wavy bottom edge hides every imperfect cut, and the round head follows the pumpkin’s natural curve.
Curved pumpkins fight flat paper. Cut small slits around the edge of the stencil so it can bend with the rind, then tape each flap down. The stencil sits flat and your traced lines stay true.
Two oval eyes and one oval mouth are all you need. When it glows, the ghost reads instantly from the street.
4. Trace a Simple Moon and Star Stencil
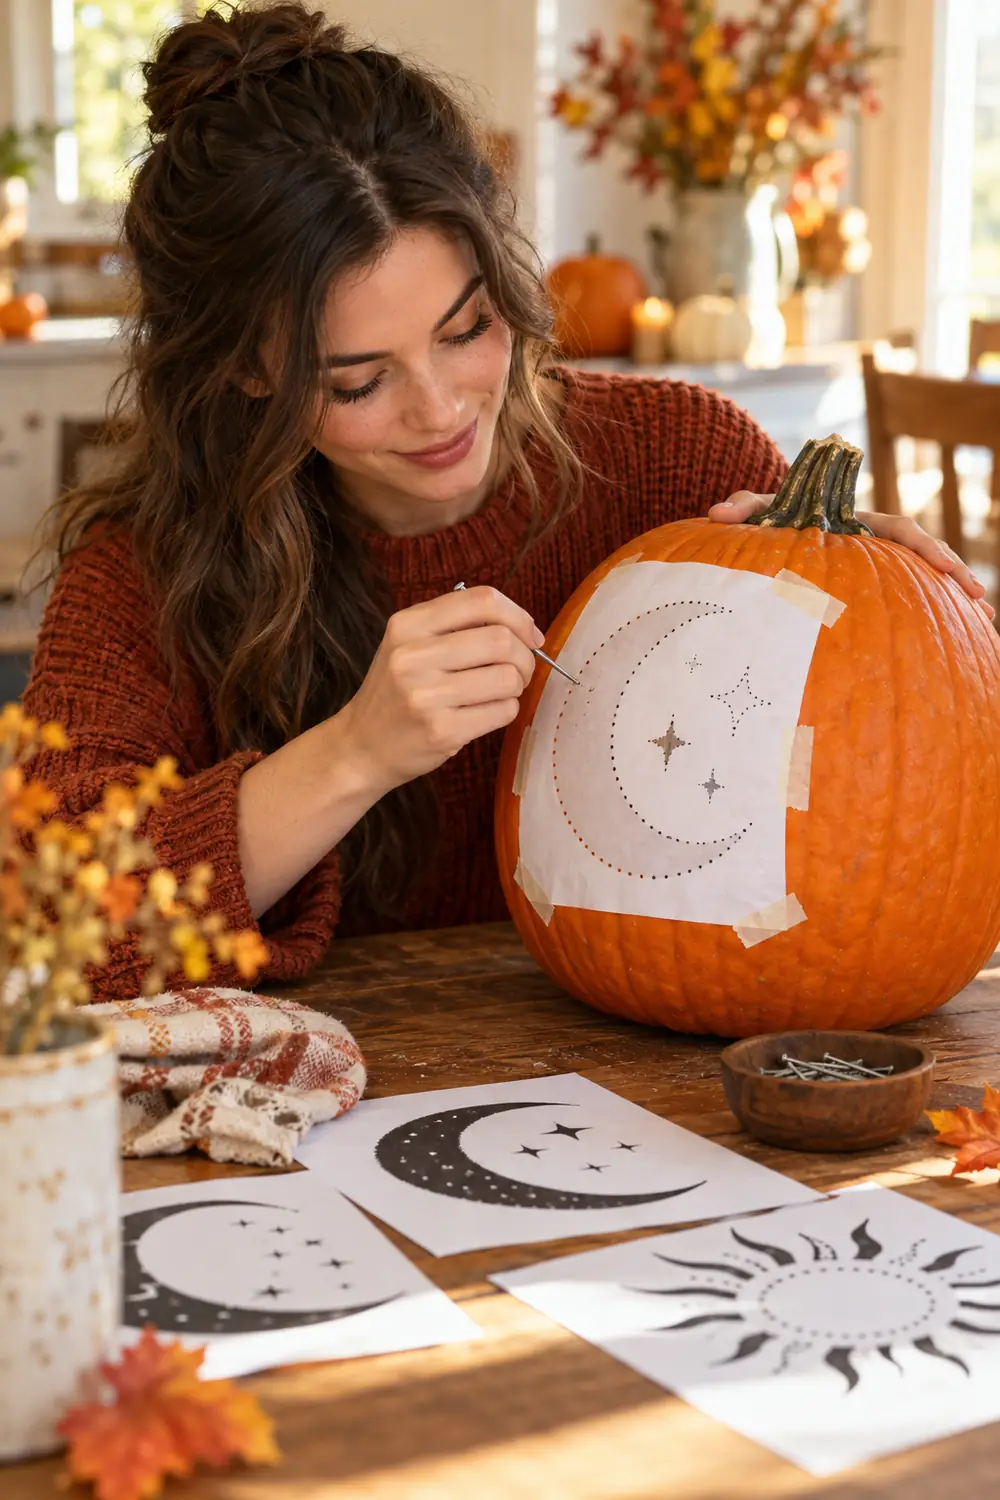
A crescent moon with one star beside it looks far more skilled than it is. Both shapes are simple curves, and the empty space between them makes the cut edges glow bright.
Trace the moon on the smoothest side of the pumpkin. Cut the moon shape fully through so light pours out, then poke or shallow cut the star so it glows softer. The contrast between the two makes the whole design pop. If you want more printable patterns in this style, our pumpkin-carving stencils collection rounds up free designs that transfer the same way.
5. Poke a Dotted Outline Before You Make Any Cut
Poking is the beginner’s secret weapon. Instead of drawing a line, you press a nail or awl through the stencil paper into the rind, leaving a dotted outline you can follow with the saw.
Space your pokes about a quarter inch apart on straight runs and closer on curves. Connect the dots with short sawing strokes. The result looks traced, but you never needed a steady drawing hand.
This method shines on stencils with lots of little pieces, because dots are easier to place than lines are to draw.
6. Try the Spider Web Stencil
A web is secretly one of the easiest stencils around. It is just straight lines radiating from a center point, connected by short curved rungs. No freehand drawing required.
Center the web on the flattest part of the pumpkin. Cut the radial lines first, then the rungs. A small plastic spider on top finishes the look for about a dollar.
Web stencil checklist
7. Cut a Black Cat Silhouette Stencil
A sitting cat silhouette reads as classic Halloween with almost no detail work. The arched back, pointed ears, and curled tail are one continuous outline, which means one continuous cut.
Choose a stencil where the cat is a solid shape. You cut around it and the cat stays dark while the background glows. This reverse carve looks striking and hides small mistakes in the dark silhouette.
Place the cat low on the pumpkin so the tail has room to curl.
8. Use Cookie Cutters as Instant Stencils
Metal cookie cutters work as stencils you already own. Press a star, heart, or bat cutter into the rind to mark the shape, then cut along the dent with a small saw.
This trick is fast because there is no paper to tape and no ink to smudge. It also gives you perfectly symmetrical shapes, which are the hardest thing to draw freehand.
Small cutters suit small pumpkins. One cutter, one pumpkin, five minutes.
9. Pick Small Pumpkins for the Simplest Stencils
Small pumpkins pair naturally with simple stencils. A pie pumpkin has a smoother, rounder surface than a big field pumpkin, so paper lies flat and lines stay accurate.
Their thinner walls also cut faster. A simple face that takes twenty minutes on a big pumpkin takes ten on a small one. That speed matters when kids are carving and attention spans are short.
If you have never carved before, start here. Our pumpkin-carving for beginners walkthrough covers tool basics that pair well with these small, simple stencils.
10. Wrap a Chevron Band Stencil Around the Middle
A chevron band turns the pumpkin into a patterned lantern instead of a face. The repeating zigzag is pure geometry, so it looks sharp even with slightly wobbly cuts.
Measure the pumpkin’s middle with a strip of paper, mark even segments, and tape the band level all the way around. Cut every other triangle so the band glows in a regular rhythm.
| Full chevron band | Half band accent |
|---|---|
| Wraps the whole middle, bold from every angle. | Covers one side only, faster to cut. |
| Best on round, even pumpkins. | Works on lopsided pumpkins too. |
11. Carve a Simple Bat Trio Stencil
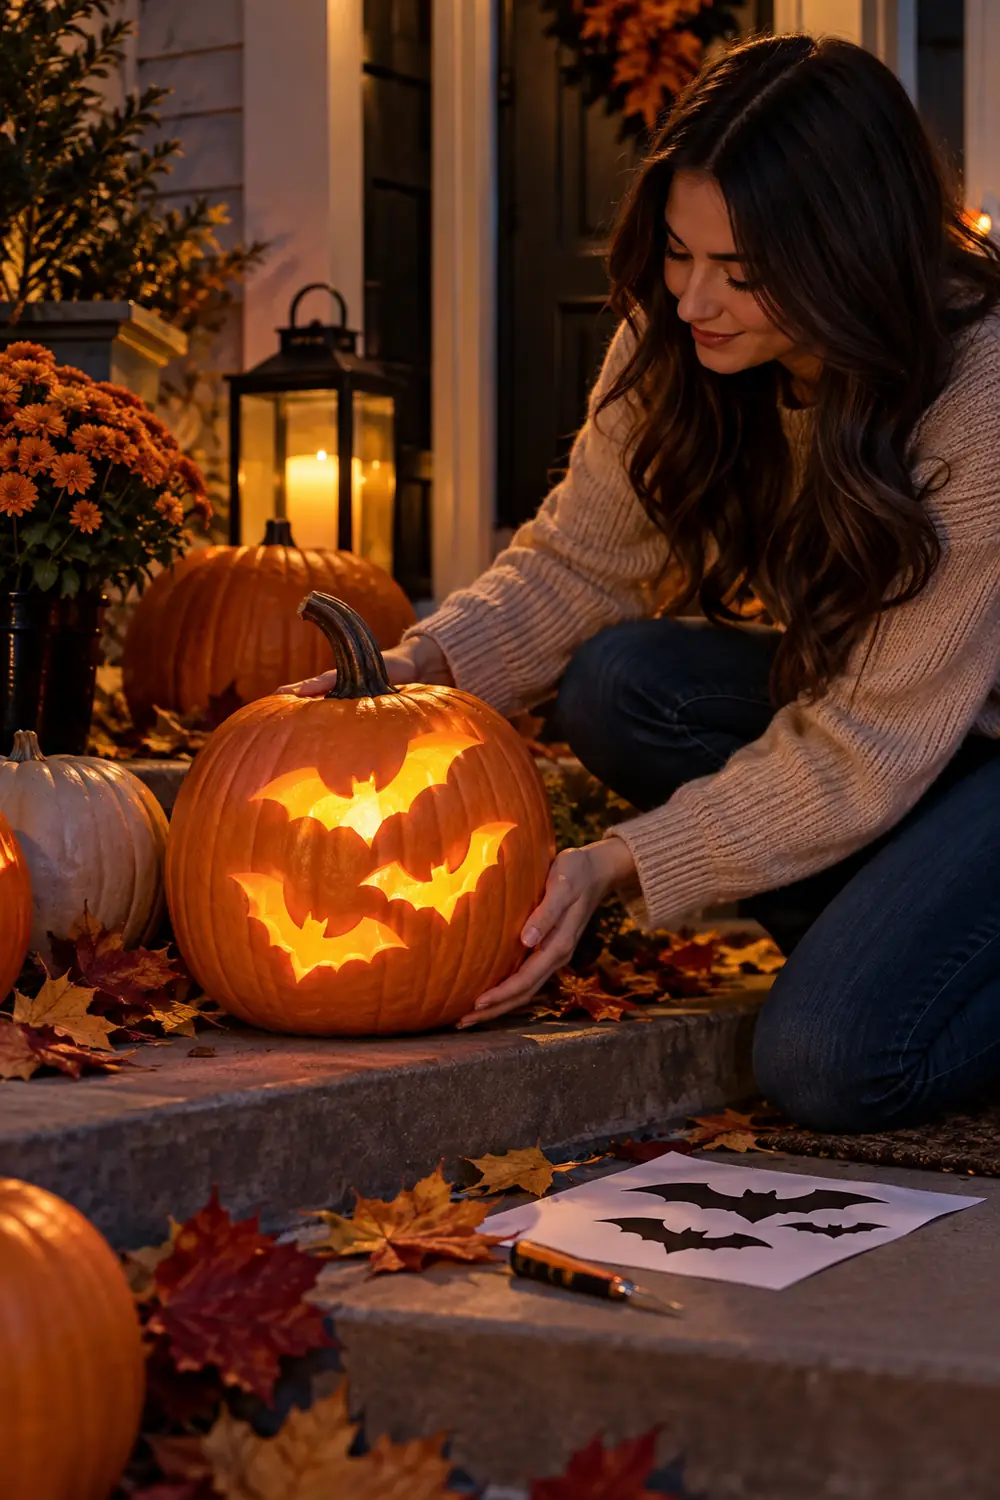
Three bats in a row look like they took real skill. They did not. Each bat is two curved wings and a small body, and the stencil keeps all three the same size.
Arrange the bats flying upward across the pumpkin. Cut the smallest bat first, then work up to the largest. Varying the sizes gives the design motion and depth.
At night the bats read as pure silhouette, which is exactly what you want.
12. Transfer Designs With a Ballpoint Pen
You do not need a special transfer tool. A regular ballpoint pen pressed firmly through stencil paper leaves a visible dented line in the rind that guides your saw.
Trace slowly and press harder than feels natural. The line needs to survive the paper being peeled away. Go over each line twice on thick rinds.
This method beats markers because there is no ink to smear and no wide line to guess around. The dent is thin and exact.
13. Cut a Witch Hat Stencil With Clean Lines
A witch hat is triangles and one long brim line. The geometry is so simple that your cuts stay straight almost by accident, and the tall shape fills a pumpkin nicely.
Angle the hat slightly to one side so it looks jaunty instead of stiff. Cut the brim as one long smooth stroke, then the triangle of the hat, then the bent tip last.
Tape the hat stencil tilted about ten degrees for a playful lean.
Poke the brim line first, since it is the longest cut and sets the angle.
Cut the hat body, then the bent tip, keeping the tip thick so it does not snap.
14. Hold Stencils Still With Painter’s Tape
Slipping paper ruins more stencils than dull knives do. Painter’s tape holds better than regular tape because it grips the waxy rind without tearing the paper when you peel it off.
Tape all four corners first, then add a strip across the middle for large stencils. Press the tape onto the rind, not just the paper edge, so the whole sheet stays put while you poke and trace.
For designs that skip stencils entirely, browse our easy pumpkin-carving ideas for simple freehand shapes that need no paper at all.
15. Carve a Simple Leaf Stencil for Fall Charm
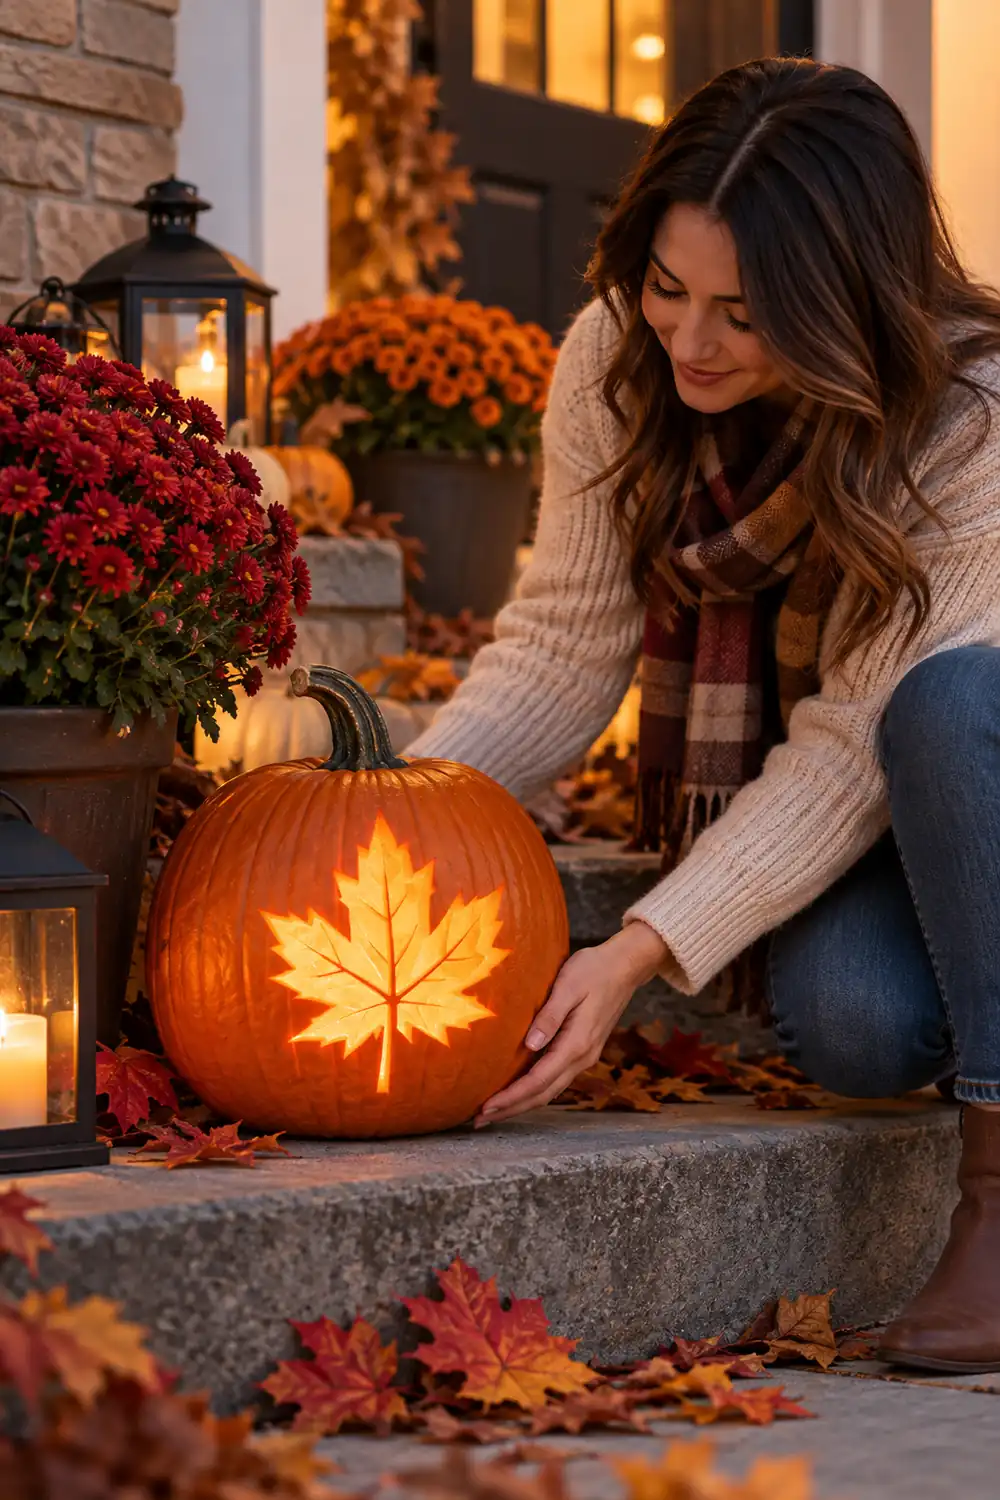
A single maple or oak leaf stencil gives you a pumpkin that works for all of fall, not just Halloween night. The lobed outline is forgiving, and the stem adds a natural detail.
Cut the leaf as a solid shape so it glows like a window. A few shallow etched veins around it catch the light without needing to cut through.
This one earns its place on the porch from October through Thanksgiving.
16. Split a Candy Corn Stencil Into Three Bands
Candy corn is three stacked color bands, and on a pumpkin it becomes three stacked cut zones. The top band cuts fully through, the middle gets shallow etched, and the bottom stays solid.
This layering trick teaches the most useful stencil skill there is: varying cut depth for shading. The glowing top fading into the solid bottom looks like a real gradient.
Keep the bands wide. Thin bands are hard to cut and harder to keep from breaking.
17. Drill a Starry Night Dotted Stencil
A drill turns stencils into pure dot work. Mark a scatter of stars with the stencil, then drill small holes of different sizes. Big holes glow bright, tiny holes twinkle.
Use a low drill speed and let the bit do the work. Pushing hard cracks the rind around the hole. A constellation pattern with a crescent moon makes a gorgeous night sky pumpkin.
Drill from the outside in, and keep a hand inside the pumpkin to feel the bit break through. That feedback stops you from punching too far and cracking the rind.
18. Line Up Your Finished Pumpkins as a Glowing Row
One stencil pumpkin looks nice. A row of them looks like a plan. Line your finished carves along the porch steps or the walkway edge, tallest in the middle, smallest on the ends.
Mix the designs from this list so the row has variety: a face, a ghost, a web, a moon. The different glow patterns play off each other and the whole display looks richer than the sum of its parts.
Step back to the street and check the spacing before night falls. Even gaps make even the simplest stencils look deliberate.
Easy pumpkin-carving stencils are the fastest way to get a porch that looks professionally carved without professional skills. Pick one design from this list, print it tonight, and save the rest for next year. Your future self will thank you when the whole street slows down to look.