Most carved pumpkins look the same every October. Triangle eyes, jagged grin, done. There is nothing wrong with the classic face, but if your porch style leans clean and modern, those wobbly cuts can feel out of place next to your black planters and simple wreath. Geometric Pumpkin-Carving Ideas fix that mismatch. Straight lines, repeating shapes, and measured spacing turn a humble pumpkin into something that looks designed rather than doodled, and guests notice the difference.
The good news is that geometry is actually easier to carve than freehand art. A ruler and a marker do the hard work for you. You draw the pattern first, then you just follow the lines. There is no guesswork mid cut and no lopsided features to fix afterward. Below are twenty distinct geometric designs, ordered from beginner friendly to genuinely impressive, so you can pick the one that matches your patience level this weekend.
1. The Classic Face on a Grid
Start where everyone starts, but cheat a little. Draw light horizontal and vertical guide lines around the pumpkin with a washable marker before you sketch the face. The grid keeps the eyes level and the grin centered, which is where most classic jacks go wrong. Cut along your marks, then wipe the grid away with a damp cloth. It takes five extra minutes and the result looks noticeably sharper.

2. Diamond Lattice All Over
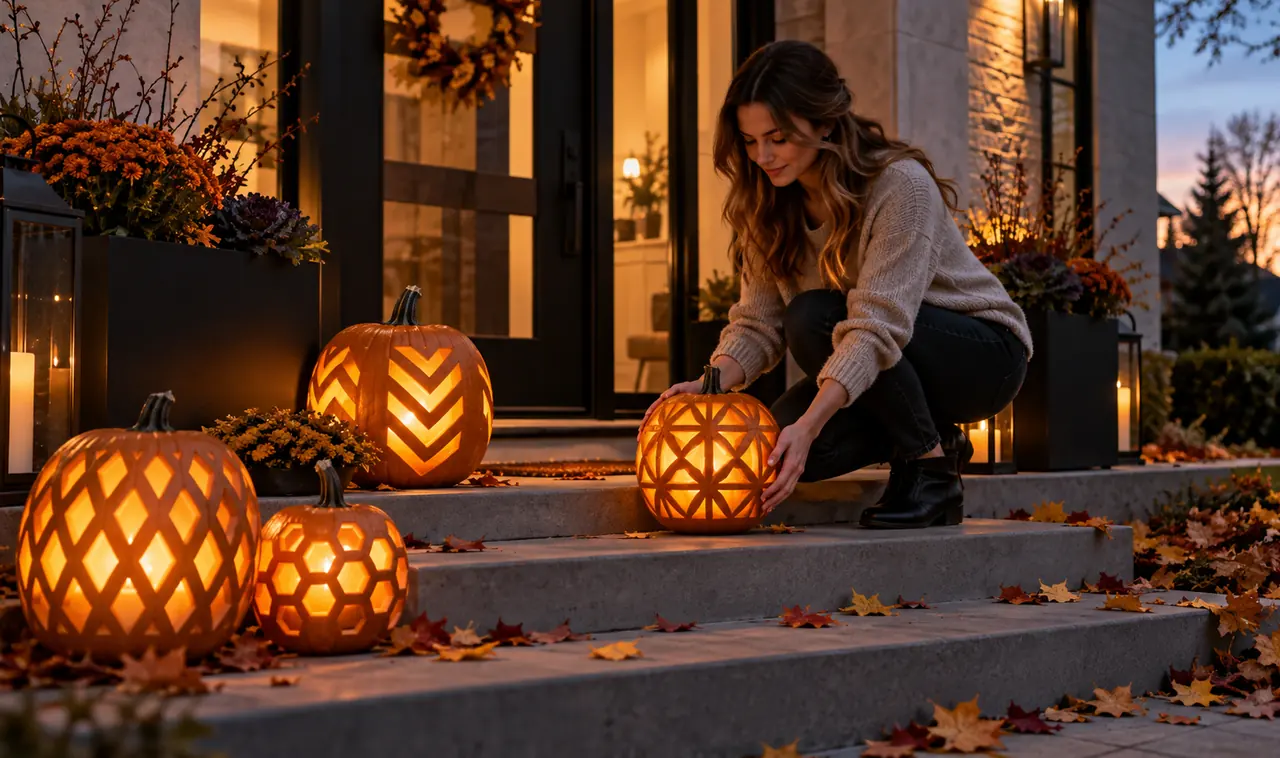
A full diamond lattice looks complicated from the curb but it is just one repeated shape. Wrap a strip of paper around the pumpkin to measure the circumference, divide it into equal sections, and mark the points. Connect them into diamonds and cut every other one through. The uncut diamonds stay dark while the cut ones glow, which gives the whole pumpkin a lantern feel.
Tip: Keep your diamonds at least an inch wide. Smaller than that and the walls between cuts get fragile and snap.
3. Honeycomb Hexagons
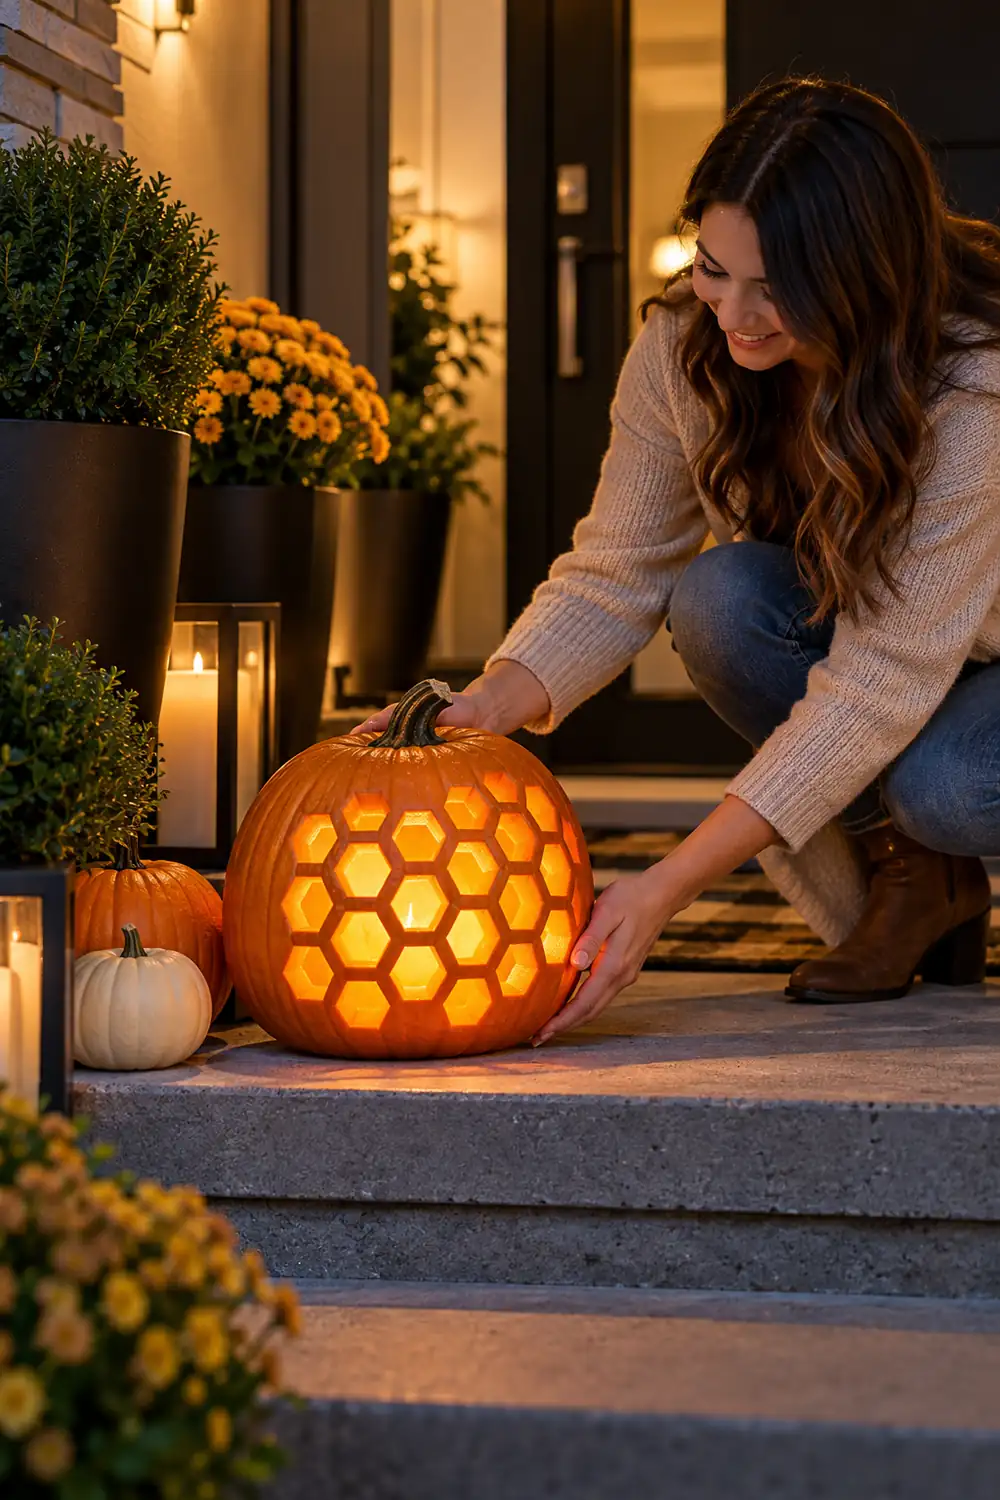
Hexagons read modern instantly. Draw a row of hexagons using a small hexagon stencil or a cookie cutter pressed lightly into the skin as a stamp. Cut the centers out of alternating hexagons and leave the rest solid. From a distance the glowing cells look like a beehive, which is a fun nod to fall without a single spooky element.
4. Chevron Bands
Chevrons wrap beautifully around a round pumpkin. Mark three evenly spaced horizontal lines, then draw zigzag points between them all the way around. Cut the chevron shapes out in one band and leave the other bands solid for contrast. For extra polish, etch the solid bands shallowly so they glow dimmer than the cut band, which adds depth without extra cutting. This design pairs well with simple porch decor, and if you like clean lines you will also enjoy these minimalist pumpkin-carving ideas for the rest of your display.
5. Triangle Mosaic
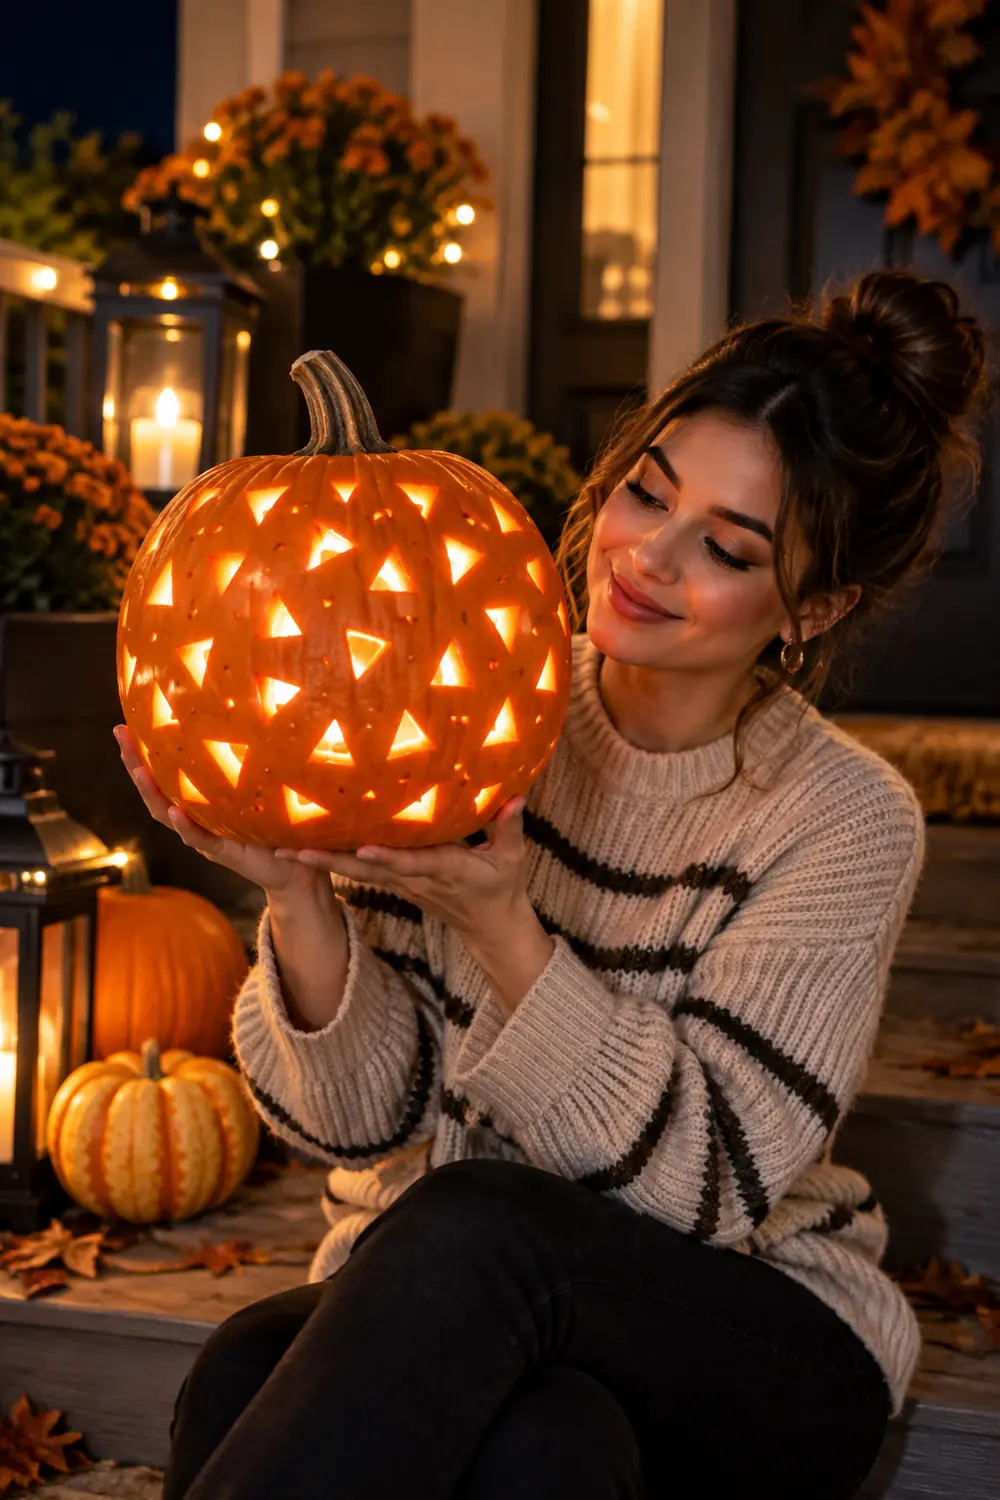
Cover the whole pumpkin in small triangles, cut out in a random mosaic pattern. Some triangles point up, some point down, and the mix keeps it interesting. Because every shape is the same size, mistakes are nearly invisible. Use a triangle stencil and a pencil to map the layout first, then cut. At night the scattered glowing triangles look like confetti.
6. Geometric Spider Web
A web is pure geometry: straight spokes radiating from a center point, connected by curved arcs. Draw eight to ten spokes from the top of the pumpkin downward, then connect them with scalloped lines. Cut along the arcs and leave the spokes as thin raised lines. The result is spooky but tidy, with none of the mess of a hand drawn web.
Web layout checklist
- Mark the center point first so the spokes stay even
- Use an odd number of spokes for a natural look
- Keep arcs shallow near the top and deeper near the bottom
- Cut arcs before spokes so the skin stays supported
7. Crescent Moon Rows
Rows of small crescent moons marching around the pumpkin make a calm, rhythmic design. Stamp the crescents with the round end of a large apple corer or a small round cookie cutter, then carve a smaller circle overlapping each one to form the crescent bite. Three rows of moons, evenly spaced, is enough. It glows softly and looks almost elegant. Space the rows with a strip of paper so the gaps stay consistent, and rotate the pumpkin as you work so you can see the full row forming.
8. Skyscraper Window Grid
Draw a grid of small squares across the front of the pumpkin like lit office windows. Cut out a random selection of the squares and leave the rest dark. From the street it reads as a tiny city block glowing at night. This one is great for apartment balconies where a scary face might feel like too much. Keep the squares small and numerous rather than large and few, since a dense grid reads more convincingly as a building.
9. Zigzag Lightning Bolts
Two or three bold lightning bolts cut vertically down the pumpkin make a striking modern statement. Draw each bolt with a ruler so the angles stay crisp, and keep the bolts wide enough that the walls hold together. The sharp angles catch the candlelight in a way curves never do. If you love bold glow effects, browse these glowing pumpkin-carving ideas for more ways to make your porch stand out after dark.
How to cut a clean bolt
- Draw the bolt outline with a ruler and marker
- Poke starter holes at each inside corner with a nail
- Cut the long straight edges first
- Finish with the short angles, sawing gently
- Push the shape out from the inside to avoid tearing
10. Concentric Drilled Rings
You do not need a knife for this one. Use drill bits in three sizes to punch concentric rings of holes around the pumpkin. Big holes in the center ring, medium in the next, tiny pinpricks on the outer ring. The graduated dots create a target pattern that throws beautiful dotted light onto the wall behind it. It is the easiest design on this list and one of the prettiest. Drill slowly and support the pumpkin from the inside with your free hand so the skin does not crack.
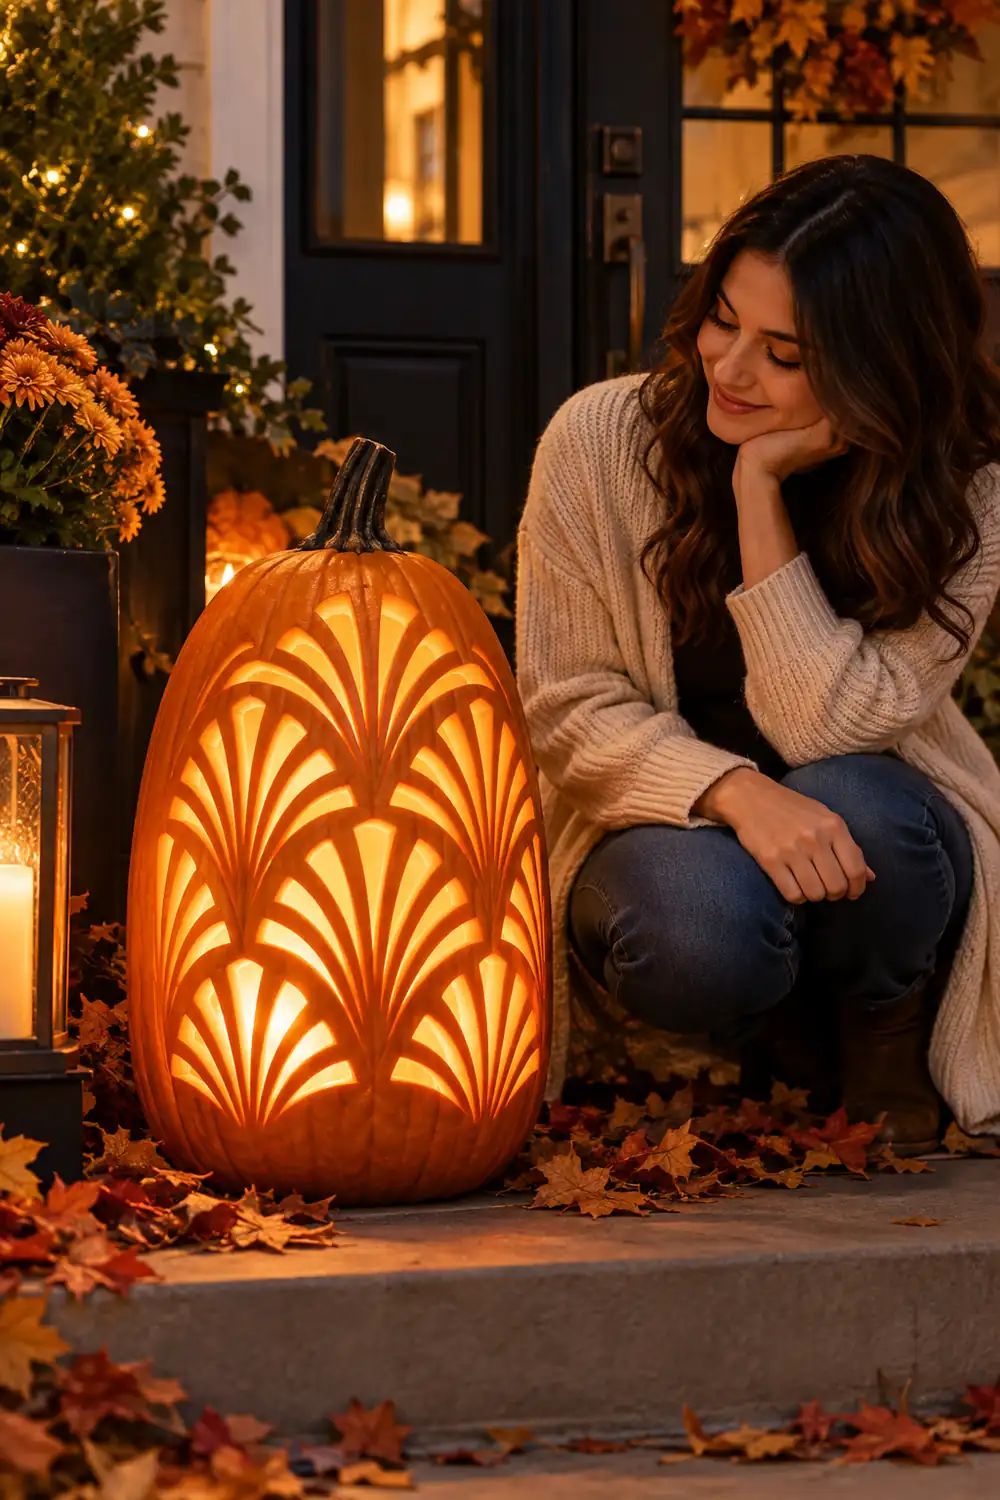
11. Art Deco Fan
An art deco fan brings instant vintage glamour. Draw a half circle near the top of the pumpkin and divide it into wedge slices like a pie. Cut alternating wedges through and etch the rest shallowly so they glow dimmer. Add a straight horizontal band below the fan for the full deco look. This design looks best on a tall, narrow pumpkin.
12. Moravian Star Cutouts
Moravian stars are those spiky three dimensional stars from holiday decor, and their flat pattern carves beautifully. Draw a large star with long thin points in the center of the pumpkin, then add smaller stars around it. Cut the points through and leave narrow bridges of skin between them so the shape holds. At night the star throws dramatic pointed shadows. Draw the star with a ruler and a protractor if you want the points perfectly even.
13. Diagonal Crosshatch
Crosshatch is just two sets of parallel diagonal lines crossing each other. Draw them evenly spaced across one face of the pumpkin, then cut out every other diamond formed by the crossing lines. The woven look is simple but the light play is excellent. A table comparing cut versus etched crosshatch helps you decide which finish you want.
14. Low Poly Fox
Low poly art builds animals from flat triangles, and a fox face translates perfectly to pumpkin. Sketch the fox with straight lines only: triangle ears, a diamond muzzle, slit eyes. Cut the main shapes through and etch the inner detail lines. It reads as a fox from ten feet away and as cool geometry up close. Kids love this one because it looks like a video game character. Print a low poly fox reference from the web and copy the facet lines directly onto the pumpkin.
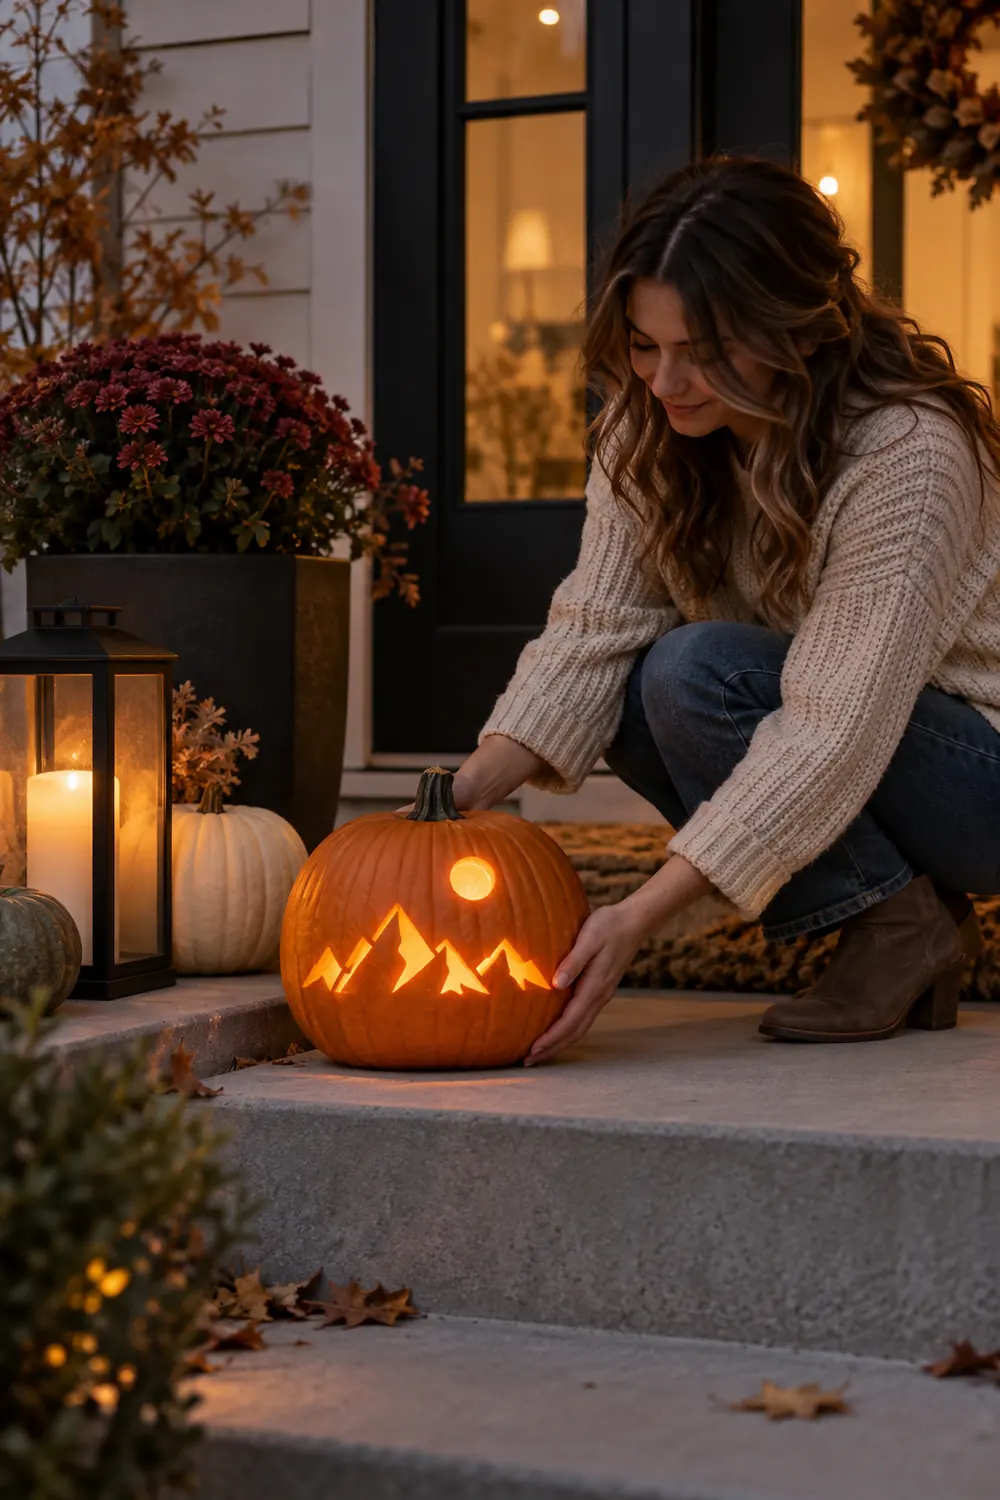
15. Mountain Range Triangles
A row of triangle peaks along the bottom half of the pumpkin makes a minimalist mountain scene. Vary the triangle heights for a natural ridgeline, cut them through, and add a small drilled circle above as the moon. The design uses maybe fifteen minutes of cutting and looks intentional and calm. It suits porches that skip the spooky stuff entirely.
16. Etched Origami Crane
Not every geometric design needs to be cut through. Sketch an origami crane in straight folded lines and etch it shallowly with a linoleum cutter or a clay loop tool. The etched lines glow softly instead of blazing, which gives a refined look. This is a good pick for a real pumpkin you want to keep on the table for weeks, since etched pumpkins rot slower than cut ones. Rub a little petroleum jelly into the etched lines to keep them from drying out.
17. Geometric Owl
Build an owl from circles and triangles: two big round eyes, a small triangle beak, and a zigzag brow line. Cut the eyes through for maximum glow and etch the brow. The circle and triangle combo is bold and graphic, almost like a logo. For a scarier take on animal faces, these spooky pumpkin faces show how far you can push the same basic shapes.
18. Diamond Monogram
Carve your family initial inside a diamond frame for a personal touch. Draw a large diamond, center the letter inside it, and cut both through. The diamond border makes even a wobbly letter look deliberate. Place it by the front door like a crest. It is the kind of detail guests notice and remember.
Key takeaway: geometric designs reward planning, not talent. Measure twice, mark clearly, and the knife work stays simple.
19. Punched Dot Band
Wrap a band of punched dots around the middle of the pumpkin using two drill bit sizes in an alternating pattern. Big dot, small dot, big dot, all the way around. The band acts like a glowing belt and frames whatever design sits above it. Combine it with a simple face or leave it solo for a pure modern accent. Mark the band edges with a rubber band stretched around the pumpkin so the dots stay in a straight line.
20. House Number Plaque
Turn a flat sided pumpkin into your house number plaque. Draw the numbers large and blocky inside a rectangular border, cut the numbers through, and set the pumpkin by the mailbox or door. It is practical, it is geometric by nature, and delivery drivers will thank you. Use block numbers at least three inches tall so they read from the street. A battery candle inside keeps it glowing safely all evening without any fire worry.
Geometric Pumpkin-Carving Ideas prove that a ruler can be more powerful than artistic talent. Pick one pattern, mark it carefully, and let the shapes do the talking. Your porch will look sharper, your cuts will stay cleaner, and you might never go back to the wobbly freehand face. Save this list for carving night and try a new shape every year.