
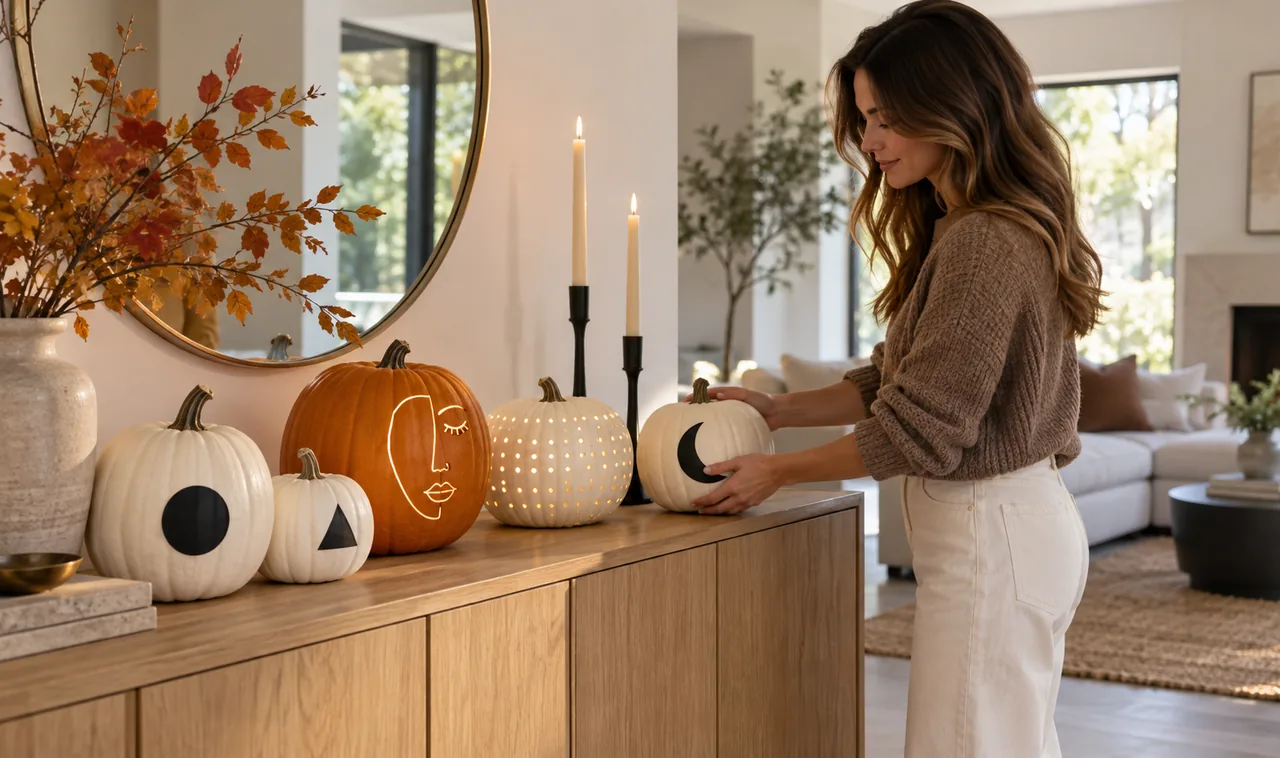
Most Halloween pumpkins scream. The jagged teeth, the wild eyes, the whole horror show. And if your home leans calm and modern, that look feels wrong on your porch.
Minimalist pumpkin-carving ideas fix that clash. They use less cutting, not more, and the result looks like it belongs in a clean, styled home. One line. A few dots. A single shape that glows at night. You spend less time carving and less time cleaning seeds off the table.
These designs also last longer, because fewer cuts mean the pumpkin stays strong. A simple carve can still look fresh a week later, while a detailed face caves in. That makes minimalism practical, not just pretty.
Below are 17 simple modern designs you can carve in an evening. Each one keeps the cutting light, the cleanup small, and the look sharp. Grab a sharp knife, a drill bit, and a pumpkin with smooth skin, and let us start.
Carve a Face From One Continuous Line
The simplest face you can carve is a single line that never lifts. Start at the top of the pumpkin, draw a looping line that forms two eyes and a small smile, then cut along it with a thin serrated knife.
Because the line is one piece, there are no small islands of rind to fall in or wobble. The cut stays clean even if your hand shakes a little. At night, the glow traces the whole face in one warm thread.
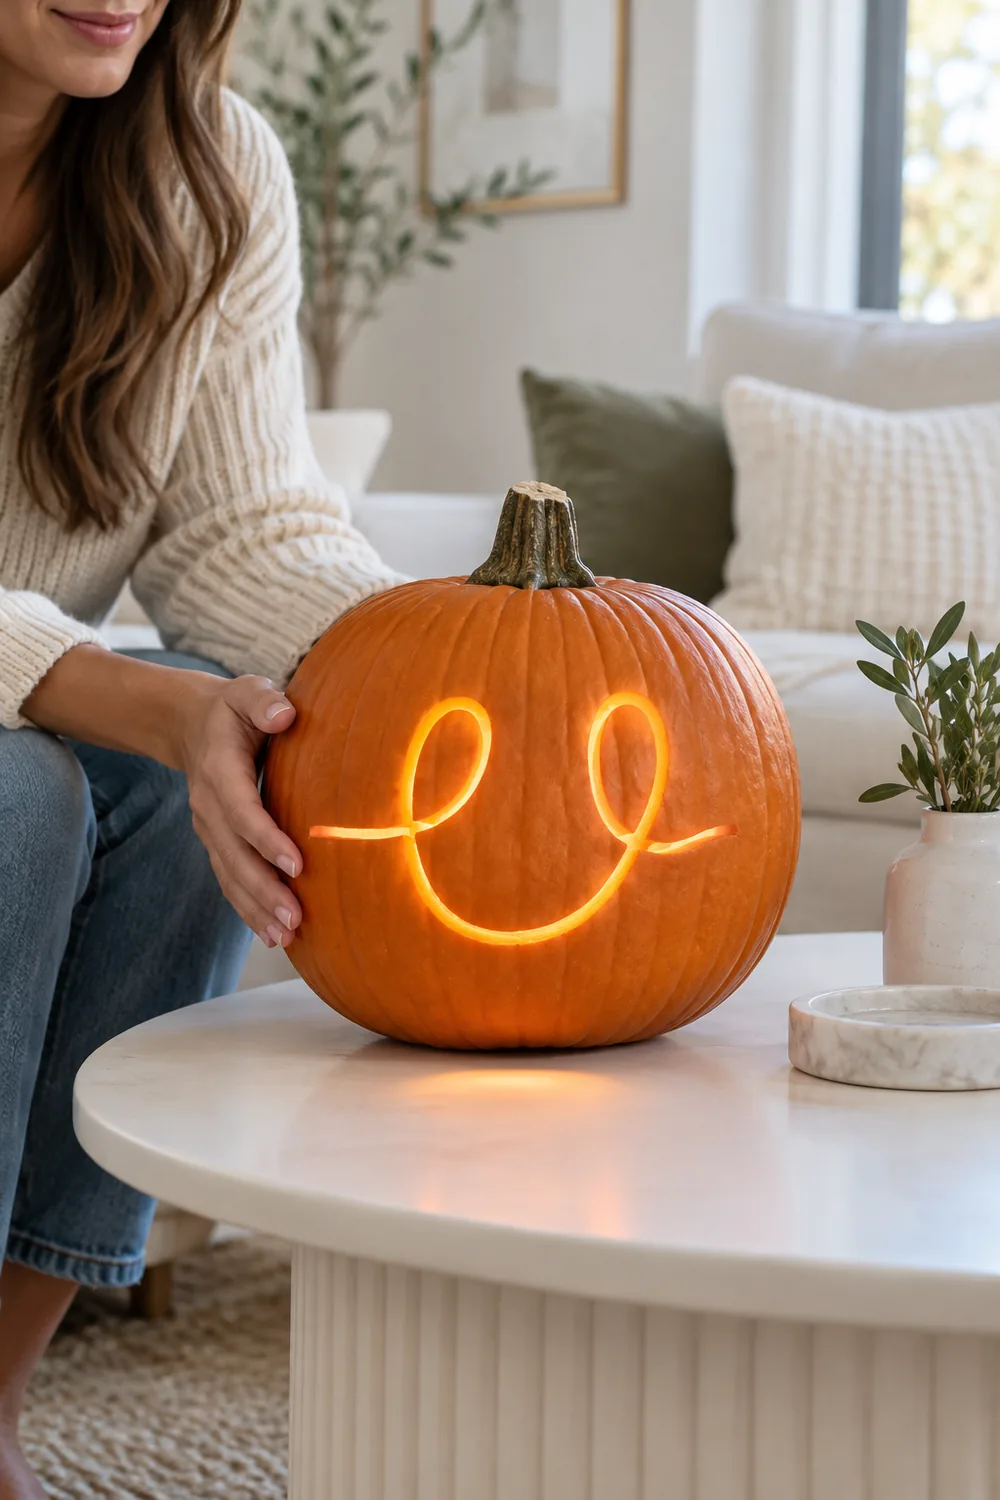
Keep the line at least a finger width from the edge of any curve so the rind does not tear between loops.
Scatter Drilled Dots Like Stars
Mark random dots across the front of the pumpkin with a washable marker. Then drill each dot with a small bit, keeping every hole the same size.
The random scatter reads as modern because there is no pattern to decode. From the street, it looks like a star field. From up close, guests notice the discipline of even spacing. A pumpkin-carving for beginners guide covers drill safety if this is your first time with a power tool.
Use a battery candle inside. Real flames flicker unevenly and make the dots look messy instead of calm. Step back every few holes and check the overall spread, since dots tend to drift toward one side.
Paint One Bold Shape on a White Pumpkin
Buy a white pumpkin, sometimes sold as a ghost pumpkin, and paint a single black shape on it. One triangle. One circle. One thin arch.
The white skin acts like a blank wall, so a single shape carries the whole design. No carving means no mess and no rot, so this one lasts weeks. Set it by the door and it reads as art, not as a craft project.
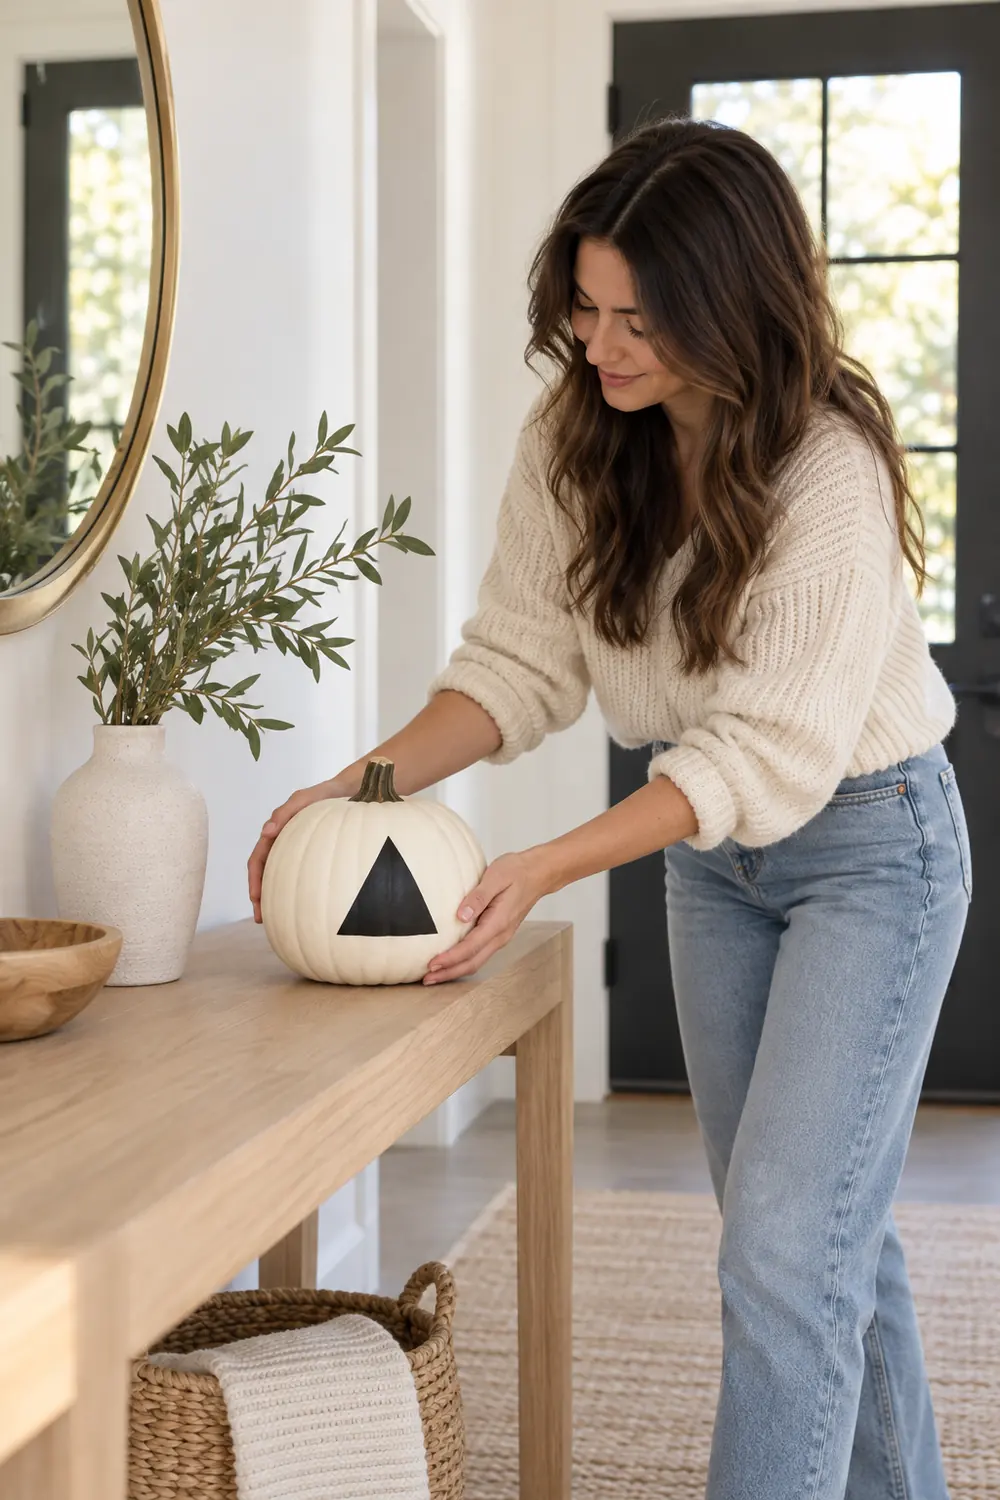
Use matte acrylic paint. Glossy paint catches light and makes the shape look like a sticker.
Cut Thin Horizontal Stripes Around the Middle
Wrap a rubber band around the pumpkin as a guide, then cut two or three thin horizontal slits along it. Space them evenly and keep each slit the same length.
Stripes feel architectural, almost like the pumpkin was built that way. The light escapes in clean bands, which looks striking on a dark porch. Short slits are stronger than long ones, so the pumpkin holds its shape for days.
Rotate the pumpkin slowly as you cut so each stripe stays level. A stripe that climbs will be the only thing anyone notices.
💡 Quick Tip
Cut stripes on the upper half of the pumpkin only. Slits near the base sit in moisture and soften first.
Line Up a Row of Tiny Triangles
Draw a straight row of small triangles across the front of the pumpkin, each about the size of a thumbnail. Cut them out with a craft knife.
A single row of identical shapes looks deliberate and modern, like a pattern from a textile. It takes ten minutes and one steady hand. The row catches the eye without shouting.
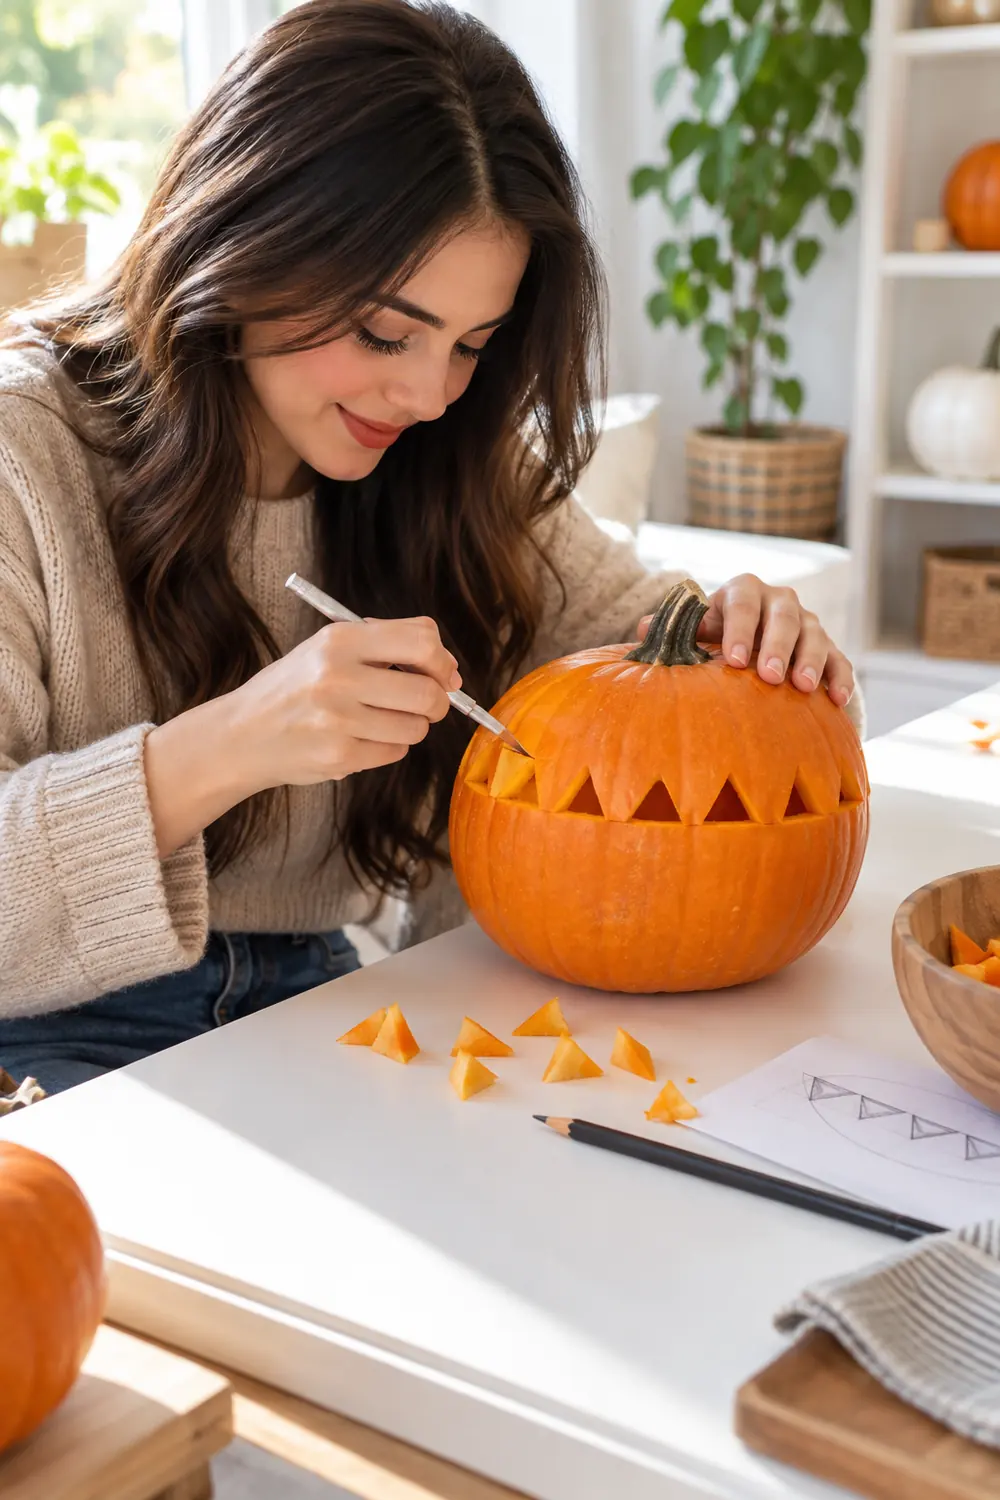
Press the marker stencil on first with the flat of your hand. Triangles that tilt even slightly break the clean look.
Carve Only Two Crescent Eyes
Cut two small crescents, like sleepy half moons, and stop there. No mouth, no nose, nothing else.
Two crescents read as calm and a little mysterious. The empty space around them does the work. This is the fastest carve on this list, and it photographs beautifully because the design has so much breathing room.
Place the eyes slightly higher than center. Faces placed too low look droopy instead of serene. A white pumpkin makes the crescents pop even harder.
Build a Small Triangle Grid
Sketch a three by three grid of tiny triangles on one side of the pumpkin. Cut each triangle cleanly, keeping the rind bridges between them even.
The grid turns the pumpkin into a little lantern with a woven look. Light pours through the grid and throws a patterned shadow on the wall behind it. If you enjoy geometry, our geometric pumpkin-carving ideas take this concept much further.
Grid checklist
Punch Uniform Small Circles
Use a small round cookie cutter or a large drill bit to punch circles of one size across the pumpkin. Keep the spacing even, like bubbles rising.
Uniform circles feel orderly and calm. The glow through them is soft and even, more like a paper lantern than a jack-o-lantern. This works well on small pumpkins, where big cuts would overwhelm the surface.
Tap the cookie cutter straight down with a rubber mallet. Angled taps crack the rind between holes. Clear the plugs out with a skewer so every hole shines.
Carve a Single Letter
Pick one letter, your initial or the first letter of “boo,” and carve it large in the center of the pumpkin. Nothing else.
A single letter is personal without being busy. It reads clearly from the sidewalk, which most detailed carves fail to do. Use a printed letter as a template and trace it before cutting.
Choose a letter with straight lines, like A, H, or T. Curvy letters are harder to cut cleanly at large sizes.
Etch a Fine Crosshatch Panel
Instead of cutting through, shave a square panel of rind down to the pale flesh and score thin diagonal lines across it in both directions.
The etched panel glows softly instead of blazing, which suits a quiet porch. The crosshatch catches light at different angles, so the pattern shifts as you walk past. It is carving as texture, not as holes.
Use a linoleum cutter or a sharp paring knife. A thick blade tears the thin flesh layer. Rub a little petroleum jelly over the panel to keep it from drying out.
Cut One Simple Ghost Oval
Carve a single tall oval with two small dot eyes near the top. That is the entire ghost.
Stripped of arms and wavy edges, the ghost becomes a friendly minimal icon. It glows like a little lantern spirit. Kids love this one because they can draw it themselves before you cut.
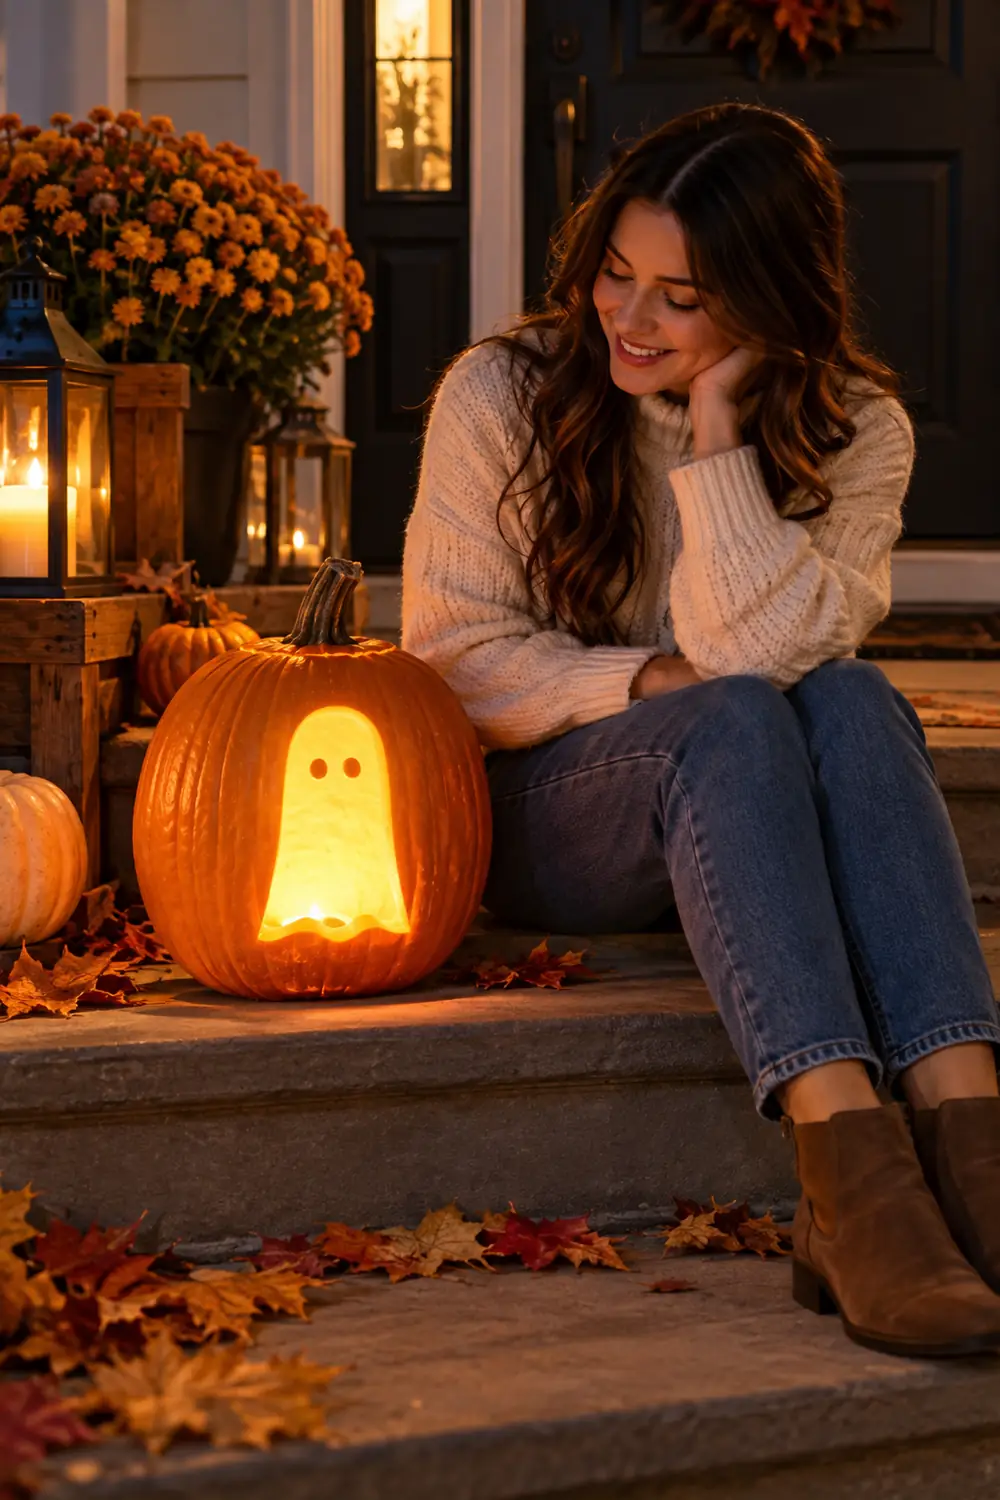
Make the oval tall, not round. A tall oval reads as a ghost. A round one reads as an egg.
Slice Three Vertical Slits
Cut three straight vertical slits down the front of the pumpkin, evenly spaced, each about four inches long.
Vertical slits feel tall and elegant, and they make a round pumpkin look slimmer. At night the three lines of light look almost like a modern logo. It is the rare design that takes under five minutes and still looks intentional.
Keep the slits away from the stem. The rind near the top is thick and the slits can close up as it dries. Five slits work too, but three keeps the calm minimal mood.
Space Out Even Polka Dots
Drill or punch dots in a loose even grid over the whole pumpkin, all the same size, all the same depth.
Polka dots are playful without being childish when the spacing is disciplined. The whole pumpkin glows like a dotted lantern. This is a good pick for a porch with several pumpkins, since a row of dotted pumpkins looks like a designed set.
Mark the dots with a ruler and marker so spacing stays even.
Drill every hole with the same bit and the same pressure.
Wipe the surface clean so no marker lines show in daylight.
Cut One Bold Star
Carve a single five pointed star in the center of the pumpkin and leave the rest untouched. A small pumpkin suits this best, since one star fills the surface nicely.
The star throws a star shaped beam of light onto the ground in front of the pumpkin, which is a lovely surprise after dark. One shape, one cut, one big payoff. It is hard to find a better effort to impact ratio on this list.
Draw the star with a ruler first. A lopsided star ruins the effect, and freehand stars almost always lean. Cut slowly around the points so none of them snap off.
Etch a Thin Botanical Line
Shave the rind lightly to sketch a single stem with two or three leaves, like a botanical drawing. Do not cut through anywhere.
The etched line glows faintly, like a drawing lit from behind. It feels grown up and quiet, more fall decor than Halloween prop. This one stays beautiful for weeks because the pumpkin is never opened.
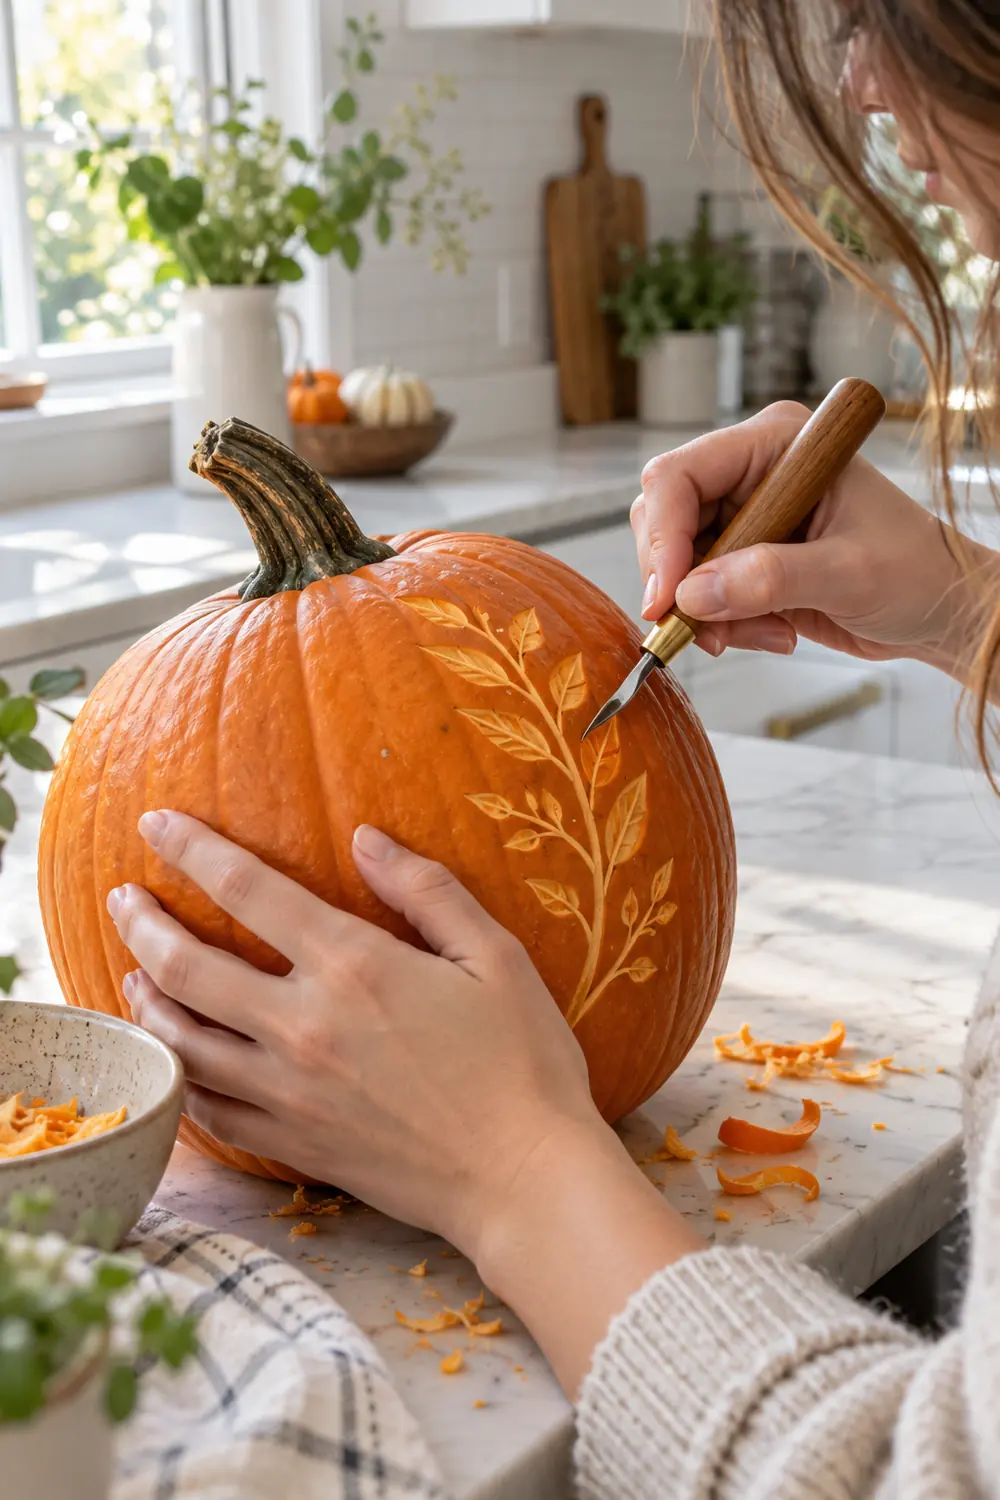
Keep the design on one side. A botanical line that wraps all the way around starts to look busy.
Carve a Checkerboard Band
Cut a band of alternating squares around the middle of the pumpkin, like a checkerboard ribbon.
The band breaks the round shape into something graphic and bold. Light alternates through the squares and the solid rind, which reads as very modern. It pairs well with plain pumpkins on either side, so use it as the centerpiece of a group.
| Small squares | Large squares |
|---|---|
| Finer, more delicate look | Bolder, reads from far away |
| Better on small pumpkins | Better on large pumpkins |
Cut One Big Shape From Negative Space
Carve one large simple shape, a circle, a moon, a heart, and leave every bit of rind around it solid.
Negative space carving flips the usual idea. Instead of many cuts, you make one, and the dark rind around it becomes the design. The single glowing shape looks dramatic precisely because everything else stays dark.
Cut the shape in the upper third of the pumpkin. Centered shapes look static, while a slightly high placement feels designed. This technique also suits watermelons in summer, if you want to practice first.
Minimalist pumpkin-carving ideas prove that restraint is a style, not a shortcut. Pick the one design that fits your porch, cut it carefully, and let the glow do the talking. Save this list to your Halloween board so it is ready when carving night arrives.


One Response