
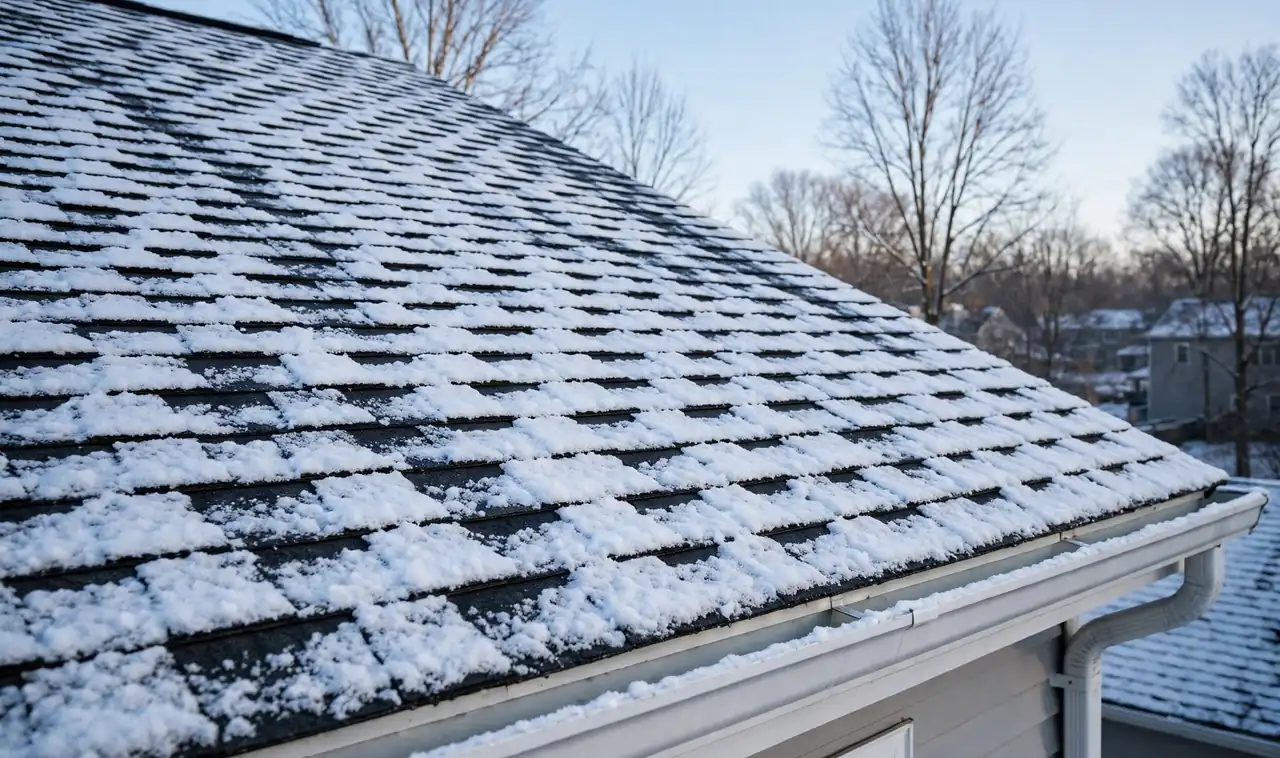
Every winter, the same story plays out on streets across the country. The first heavy snow arrives, and roofs that looked fine in October start leaking, sagging, or growing thick ridges of ice along the edges. Most of that damage was preventable. A loose shingle, a clogged gutter, or a small gap in the flashing can sit quietly for months, then turn into a soaked ceiling or a ruined attic the week the temperature drops below freezing.
Learning how to prepare your roof for winter means catching those small problems while the weather still lets you fix them. This guide walks you through the full job in twelve steps, in the order a roofer would do them. You will inspect the shingles, clear the drainage, seal the weak spots, and check the attic, all with basic tools and one free weekend.
The hands-on work takes about 4 to 6 hours spread over a Saturday and a Sunday, and most of it needs no special skill. A few steps, like replacing shingles or sealing flashing, take a steady ladder and a calm head for heights. Anything that feels unsafe belongs to a roofer, and this guide flags those moments as they come up. Start in early fall, before the first frost, and your roof will carry the snow, the ice, and the thaw without a drip inside.
What You Need
- Binoculars and a phone camera
- Sturdy extension ladder
- Work gloves and safety glasses
- Gutter scoop or small trowel
- Bucket with a ladder hook
- Garden hose with a spray nozzle
- Roofing sealant and a caulk gun
- Putty knife
- Replacement shingles to match your roof
- Roofing nails and a hammer
- Pry bar
- Pruning saw or pole saw
- Tape measure and flashlight
- Spray foam sealant and caulk
- Dust mask
- Roof rake with a long handle
At a Glance: The 12 Steps
- Scan the whole roof from the ground
- Inspect the shingles up close from a ladder
- Clear every gutter and downspout
- Flush the downspouts and check the water flow
- Reseal the flashing around chimneys, vents, and skylights
- Replace cracked or missing shingles
- Trim back branches that hang over the roof
- Check the attic insulation and top it up
- Seal the air leaks in the attic floor
- Fit heat cables on eaves that ice over
- Buy a roof rake and plan your snow clearing
- Book a midwinter check after the first heavy snow
Scan the whole roof from the ground
Walk slowly around the house and look at every slope with binoculars. Sagging lines, dark patches where granules have worn away, and shingles that lift at the corners all show up clearly from the lawn. Pay extra attention to valleys, where two slopes meet, because water runs hardest there. Take phone photos of anything that looks off, and note which side of the house it sits on. Those photos become your repair list for the steps ahead, and they help a roofer quote the job if you hand part of it over.
Inspect the shingles up close from a ladder
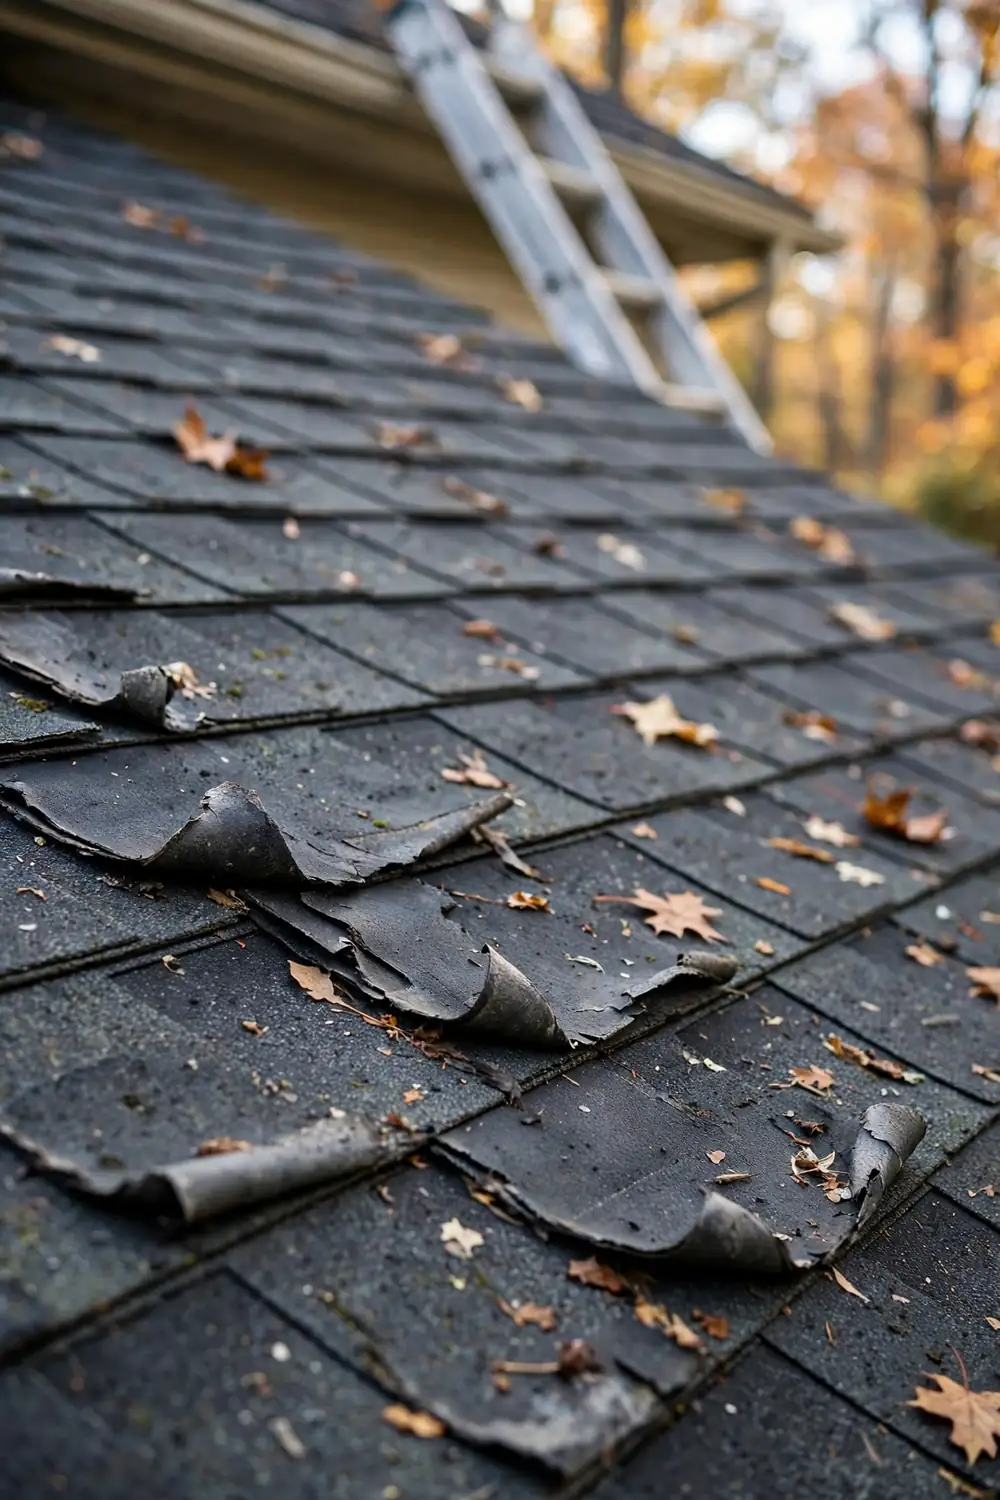
Set the ladder on firm, level ground and lean it against a solid section of eave, never against a gutter. Climb only high enough to see the shingle edges at eye level, keeping your hips inside the rails. Look for cracked tabs, missing granules that leave bald black spots, and nails that have popped up through the surface. A shingle that bends and cracks when you lift its corner gently has gone brittle and needs replacing.
Clear every gutter and downspout
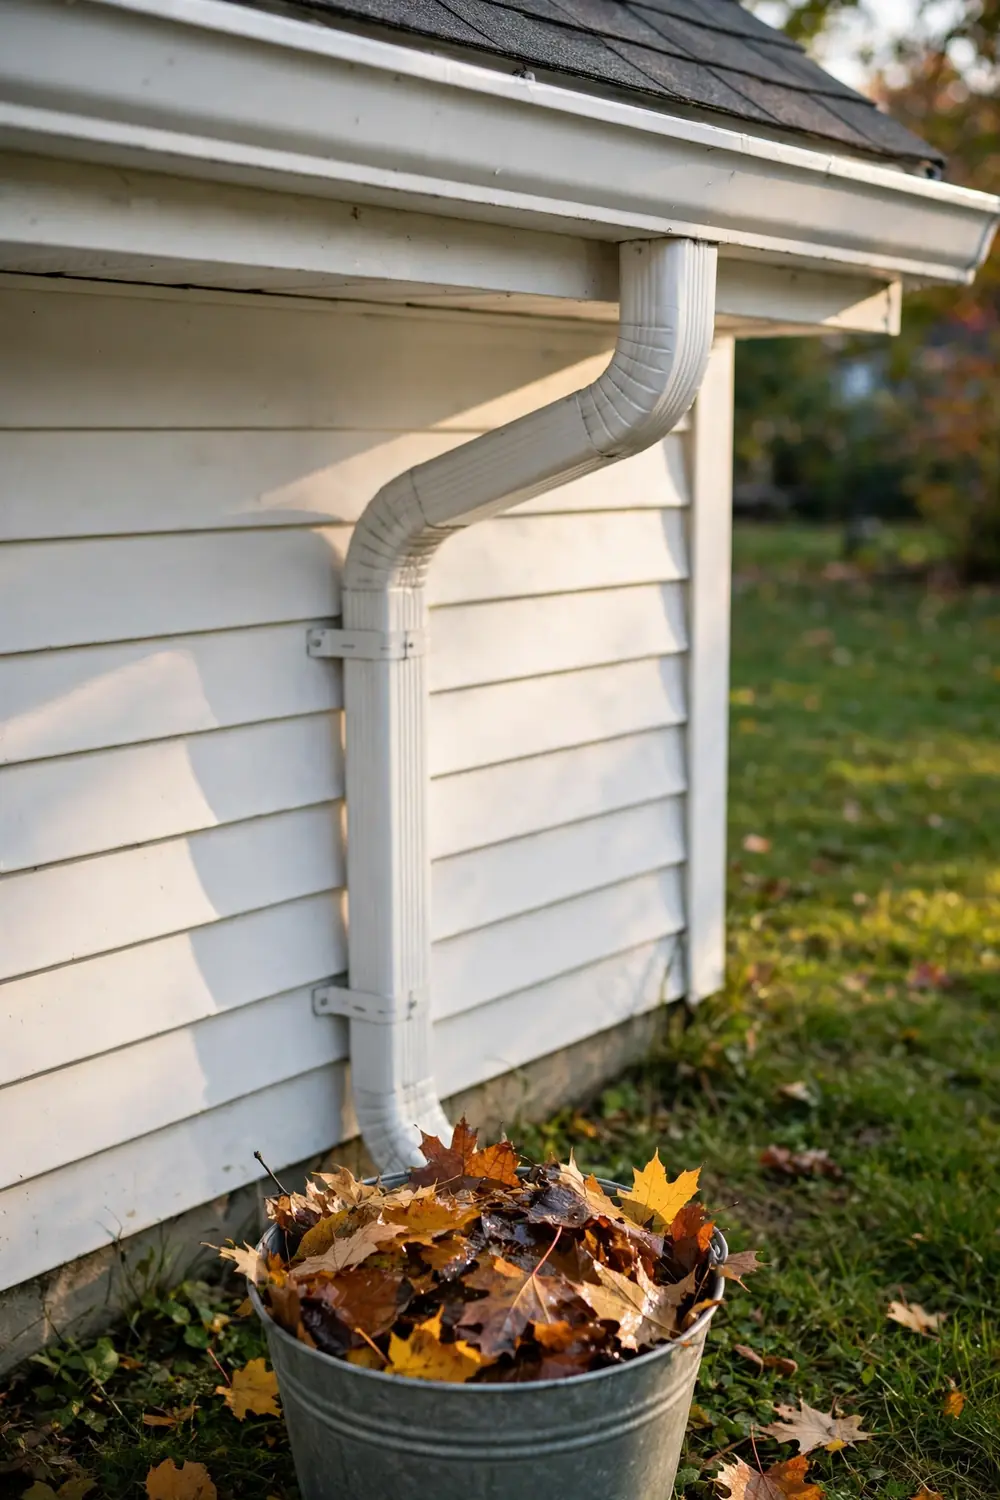
Clogged gutters are the number one cause of winter roof damage. Leaves and grit trap water, and that water freezes, expands, and pries the gutter away from the fascia board. Scoop out the debris by hand with gloves on, working from the downspout end toward the far corner, and drop it into a bucket hooked to the ladder. Check the seams and hangers as you go. A gutter that pulls away from the house by more than half an inch needs new hangers before the snow load arrives.
Flush the downspouts and check the water flow
Run a garden hose into each gutter and watch the water exit at the bottom of the downspout. A slow trickle means a clog is still lodged inside, often at the elbow bend. A plumber’s snake or a firm blast from the hose usually clears it. Water should run 4 to 6 feet away from the foundation, so add an extender if it pools near the wall.
Reseal the flashing around chimneys, vents, and skylights
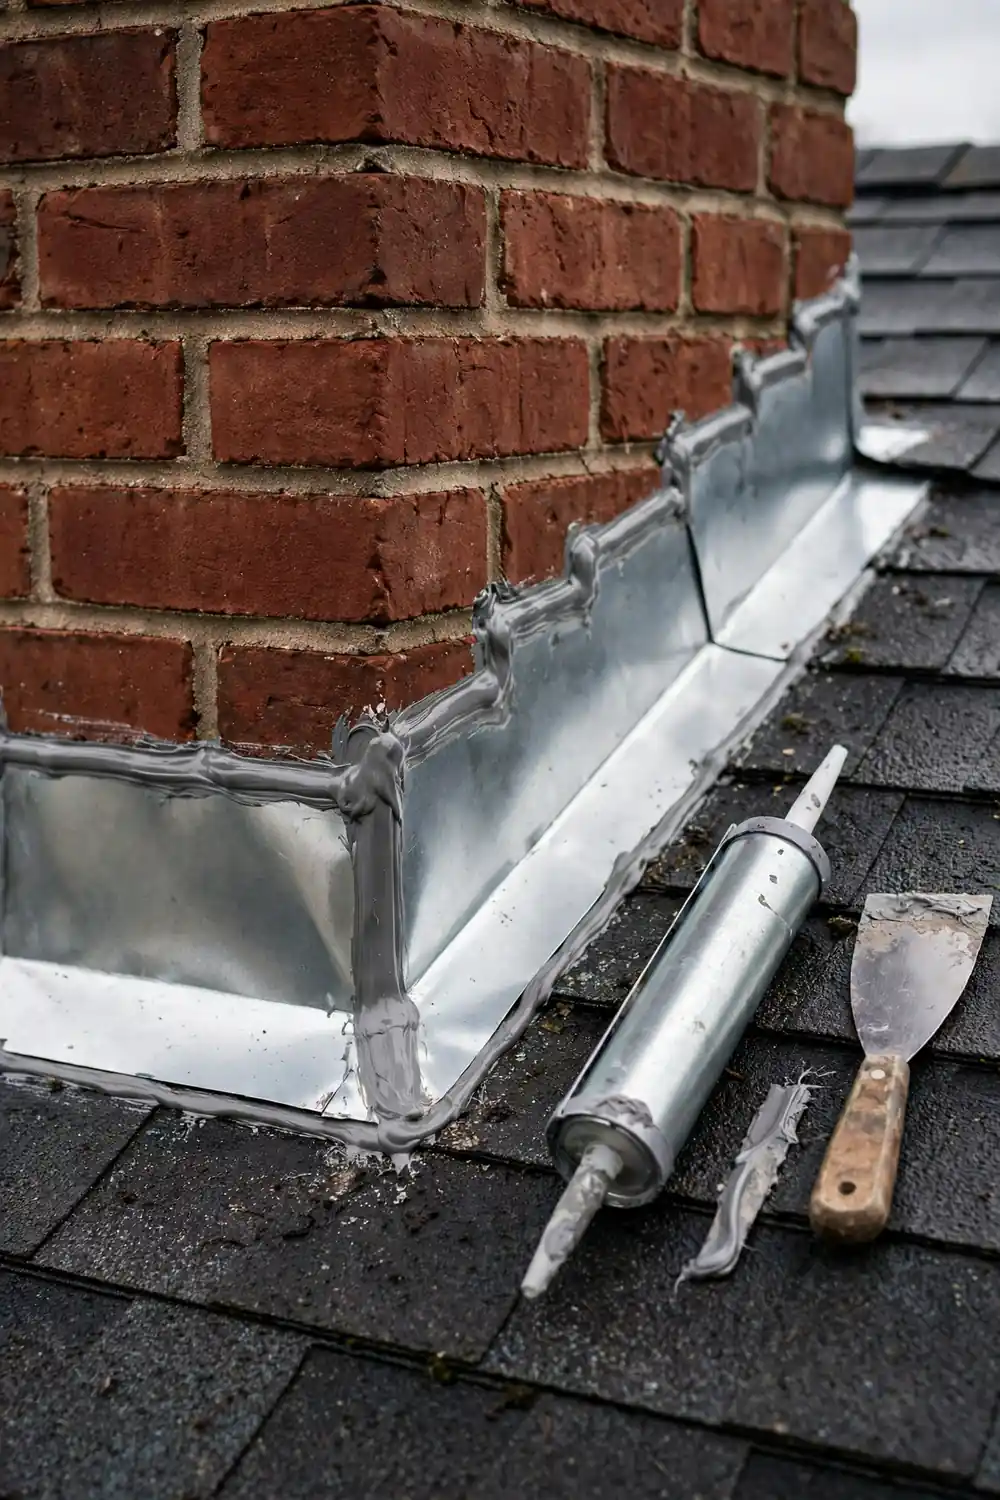
Flashing is the thin metal that seals the joints where the roof meets a chimney, a vent pipe, or a skylight. Look for cracked sealant, rust spots, and metal that has lifted away from the brick or pipe. Scrape out the old sealant, lay a fresh bead of roofing sealant along the seam, and press it flat with a putty knife. Let it cure for 24 hours before rain or snow tests it. These joints and the small parts around them are covered in more detail in this guide to roofing accents and accessories.
Replace cracked or missing shingles
One missing shingle leaves the felt underlayment open to rain, and one storm can soak the decking beneath it. Slide a pry bar under the damaged shingle, lift the nails, and pull it free. Slide the new shingle into place, nail it with four roofing nails placed below the seal strip, and dab roofing sealant over each nail head. Buy shingles that match the color and thickness of the ones already on the roof. If you are unsure which shade your roof carries, these roof color ideas can help you match the tone before you buy.
Trim back branches that hang over the roof
Any branch within 6 feet of the roof is a winter risk. Snow loads it down until it scrapes the shingles, and ice can snap it clean off onto the slope. Cut overhanging limbs back to the trunk or to a strong side branch, and clear the cuttings from the roof surface. Leave any branch thicker than your arm, or anything near a power line, to a tree service with the right gear.

Check the attic insulation and top it up
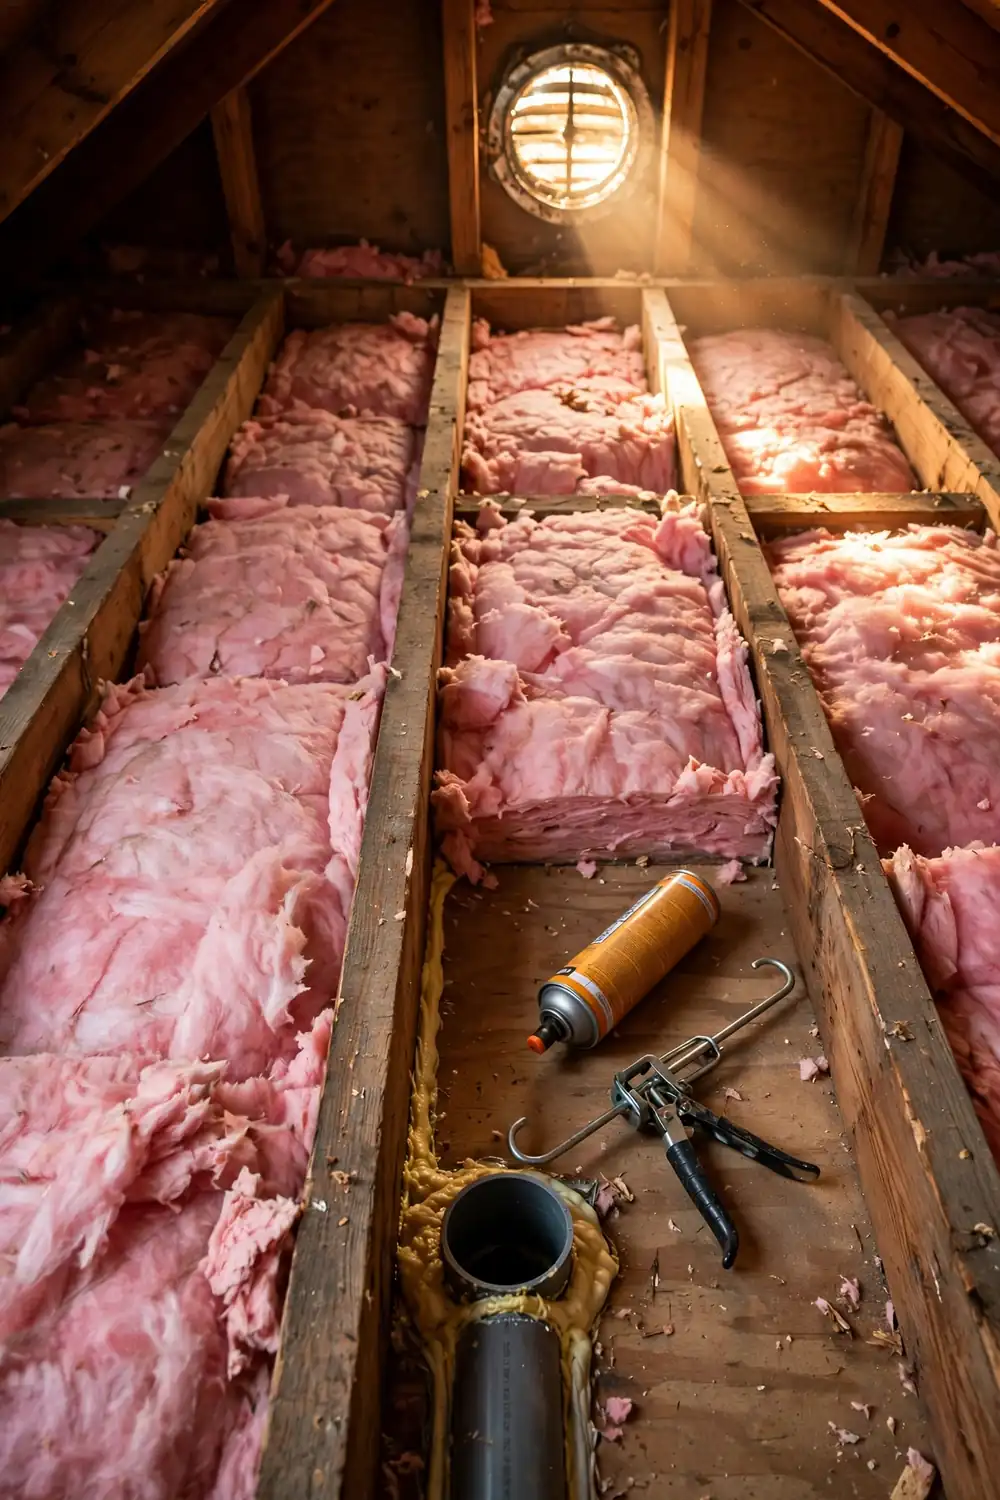
Head into the attic with a flashlight and a tape measure. Fiberglass insulation should sit 10 to 14 inches deep across the floor, and the joists should be buried, not poking through. Thin or patchy spots let house heat escape into the roof deck, melt the snow above, and feed ice dams at the eaves. Lay new batts at right angles across the old layer to cover the gaps, and wear a dust mask and gloves while you handle the fibers.
Seal the air leaks in the attic floor
Insulation slows heat loss, but air leaks carry warm air straight past it. Hunt for gaps where pipes, wires, and ductwork pass through the attic floor, and check the rim around the attic hatch. Fill gaps under half an inch wide with caulk, and use expanding spray foam for the wider ones. Sealing these leaks keeps the roof deck cold, which is the best defense against ice dams forming at the edges.
Fit heat cables on eaves that ice over
Some eaves ice over every winter no matter how clean the attic is, usually on north-facing slopes or under deep shade. A heat cable, clipped in a zigzag pattern along the first 2 feet of the roof edge and down through the gutter, melts a narrow channel so water can drain instead of pooling behind ice. Plug it into a GFCI outlet, switch it on before the first freeze, and leave it running through the coldest weeks.
Buy a roof rake and plan your snow clearing
A roof rake with a 16 to 24 foot telescoping handle lets you pull snow off the lower edge of the roof while your feet stay on the ground. Clear the first 3 to 4 feet above the eaves after every heavy fall, working in downward strokes, and never use a metal shovel or an ice pick on the shingles. Buy the rake in fall, when stores still stock them.
Book a midwinter check after the first heavy snow
Put a reminder in your calendar for the week after the first big storm. Walk the house again and look for icicles thicker than your wrist, new stains on the ceilings, and gutters that sag under the load. Catching a problem in January costs a fraction of what it costs in March, when meltwater has had months to work through a small opening.
Troubleshooting: If This Happens, Try This
| Icicles form along the eaves | The attic is too warm. Add insulation, seal the air leaks, and check that the soffit vents are clear. |
| Water drips inside after a thaw | A flashing joint or a shingle has failed. Check the chimney and vent seals first, then the shingles above the stain. |
| Gutters overflow in heavy rain | A downspout is still blocked. Flush again from the top and check the elbow bend for packed leaves. |
| Shingles keep blowing off | The nails sat too high, or the shingles have gone brittle. Replace them and nail below the seal strip. |
| Attic smells damp in winter | Warm, moist air is leaking in. Seal the gaps around pipes and wires, and check that the bathroom fan vents outside, not into the attic. |
Frequently Asked Questions
When is the best time to prepare a roof for winter?
Early fall, while daytime temperatures still stay above 50°F, so roofing sealant cures properly. Leaves have mostly fallen by then, which makes the gutter cleaning stick, and roofers still have open slots if you need help.
Can I walk on my roof to inspect it?
Only on a dry day, on a low slope, wearing soft-soled shoes, and only if you are steady at heights. For most homes, binoculars from the ground plus a ladder check at the eaves show everything you need to see, with far less risk.
How much does roof winter prep cost?
A do-it-yourself run costs roughly $100 to $250 in materials, mostly sealant, a few shingles, and a roof rake. A professional inspection runs about $150 to $350, and a roofer usually folds small repairs into the same visit.
Do I need to remove all the snow from my roof?
No. Clear only the lower 3 to 4 feet above the eaves, where ice dams form. A full clearing risks gouging the shingles, and a roof in good shape is built to carry a normal snow load all winter.
That is the full job done. Your gutters run clear, your shingles sit tight, your flashing holds, and your attic stays cold and dry. Learning how to prepare your roof for winter takes one weekend, and it pays you back every time a storm rolls through and nothing drips, sags, or ices over. Pin this guide to your winter home checklist so it is there when the leaves start falling, and take a look at these curb appeal before and after ideas to see what a cared-for roof does for the whole house.



3 Responses