

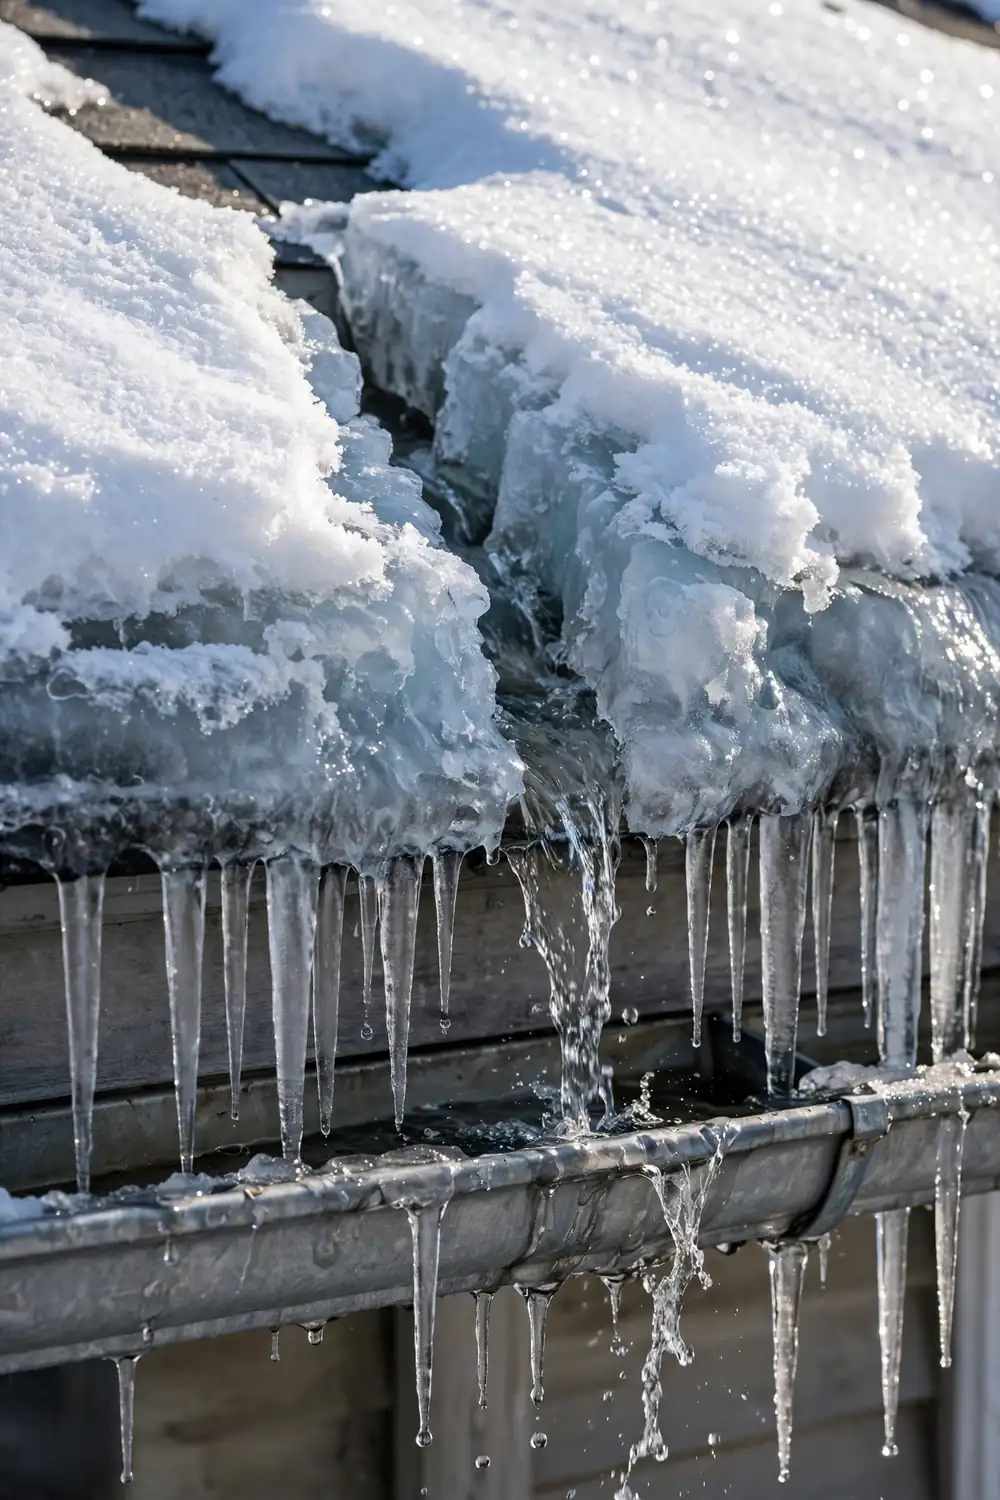
A ridge of ice along your roof edge looks harmless, almost pretty, with icicles hanging below it. Behind that ridge, though, melted snow has nowhere to go. It pools on the roof, seeps under shingles, and drips into walls and ceilings, where it stains paint, soaks insulation, and feeds mold. Learning how to prevent ice dams before winter sets in saves you from that slow, costly damage. The fix is not one big repair. It is a set of small jobs that keep your roof cold and even, so snow melts at the same rate across the whole surface.
This guide walks you through 12 steps in the order they should happen, starting in early fall and running through the coldest weeks of winter. Most of the work takes a single weekend, uses basic tools, and costs far less than one insurance claim for water damage. You will seal the air leaks that warm your roof from inside, add insulation where it is thin, clear the vents that keep air moving, and handle snow the right way after each storm. By the last step, your roof will be ready for a long, cold season.
- Roof rake with telescoping handle
- Work gloves and safety glasses
- Caulk and expanding foam sealant
- Attic insulation batts or blown-in insulation
- Soffit vent baffles
- Ice and water shield membrane
- Heat cables with thermostat control
- Calcium chloride ice melt
- Nylon stocking
- Sturdy ladder and flashlight
- Tape measure and dust mask
- Garden hose and stiff brush
- Inspect the roof and attic before the first snow
- Clear gutters and downspouts completely
- Seal air leaks around the attic hatch and pipes
- Add insulation until the attic floor is covered evenly
- Open blocked soffit vents for steady airflow
- Check ridge vents and roof vents for obstructions
- Install ice and water shield along the eaves
- Rake snow off the lower roof after each storm
- Break up small ice ridges with calcium chloride
- Lay heat cables in valleys and along problem eaves
- Watch icicles and melt patterns for early warnings
- Call a roofer when ice dams keep coming back
Inspect the Roof and Attic Before the First Snow
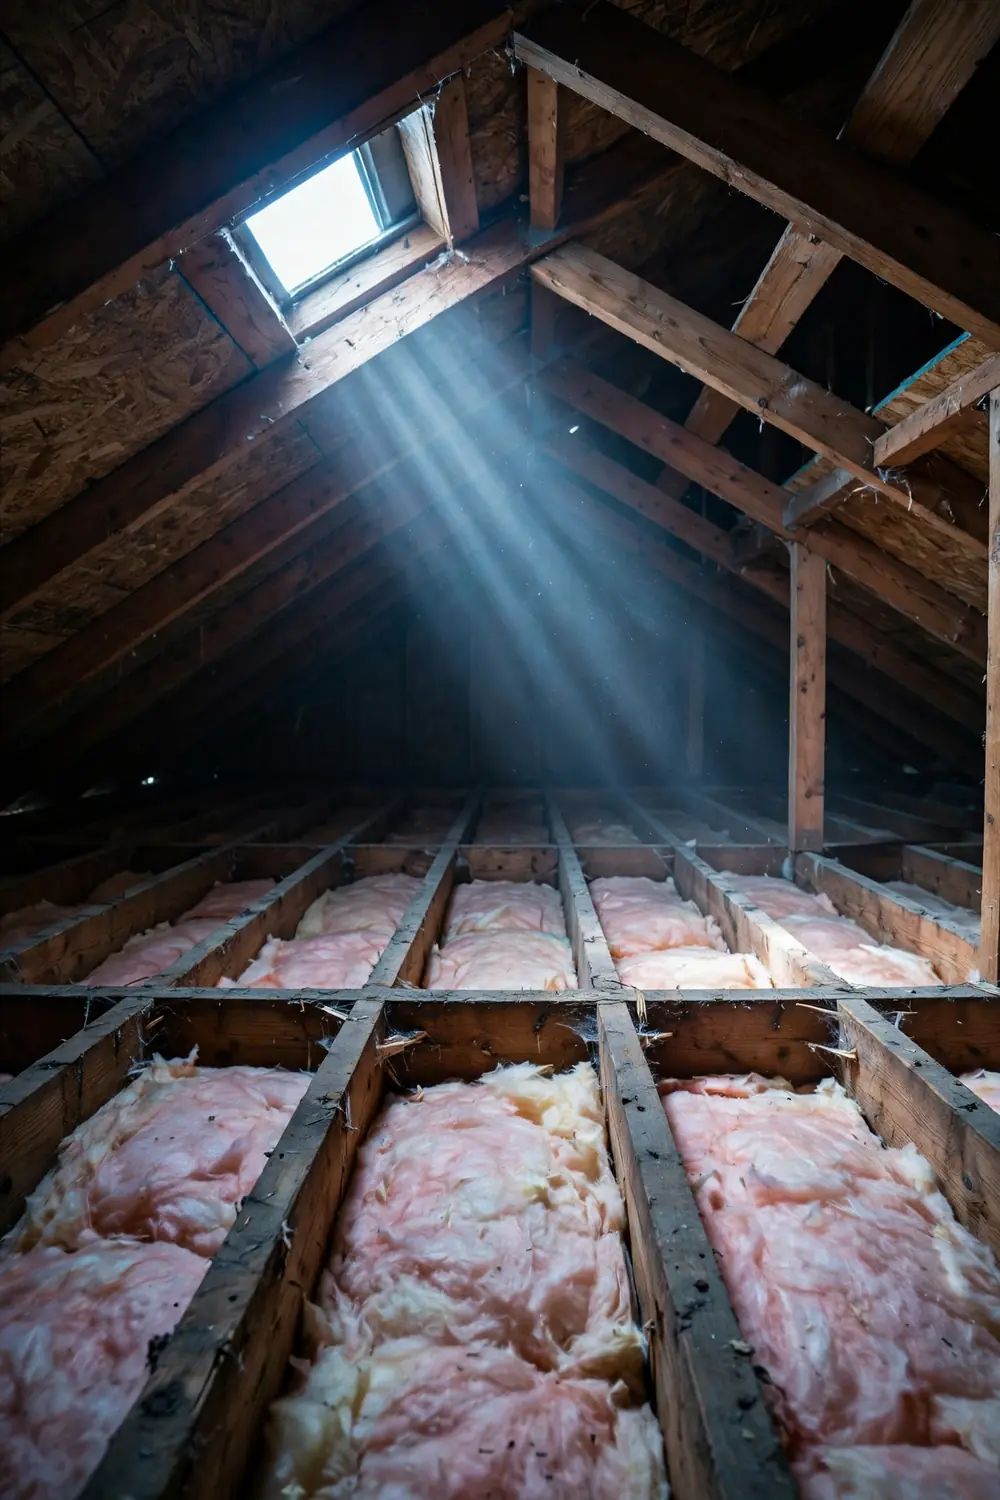
Grab a flashlight and head into the attic on a cool morning, before the first snow arrives. Look for daylight shining through the roof boards, dark water stains on the rafters, and patches where insulation looks thin, damp, or pressed flat. From outside, scan the roof with binoculars for cracked, curled, or missing shingles, and check the flashing around chimneys and vents. Write down every problem spot with its location, so you can work through the list in order instead of guessing later. Our guide on how to prepare your roof for winter covers the full autumn checklist.
Clear Gutters and Downspouts Completely
Scoop out leaves, twigs, and grit by hand with gloves on, working from the downspout toward the far end so debris does not pack into the outlet. Flush each gutter with a garden hose and watch the water run clear at the downspout. A slow drain means a clog is still lodged inside, so run a plumber’s snake or a straightened wire hanger through the spout until water flows freely. Clear gutters give meltwater a path off the roof instead of a place to pool and freeze.
Seal Air Leaks Around the Attic Hatch and Pipes
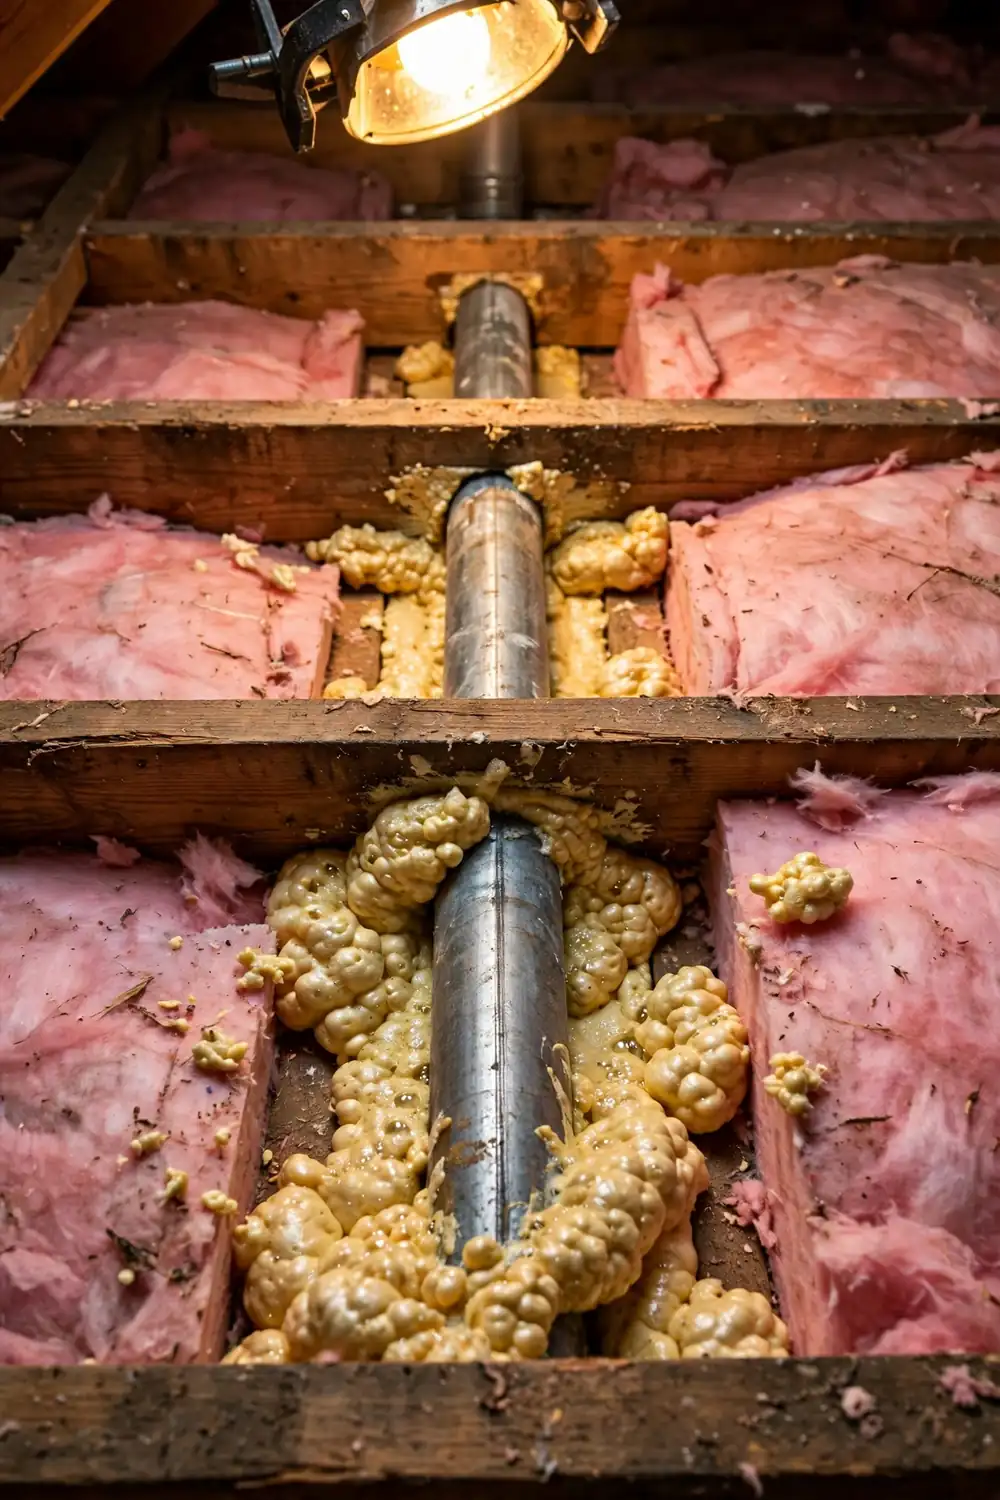
Warm air escapes from the house into the attic through gaps you can barely see. Run a bead of caulk around the attic hatch frame, then seal the gaps where pipes, wires, and ductwork pass through the attic floor with expanding foam sealant. Cover recessed lights from above with an approved fire-rated cover before insulating near them, since bare bulbs and loose insulation are a fire risk. Check each seal on a cold day by holding a lit incense stick near the gap and watching for drifting smoke, which shows air still moving through.
Add Insulation Until the Attic Floor Is Covered Evenly
Measure the depth of your attic insulation in three or four spots with a tape measure. Most cold-climate homes need 12 to 16 inches of fiberglass batts or blown-in cellulose, which gives an R-value near R-38 to R-49. Lay new batts at right angles across the old layer so the seams do not line up, and keep insulation at least 3 inches away from chimneys and flues. Wear a dust mask and long sleeves while you work, since loose fibers irritate skin and lungs, and leave the attic hatch open for fresh air.
Open Blocked Soffit Vents for Steady Airflow
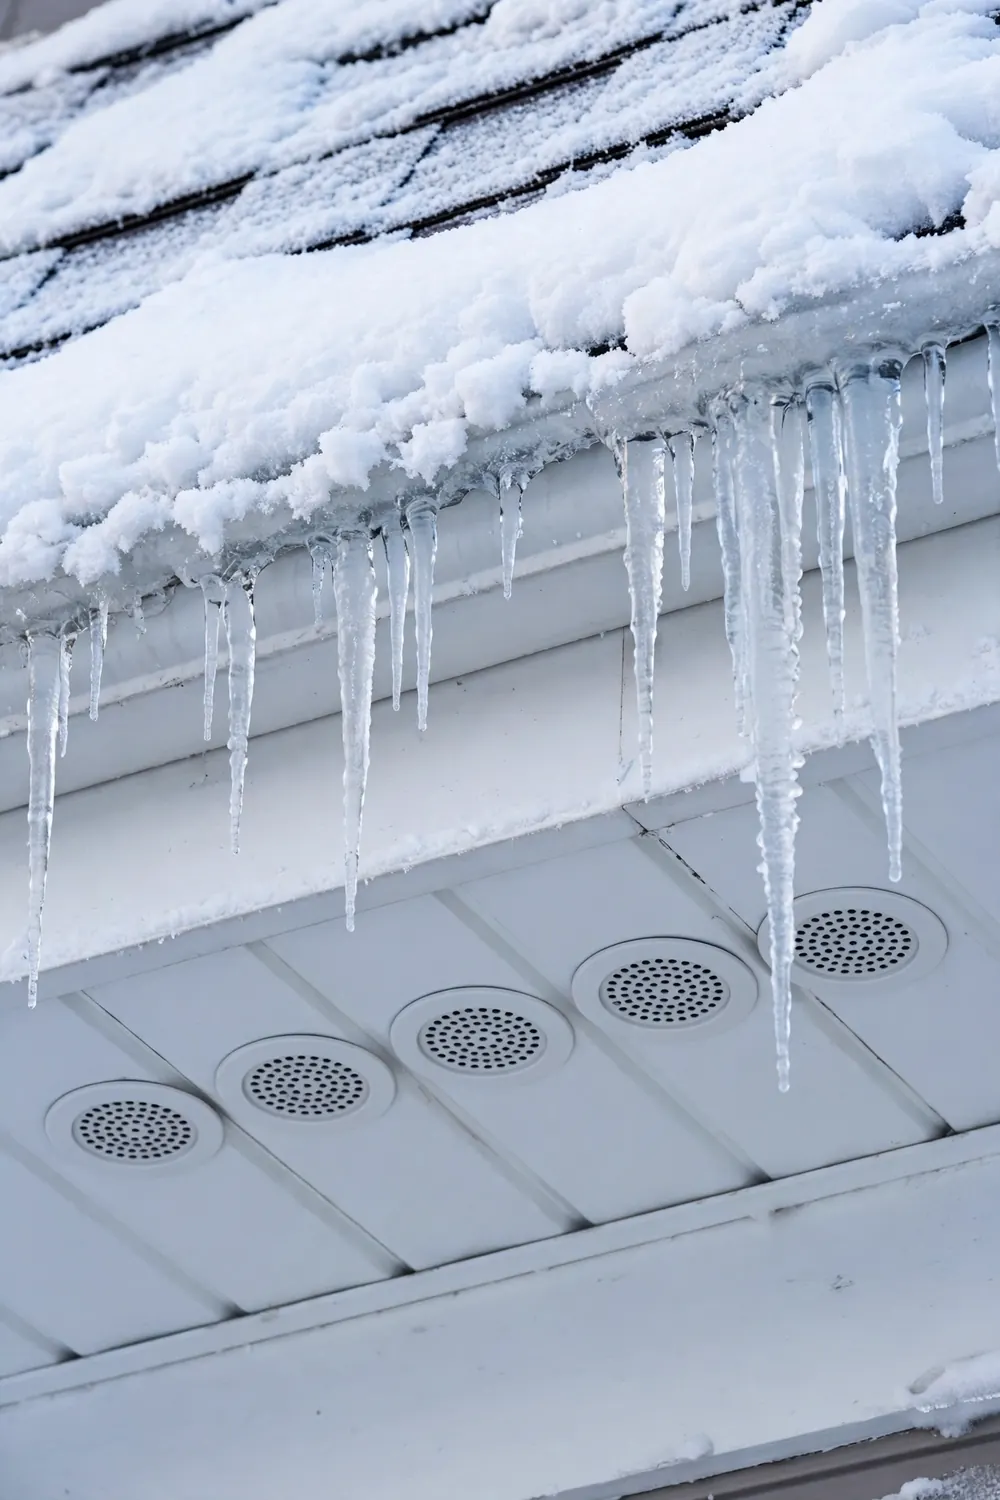
Soffit vents sit under the eaves and pull cold air into the attic, but insulation often slides over them and blocks the flow. Slide a vent baffle, a curved plastic or foam channel, between the rafters above each vent to hold the insulation back. From outside, brush away cobwebs, paint, and debris from the vent holes with a stiff brush. Every vent should show daylight when you look up at it from the attic floor.
Check Ridge Vents and Roof Vents for Obstructions
Warm air leaves the attic through ridge vents along the peak and through roof vents near the top. Climb a ladder on a dry day and look for nests, leaves, or snow packed into each vent opening, and clear them with gloved hands or a soft brush. Inside the attic, check that insulation has not been pushed up against the underside of the vents. Air should move in at the eaves and out at the ridge without meeting a dead end.
Install Ice and Water Shield Along the Eaves
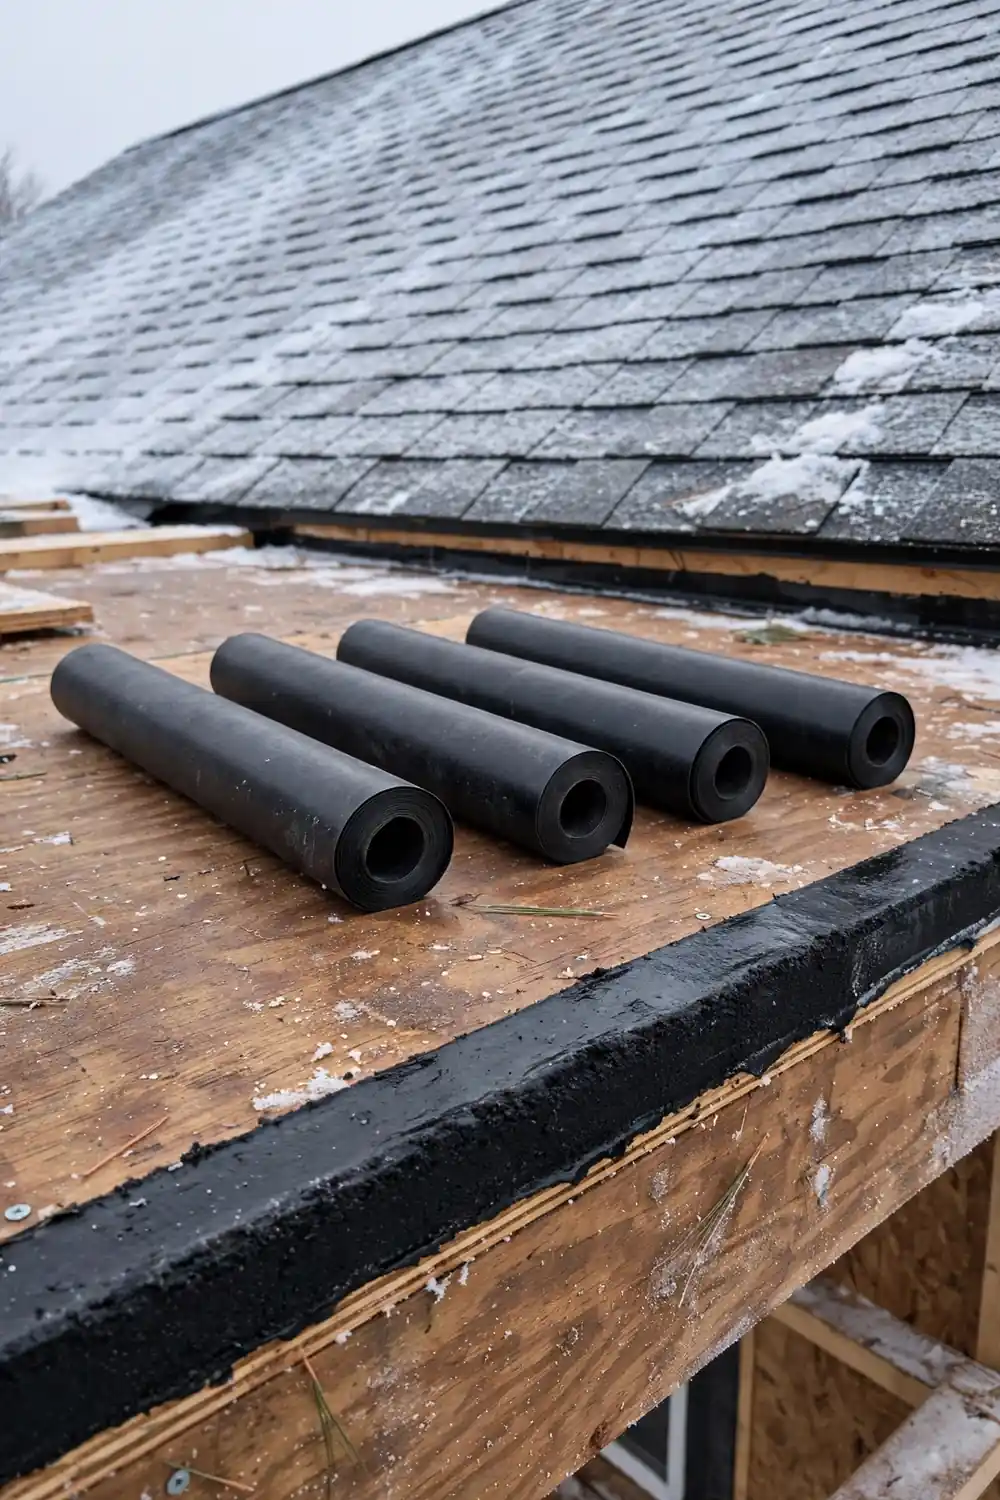
Ice and water shield is a self-adhesive rubber membrane that seals around nail holes and stops water from reaching the roof deck. It belongs under the shingles along the eaves, in valleys, and around skylights, where ice dams do their worst damage. The best time to add it is during a re-roof, but a roofer can also lift the first few courses of shingles and slide it underneath. Ask for at least 3 feet of membrane past the inside wall line, and 6 feet on low-slope roofs. The membrane will not stop ice from forming, but it stops the leaks that ice causes.
Rake Snow Off the Lower Roof After Each Storm
A roof rake is a long-handled tool with a wide blade that pulls snow off the roof while your feet stay on the ground. After every storm that drops more than 6 inches, rake the lowest 4 feet of the roof, working from one end to the other in even passes. Keep the blade a couple of inches above the shingles so you do not scrape the granules off. Clear the snow in the morning, before the sun softens it into a heavy, icy layer. Our guide on how to remove snow from a roof covers the full technique for steep or tall roofs.
Break Up Small Ice Ridges with Calcium Chloride
A nylon stocking filled with calcium chloride ice melt can open a drainage channel through a small ice ridge. Tie off the end, lay it across the dam so it hangs a few inches past the gutter, and let it melt a path for trapped water to escape. Check it after 24 hours and replace the fill if the channel has not opened yet. Never chip at ice with a metal shovel, axe, or screwdriver, since one slip gouges the shingles underneath and creates a leak worse than the dam itself.
Rock salt, or sodium chloride, damages shingles, kills the plants below, and corrodes metal gutters. Use calcium chloride only, and keep it off metal flashing where you can.
Lay Heat Cables in Valleys and Along Problem Eaves
Heat cables are electric wires that run in a zigzag along the eaves and through valleys, melting a narrow path for water to drain. Clip them to the shingles with the clips sold for the job, following the spacing in the instructions, and plug them into a ground-fault protected outlet with a thermostat control. Cables treat the symptom rather than the cause, so use them on the one or two spots that freeze first while you fix the insulation and ventilation behind the problem. They also help with frozen gutters, and our guide on how to keep gutters from freezing covers that side of the job.
Watch Icicles and Melt Patterns for Early Warnings
Icicles are the earliest warning sign, but the pattern matters more than any single icicle. Long, thick icicles along one stretch of eave mean that section of roof is warmer than the rest, so look above it for a bathroom vent, a skylight, or thin insulation. Snow that melts in patches while the rest of the roof stays white points to the same trouble. Check the roof line from the street after each thaw, and note which spots melt first.
Call a Roofer When Ice Dams Keep Coming Back
Some roofs fight back no matter how careful the maintenance is. Low slopes, complex valleys, and dormers trap snow and shade in ways that keep dams coming back year after year. A roofer can measure your attic ventilation, test the insulation depth, and suggest fixes that go beyond weekend work, such as added ridge vents or a cold roof system. Get two or three quotes, ask each contractor how they handle ice dams specifically, and pick the one who talks about ventilation first. A roofer who only offers to chip the ice away is treating the symptom.
| Icicles form along one stretch of eave only | Check the attic above that stretch for a vent, light, or thin insulation warming the roof. |
| Snow melts in patches while the rest stays white | Add insulation over the warm patch and check that the soffit vents below it are open. |
| Water stains appear on the ceiling after a thaw | Open a drainage channel with calcium chloride, then check the attic for the leak path. |
| Gutters overflow even though they look clear | Check the downspouts for ice plugs and flush them with warm water. |
| Ice dams return every winter in the same spot | Ask a roofer about added ventilation or ice and water shield for that section. |
Frequently Asked Questions
Do ice dams mean my roof is failing? Not usually. They mean warm air is escaping into the attic and melting snow unevenly. Fix the insulation and ventilation first, and most roofs stop forming dams without any shingle work at all.
Can I remove an ice dam myself? Small ones, yes, with the calcium chloride method in step 9. Large dams, or any dam that is already leaking inside, call for a roofer with steam equipment. Steam melts ice without harming shingles, while hammers and chisels do real damage.
Do gutter guards stop ice dams? No. Guards keep leaves out of the gutter, which helps drainage, but they do nothing about roof temperature. A guarded gutter can still freeze solid when the roof above it melts unevenly.
Should I knock icicles off the eaves? Knock down the ones hanging over walkways, since falling icicles are dangerous, but use a long-handled broom from the ground and never pull at ice that is frozen to the shingles.
Your roof is ready for the cold months ahead. You sealed the leaks, topped up the insulation, opened the vents, and learned how to handle snow before it turns into ice. Knowing how to prevent ice dams is a skill that pays off every winter, in dry ceilings and lower repair bills. Save this guide to your winter home board on Pinterest so it is there when the first snow falls.



One Response