
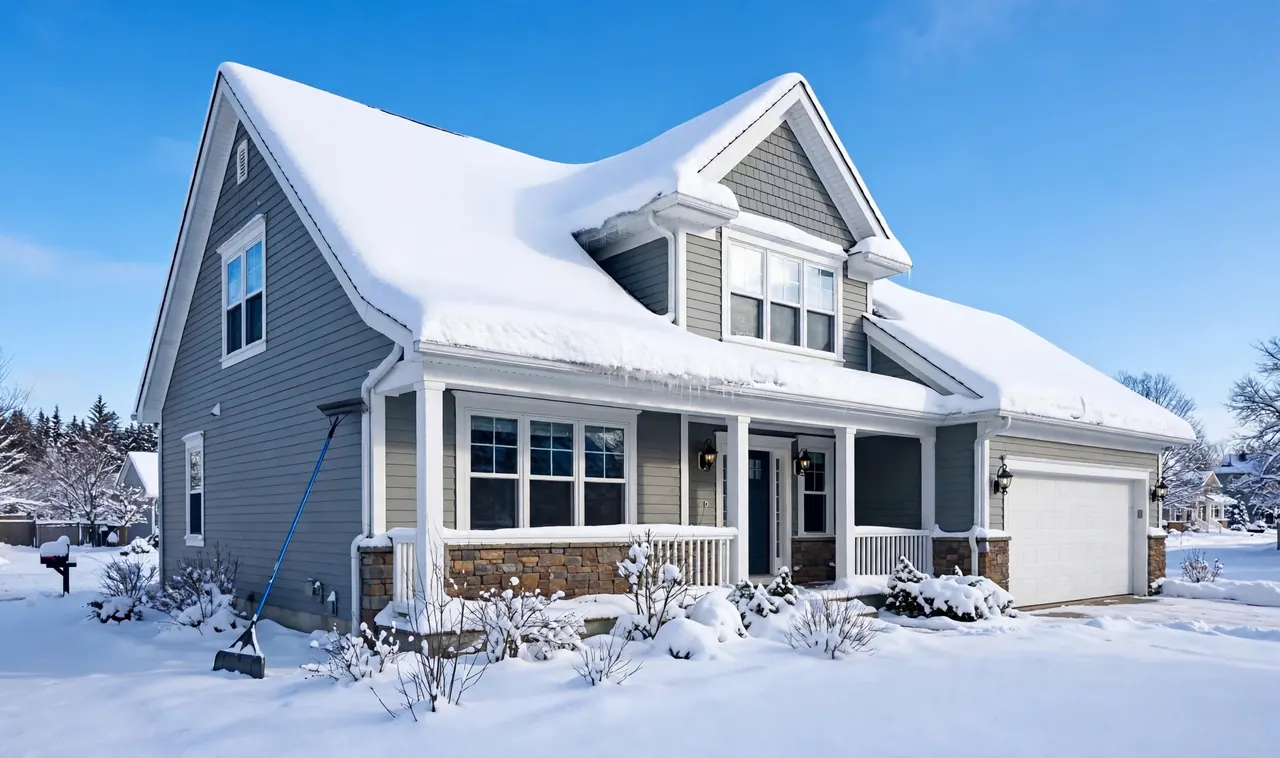
A foot of wet snow can weigh more than a small car, and all of that weight is sitting on your roof right now. Every extra inch presses down on the rafters, pushes meltwater under the shingles, and feeds the ice dams that stain ceilings and soak insulation. Learning how to remove snow from your roof the safe way takes that load off before it turns into a repair bill, and you can do the whole job without ever stepping onto the roof itself. This guide walks you through twelve steps, from sizing up the snow load to clearing the last drift away from the foundation. The method uses a roof rake, a few supplies you probably already own, and about two hours of steady work on an average single-story home. A two-story home takes closer to three hours. You will work from the ground the entire time and finish with a roof that sheds the next melt cleanly.
What You Need
- Roof rake with a 16 to 24 foot telescoping pole
- Warm gloves with a rubber grip
- Safety glasses or goggles
- Insulated boots with deep tread
- Tape measure or yardstick
- Calcium chloride ice melt
- An old nylon stocking or sock
- A sturdy snow shovel for the ground
At a Glance: The 12 Steps
- Measure the snow depth and check the load
- Gather your roof rake and safety gear
- Clear the ground around the house
- Stand on the ground and rake from the eave upward
- Remove snow from the roof in small sections
- Clear the eaves and gutters before the upper roof
- Leave two inches of snow on the shingles
- Work around the house to keep the load even
- Melt ice dams with calcium chloride
- Clear snow away from vents and skylights
- Shovel fallen snow away from the foundation
- Inspect the roof and plan your next clearing
Measure the snow depth and check the load
Six inches of wet, heavy snow can weigh as much as two feet of light powder, so depth alone does not tell the whole story. Push a yardstick straight down into the snow at the edge of the roof and read the depth, then scoop a small handful to feel whether it is light and fluffy or dense and slushy. Most roofs handle 20 pounds per square foot, which is roughly two feet of packed snow. If interior doors have started sticking, you hear creaking overhead, or the ceiling shows new cracks, stop and call a roofing professional instead of clearing it yourself.
Gather your roof rake and safety gear
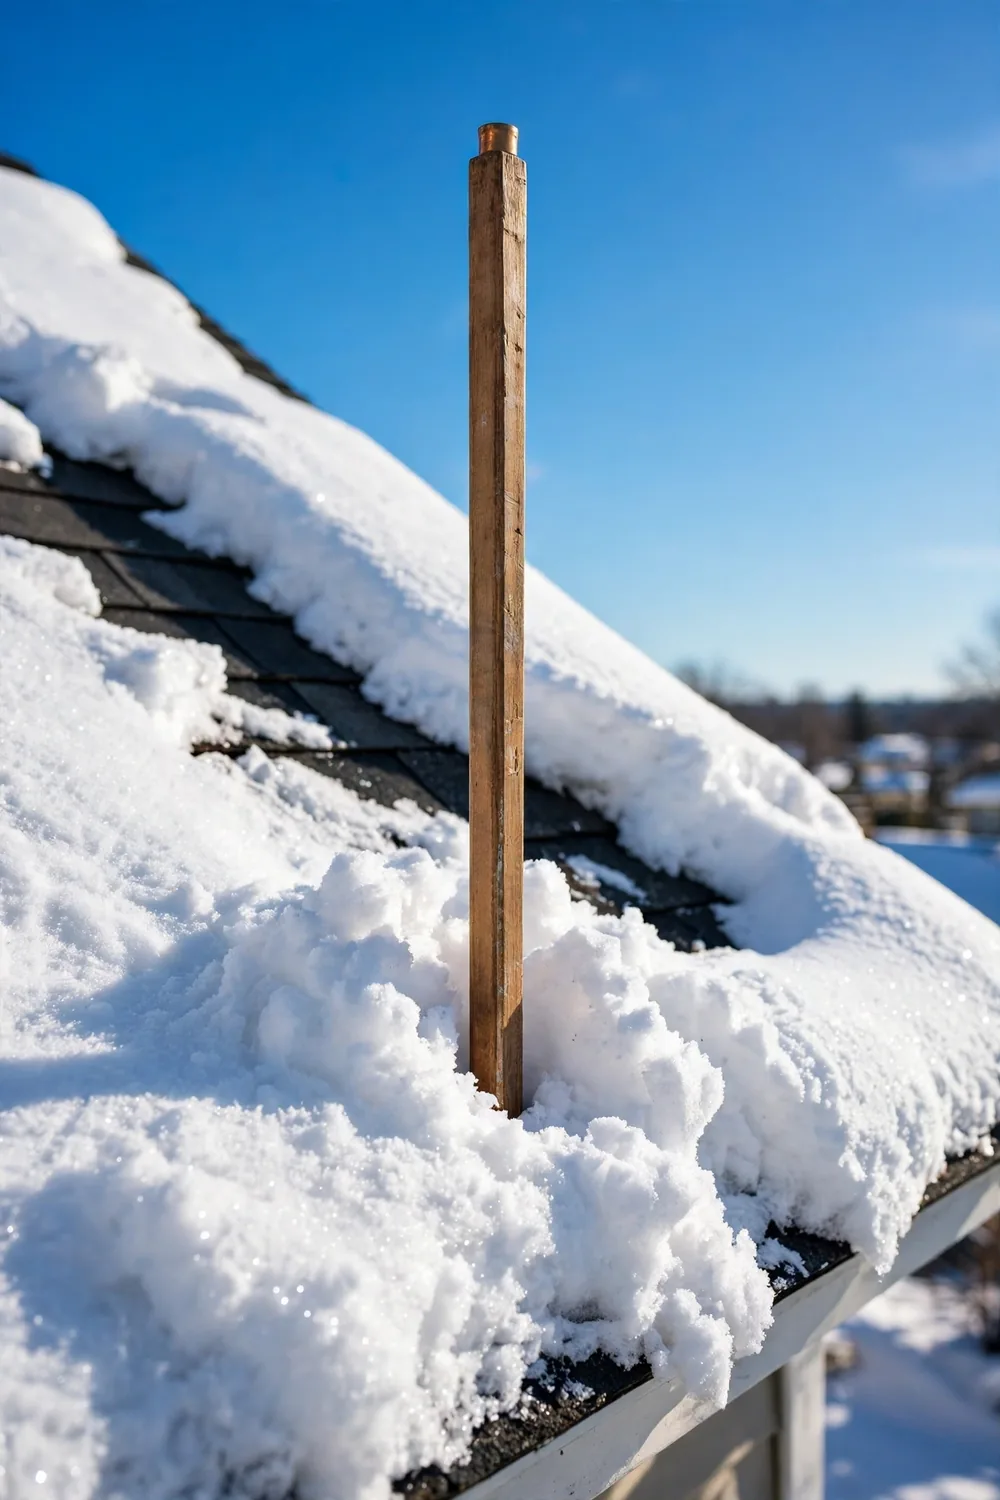
A proper roof rake has a wide, flat blade on a long telescoping pole, and it is the only tool built to pull snow down without damaging shingles. Check that the pole locks firmly at full extension before you start, since a collapsing pole mid-pull can send the blade into a window. Put on warm gloves with a rubber grip, safety glasses, and insulated boots with deep tread. If you do not own a roof rake, a plastic leaf rake with a long handle works as a short-term stand-in for light snow on a low roof.
Clear the ground around the house
Move cars, bikes, patio furniture, and anything breakable at least 6 feet away from the walls. A slab of snow sliding off a roof weighs far more than it looks like it should, and it can crush a grill or crack a windshield on the way down. Mark low shrubs and buried garden beds with a tall stake so you do not bury them under the falling snow. Scatter a little ice melt on the path where you will be standing, because the ground under a roofline turns slick fast once snow starts dropping onto it.
Stand on the ground and rake from the eave upward
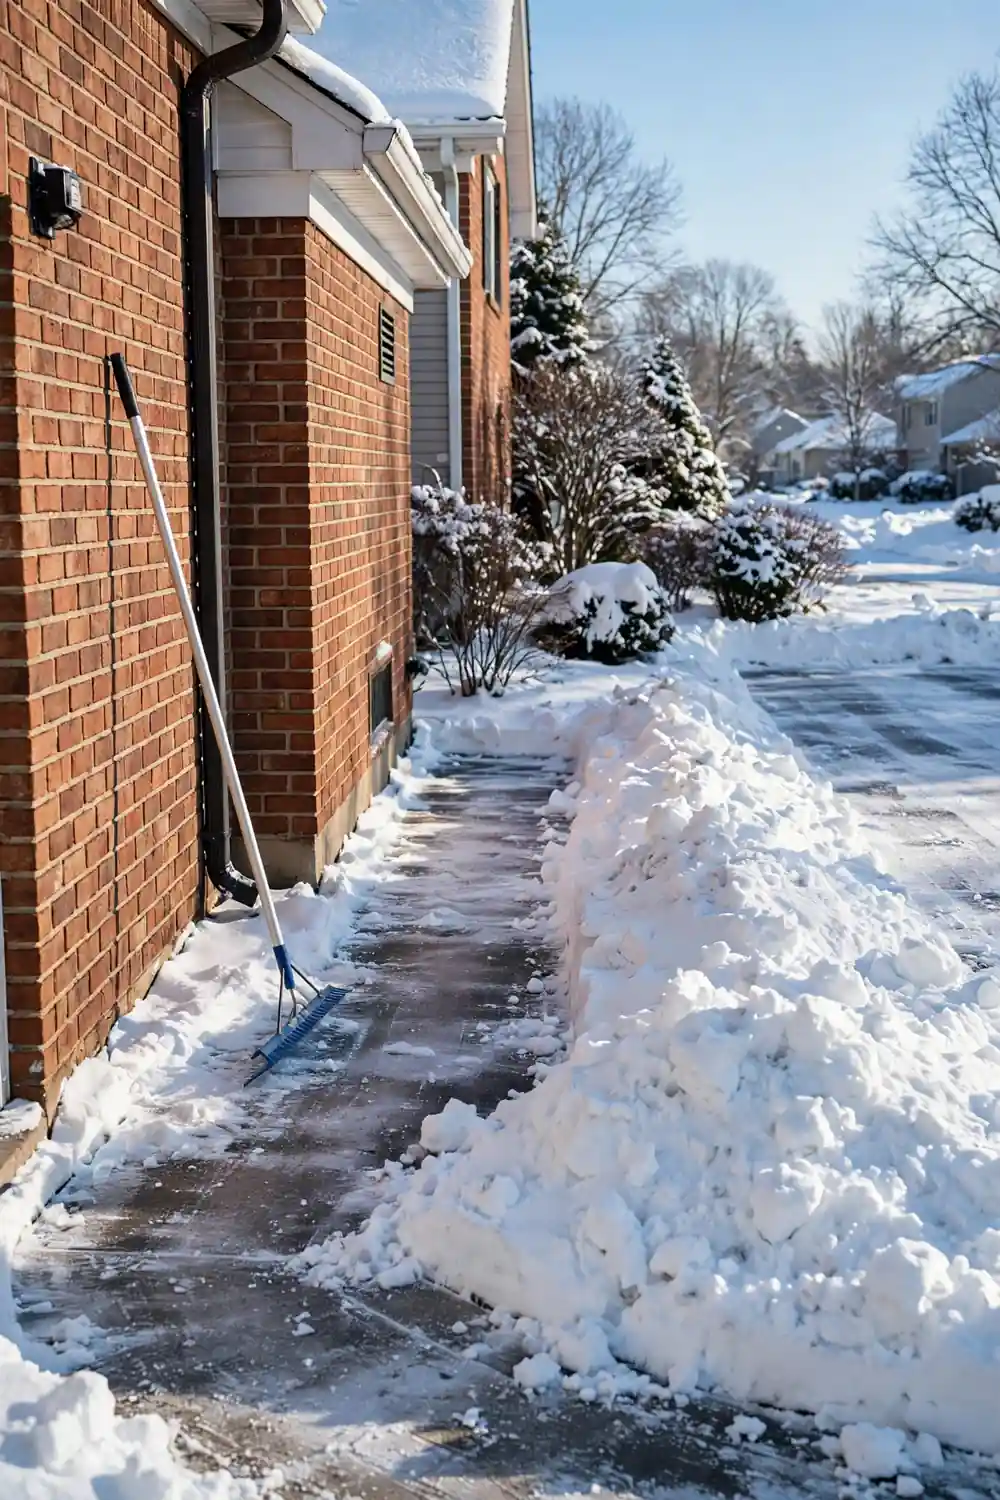
Your feet stay on the ground for the entire job. A snow-covered roof is a fall waiting to happen, and no clearing task is worth a trip to the emergency room. Extend the pole, set the blade flat on the roof at the eave, and pull straight down toward you in a smooth, controlled motion. Work in strips about 2 to 3 feet wide, starting at the lowest edge and moving upward a little with each pass. Keep the blade flat against the surface so it slides over the shingles instead of catching their edges.
Never climb onto a snow-covered roof, and never lean a ladder against a gutter full of snow and ice. Both are among the most common causes of winter home injuries. If the roof is too high to reach with a 24 foot pole from the ground, hire a professional with the right equipment instead.
Remove snow from the roof in small sections
Three inches of snow per pass is the right bite for a roof rake. Anything deeper overloads the blade, strains your arms, and leaves you fighting the pole instead of guiding it. Pull each strip down until the section is clear, then step sideways and start the next strip. Let the snow fall where it lands for now; you will deal with the piles on the ground in step eleven. Pace yourself with a 10 minute break every half hour. Raking is hard, steady exercise in cold air, and most people tire faster than they expect.
Clear the eaves and gutters before the upper roof
The lowest 3 to 4 feet of the roof matter more than the peak. Snow sitting on the eaves melts during the day, refreezes at night, and builds the ridge of ice that traps water behind it. Clearing the eaves first gives meltwater a path off the roof instead of a dam to pool behind. Pull the snow off the gutters gently, since a full gutter is already heavy and a hard yank can pull the brackets loose. Learning how to prevent ice dams before the next storm will save you from repeating this part of the job every winter.
Leave two inches of snow on the shingles
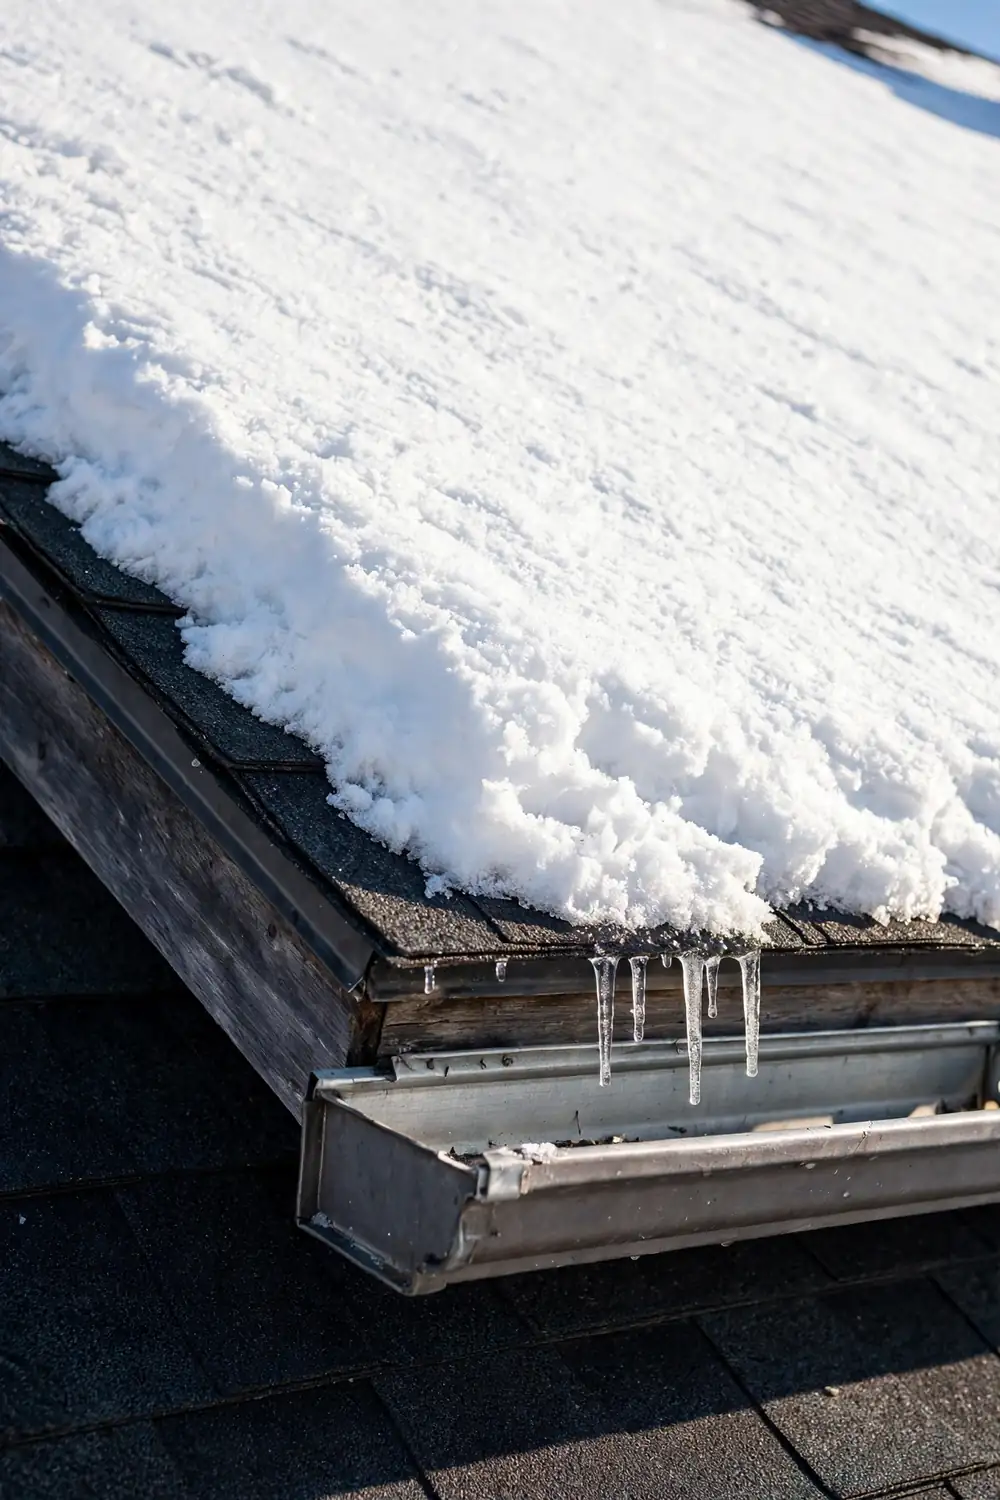
Two inches of snow left on the surface is intentional, not a half-finished job. A roof rake blade dragged across bare shingles can lift granules, crack cold shingles, and scrape away the protective layer that keeps water out. The thin layer you leave behind insulates the surface and melts off on its own within a day or two of sun. Aim for a thin, even blanket rather than patches of bare roof, and stop pulling the moment you feel the blade start to catch on the shingle edges underneath.
Work around the house to keep the load even
Clear one side of the roof, then move to the opposite side before going back for a second pass. Taking all the weight off one slope while the other stays loaded puts uneven stress on the ridge beam and the framing below it. The same idea applies to the front and back of the house. A steady rotation, one side at a time, keeps the load balanced while you work. On a hip roof, clear a strip from each slope in turn rather than finishing one slope completely.
Melt ice dams with calcium chloride
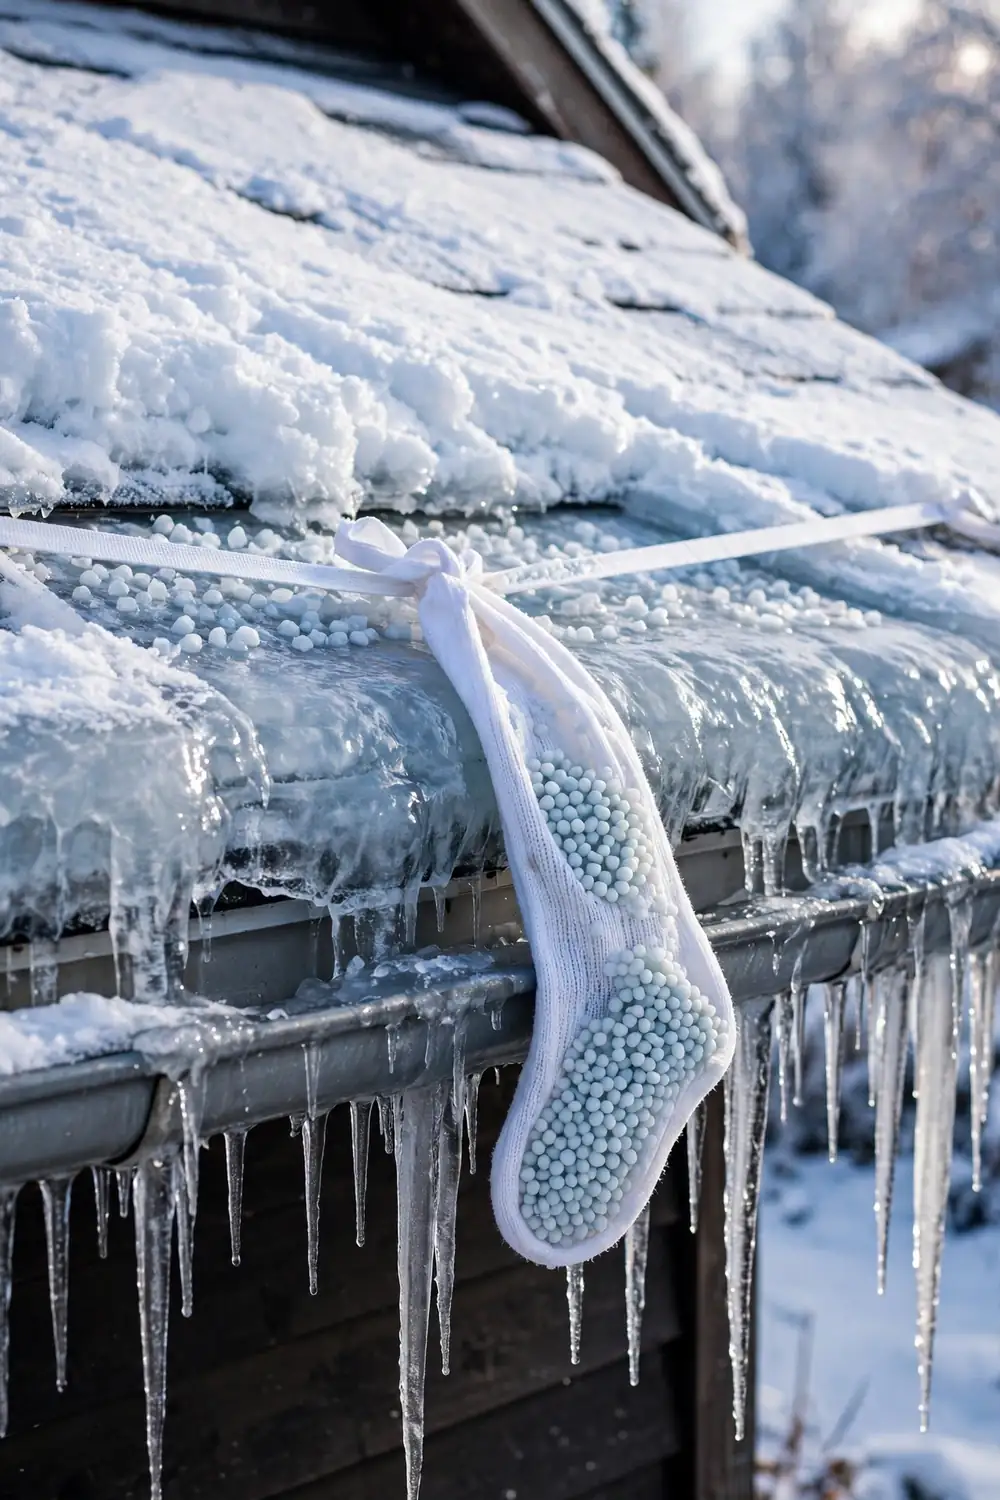
Fill an old nylon stocking with calcium chloride pellets, tie off the end, and lay it across the ice dam so it hangs slightly over the gutter edge. The pellets melt a channel through the ice within a few hours, and the trapped water behind the dam drains through that channel instead of backing up under the shingles. Never chip at an ice dam with a hammer, chisel, or shovel, since one slip can puncture a shingle and open a leak. Avoid rock salt as well, because it damages shingles and kills the plants below. On a metal roof, snow guards for metal roofs stop snow from sliding down in one heavy sheet, which lowers the ice dam risk in the first place.
Clear snow away from vents and skylights
Every vent on your roof needs open air to work. A buried plumbing vent traps sewer gas inside the house, and a blocked furnace or dryer vent can push exhaust back indoors. Brush the snow away from each vent pipe with the rake blade or a broom, and clear a circle about 2 feet wide around each one. Skylights need the same treatment: snow sitting on the glass melts, refreezes around the frame, and finds its way through the seals. Clear the skylight glass gently from the edge inward, and check the frame for ice buildup while you are there.
Shovel fallen snow away from the foundation
The pile at the base of the house is the part most people forget, and it is the part that causes basement leaks in spring. Shovel the fallen snow at least 3 to 4 feet away from the foundation walls, and keep it out of window wells. When that snow melts, the water needs to drain away from the house, not pool against the concrete. A cleared roof with a snowbank pressed against the basement wall has only moved the water problem, not solved it.
Inspect the roof and plan your next clearing
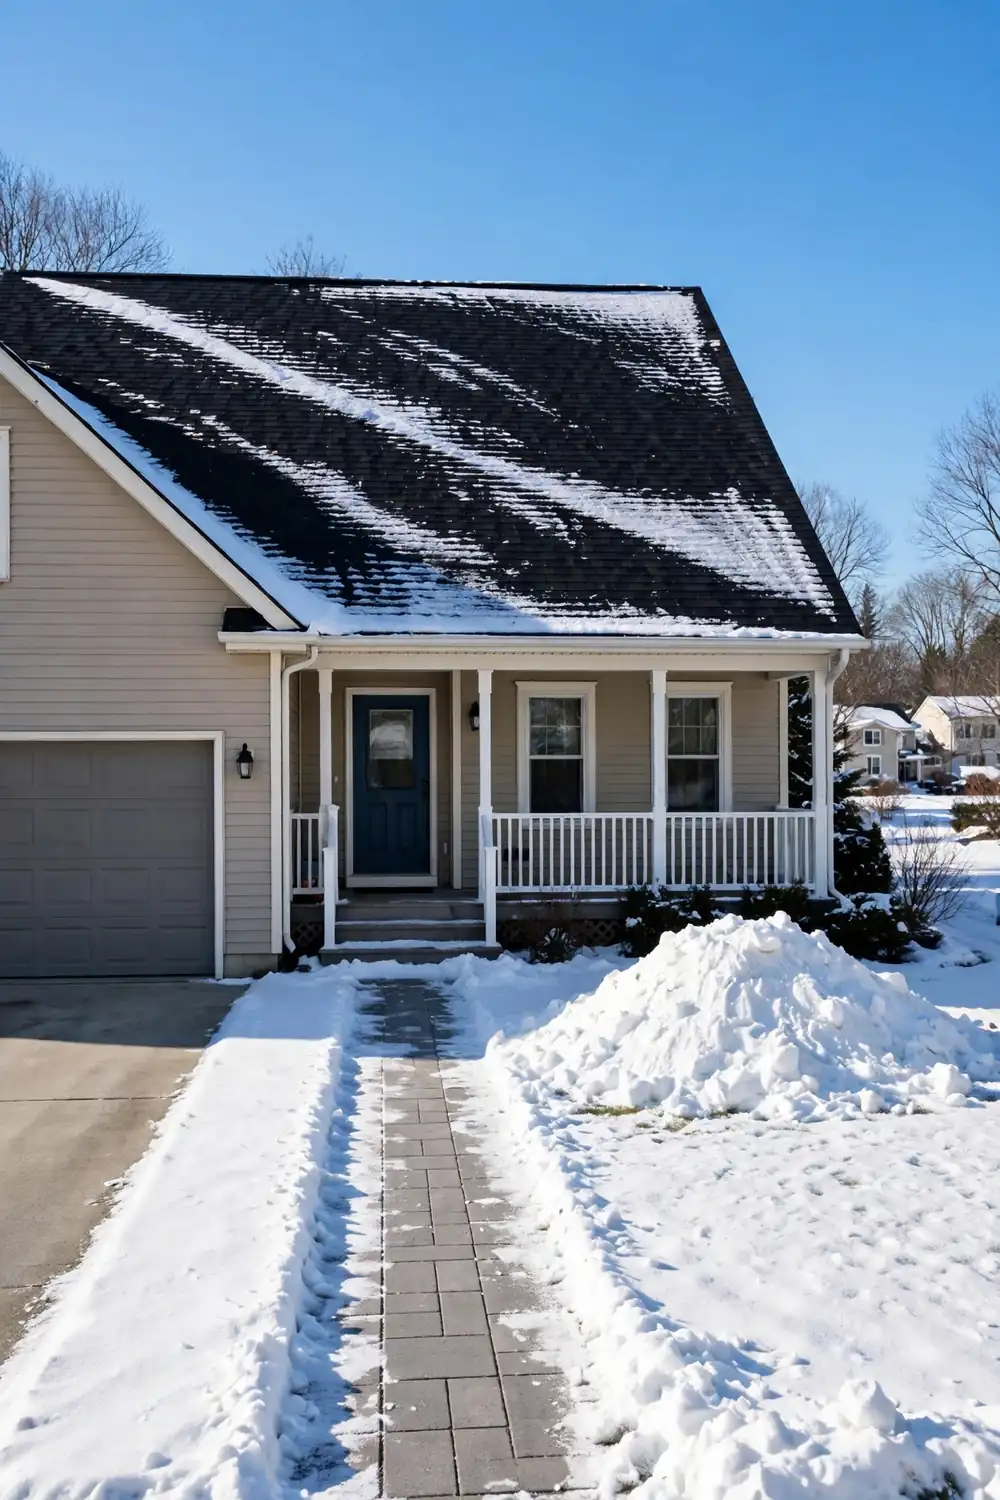
Stand back with a pair of binoculars and scan the whole roof from the ground. Look for shingles that lifted or cracked during the clearing, flashing that pulled away around chimneys and vents, and any spot where snow still sits in a thick drift. Plan to clear again once the snow reaches 6 inches, rather than waiting for a full foot to pile up. If the roof is steep, higher than two stories, or already showing signs of stress, schedule a professional clearing and put their number in your phone before the next snowfall.
Frequently Asked Questions
How much snow is too much for a roof?
Most residential roofs are built for about 20 pounds per square foot. That is roughly two feet of packed snow or one foot of wet, heavy snow. Clear the roof once the depth passes 6 inches so the load never gets close to that limit.
Can I use a regular shovel on my roof?
No. A shovel blade is too sharp and too narrow for shingles, and it forces you to stand on the roof to use it. A roof rake with a long pole is the right tool because it works from the ground and spreads the pressure across a wide, flat blade.
Should I hire a professional instead?
Hire a professional if the roof is steep, higher than two stories, or already showing signs of stress like sagging or cracking sounds.
How often should I clear snow off the roof?
Clear after every storm that leaves more than 6 inches, and clear the eaves after any storm that mixes snow with rain. Wet snow weighs far more than powder, so a smaller depth of wet snow deserves the same attention as a deep fall of light snow.
Your roof is clear, the gutters can drain, and the weight pressing on the rafters is gone. That is the whole job, done safely from the ground, and the next storm will be easier because you already know where the snow piles up and which tools to grab. Before winter settles in for good, read up on how to prepare your roof for winter so the next snowfall meets a roof that is ready for it. Knowing how to remove snow from your roof safely is a skill you will use every winter, and it protects the most expensive part of your home. Save this guide to your winter home care board on Pinterest so it is there the next time the forecast calls for snow.



One Response